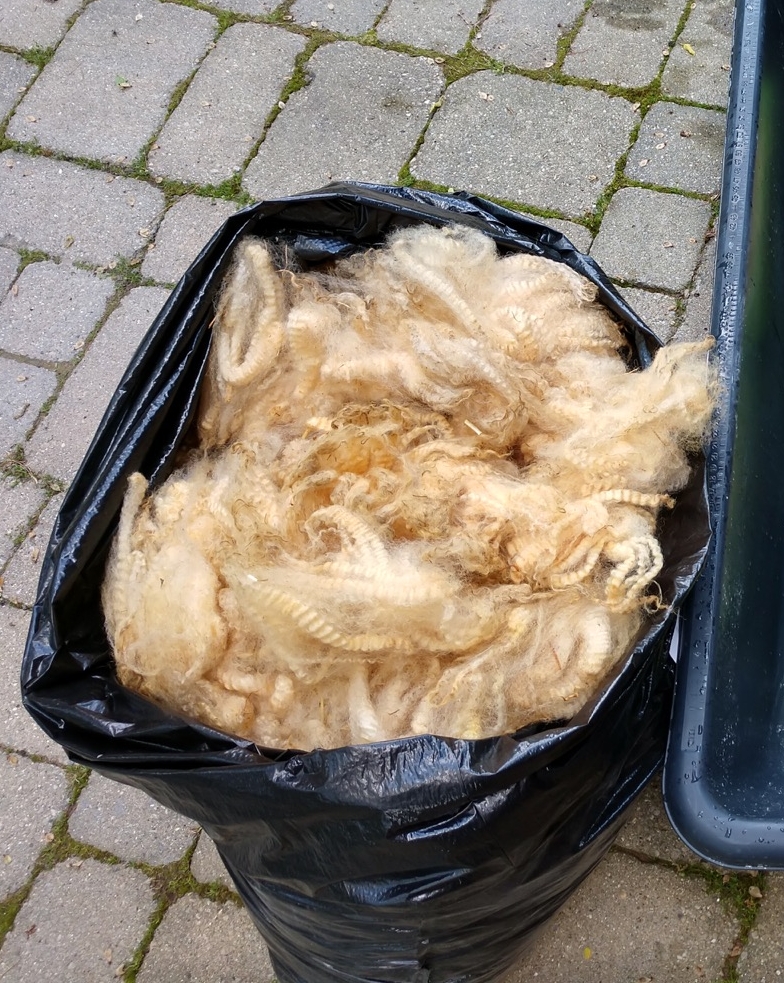
Part 1- May 2020 blog “It’s free….do you want it?”
Part 2 – October 2020 blog “It’s free….do you want it?” The Saga Continues…
Chapter VI – Felt Yardage
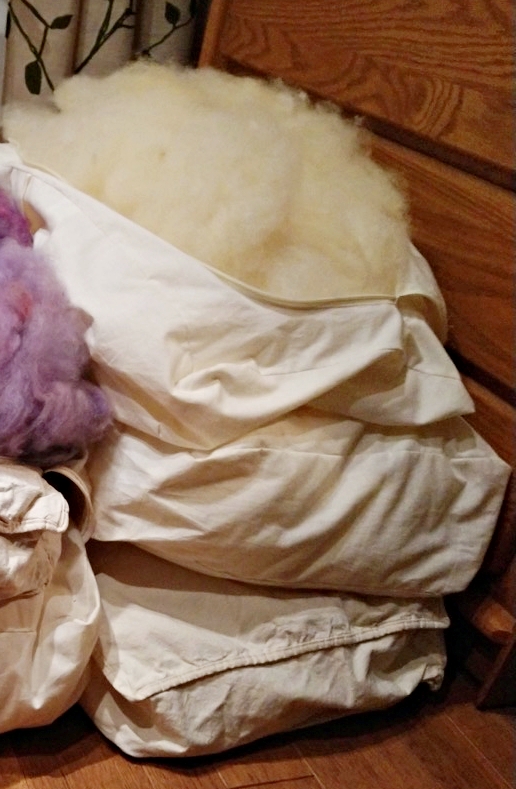
Now that the Romney fleece was washed, picked, and carded the next step was “What to do with it?” Looking at the 3 bags I decided to make felt yardage to be sewn into a garment.
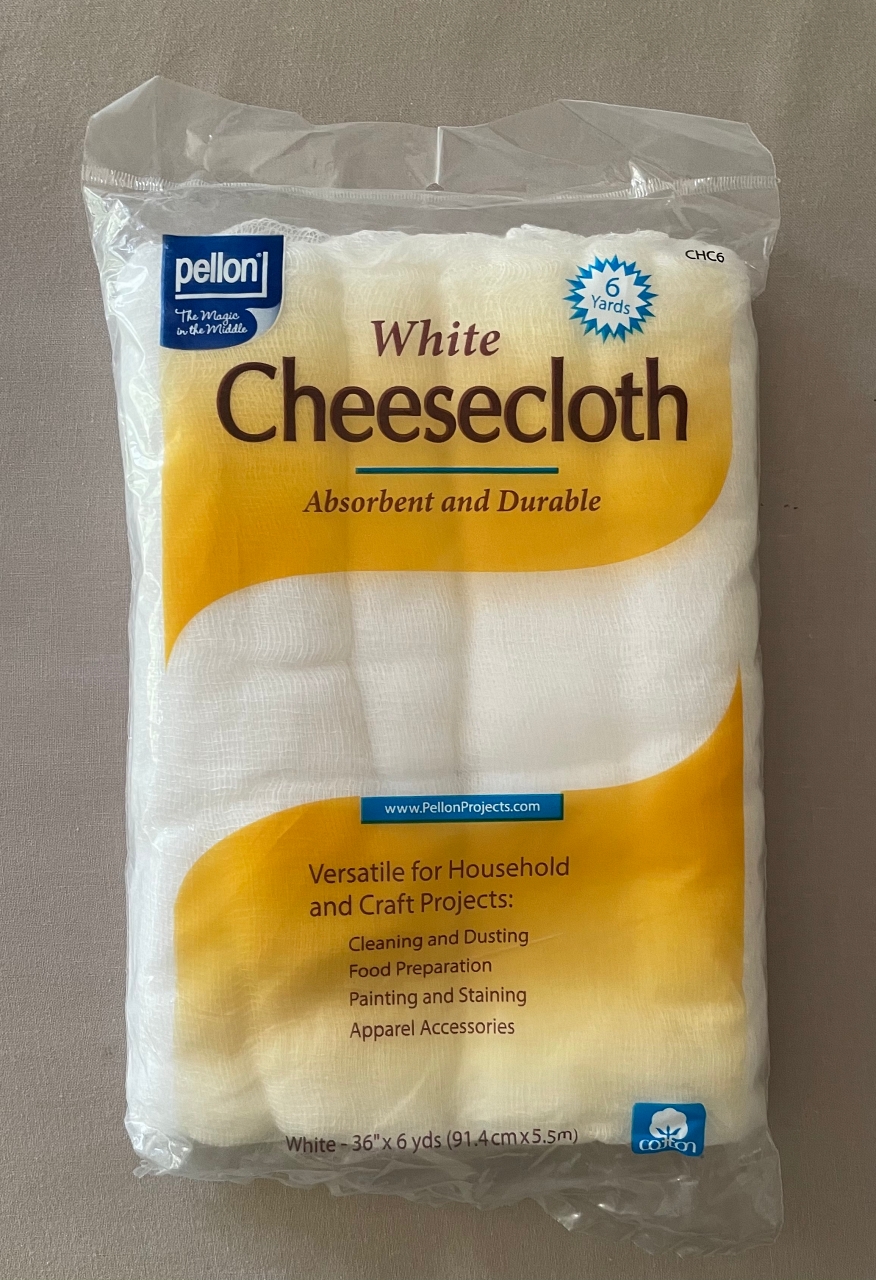
I knew my resulting felt could be uneven and have thin spots because I use wool roving now and it’s been ages since I worked with wool batts. I used cotton cheese cloth to give the felt fabric an added layer of structural support just in case.
Using half the wool I laid out starting dimensions of 60″x 60″ (1.5m x 1.5m)
My ending dimensions were 32″x 49″ (.8m x 1.2m)
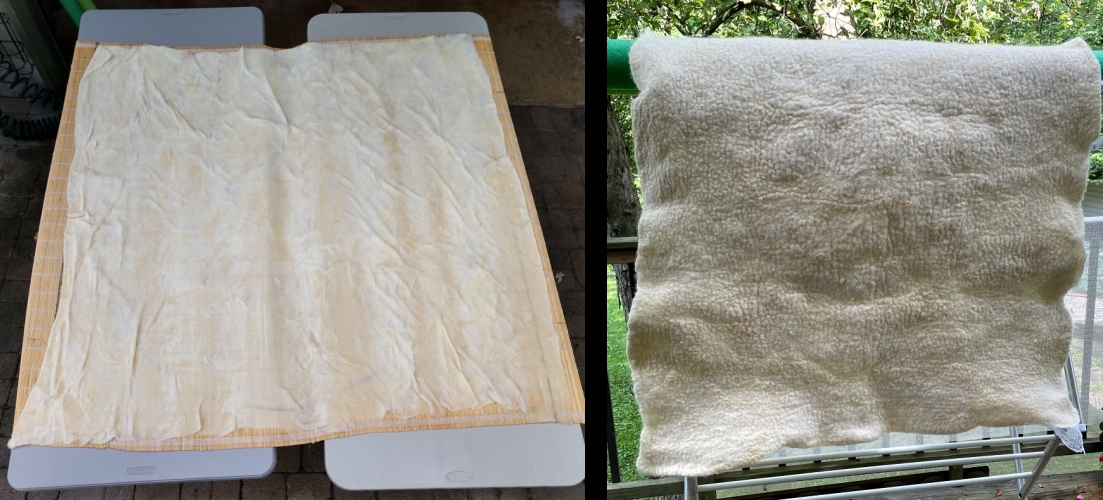
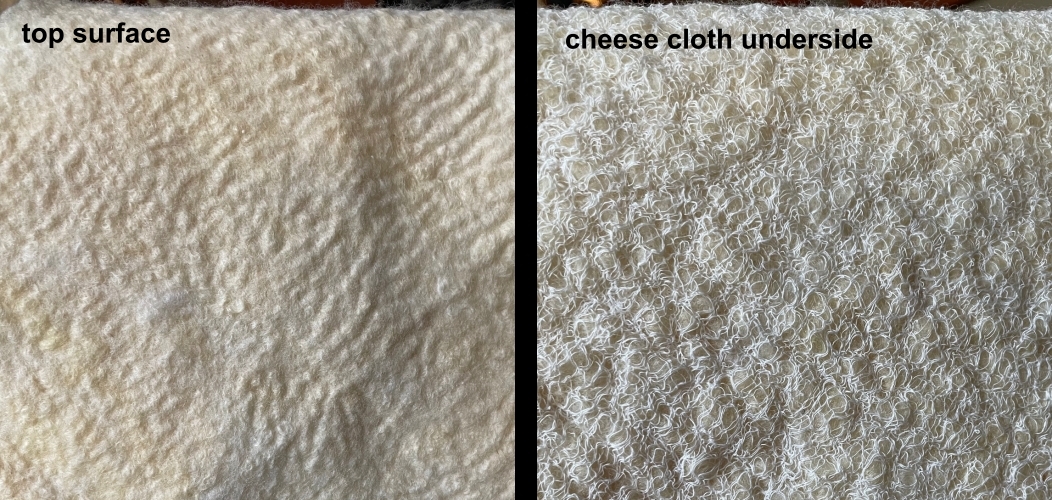
I was pleased with the texture and color blending of the top surface wool and the cheese cloth underside was interesting. The felt is definitely heavier weight so looks like I’m going to make a winter jacket from the yardage.
Chapter VII – The Jacket
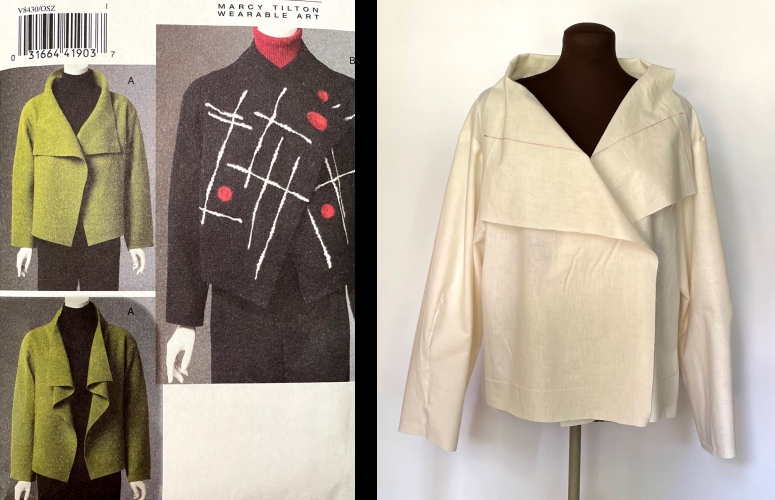
I found several patterns that might be possibilities and made muslin samples.
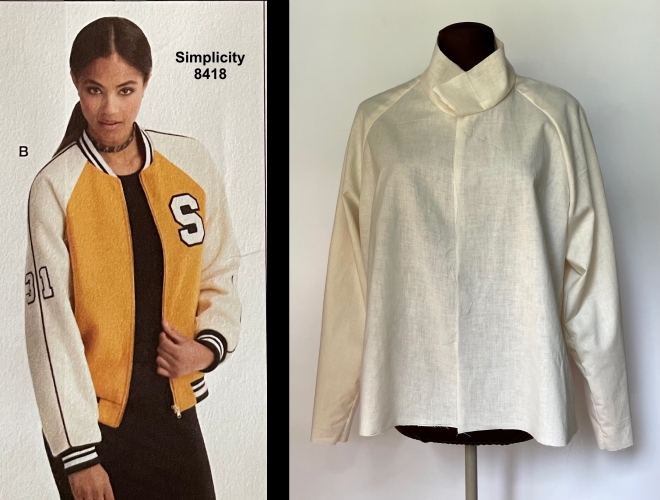
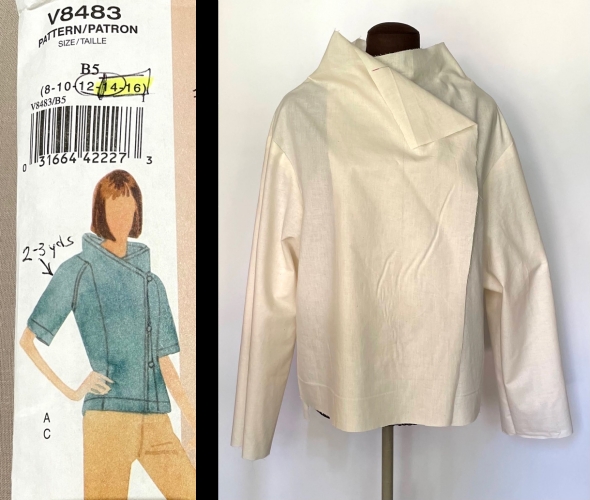
I decided to use Simplicity 8418 – a simple ‘varsity’ jacket with raglan sleeves. I laid out the pieces only to discover I did not have enough = ARGH!!!! It was now winter in Michigan. Felting in an unheated garage when it’s snowing outside is not my idea of fun so this project would have to wait until warmer weather.
Summer 2021
Using the rest of the wool I made another panel BUT this second piece of felt came out 1/4″ (.6 cm) thick. I now have one piece that is heavy coat weight and one that is rug weight!
Time to think….what if I use the thicker felt for the torso, the more flexible felt for the sleeves and a variation of a bound seam technique to sew the seams. This could work!!!
Chapter VIII – Bound Seams
I first learned of this tailoring technique back in 2008 when Daryl Lancaster presented a workshop on garment construction using handwoven fabric for the Ann Arbor Fiberarts Guild and it has become my ‘go-to’ seam binding when dealing with thick felt.
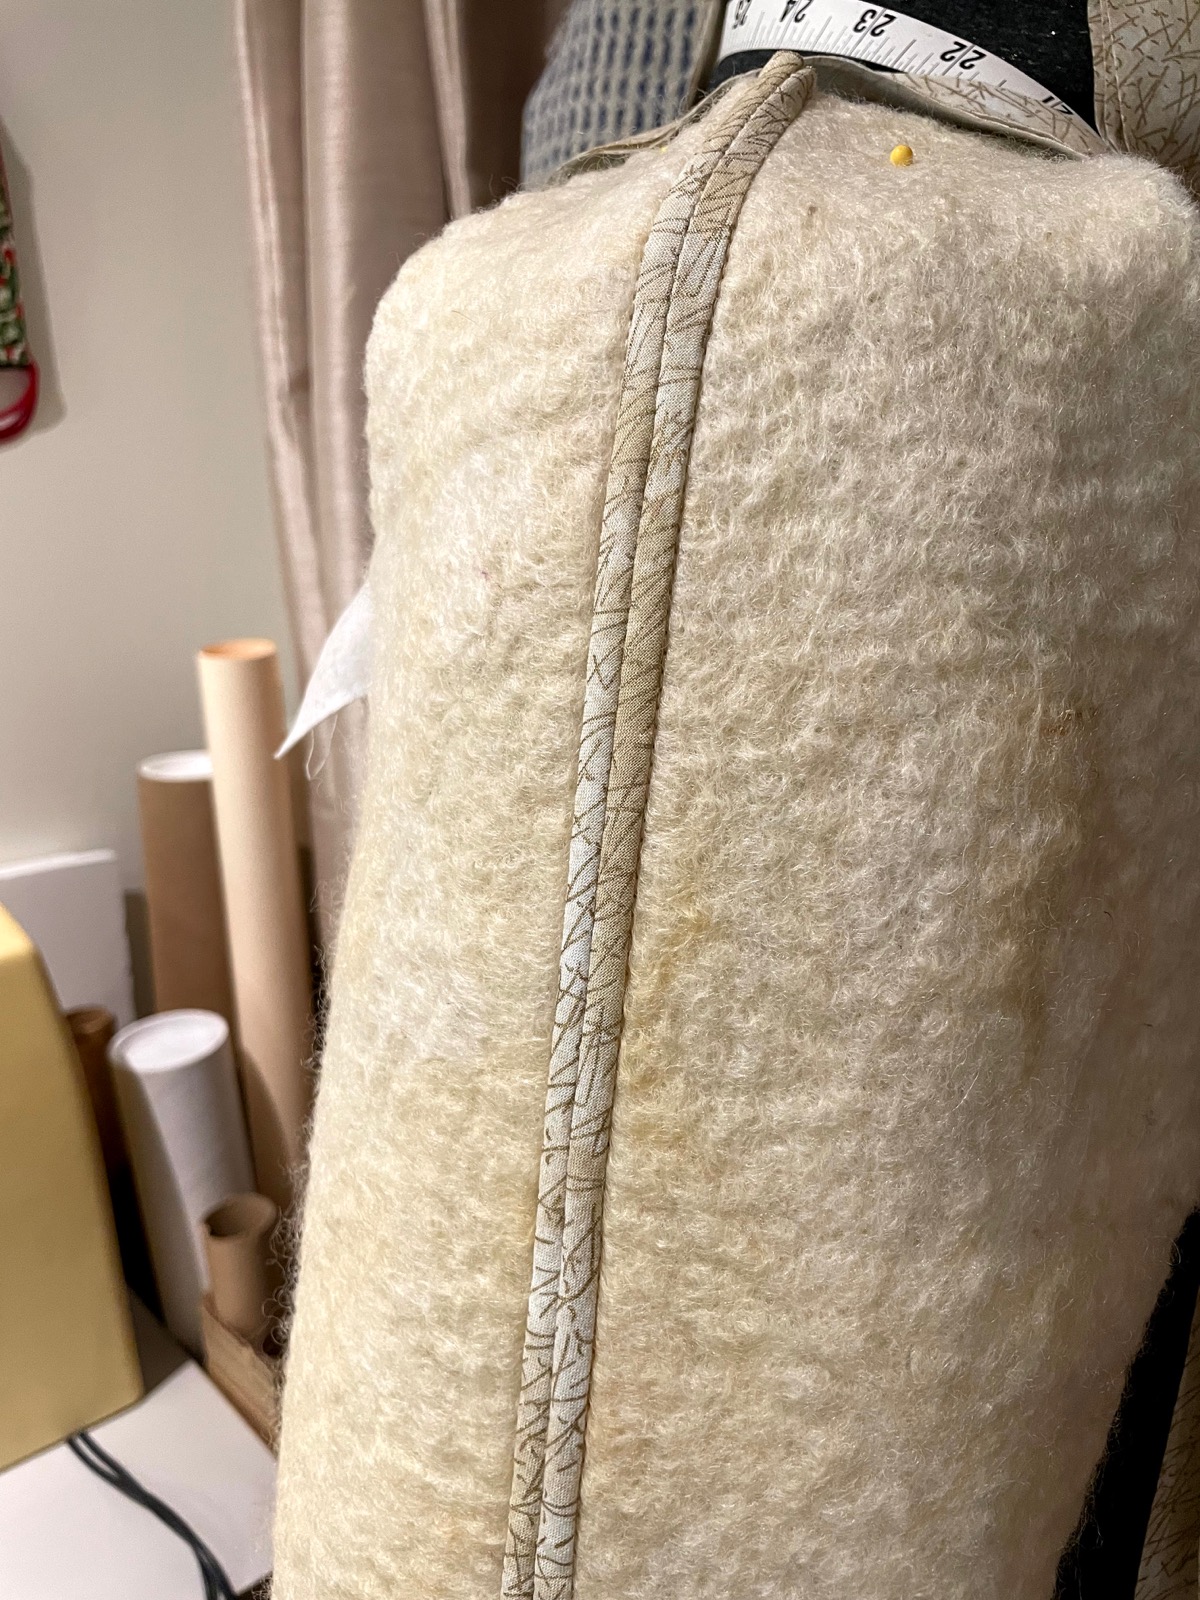
Preparation
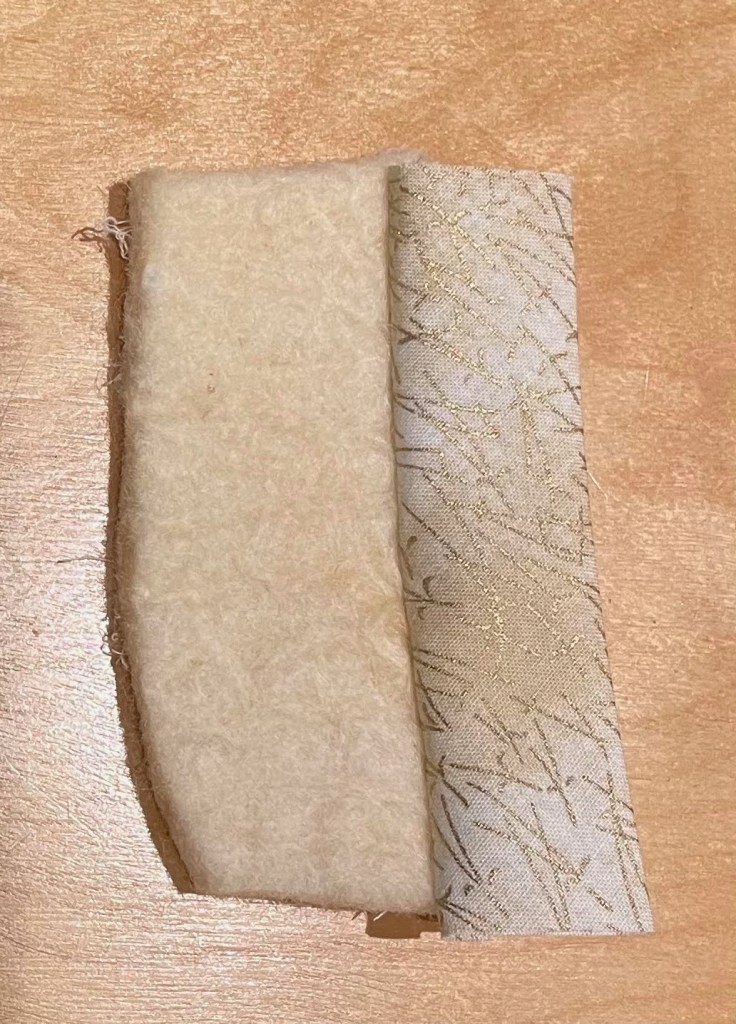
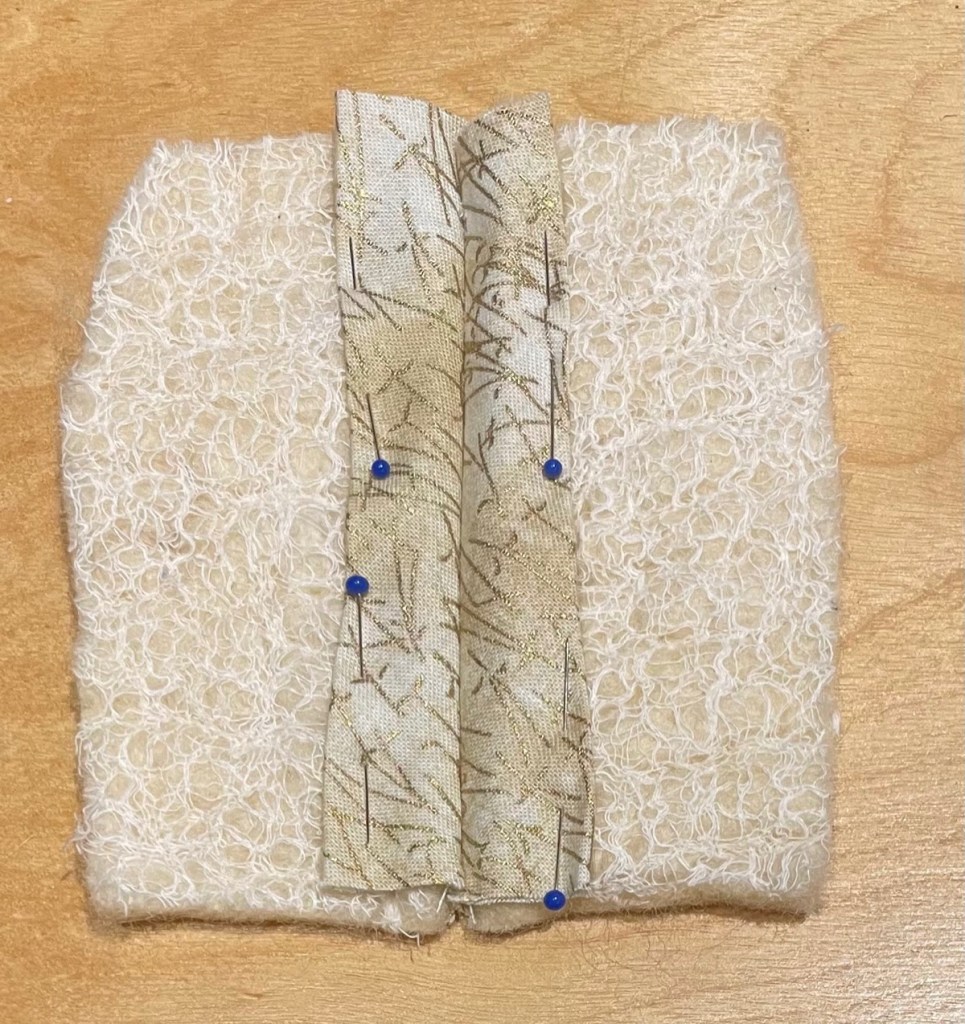
–Do NOT include seam allowance when cutting out the pattern pieces.
–Cut bias tape twice as wide as needed and fold in half.
–I use machine quilting thread to stitch the seams.
NOTE: Do NOT use hand quilting thread! It will gum up the sewing machine bobbin.
Steps
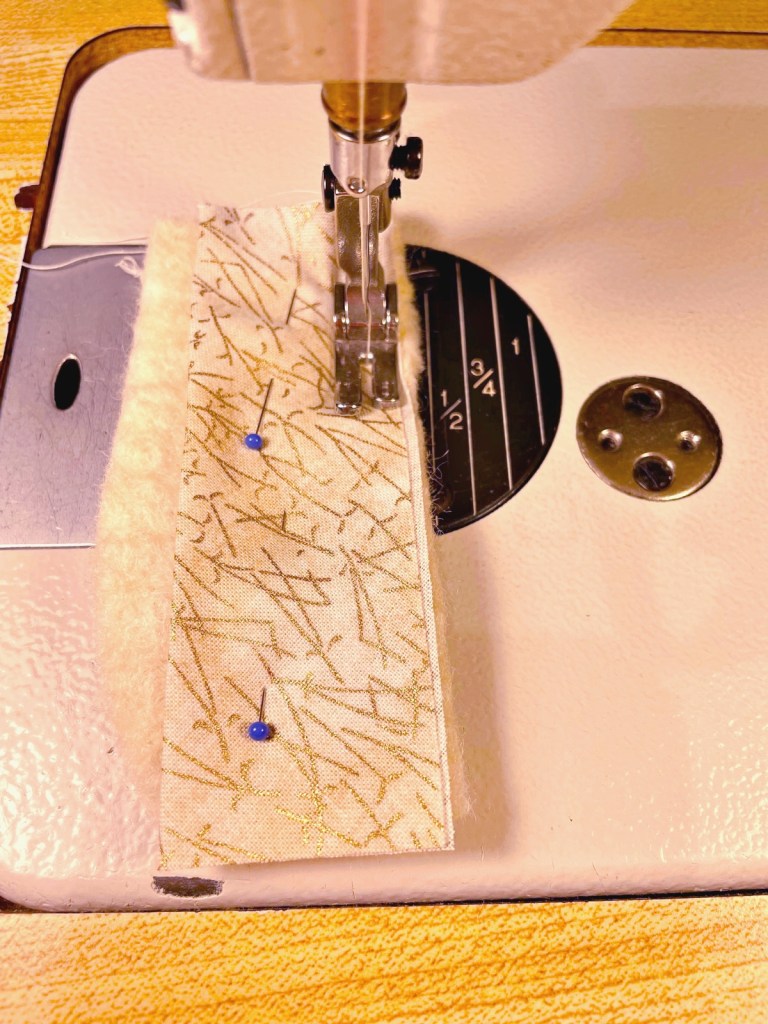
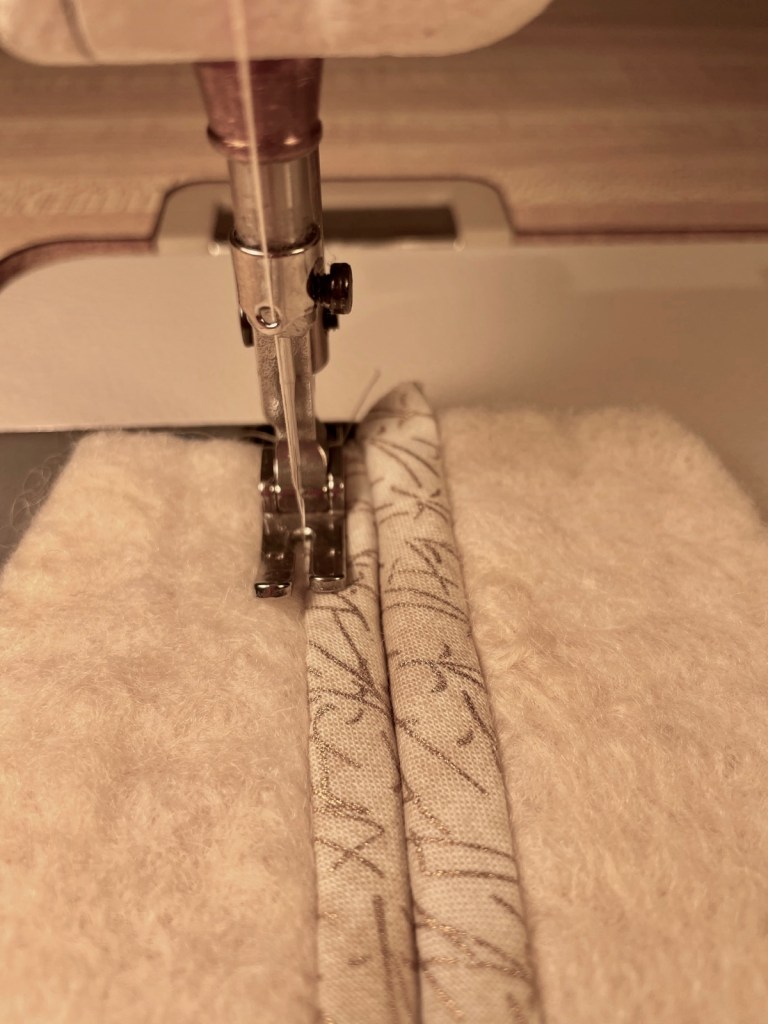
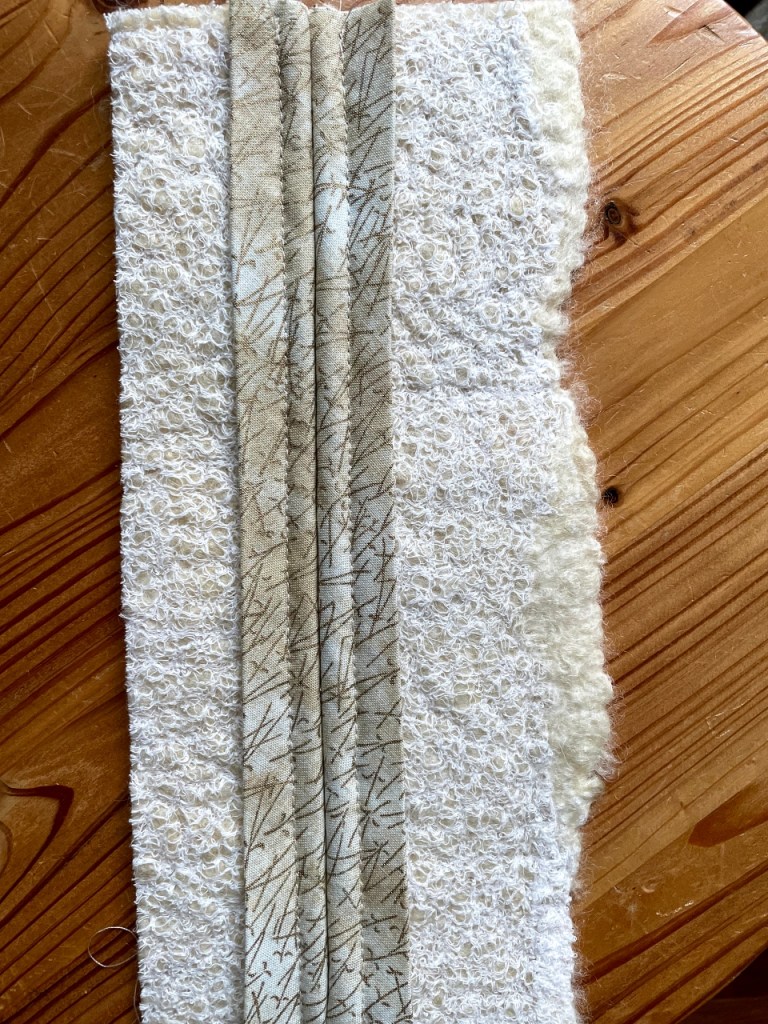
Stitch the folded bias tape to the right side of the fabric – lining up the cut edges.
Press the bias tape away from the felt fabric.
Place your pattern pieces right sides together and stitch the seam along the edge of the felt using a zipper foot.
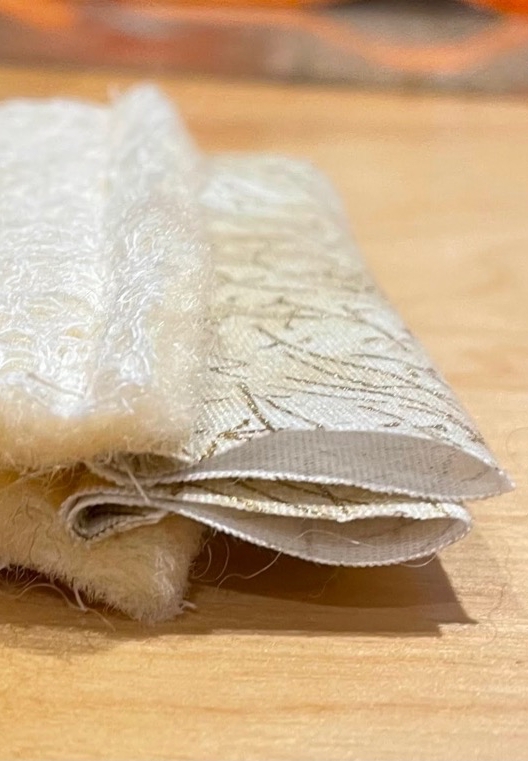
Press the seam open.
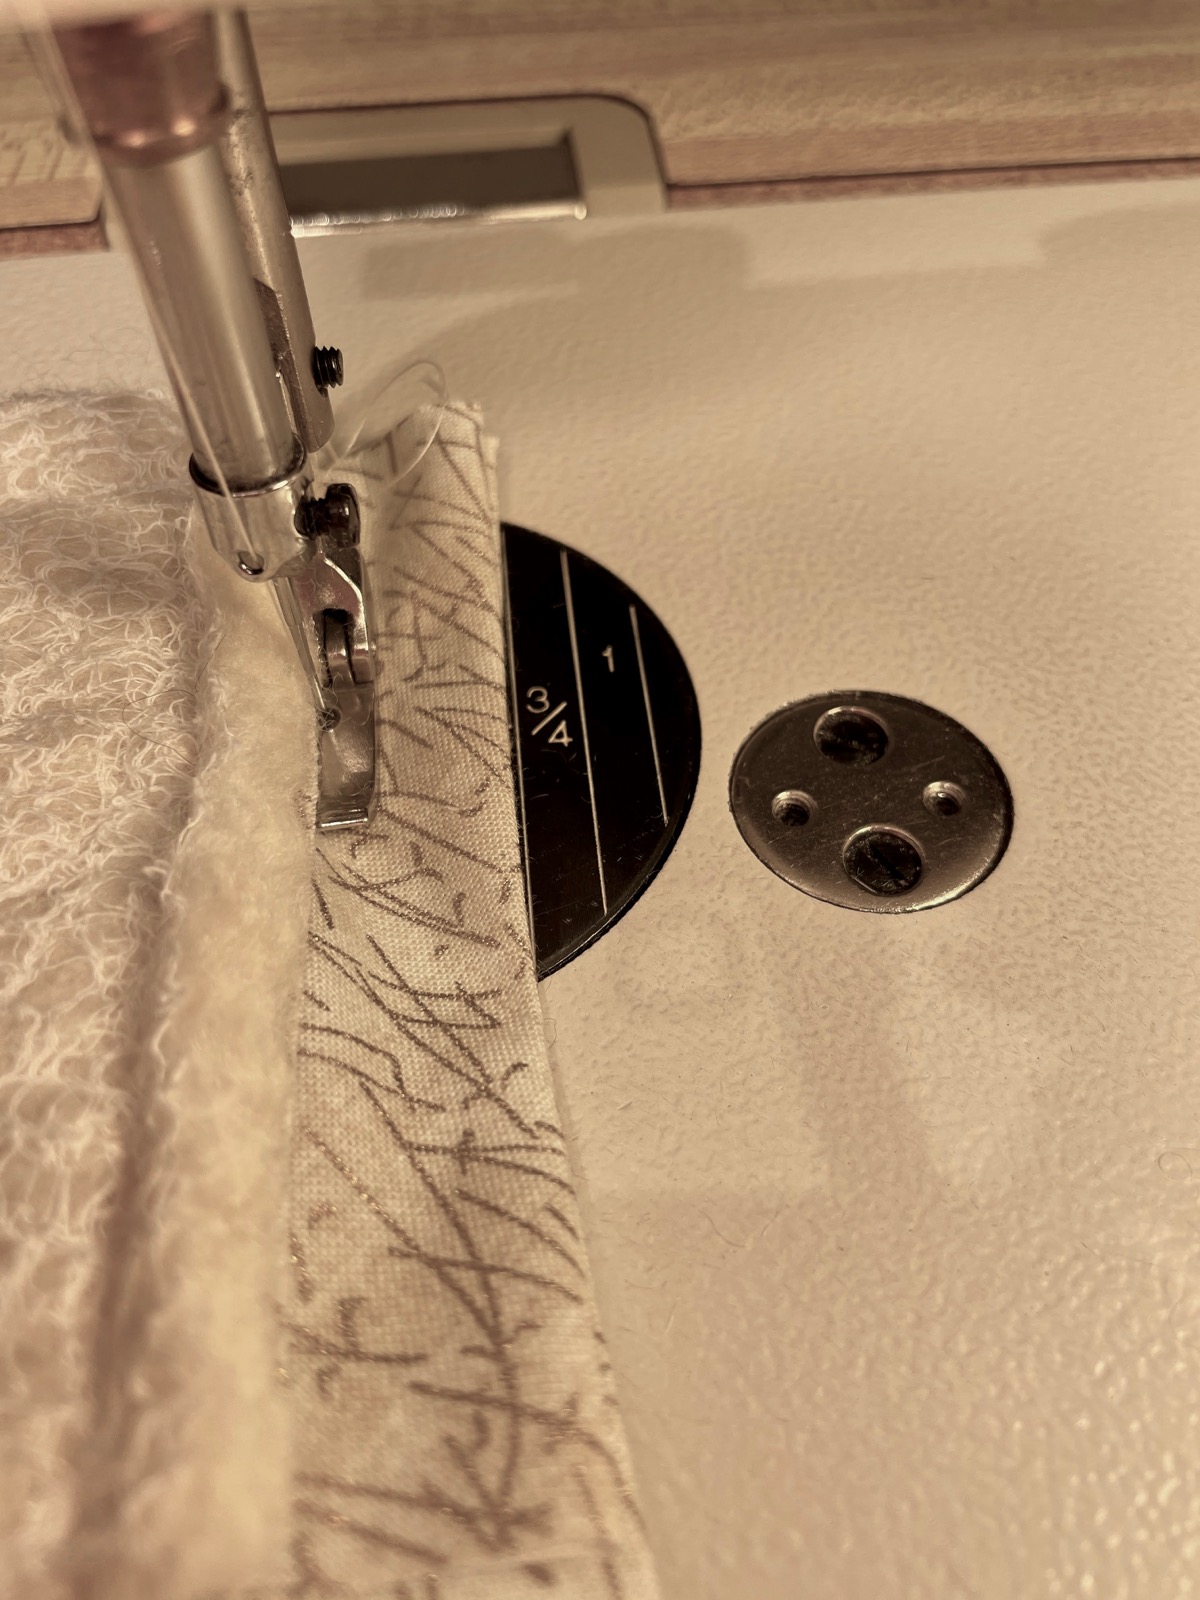
On the right side of the felt fabric ‘stitch-in-the-ditch’ securing the bias tape to the wrong side of the felt.
Chapter IX – Assembling the Jacket
Using the bias tape as trim finishing for all the exposed edges I added patch pockets to the front and stitch everything together. I used a piece of the lightest weight felt for the collar.
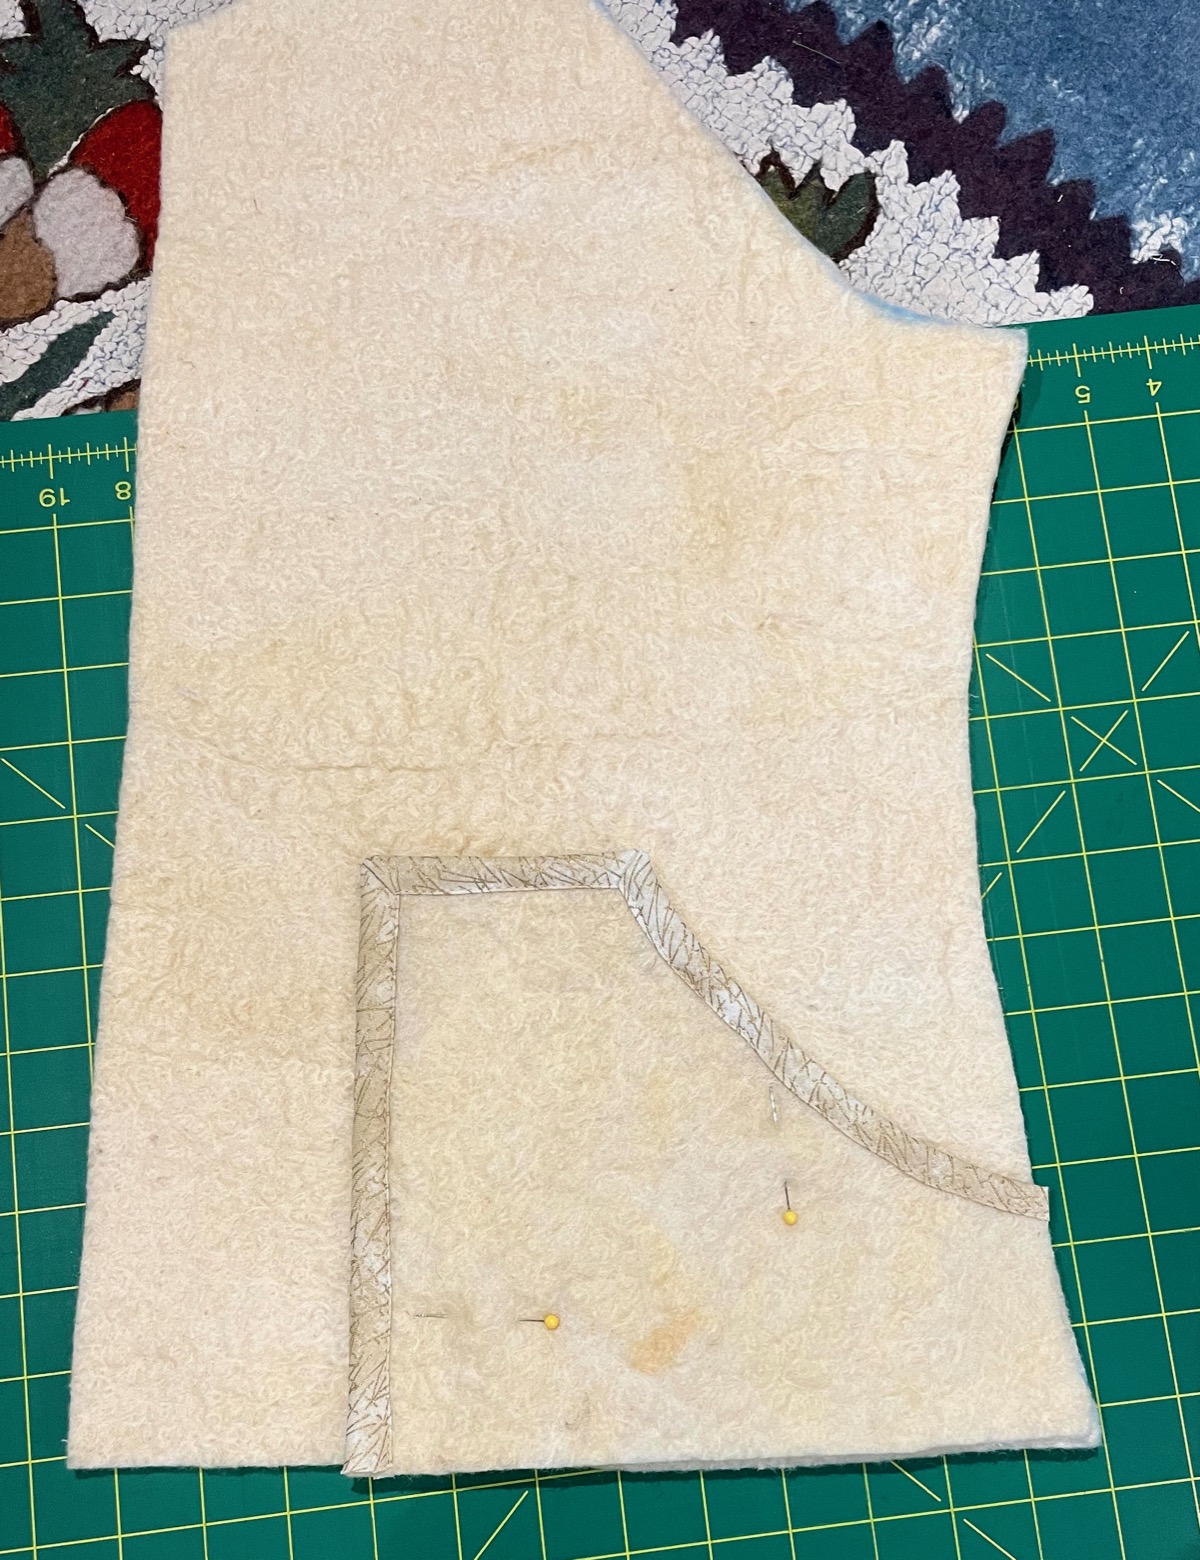

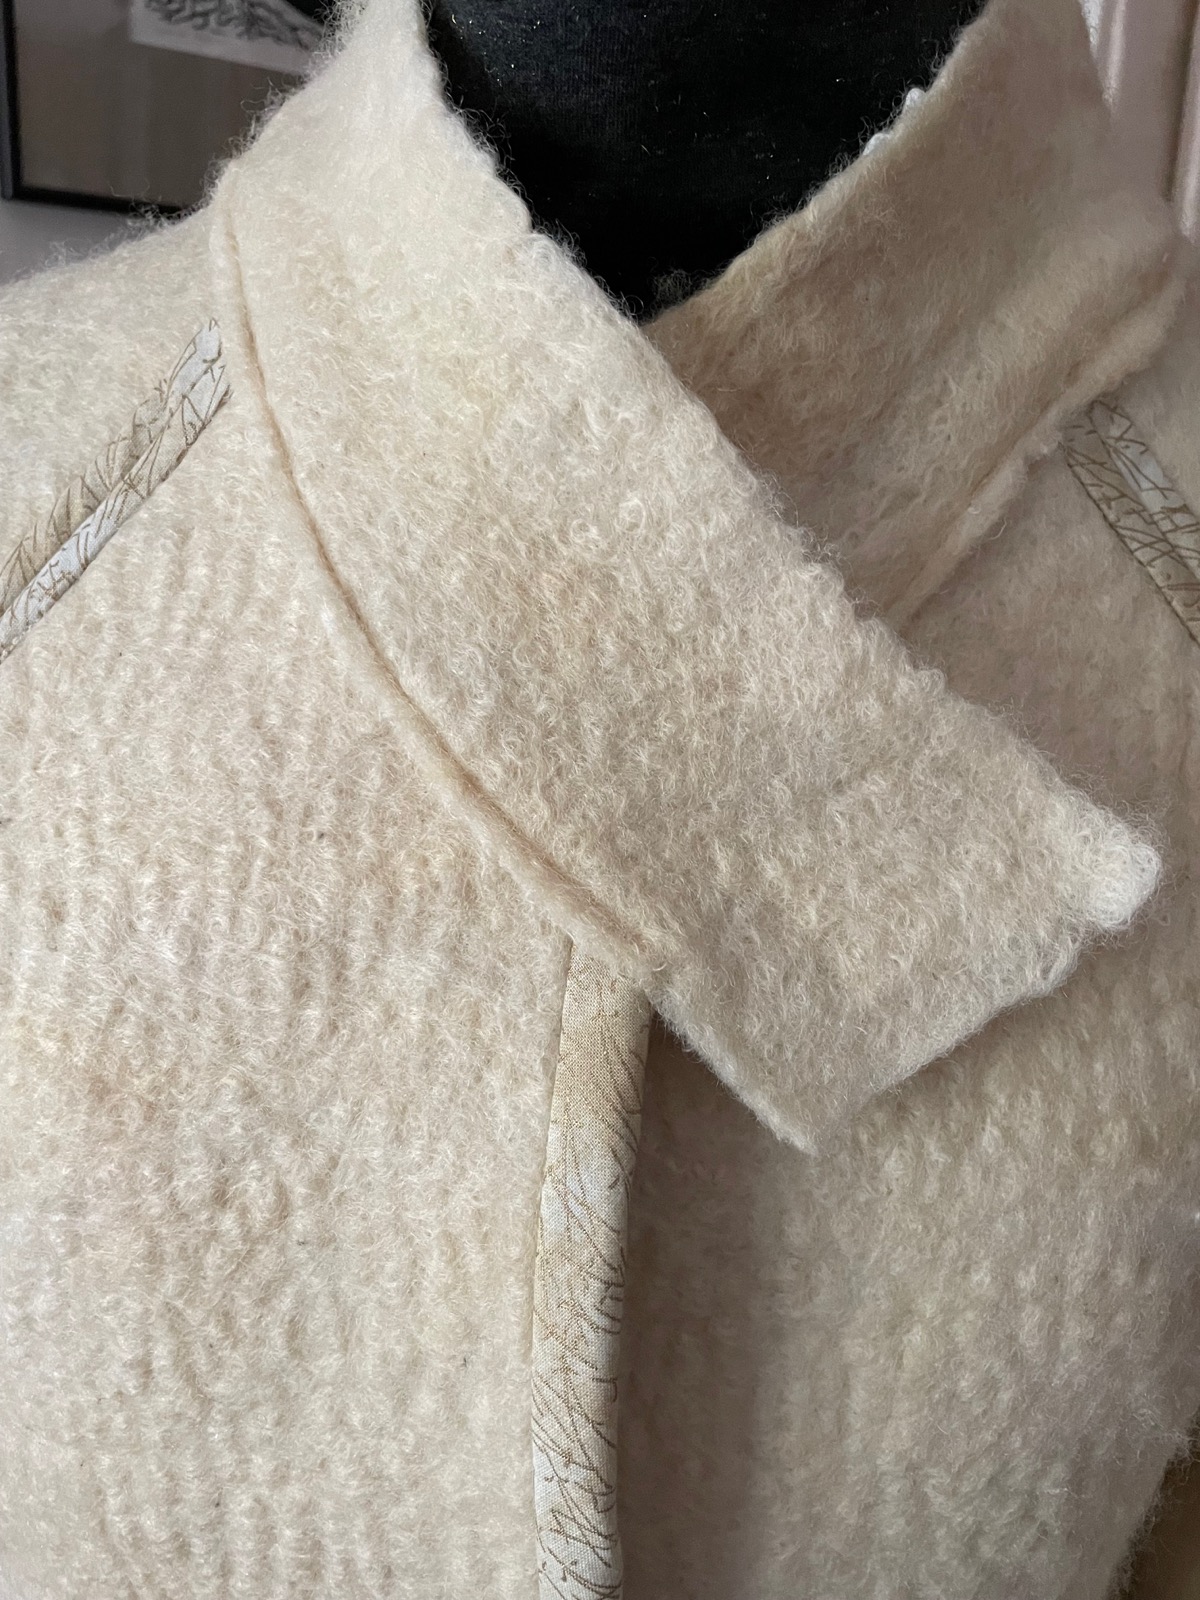
I decided not to line the body of the jacket. The cheese cloth and bound seams gives a finished look to the inside.
I did line the collar to protect it from wear and used a natural horn/bone button for the closure.


It’s taken 4 years but my adventure that started in 2017
with the gift of a free Romney fleece fresh off a sheep’s back
has finally come to an end with that same wool now on my back!
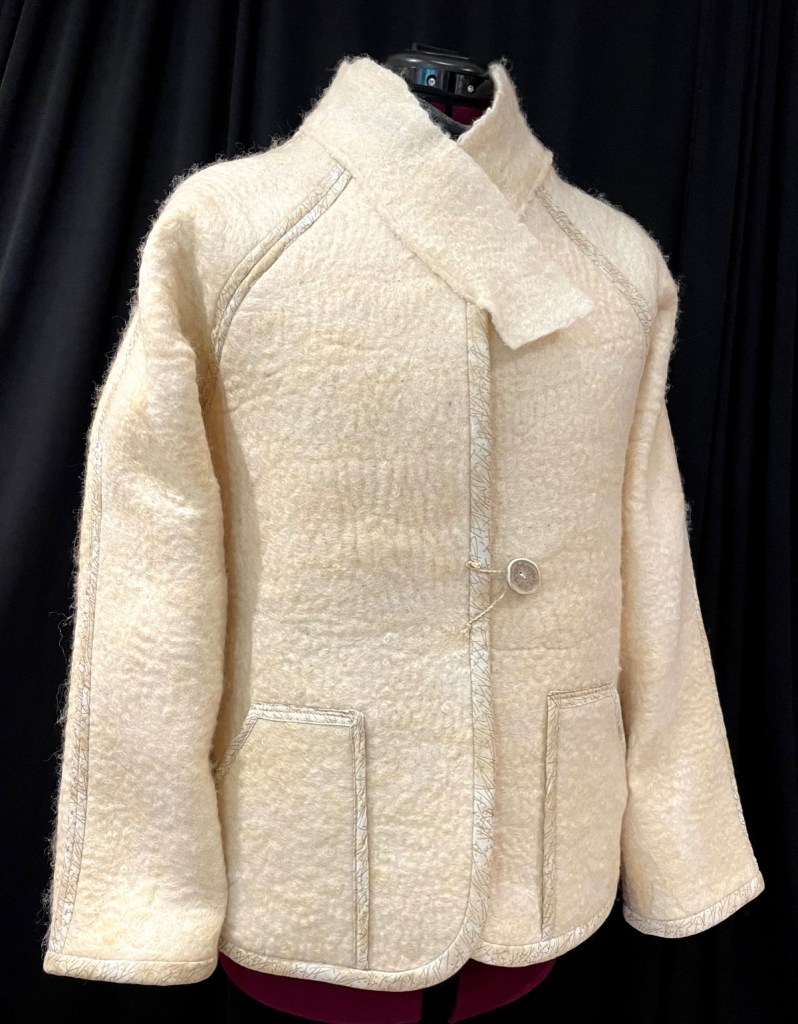
Barb’s Back-To-Back Jacket

Absolutely beautiful!
By: Jenny Thompson on October 20, 2021
at 5:27 pm
Thanks, Jenny!
By: bschutzgruber on October 20, 2021
at 11:10 pm