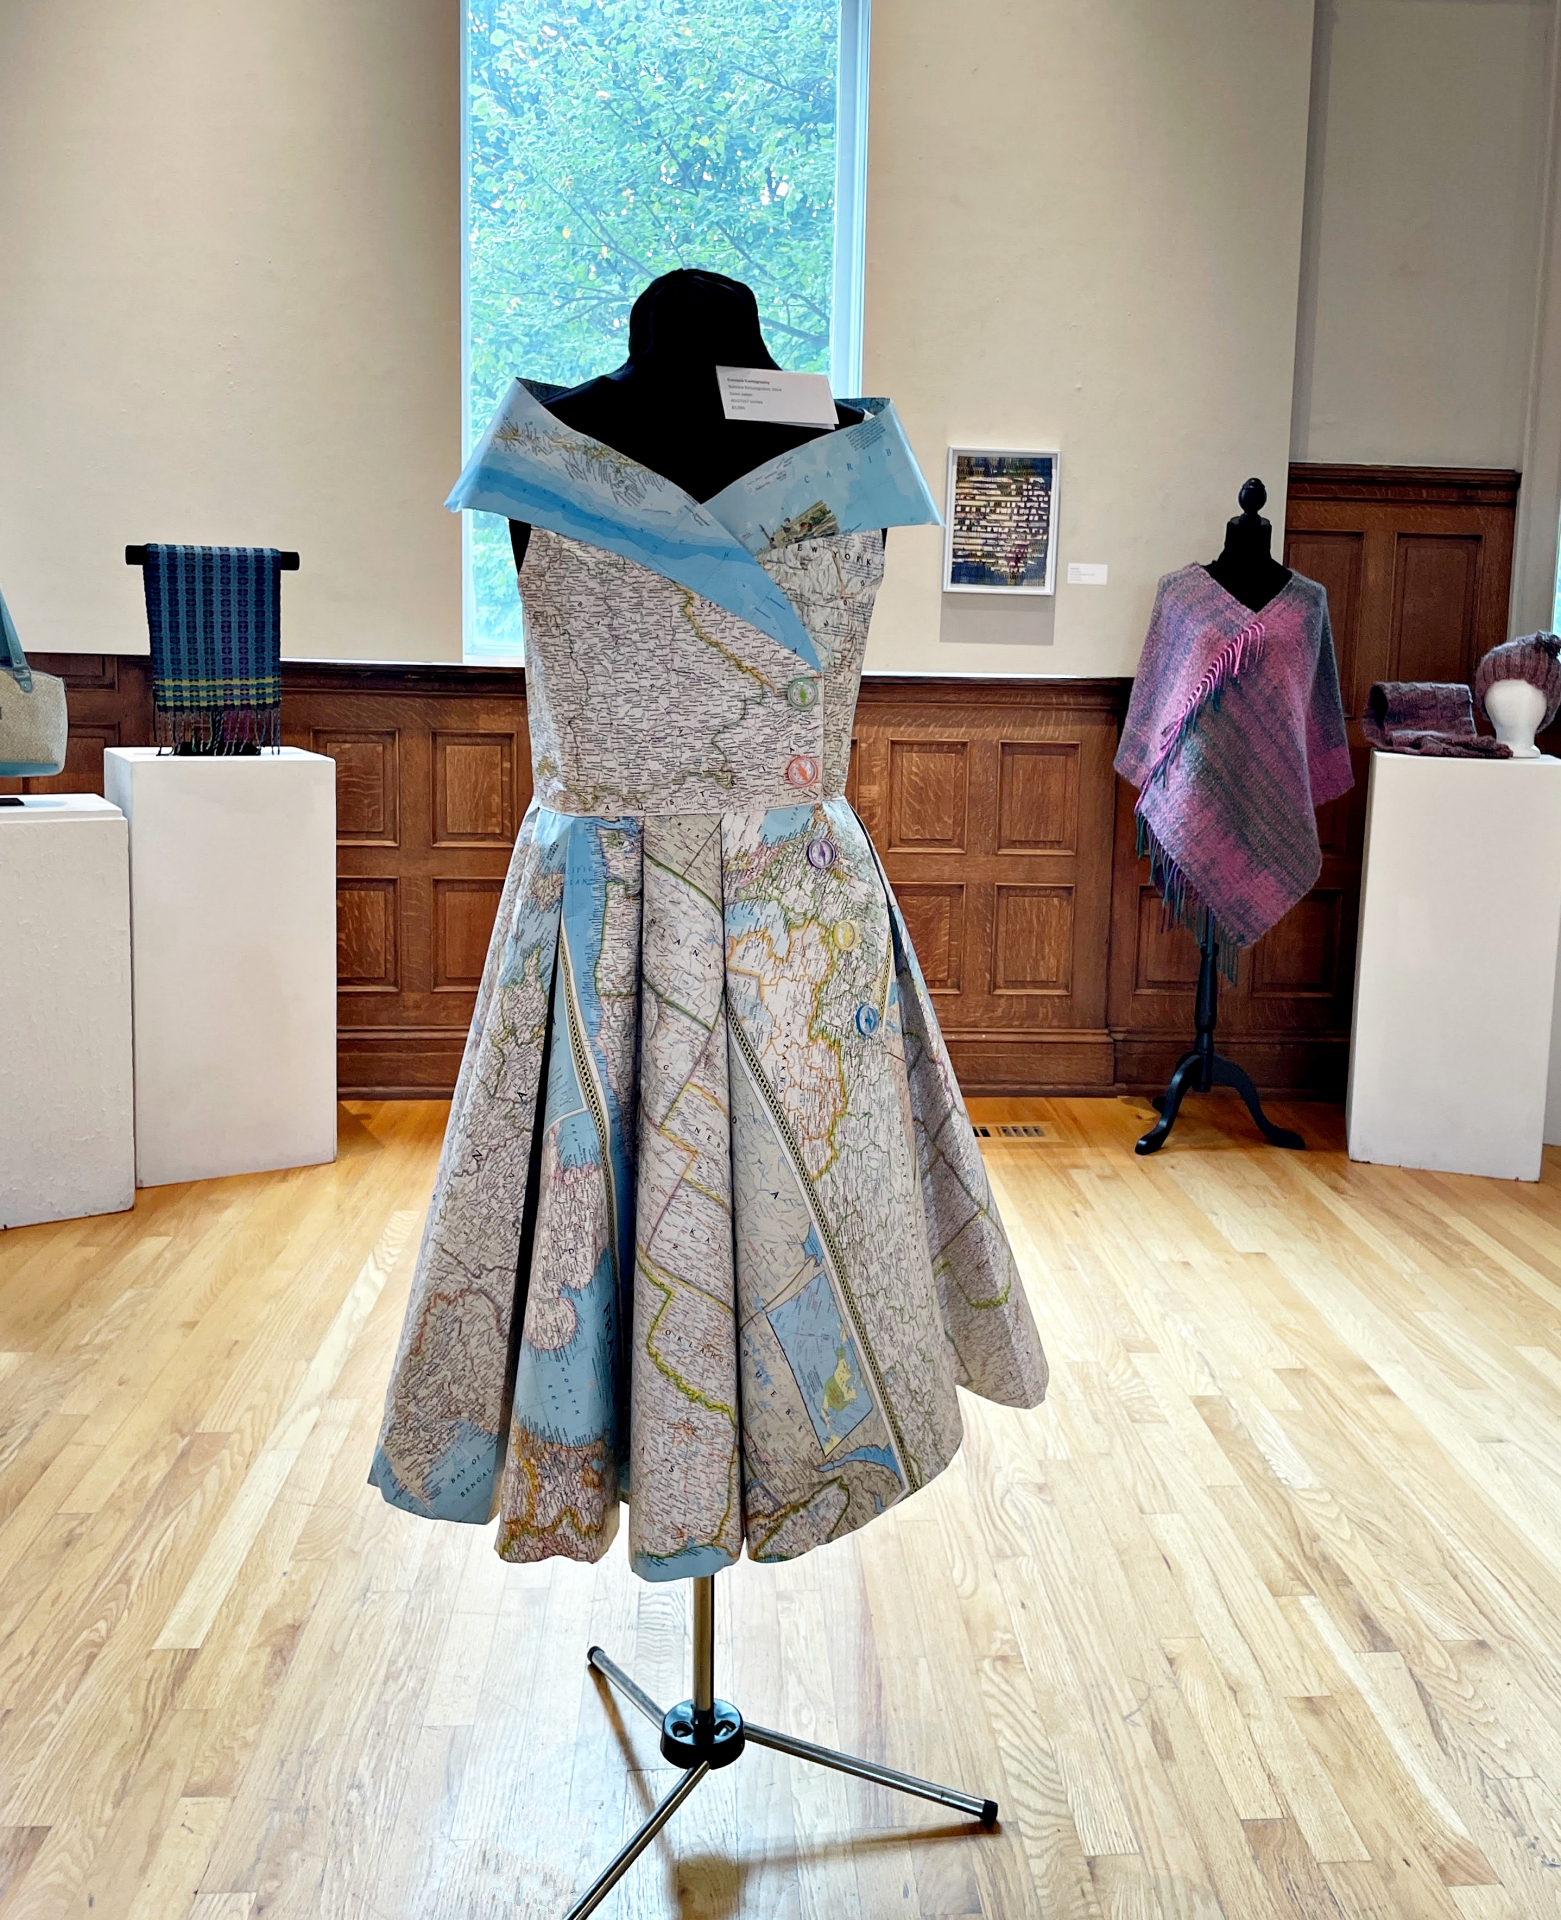
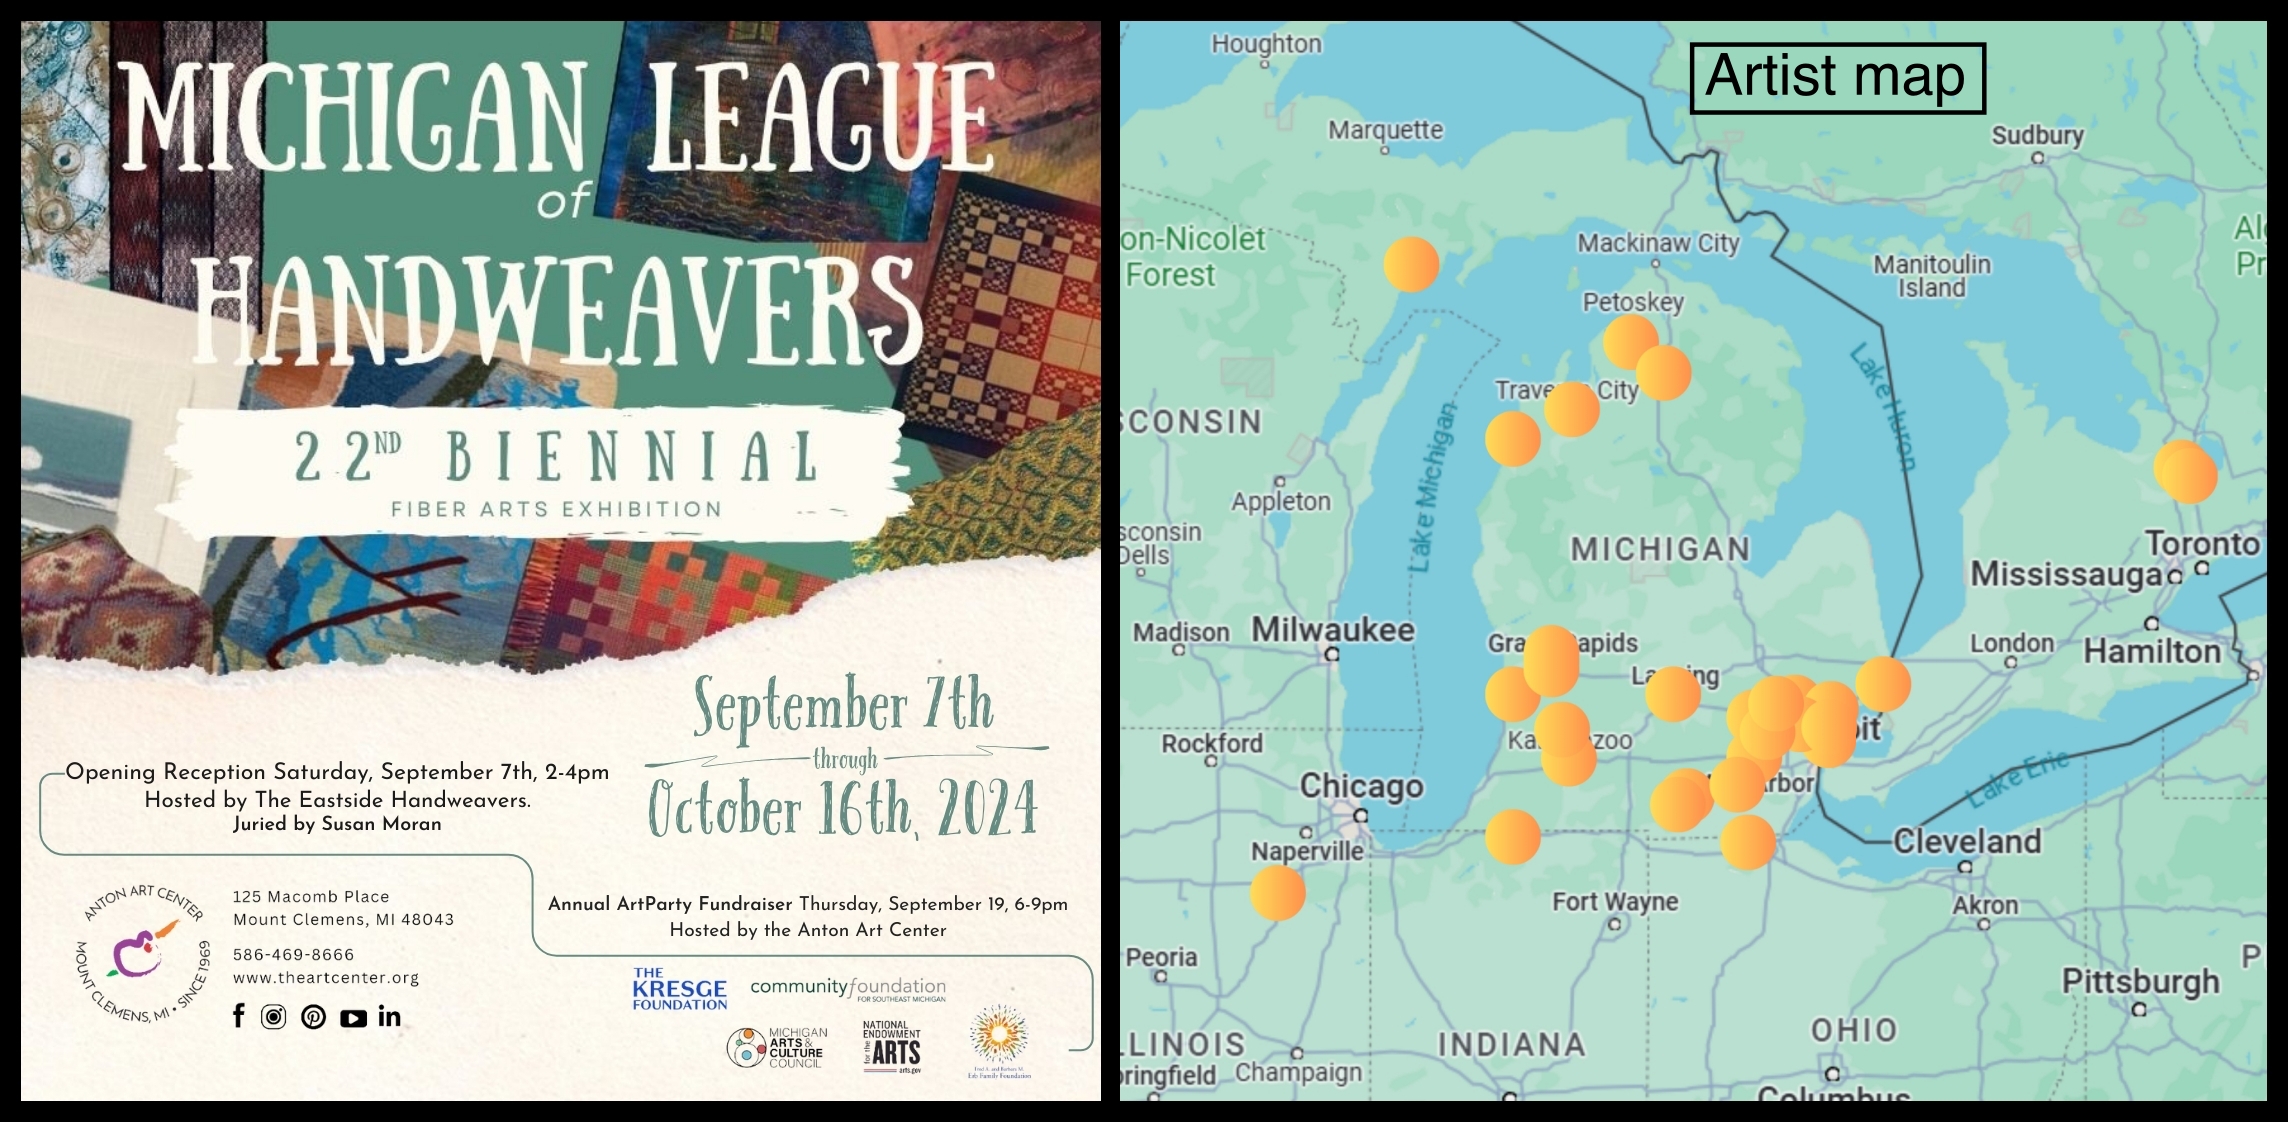
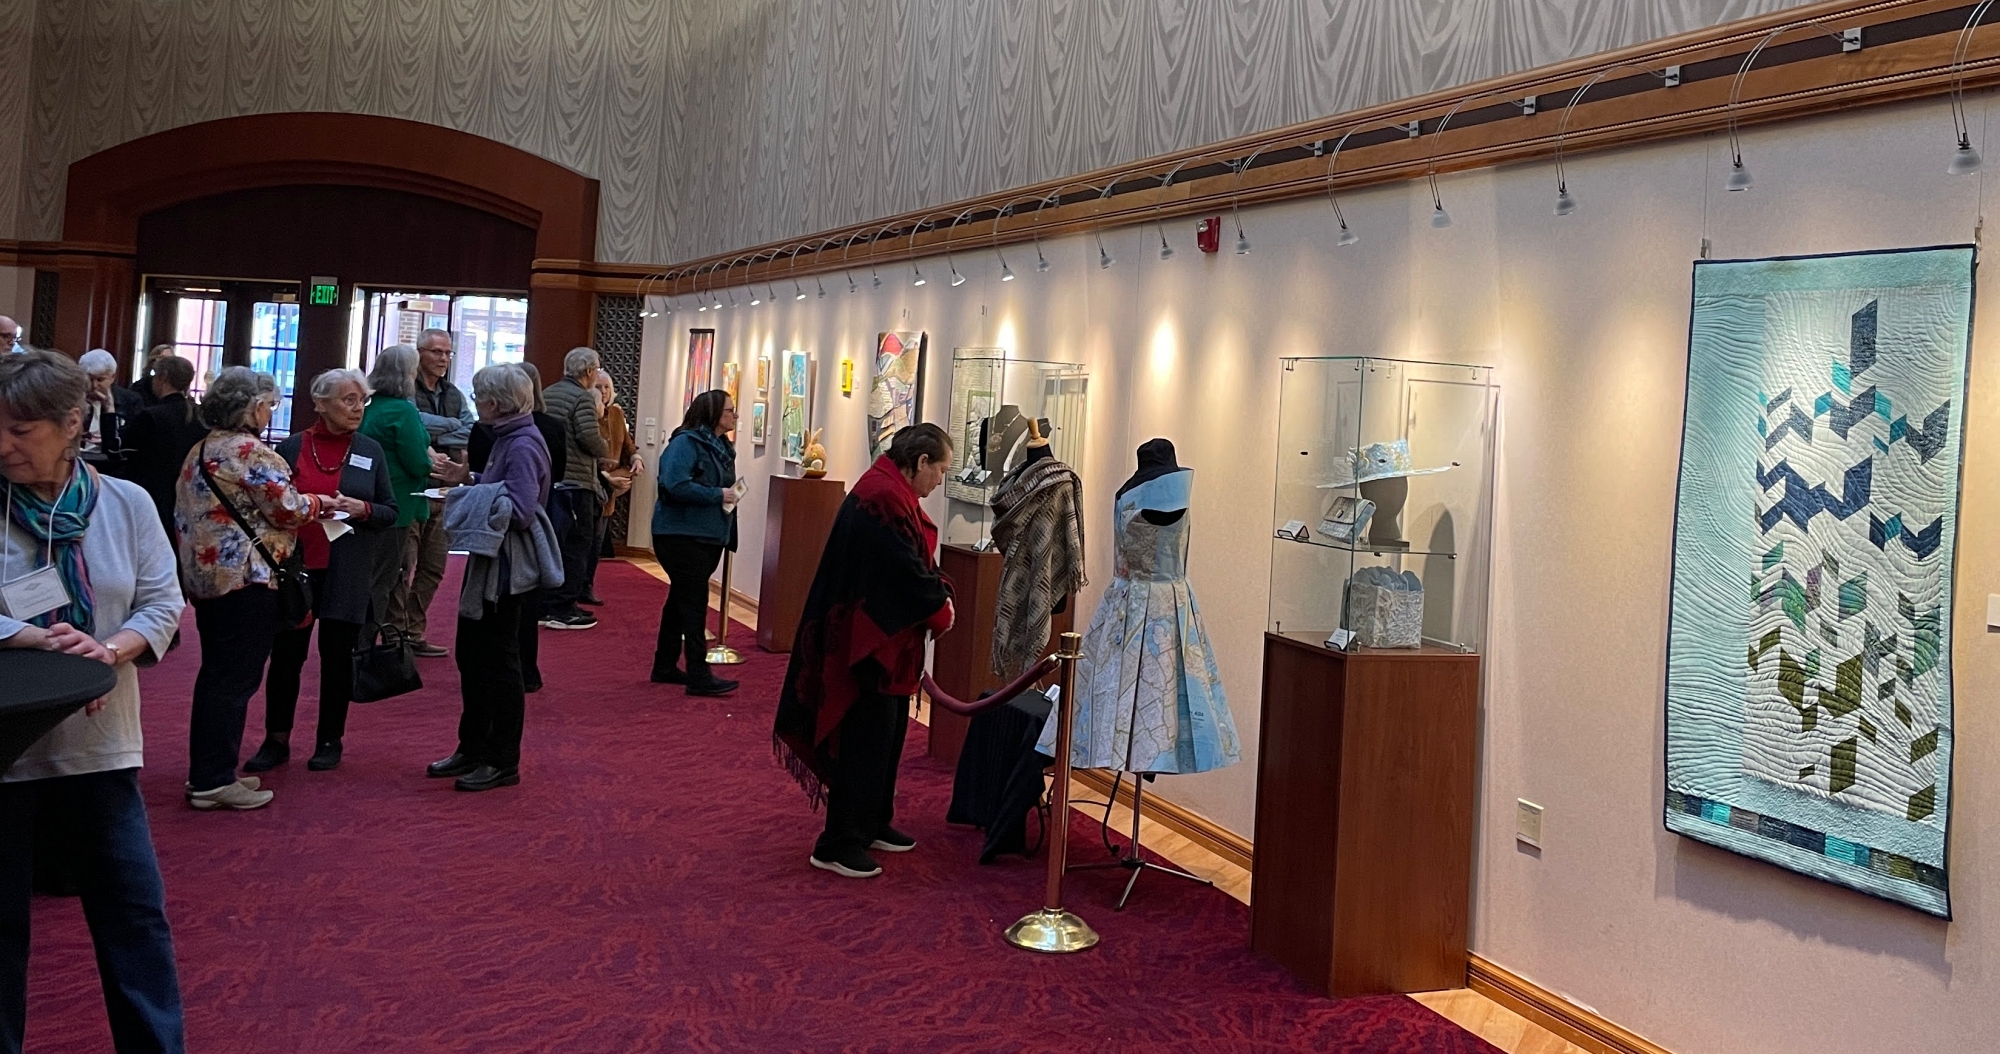
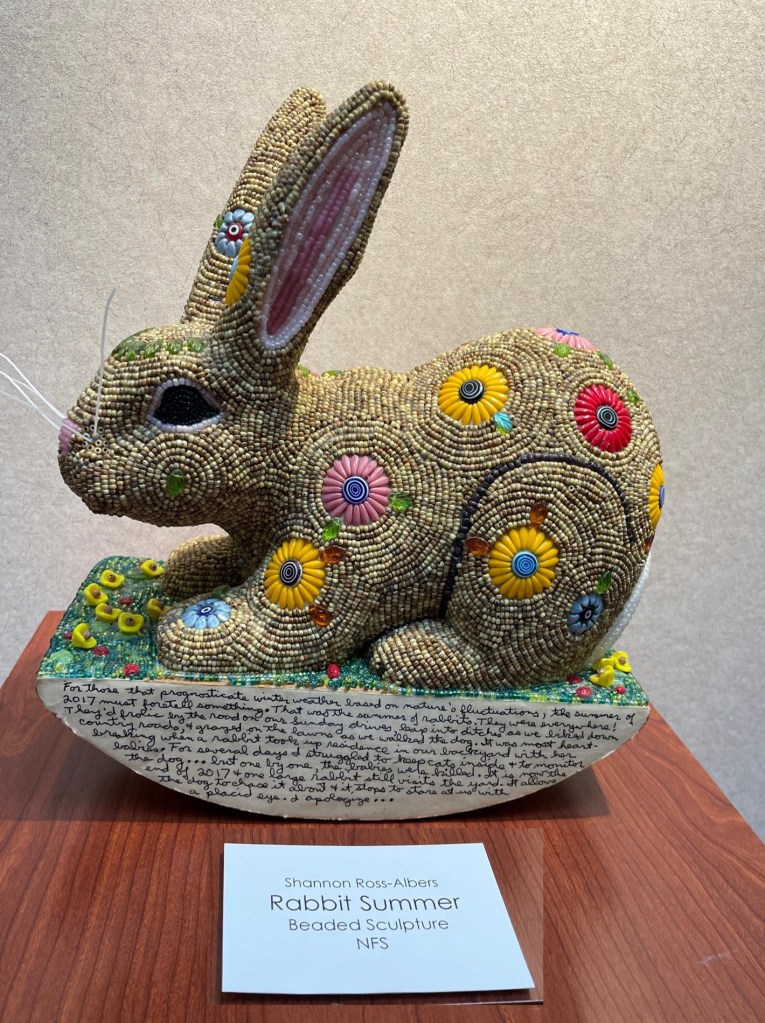
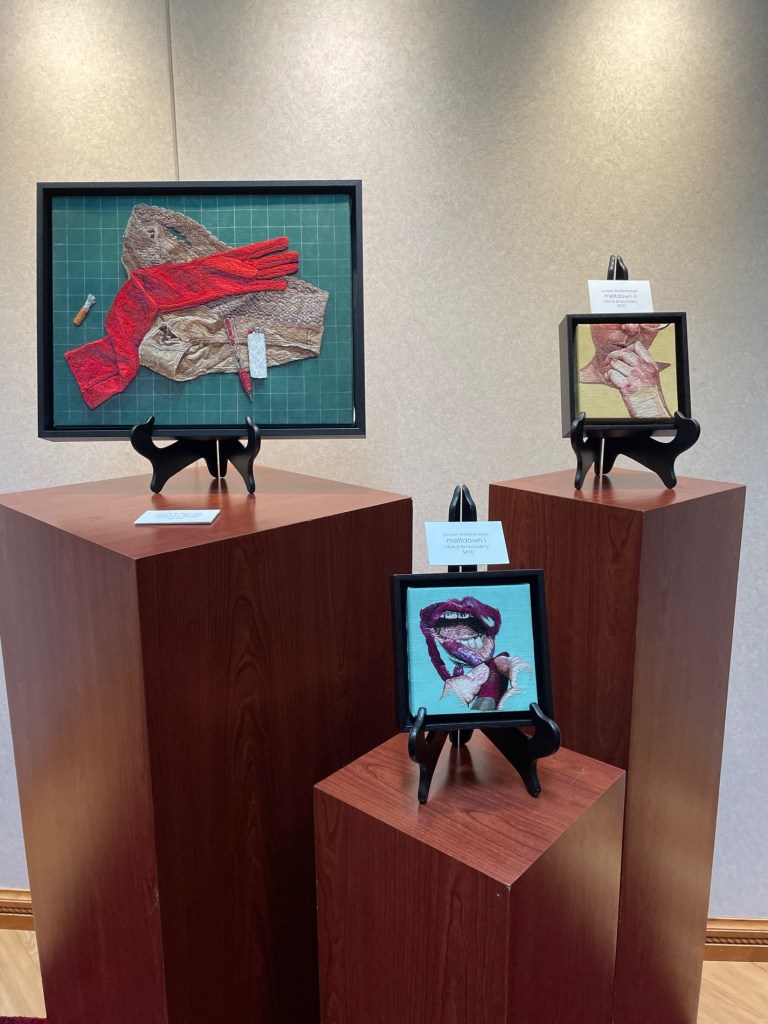
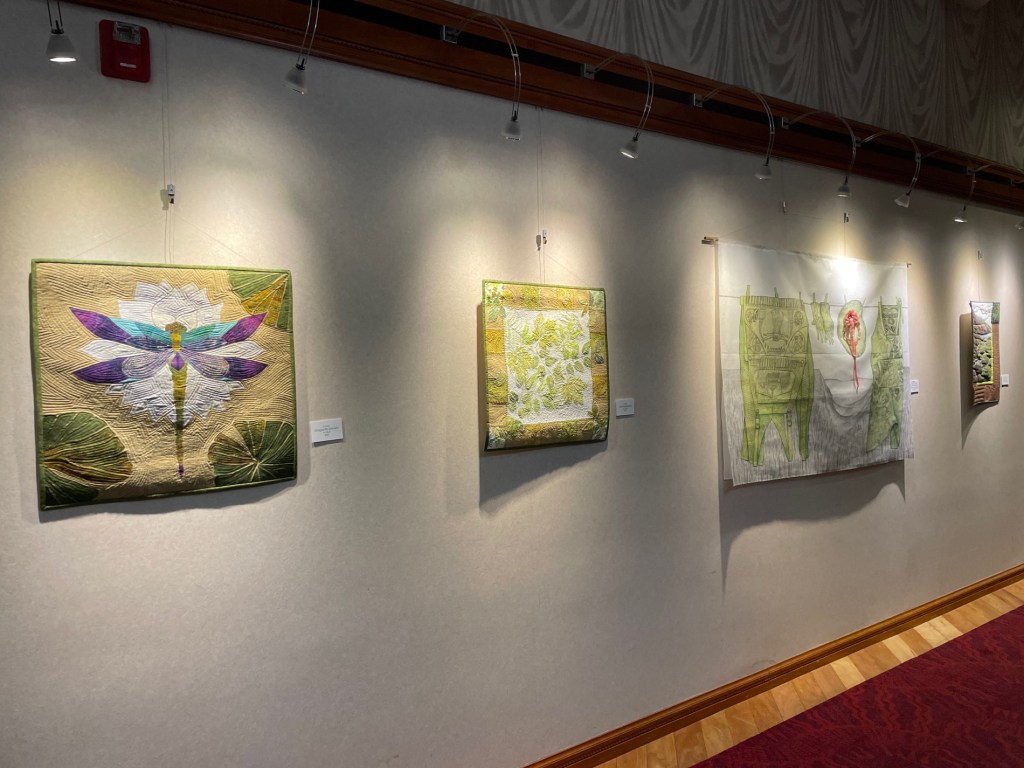
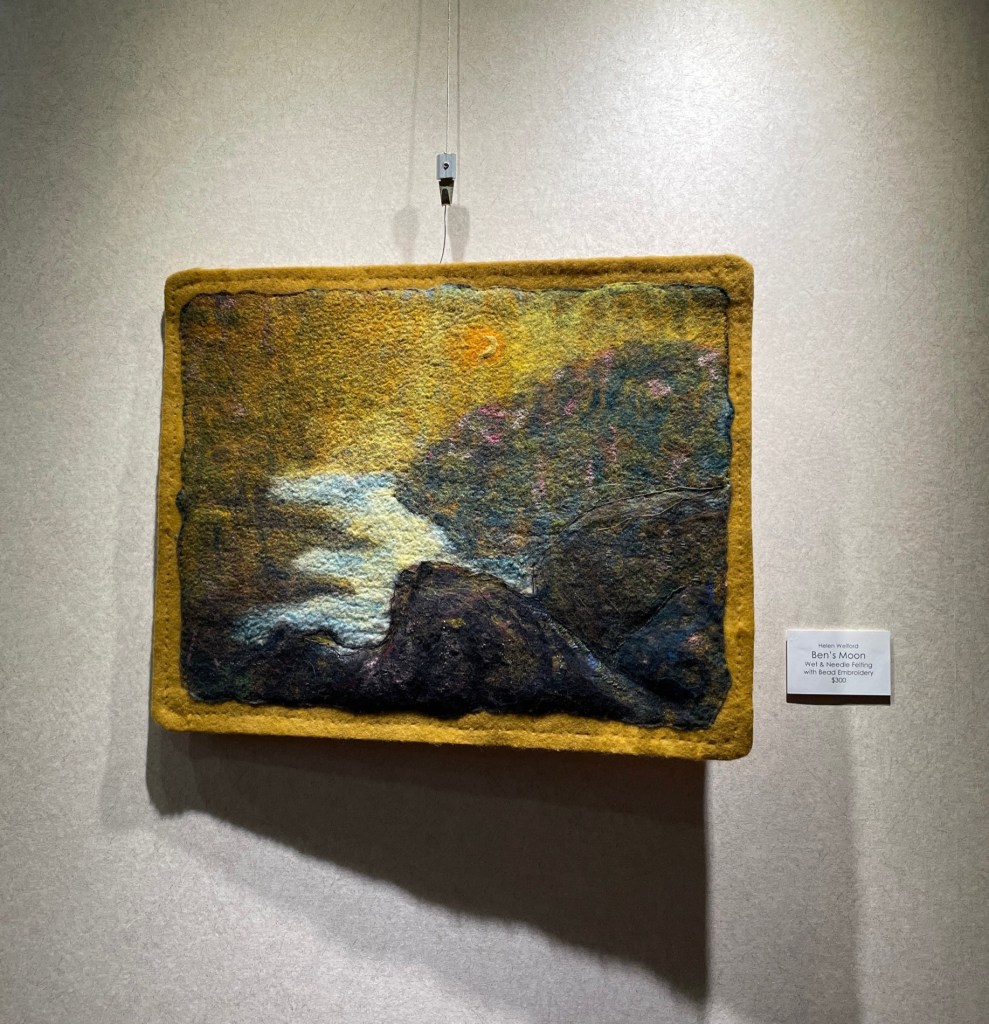
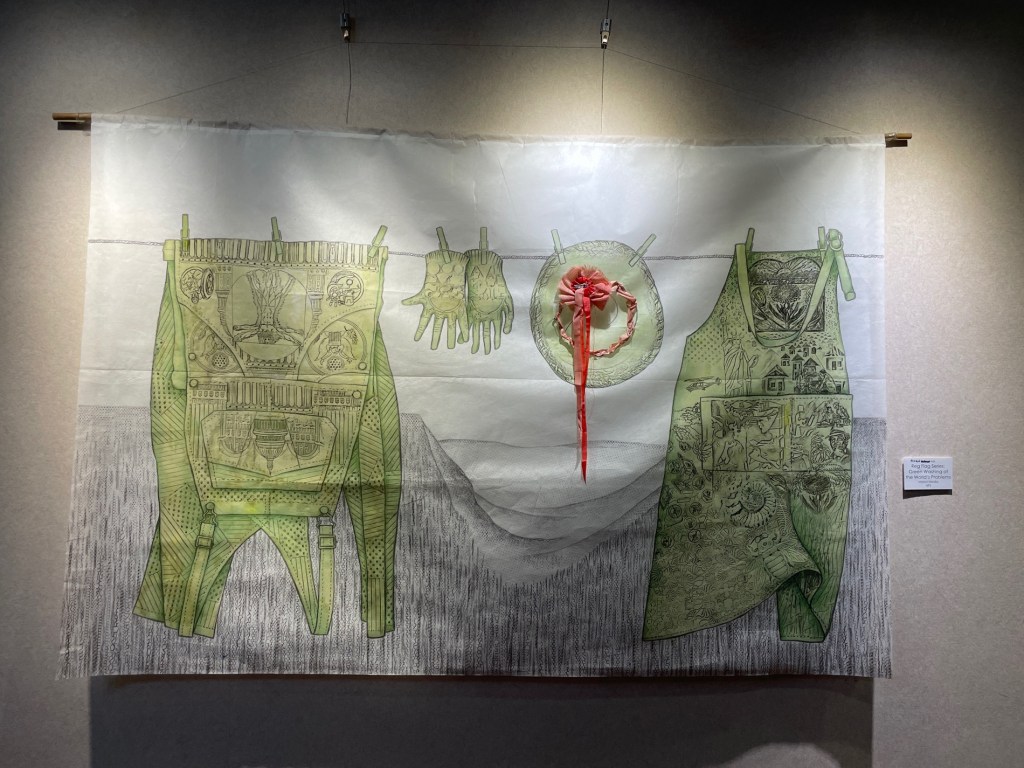
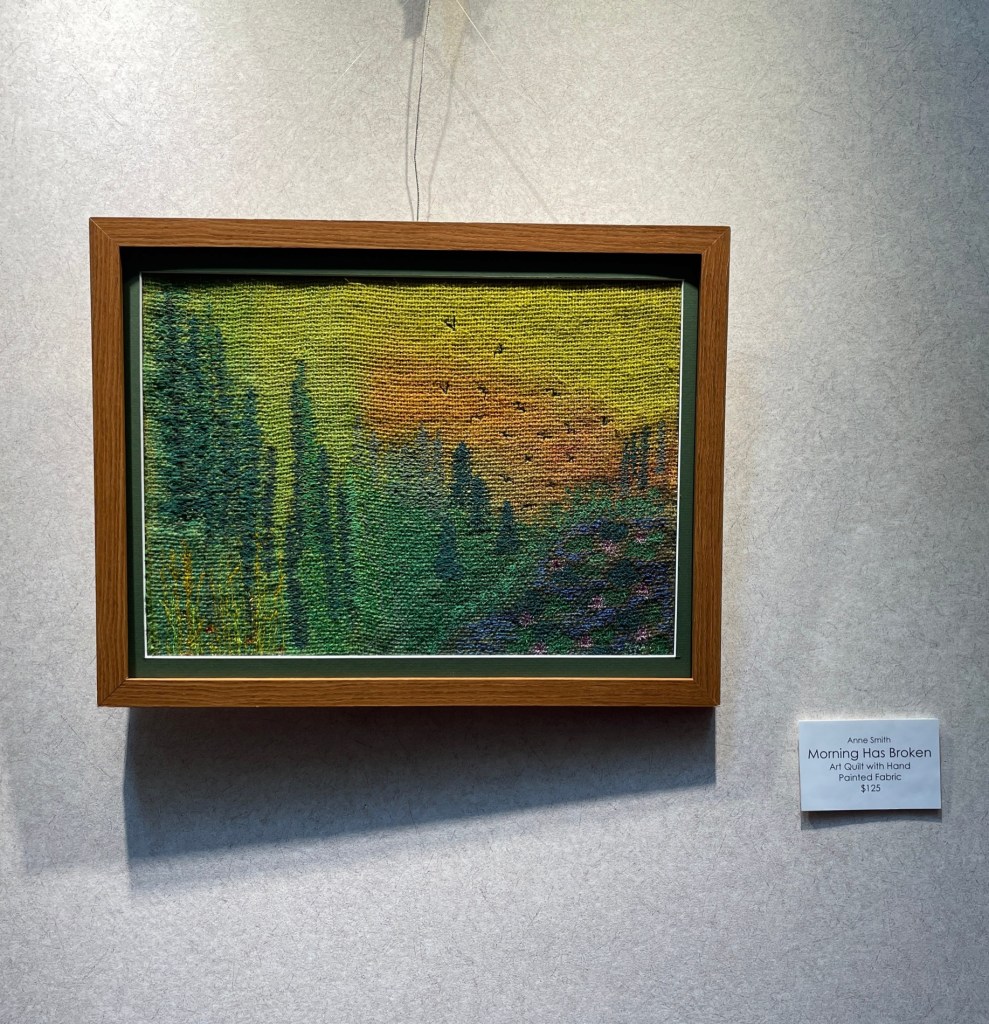
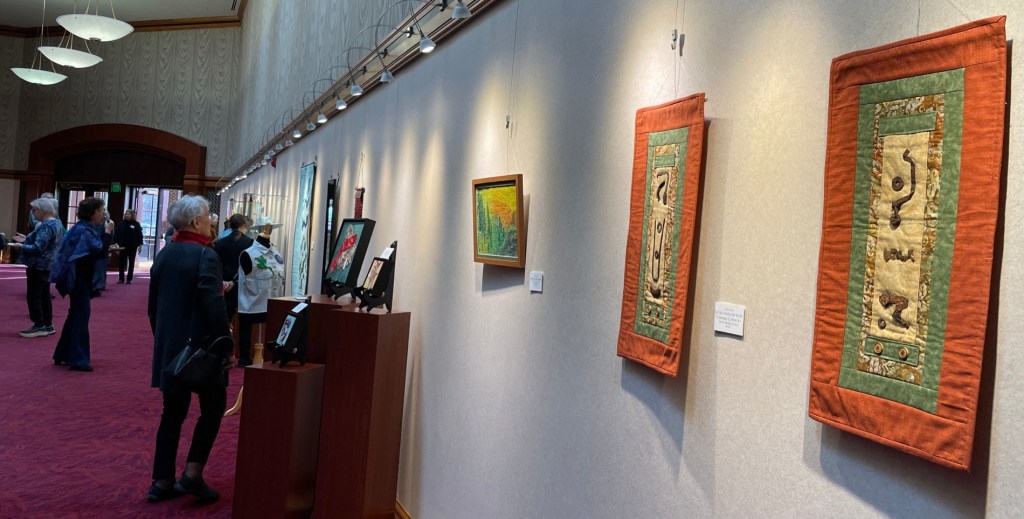
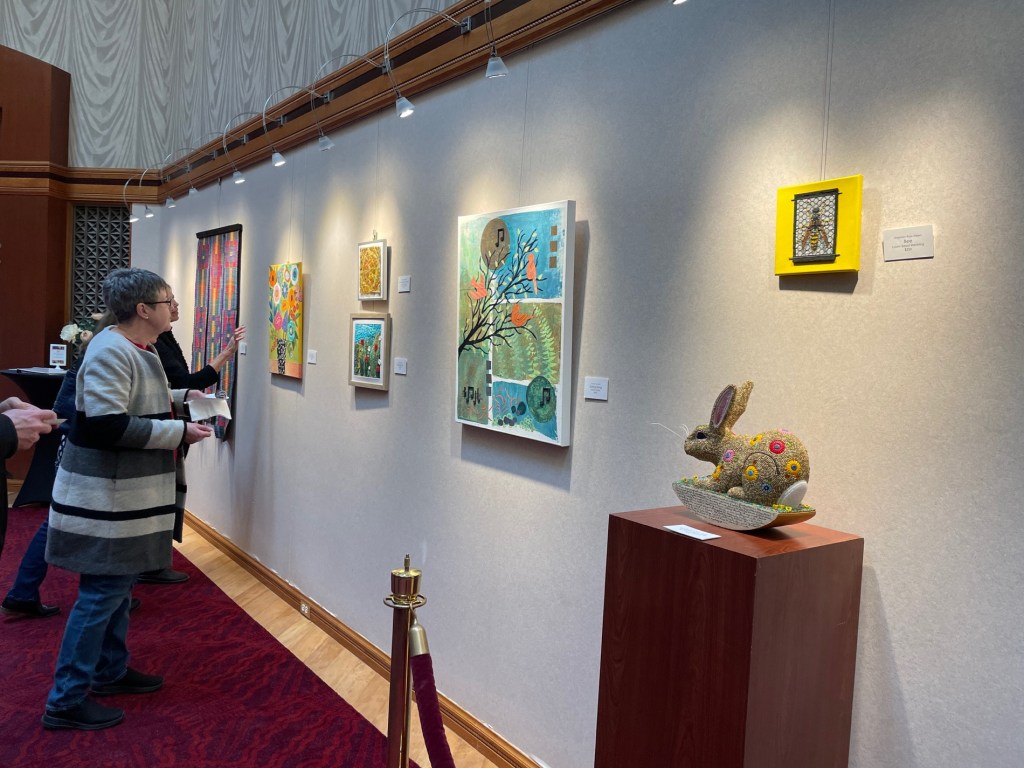
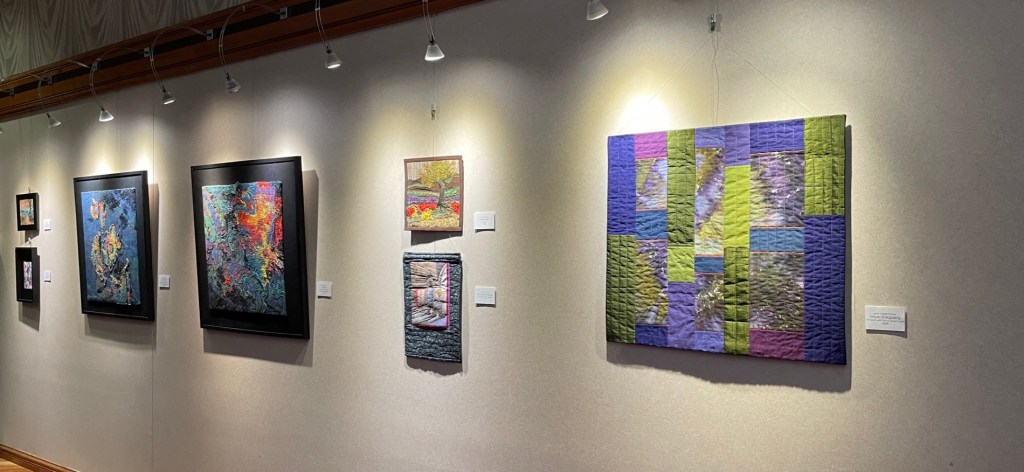
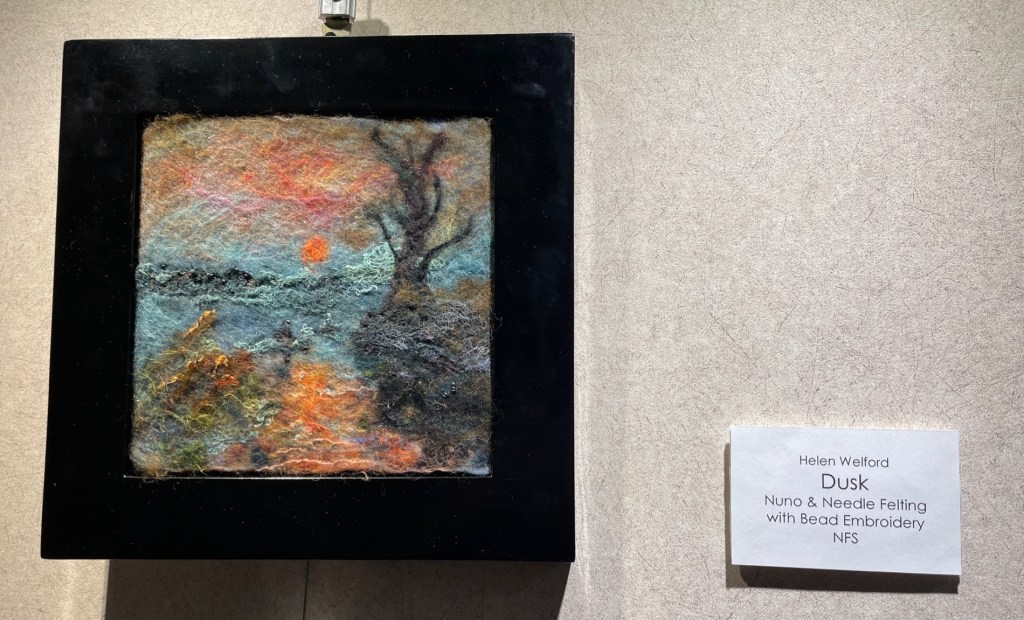
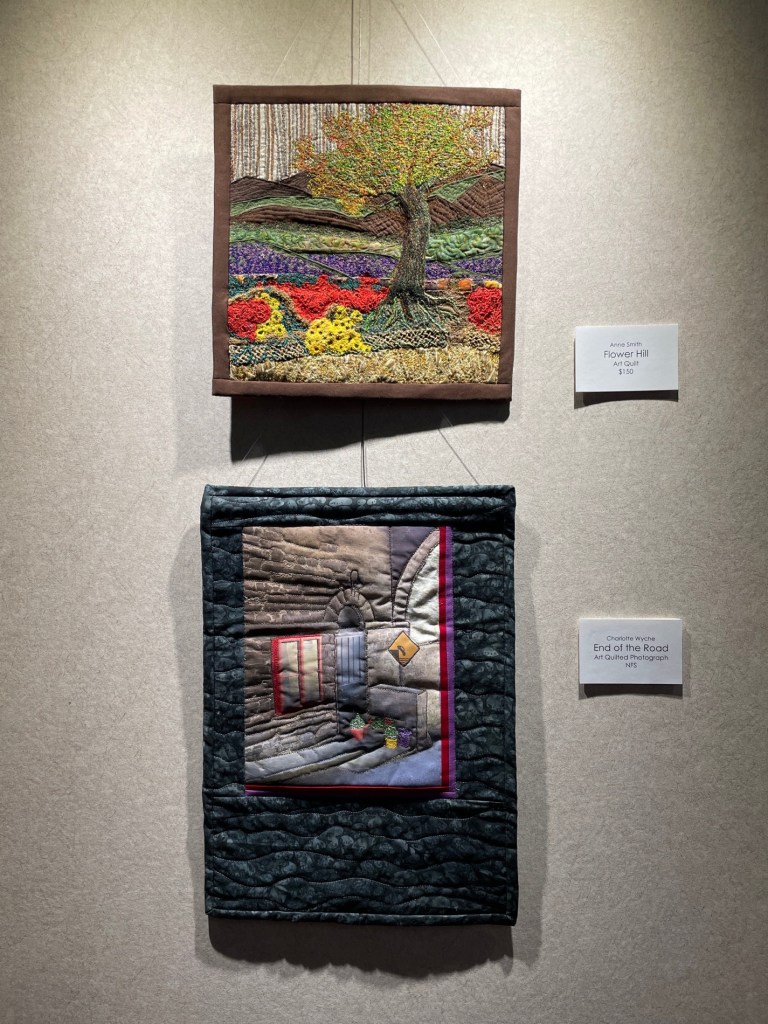
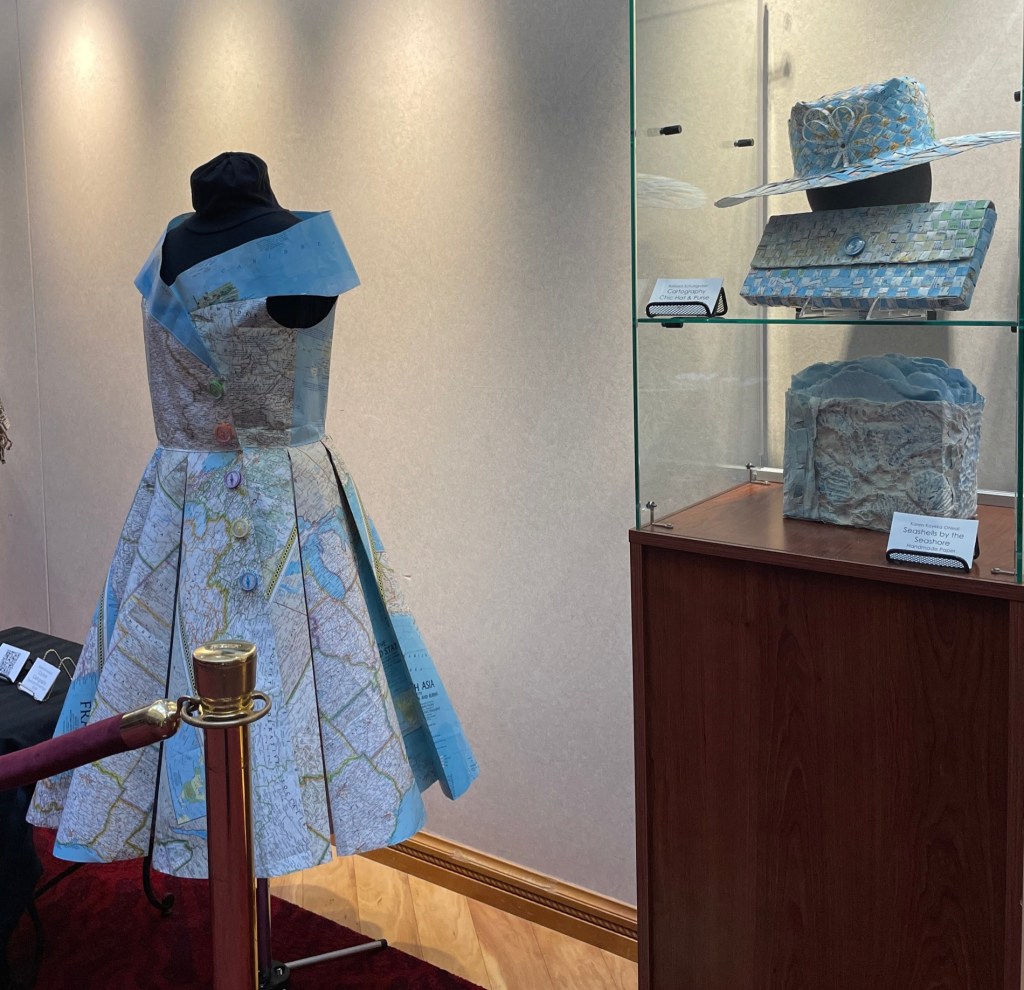
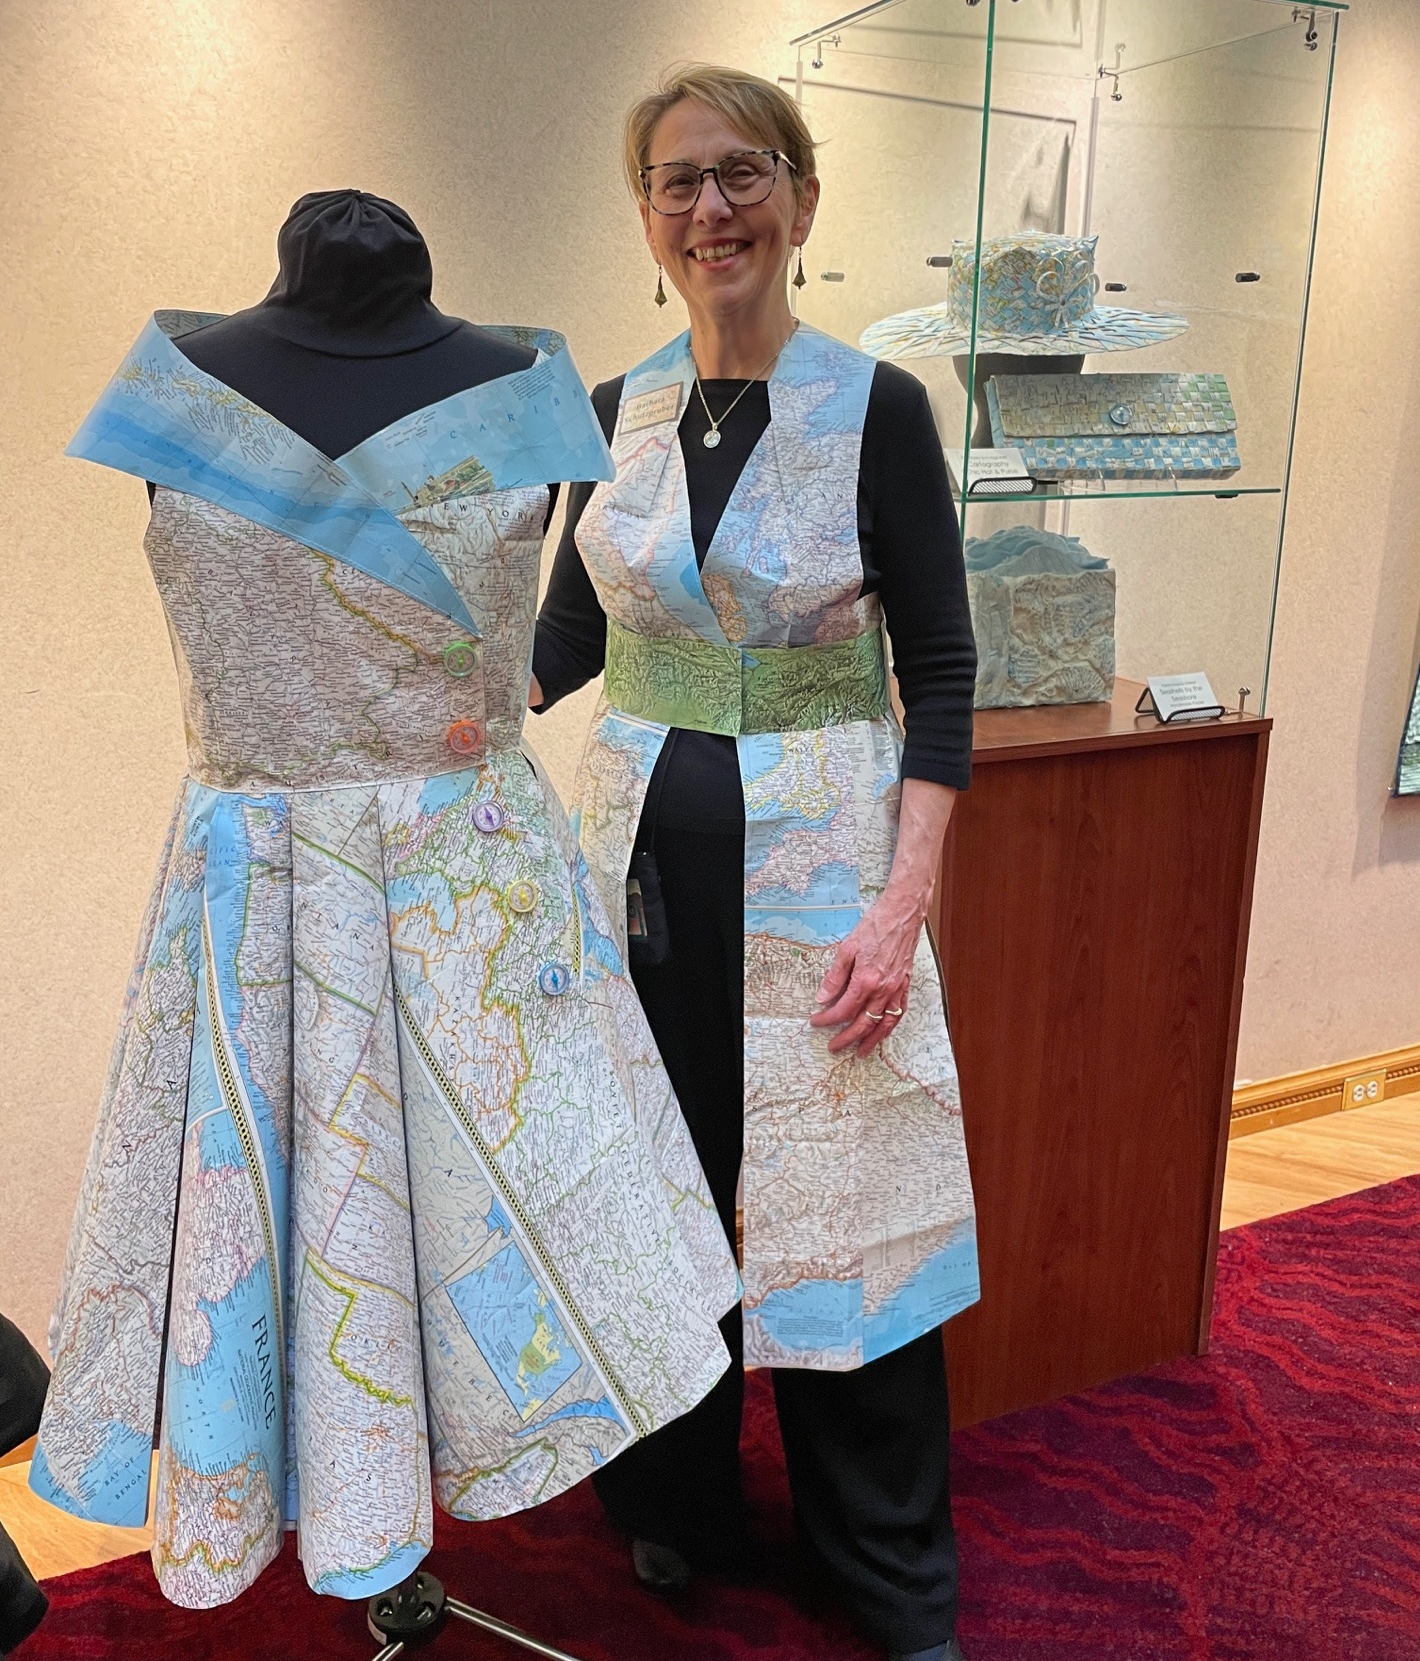
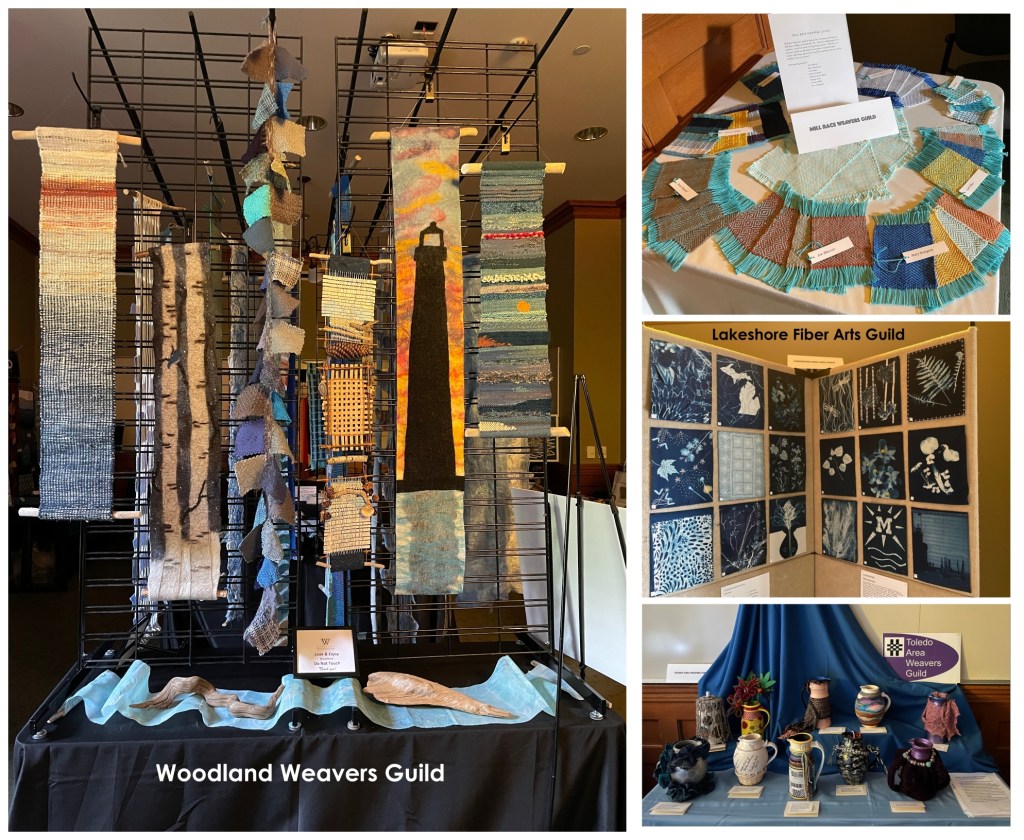
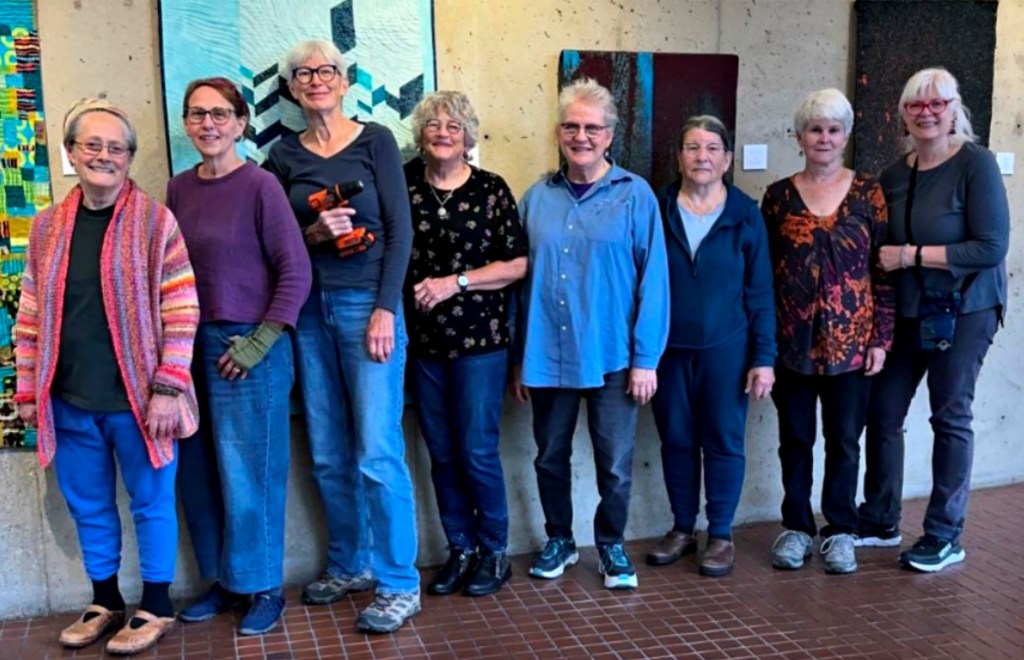
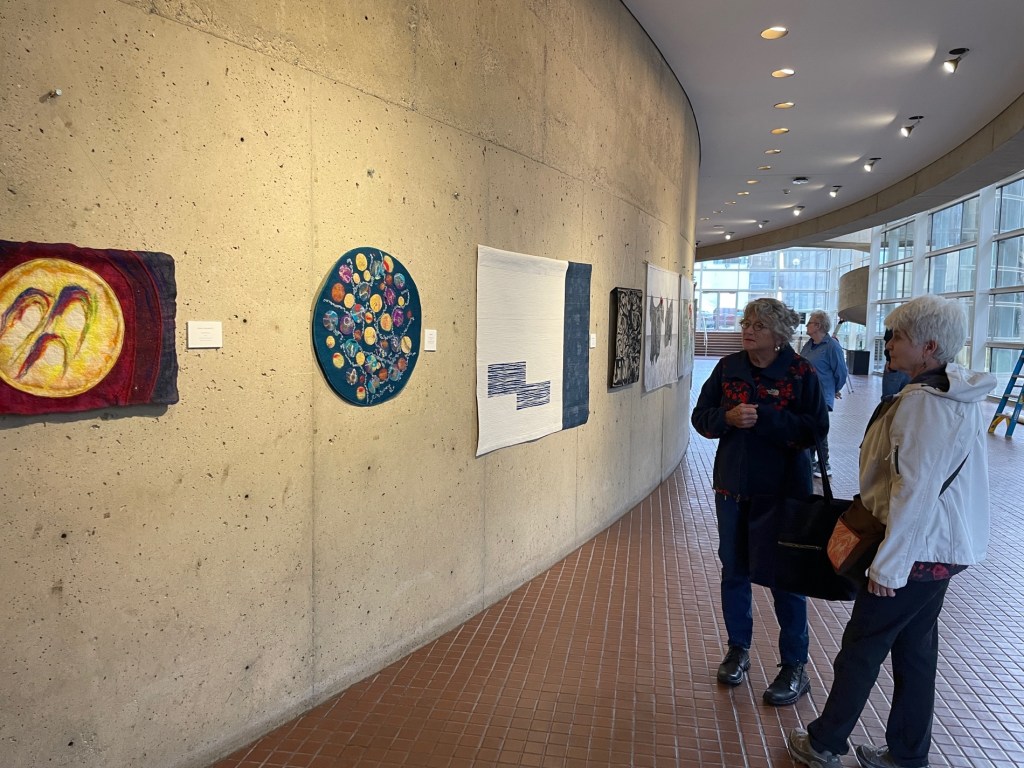
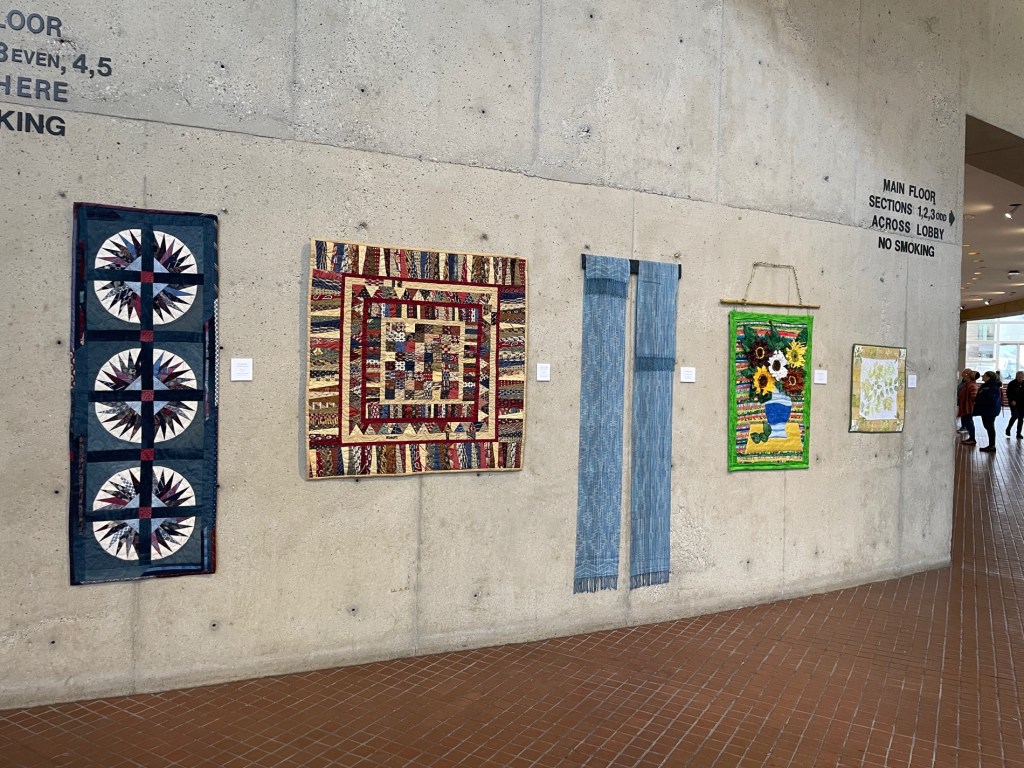
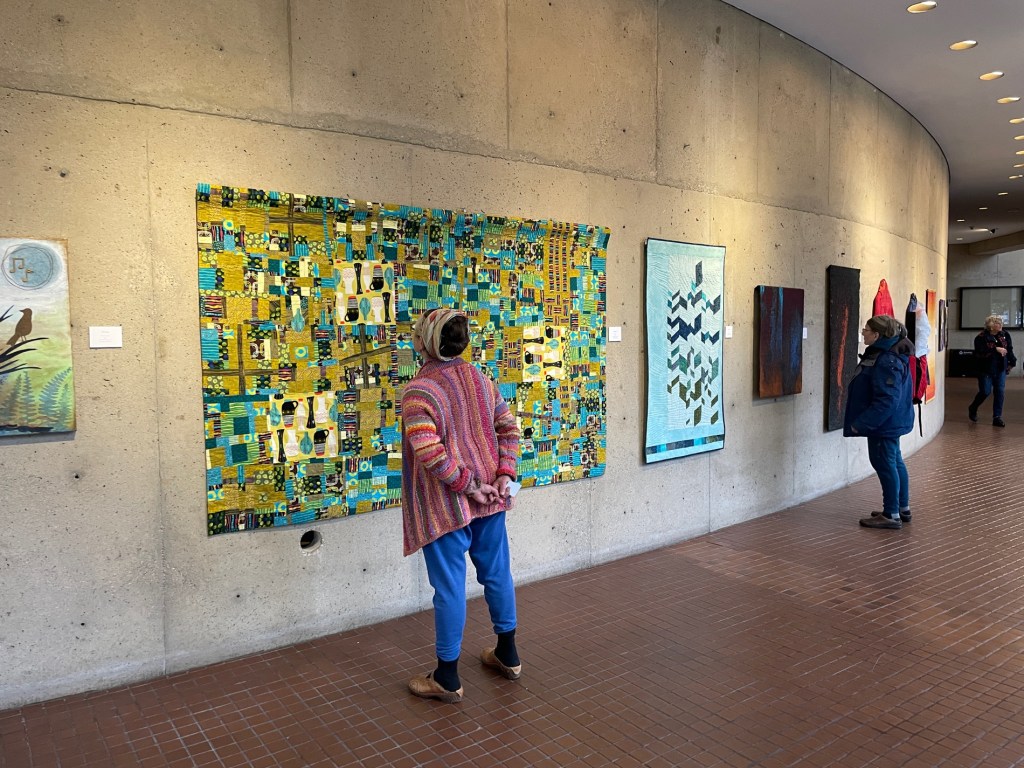
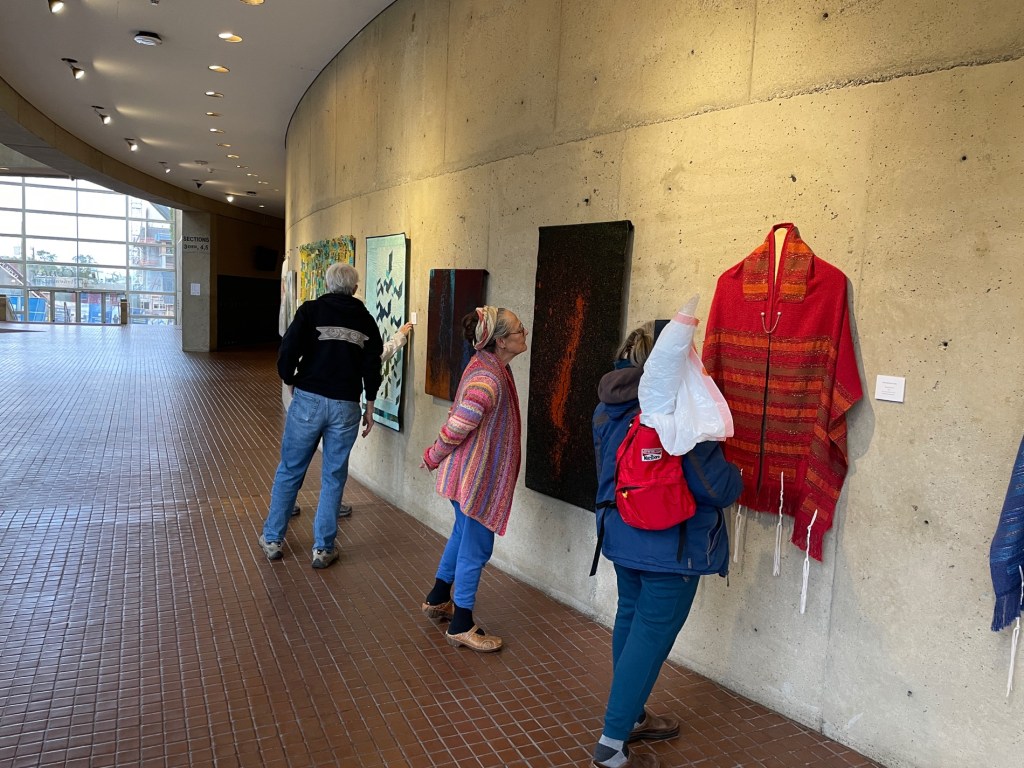
TheMichigan League of Handweavers22nd Biennial Fiber Arts Exhibition is being held at theAnton Art Centerin Mount Clemens, Michigan – September 7 – October 16, 2024. Hosted by the Eastside Handweavers Guild and juried by fiber artist Susan Moran over 80 pieces in two categories, Fiber Art and Functional Fiber, were submitted. 48 pieces by 36 artists from around the Great Lakes Region in the USA and Canada were selected. The Ann Arbor Fiberarts Guild was well represented by members Anne Flora, Jenny Schu, Marla Smith, Jennifer Stafford, Amy Stevenson, Mary Underwood, Kathy Zasuwa, and myself.
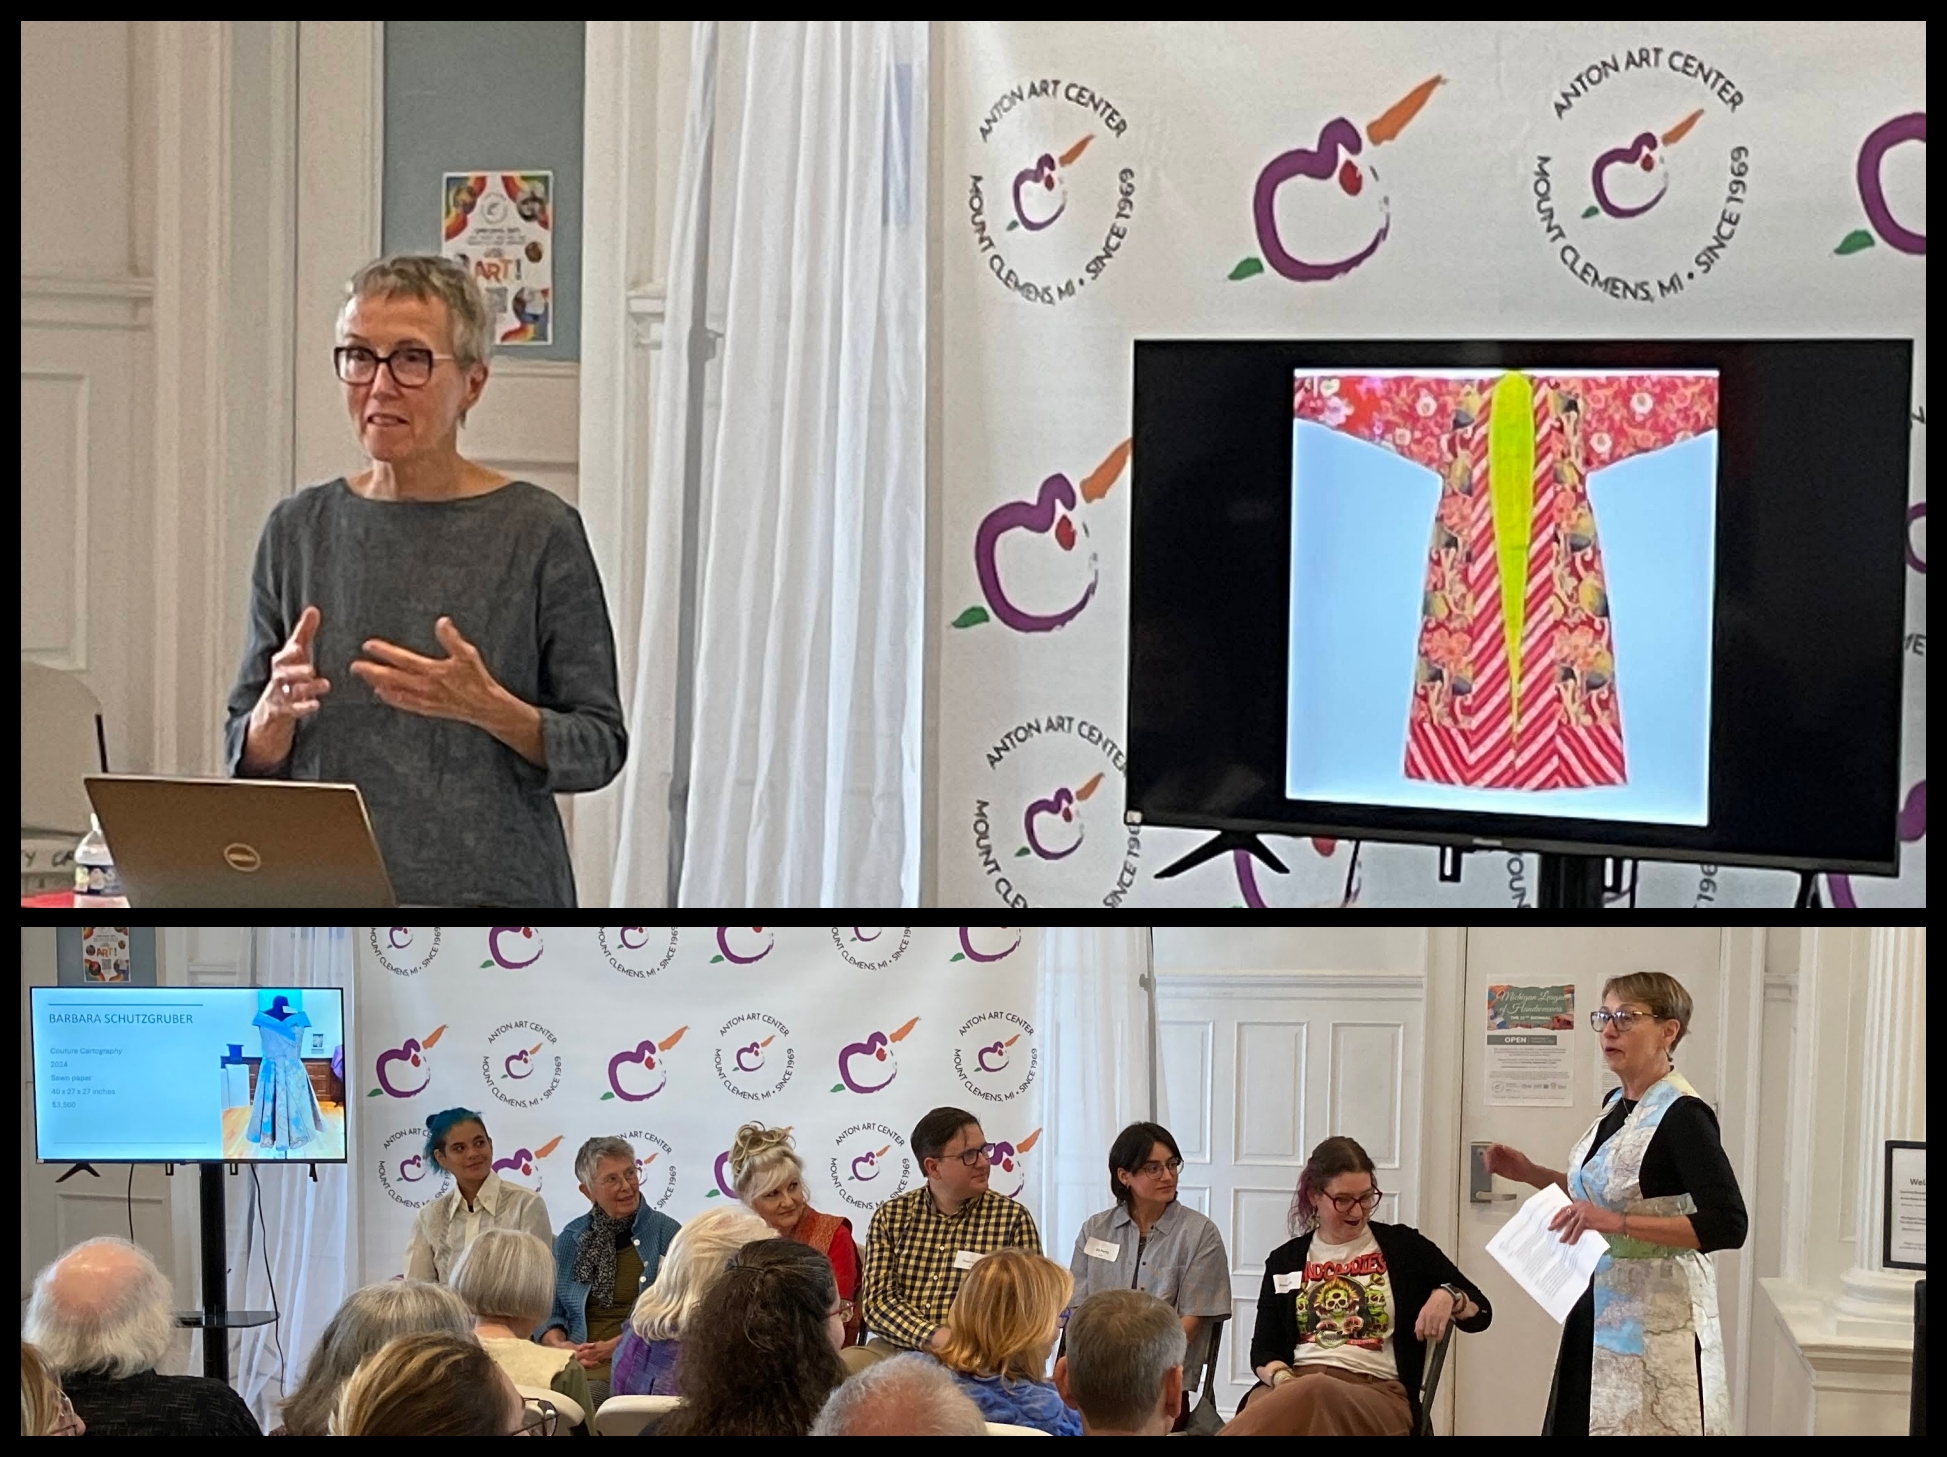
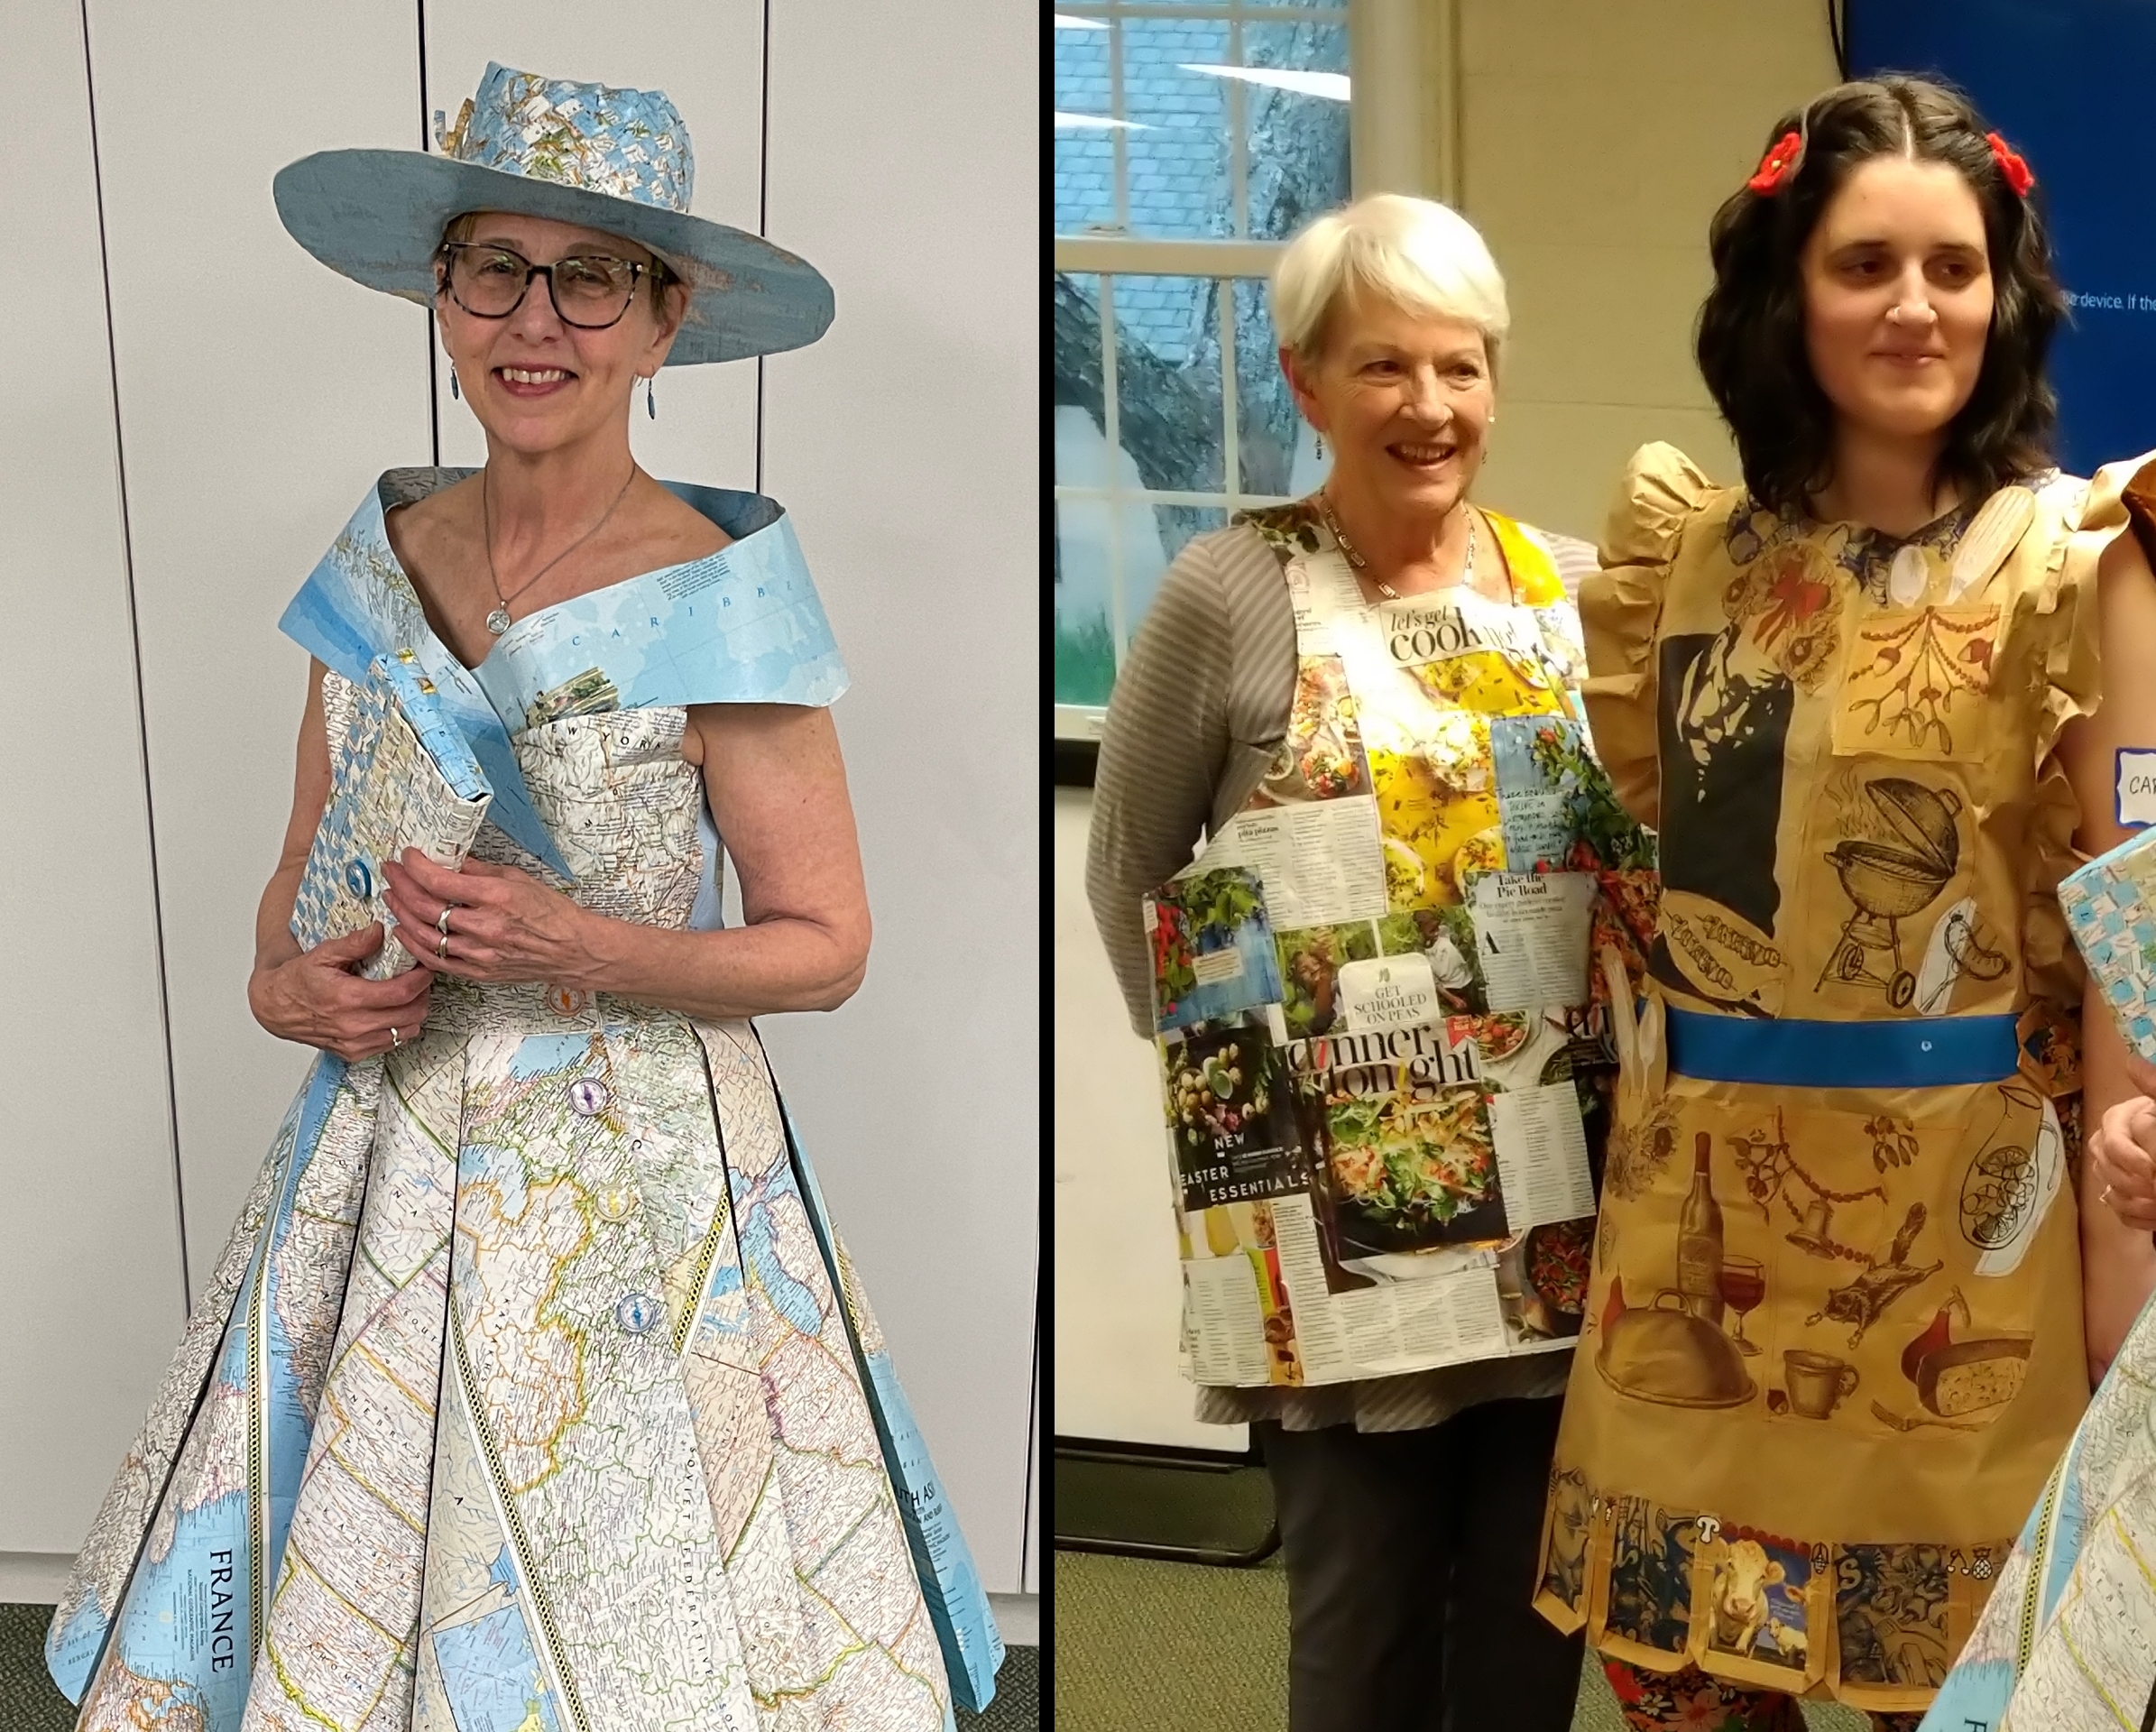
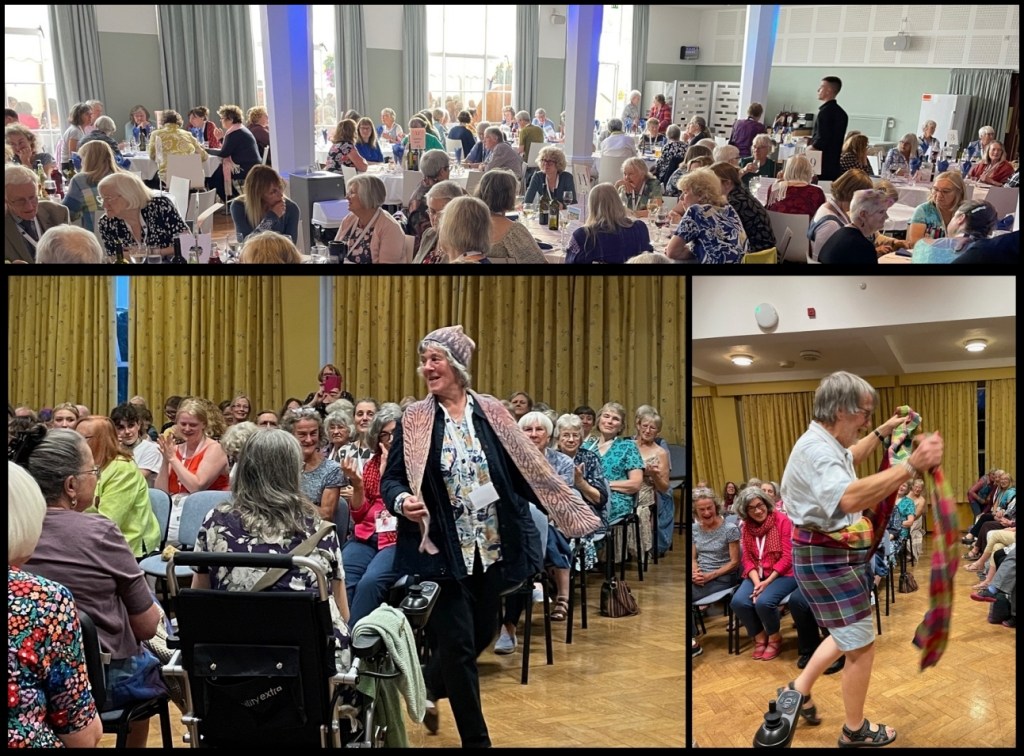
The opening reception included refreshements by the Eastside Handweavers and artist talks by Susan Moran and 7 of the attending artists: Mariel Collins – Tapis Yardage Jennifer Gould – Forest Woman 6 Lisa Hermesmeyer – Clio Thom Koster – Simple Cherry Blossom Temari & Abstract Cherry Blossom Temari Kit Parks – Watching You Watch Me Jenny Schu – Golden Boundary & Is There a Thing to Which Brings Us Less Joy Yet We Devote More Time As well as myself – Couture Cartography [see blog posts March,April and May 2024 about the making of the dress]
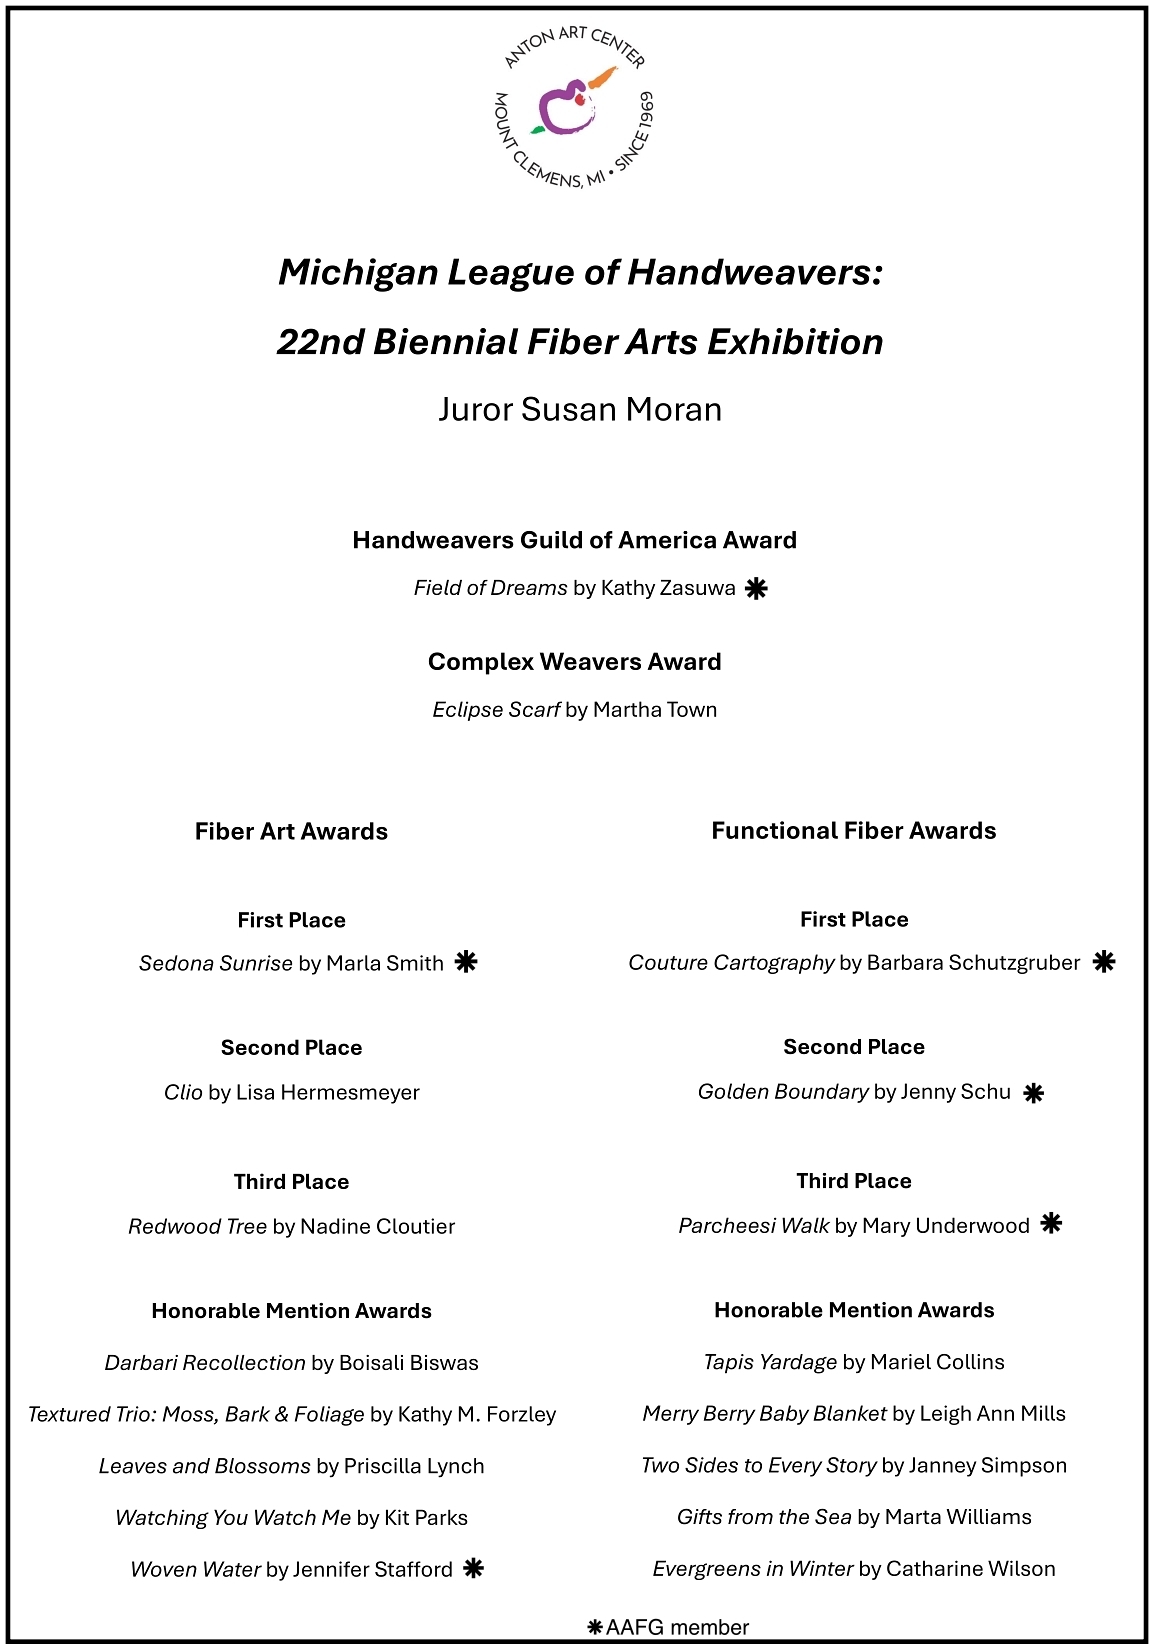
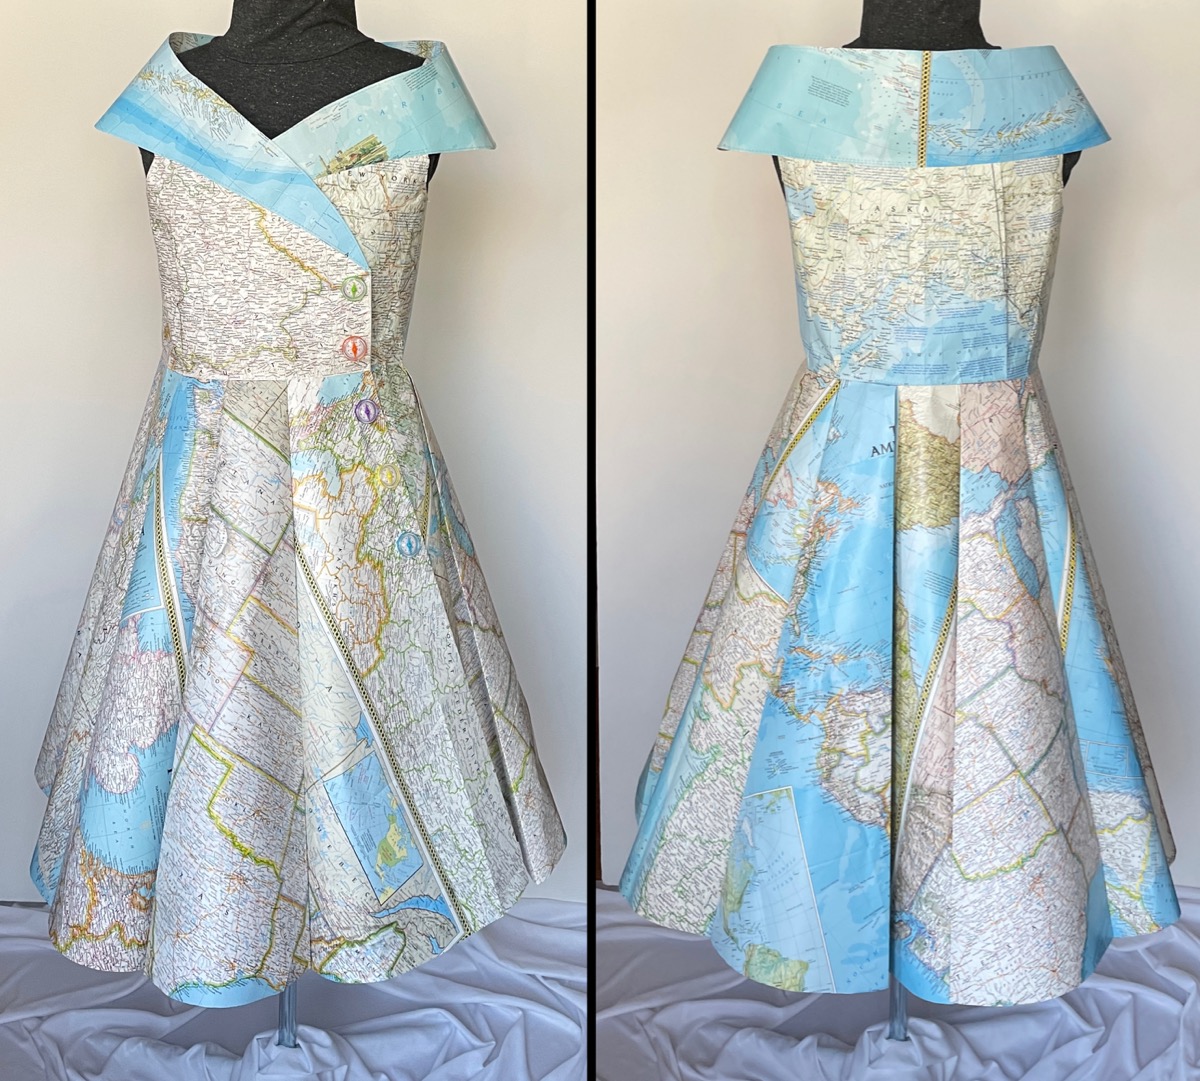
Awards were announced – Couture Cartography received 1st Place in the Functional Fiber category! Five other AAFG members also received awards.
The Anton Art Center has been a fabulous space for this wonderful exhibit highlighting the wide and diverse range of fiber art!
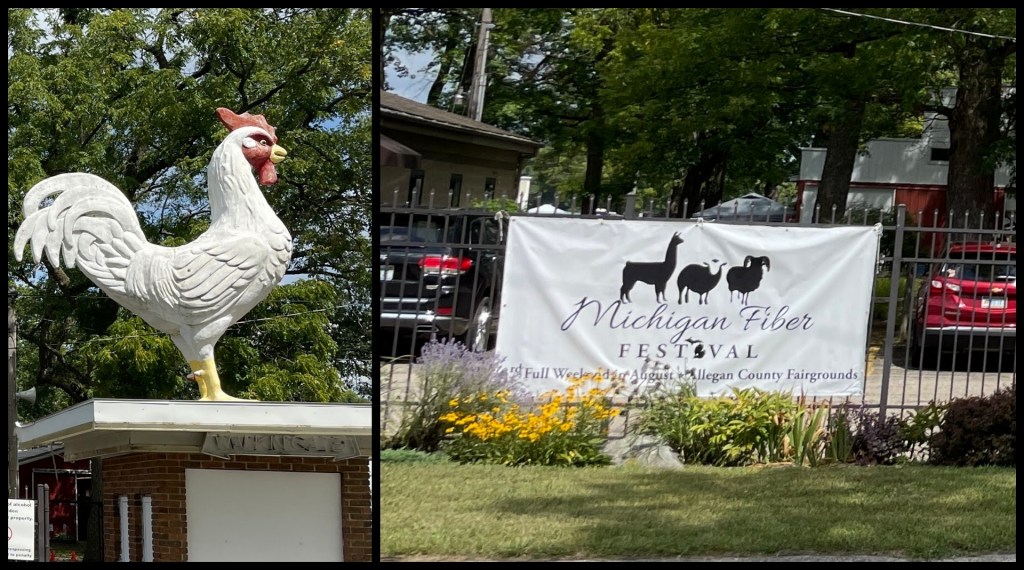
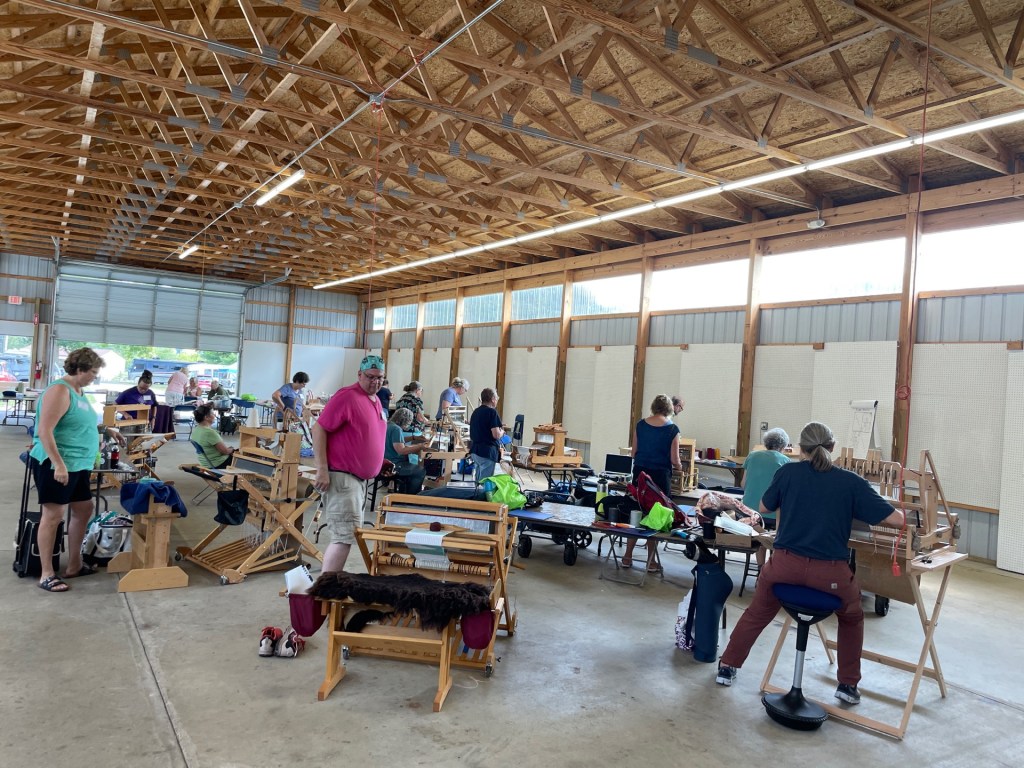
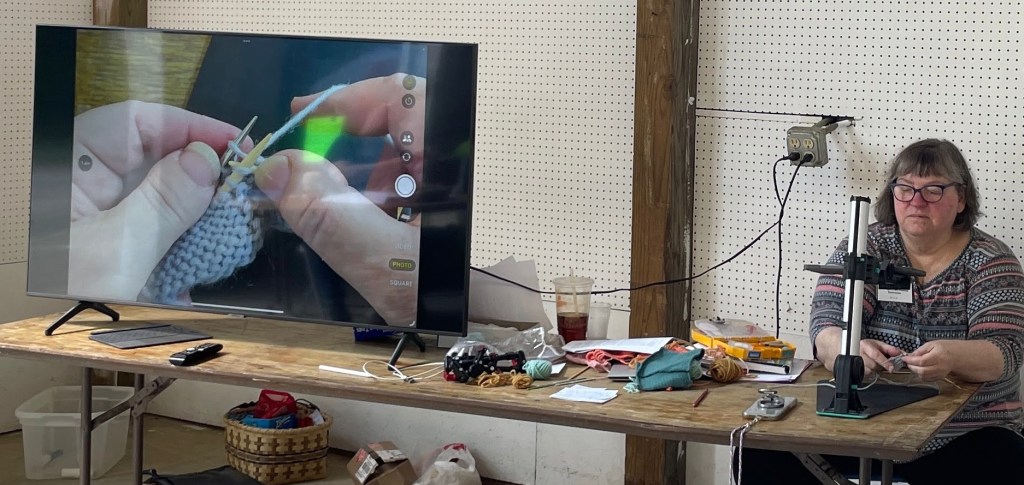
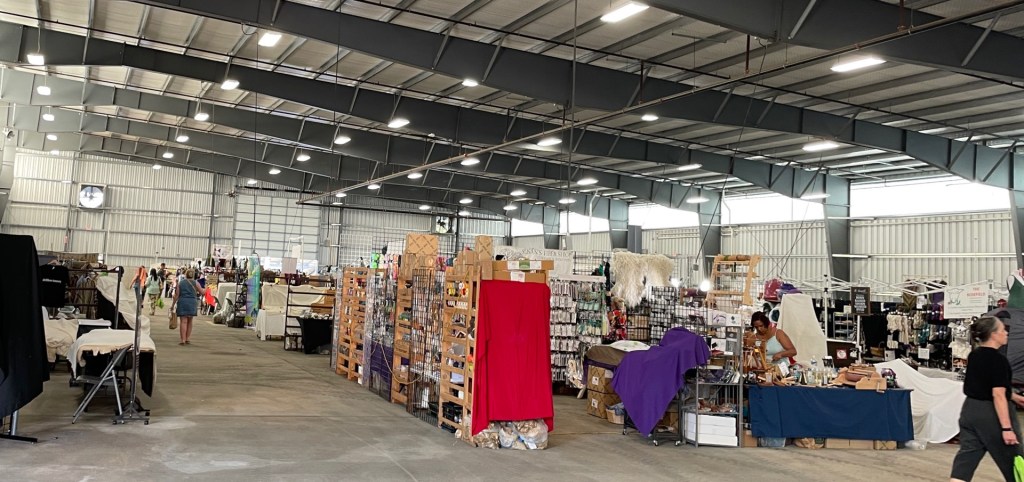
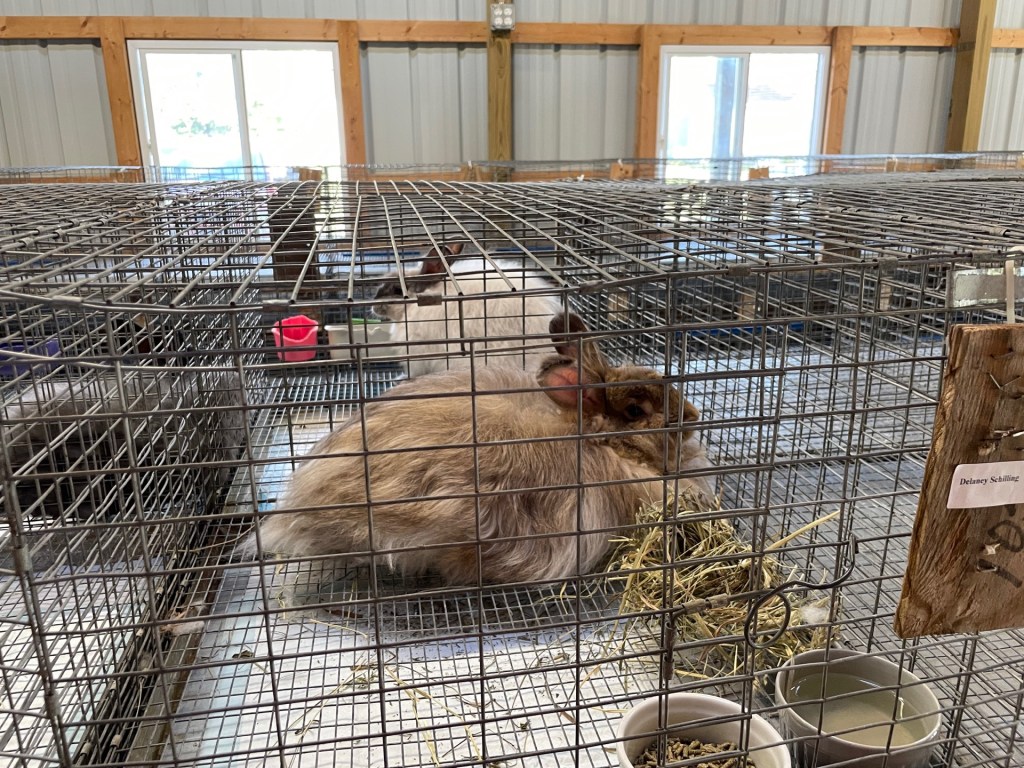
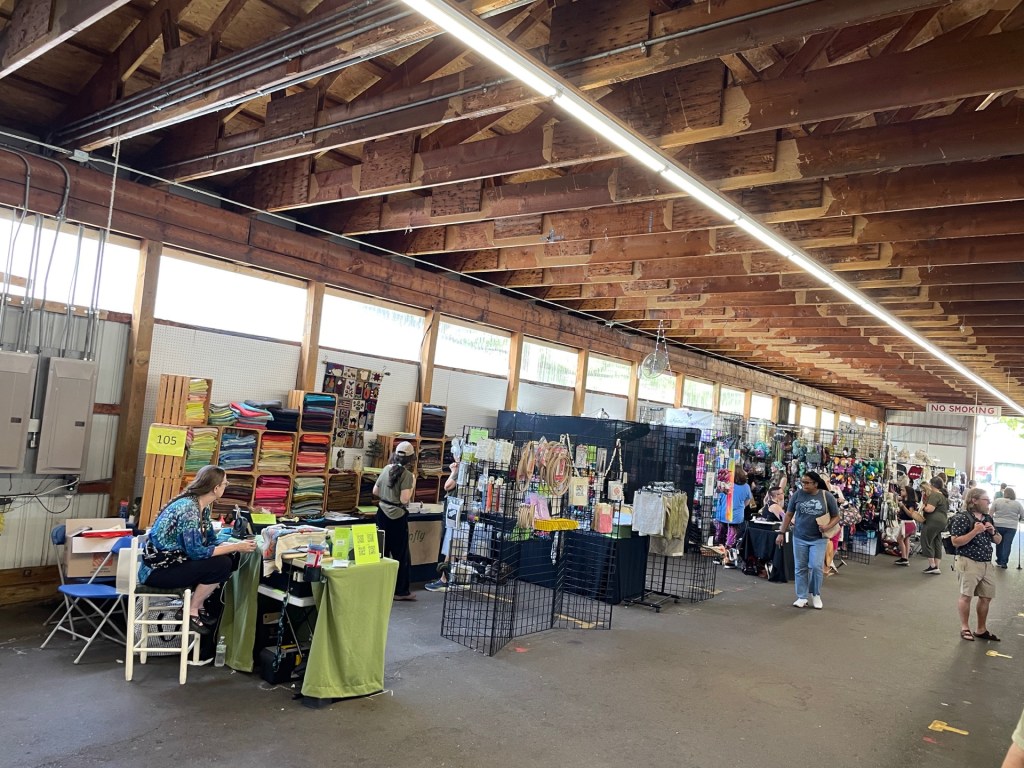
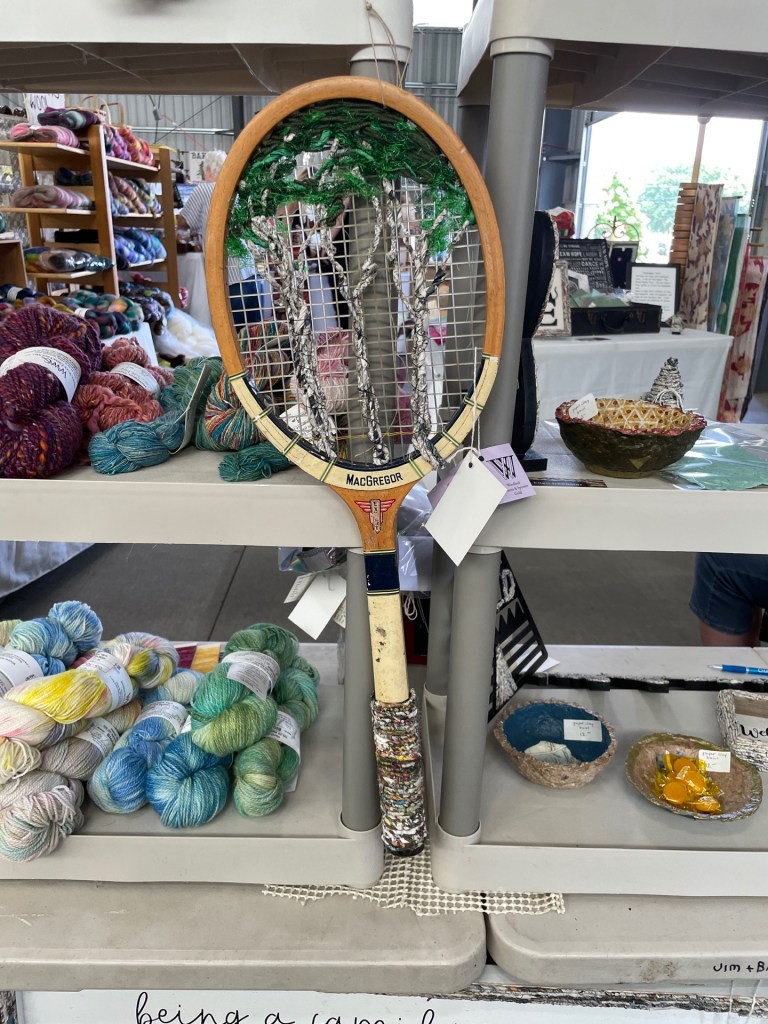
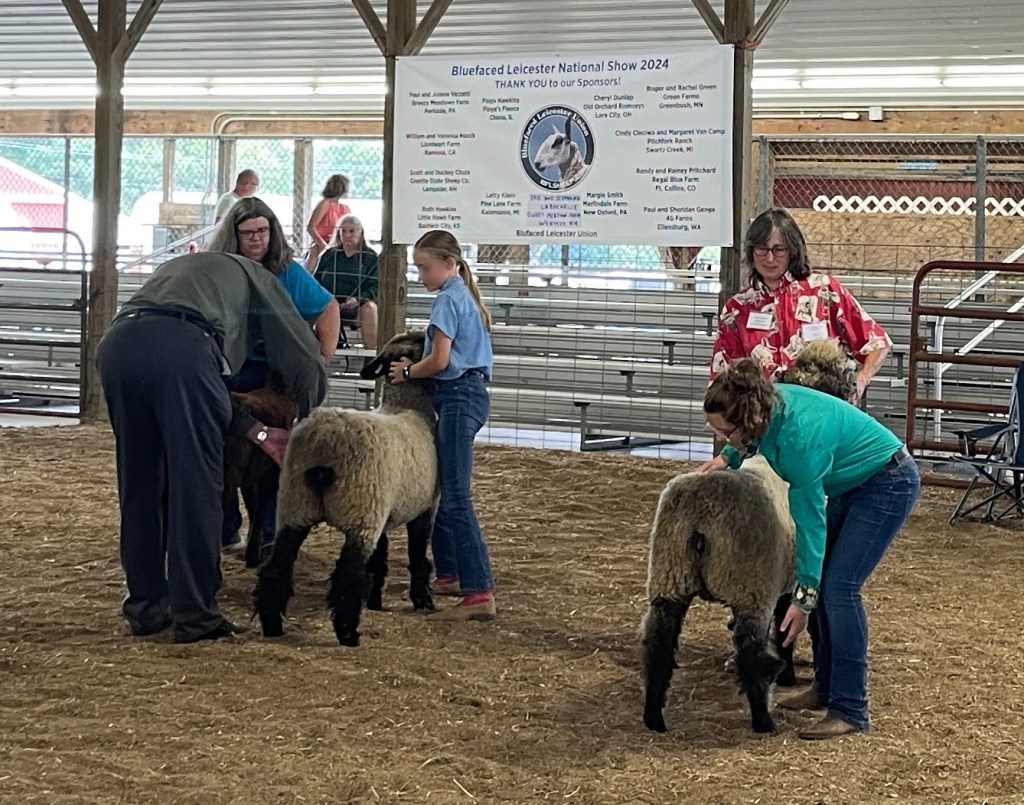
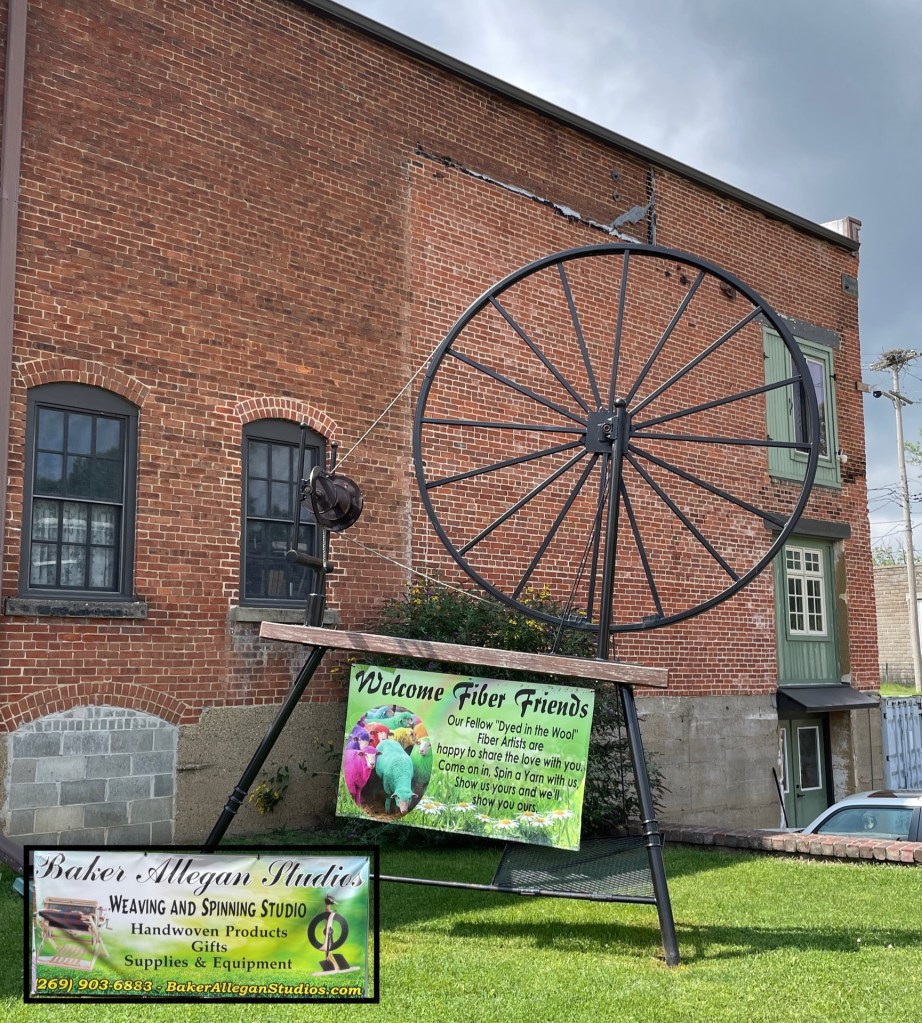
TheMichigan Fiber Festivalhappens Wednesday through Sunday the third full weekend in August every year at the Allegan County Fair Grounds. My first year going was back in 1998 and I have attended on and off ever since. [see blogs September 2022Summer Comes to an end– August 2018Big Looms…Little Looms…and a bit of color– August 2016City Mouse…. Country Mouse…. part 2] This is a fabulous gathering of fiber artists and offers up a feast of creativity and inspiration. This year I registered for 3 all day workshops and 2 mini workshops featuring new as well as familiar techniques.
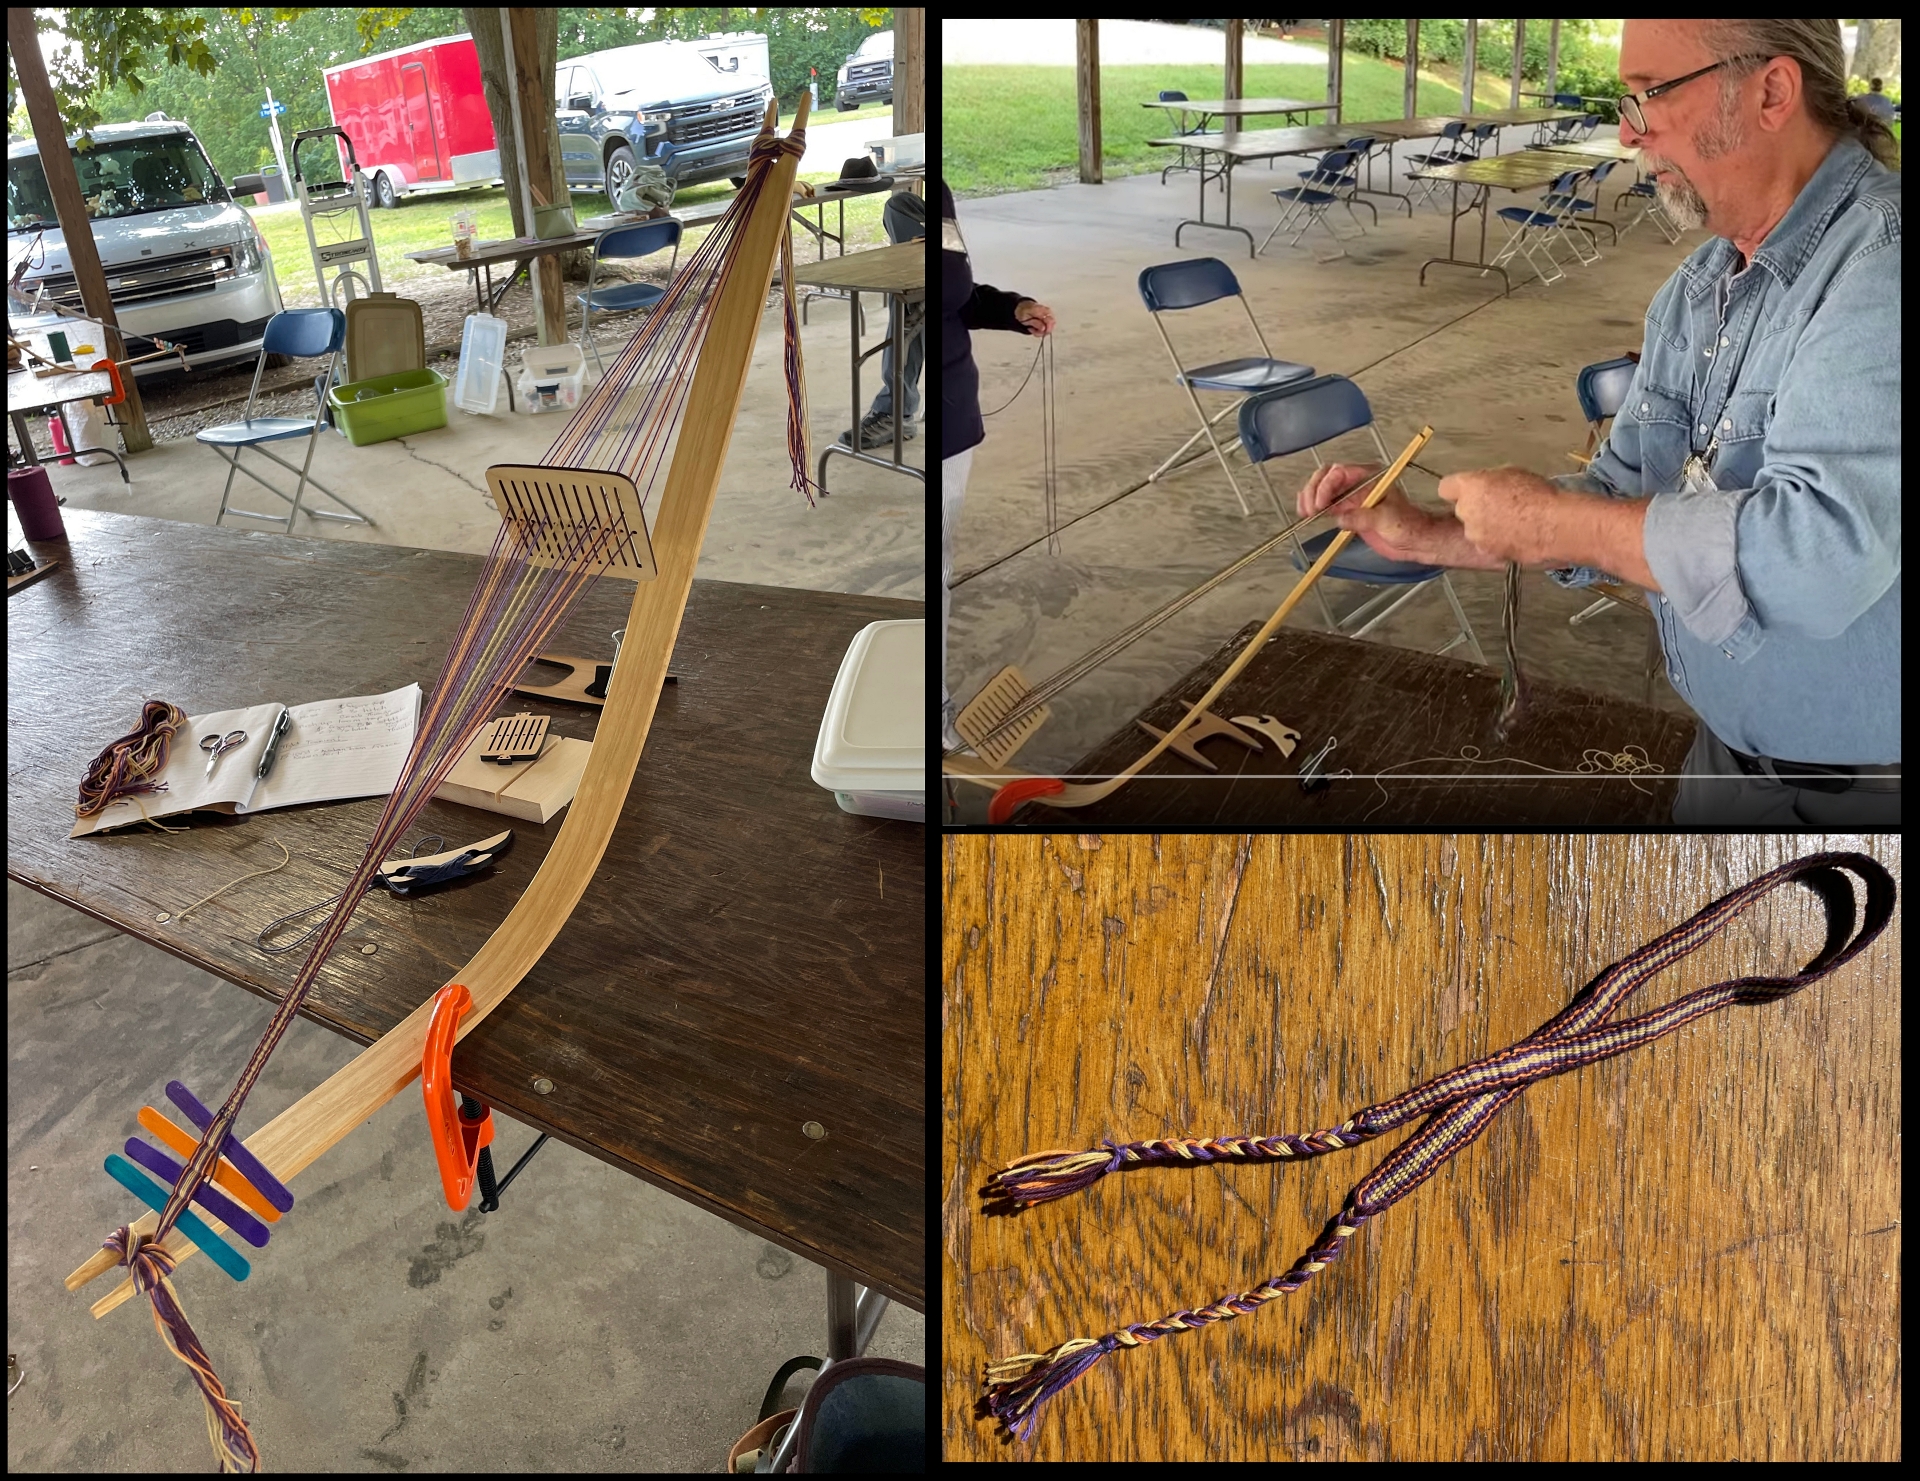
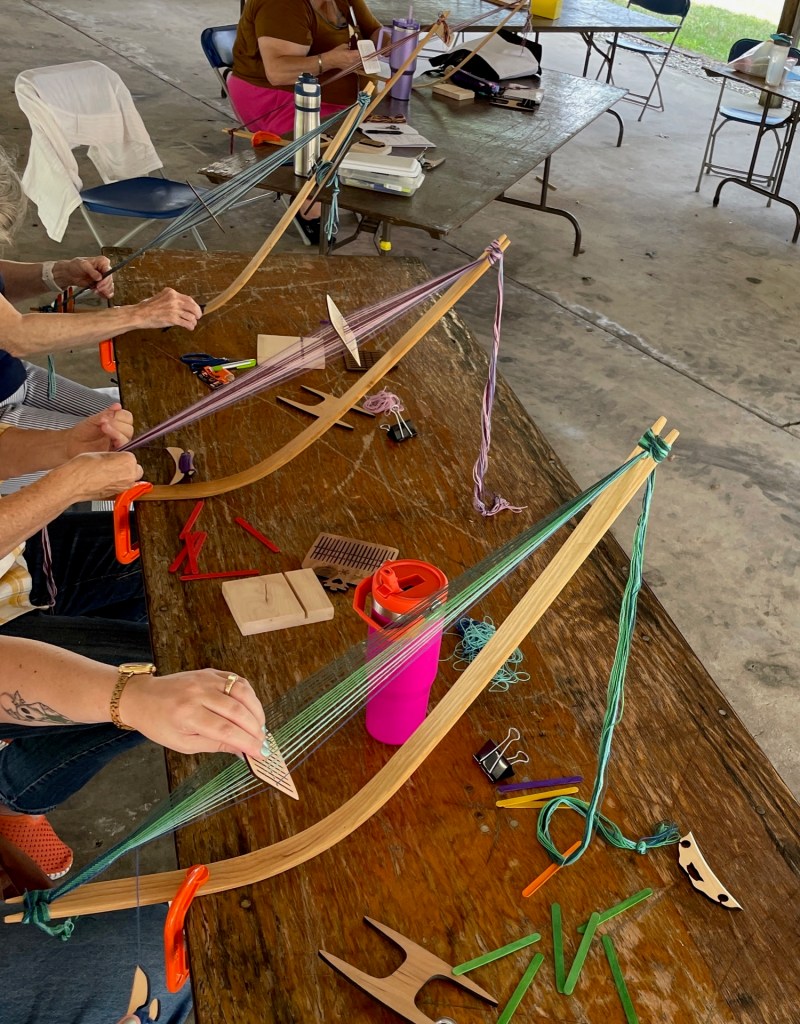
Wednesday – Using the Mediaeval Bow Loom with Roman Pompeii Rigid Heddle withRobin Goatey. The Mediaeval Bow Loom and Small Scandinavian Rigid Heddle have been used to make small Bands or Tapes for repairing everything. The Small Heddles were used during Roman Times, 2000 years ago. We will Warp a small 21 thread heddle, then tie onto the single beam bow and start weaving a simple band.
I did narrow band weaving in 2015 withSusan Faulkesin the UK [see September 2015 blogOn the Road and Across the Sea] but have not done much since then. In 2022 I took Robin’s workshop Appalachian Hearth Broom (Besom) Making. The depth Robin’s knowledge of ancient fiber techniques is amazing and Susan has been instrumental in reintroducing the bow loom to modern weavers.
We spent the morning learning the history, measuring out our warp, threading the heddle and tying the warp onto the bow. The afternoon was spent weaving – finishing one band and starting a second. The material fee included our loom, heddle, and other tools needed to continue at home. This is a loom is a wonderful addition to the items I have on hand when giving weaving demonstrations.
~~~~~~~~~~~~~~~~~~~~~~~~~~~~~~~~~~
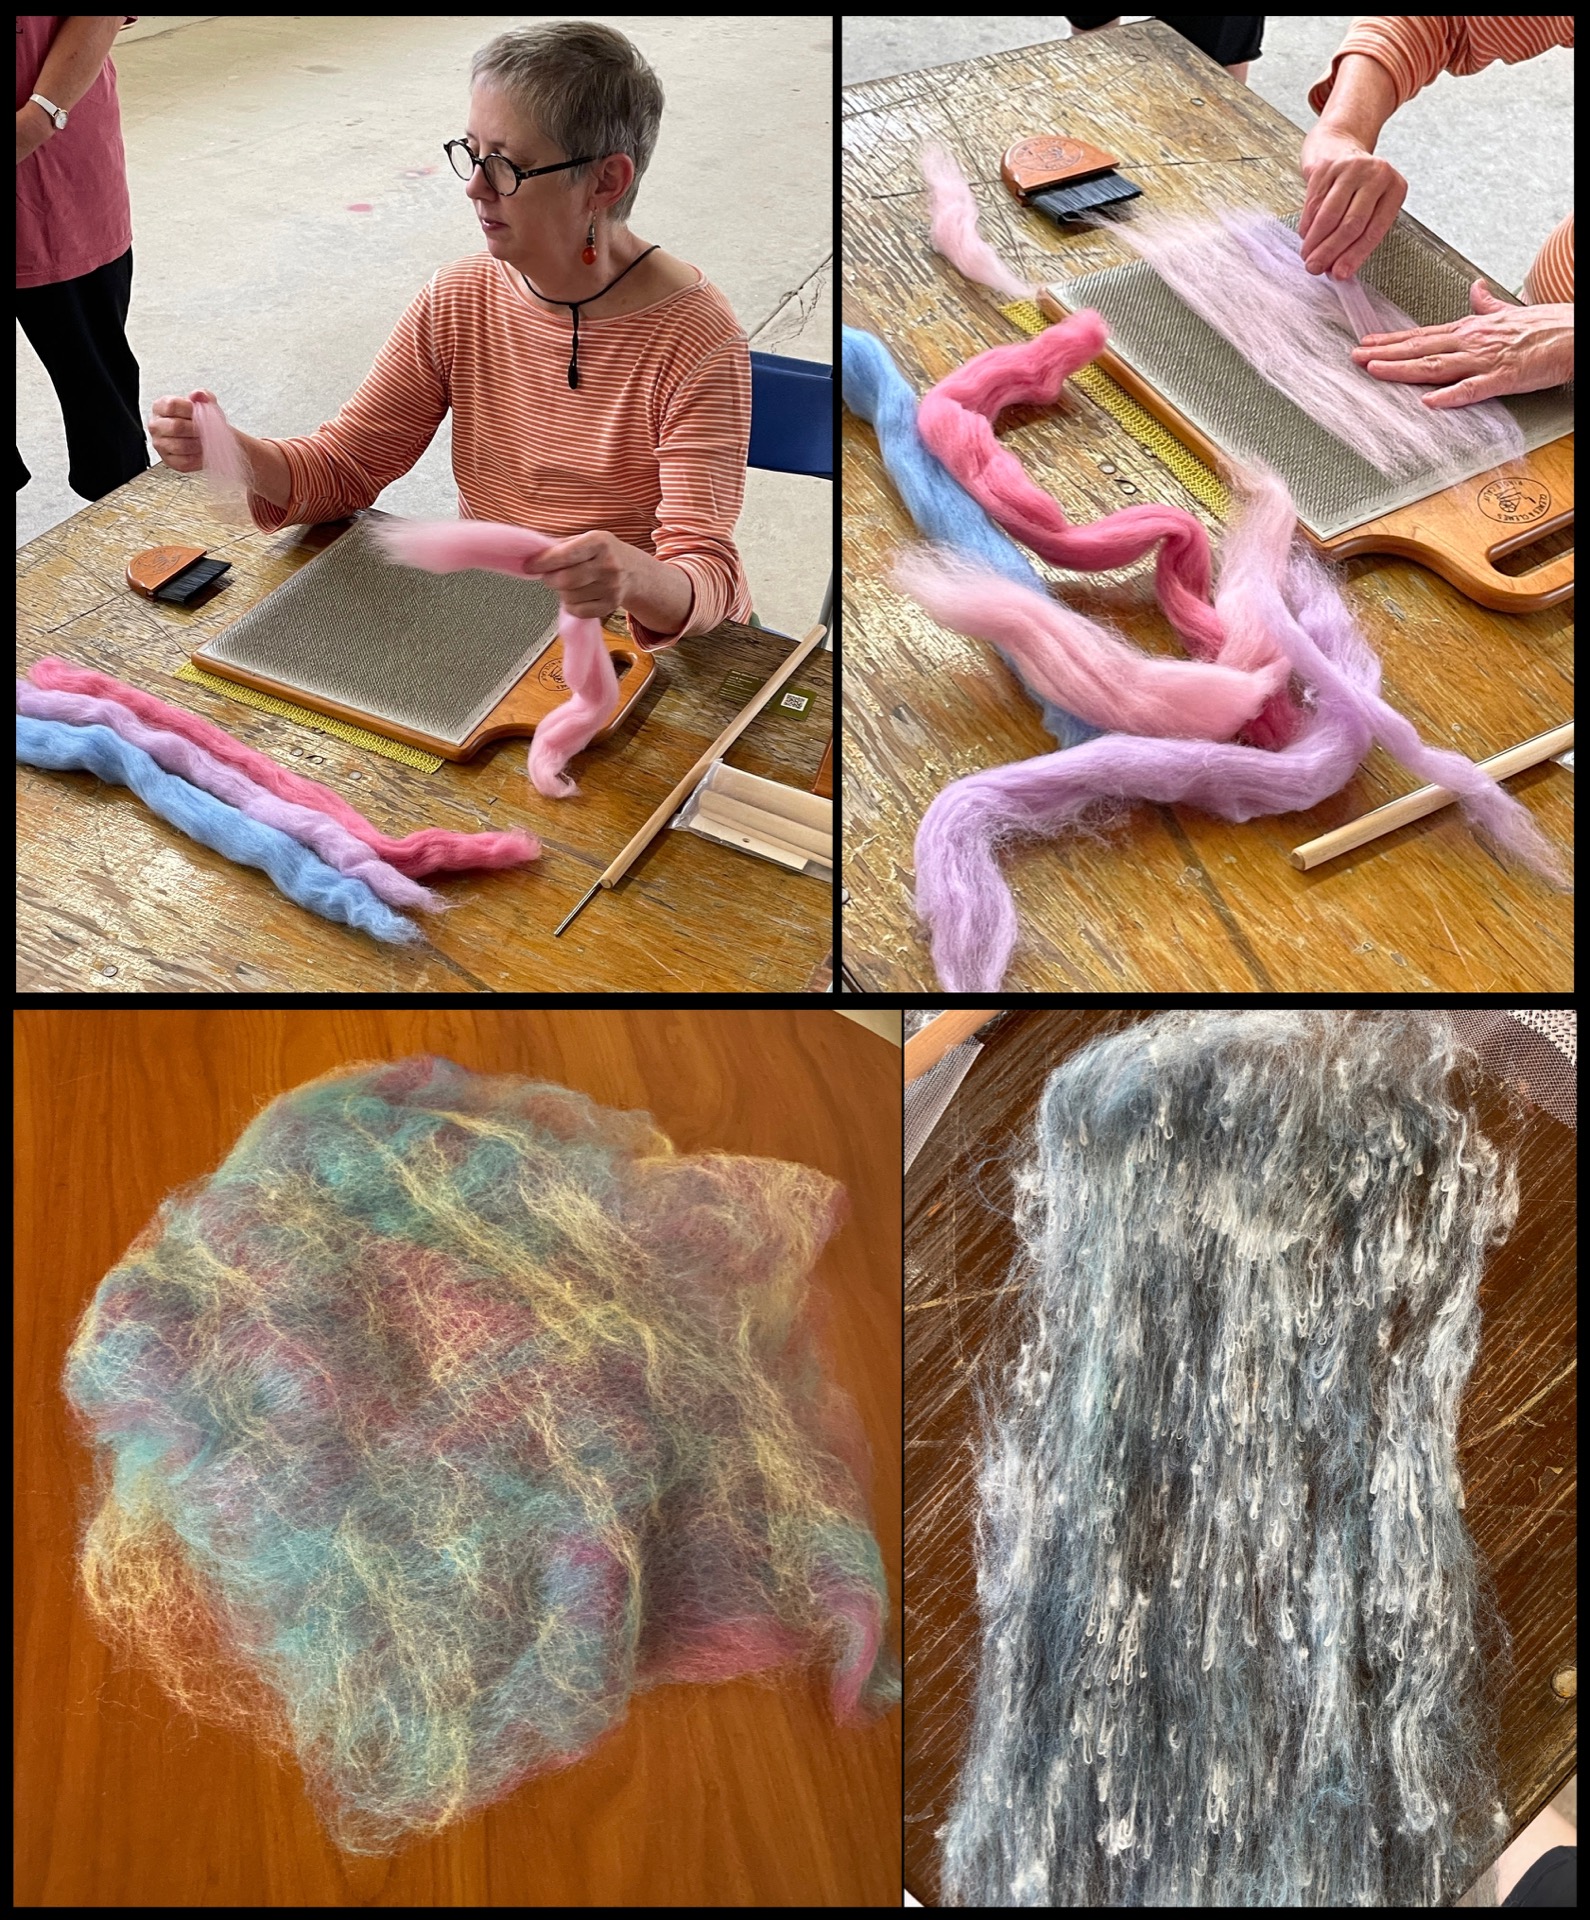
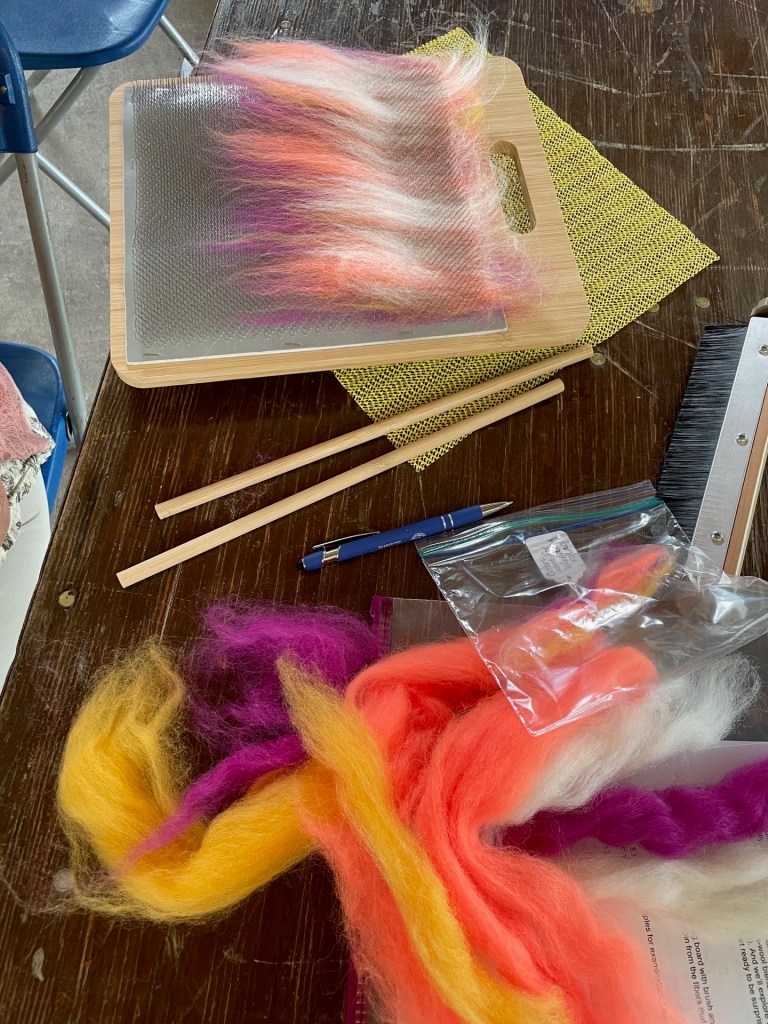
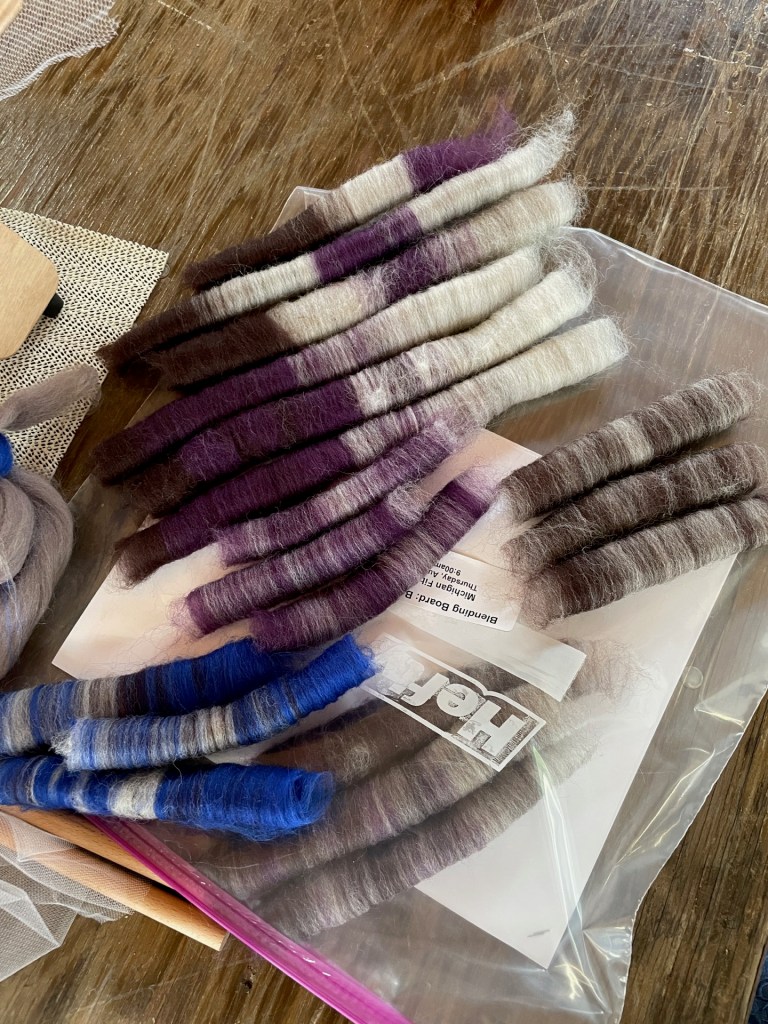
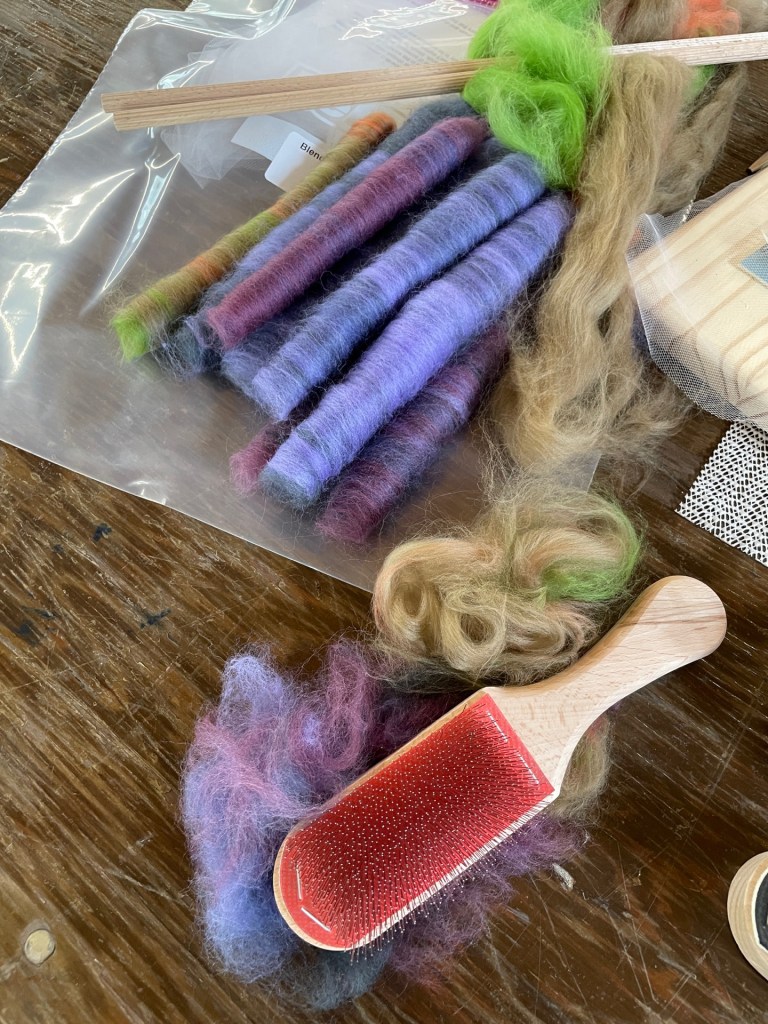
Thursday – Blending Board Basics and More withAmy Tyler The blending board is not just a glorified hand carder or a low-tech version of a drum carder. It is a delightfully simple but incredibly versatile tool. It has obvious uses for blending already prepared fibers. We will cover blending strategies to create rolags, batts, and rovings. In addition, we will explore the use of accessory tools for the blending board. Along the way, we will make cotton-wool blends, blends for tweed yarns, and blends for garnet yarns (both subtle and extreme). And we’ll explore ways of preparing fiber “paintings” that can then be wet felted.
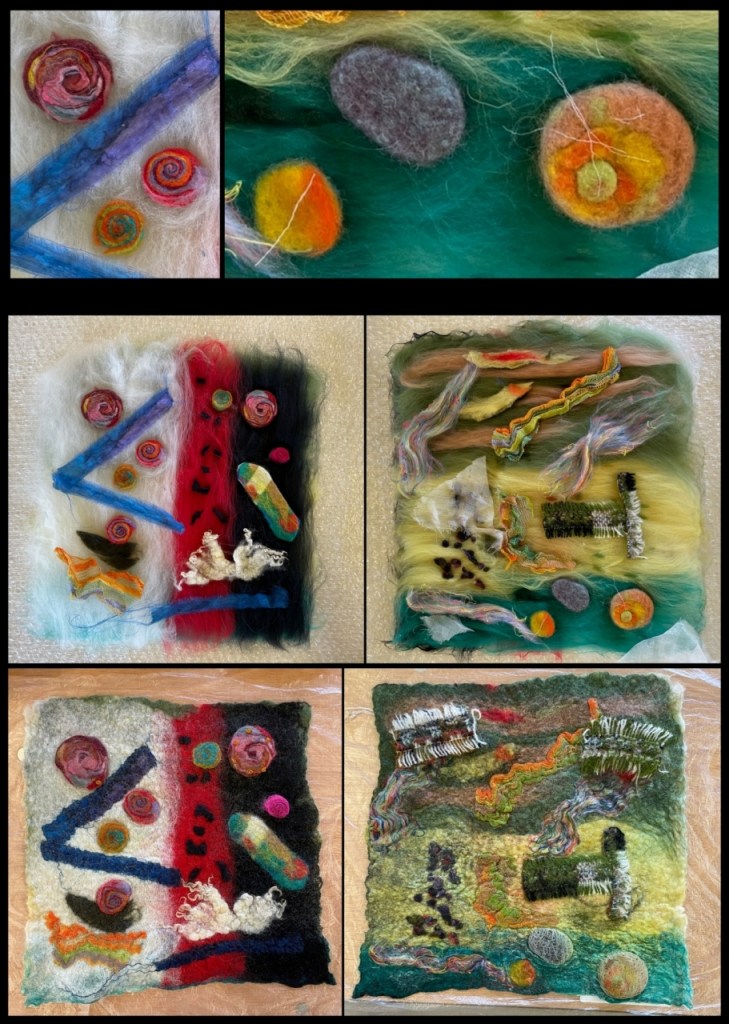
I purchased a blending board several years ago to blend different colored wool roving for felting. It is not a complicated tool but even with YouTube videos I was not able to figure out the proper technique for laying out fibers and combing them to form a suitable batt. This is when in-person workshops are so much better than YouTube or books. Having Amy there to see exactly what I was doing, give me the often subtle corrections needed and share tricks she’s learned from others and her own trial & error experiences made this one of the best workshops I’ve taken. I was the only felter in the group so rather than create rolags for spinning my focus was on creating samples that I will felt to a prefelt stage now that I’m back home. I am especially interested in seeing how the wool and cotton fiber blend will look after wet felting.
~~~~~~~~~~~~~~~~~~~~~~~~~~~~~~~~~~
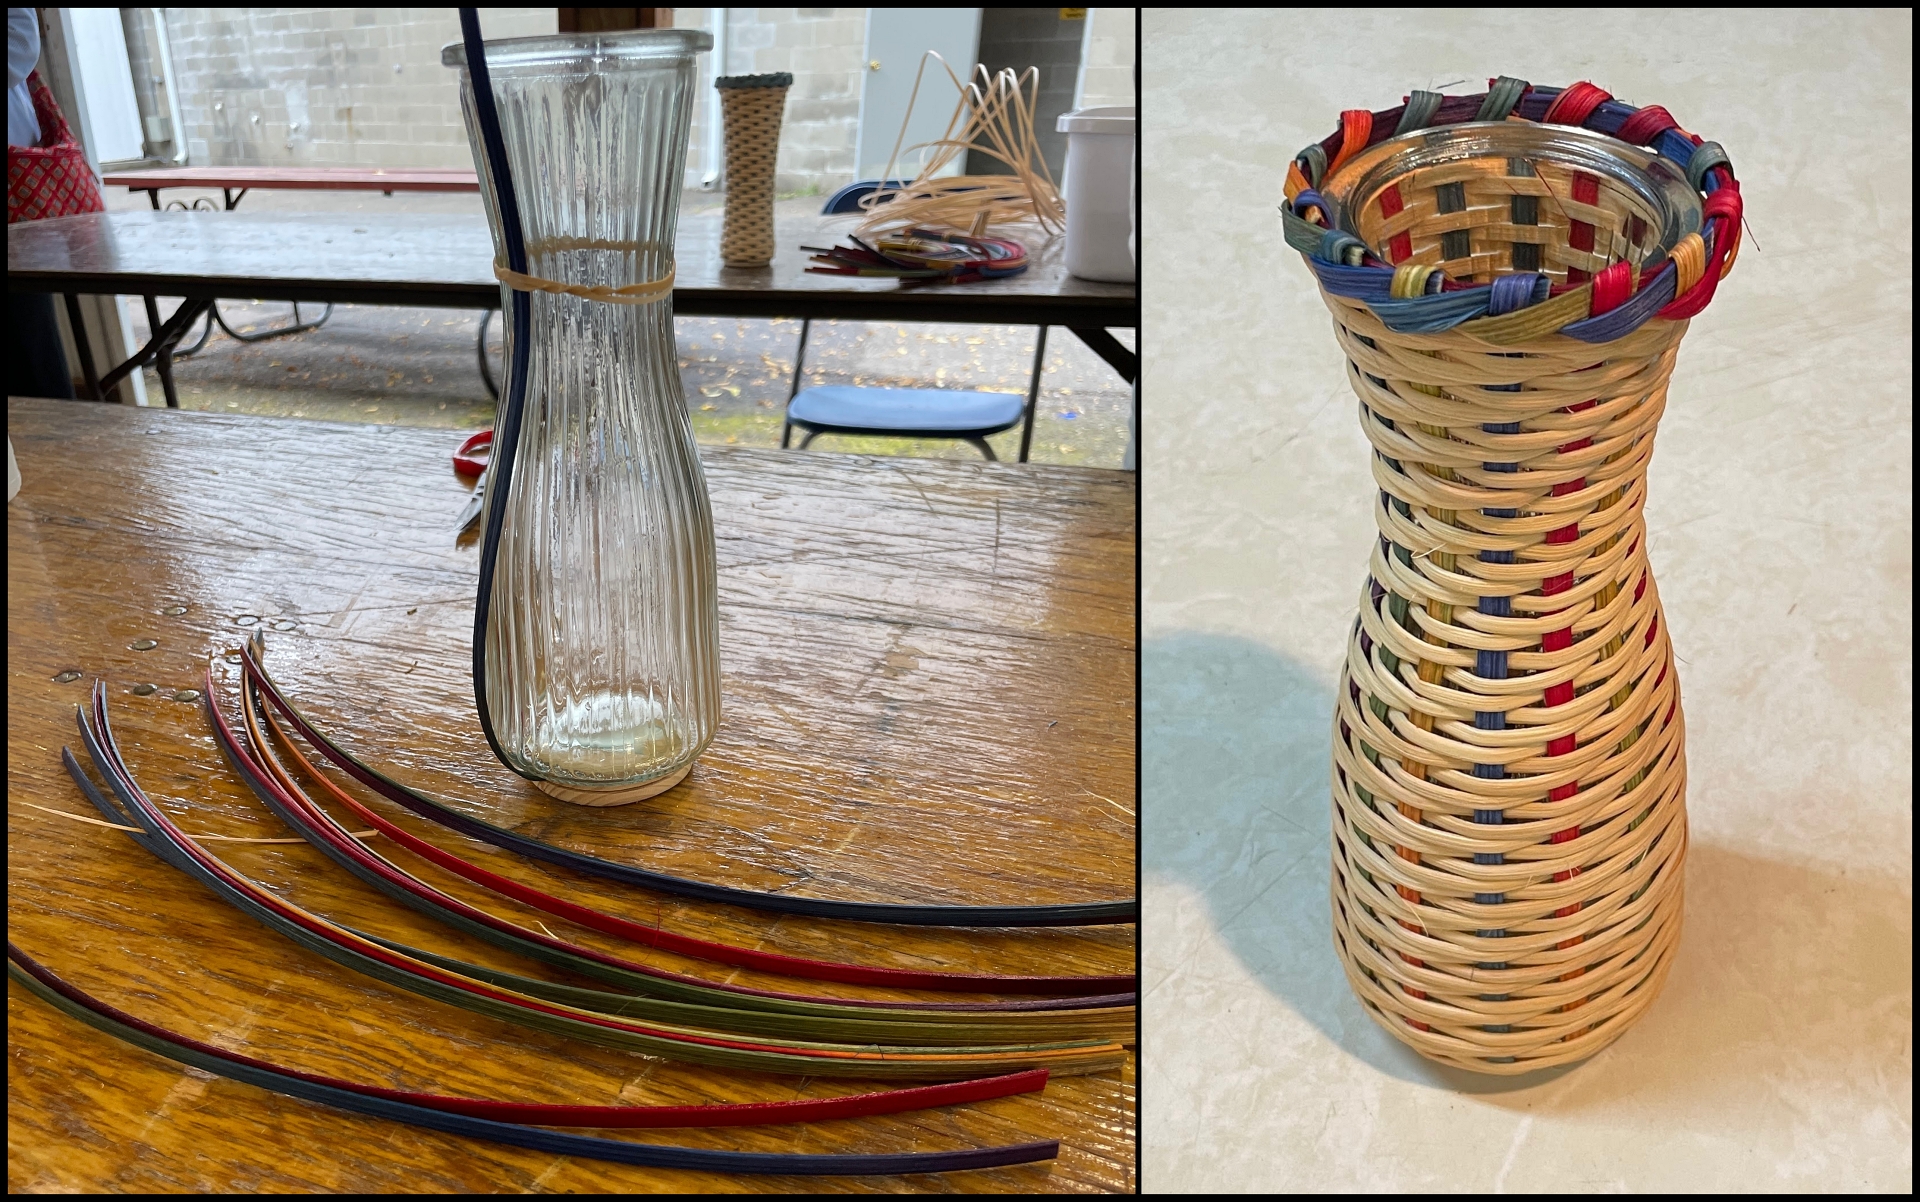
Woven Vase withKathy McMinn Weave a colorful twill over a glass vase that has a wood base attached for stability. This is a fun and easy project that can be completed in a few hours.
MFF has added evening mini workshops to the schedule. This is great for those who are staying over in the area or those who are not available during the weekday. I had done a lot of traditional basket weaving in the 1990’s but since then only for the occasional project using unconventional materials. [see March 2015 blogCartography Chic; August 2017 blogsSummer School and January 2018 blogBack When the World was Flat]
A small but enthusiatic group of mixed experience from ‘never tried basket weaving before’ to my ‘it’s 20 years since I wove with reed’ made for a delightful evening weaving plain and dyed reed over a glass vase so our finished product is useable for cut flowers in water. The muscles in my hands certainly reminded me that I have not done any basket weaving in a long time!
~~~~~~~~~~~~~~~~~~~~~~~~~~~~~~~~~~~
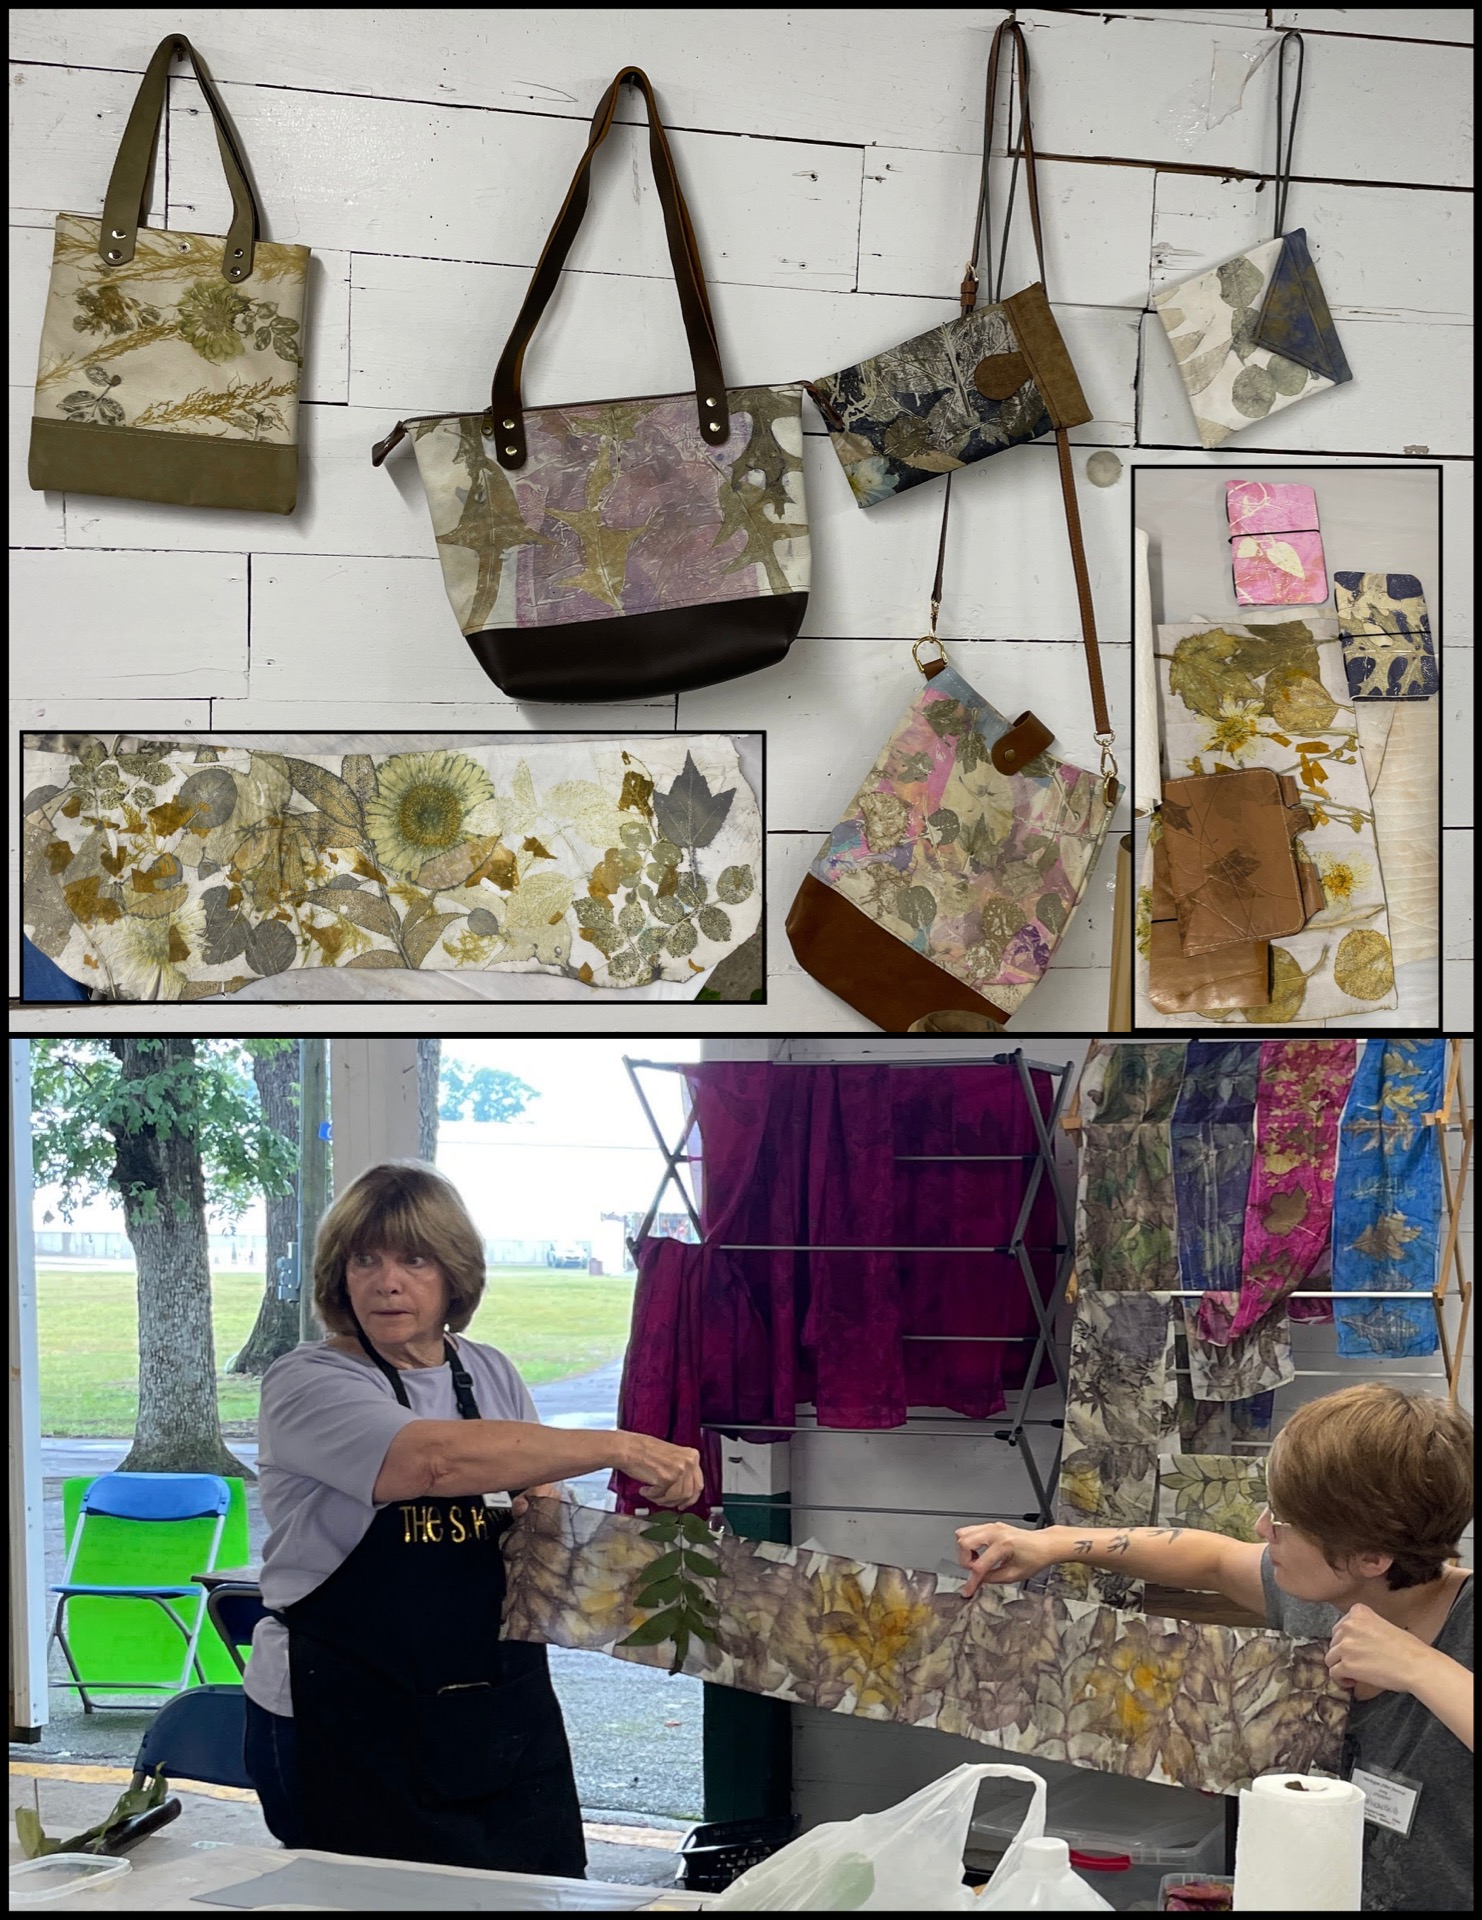
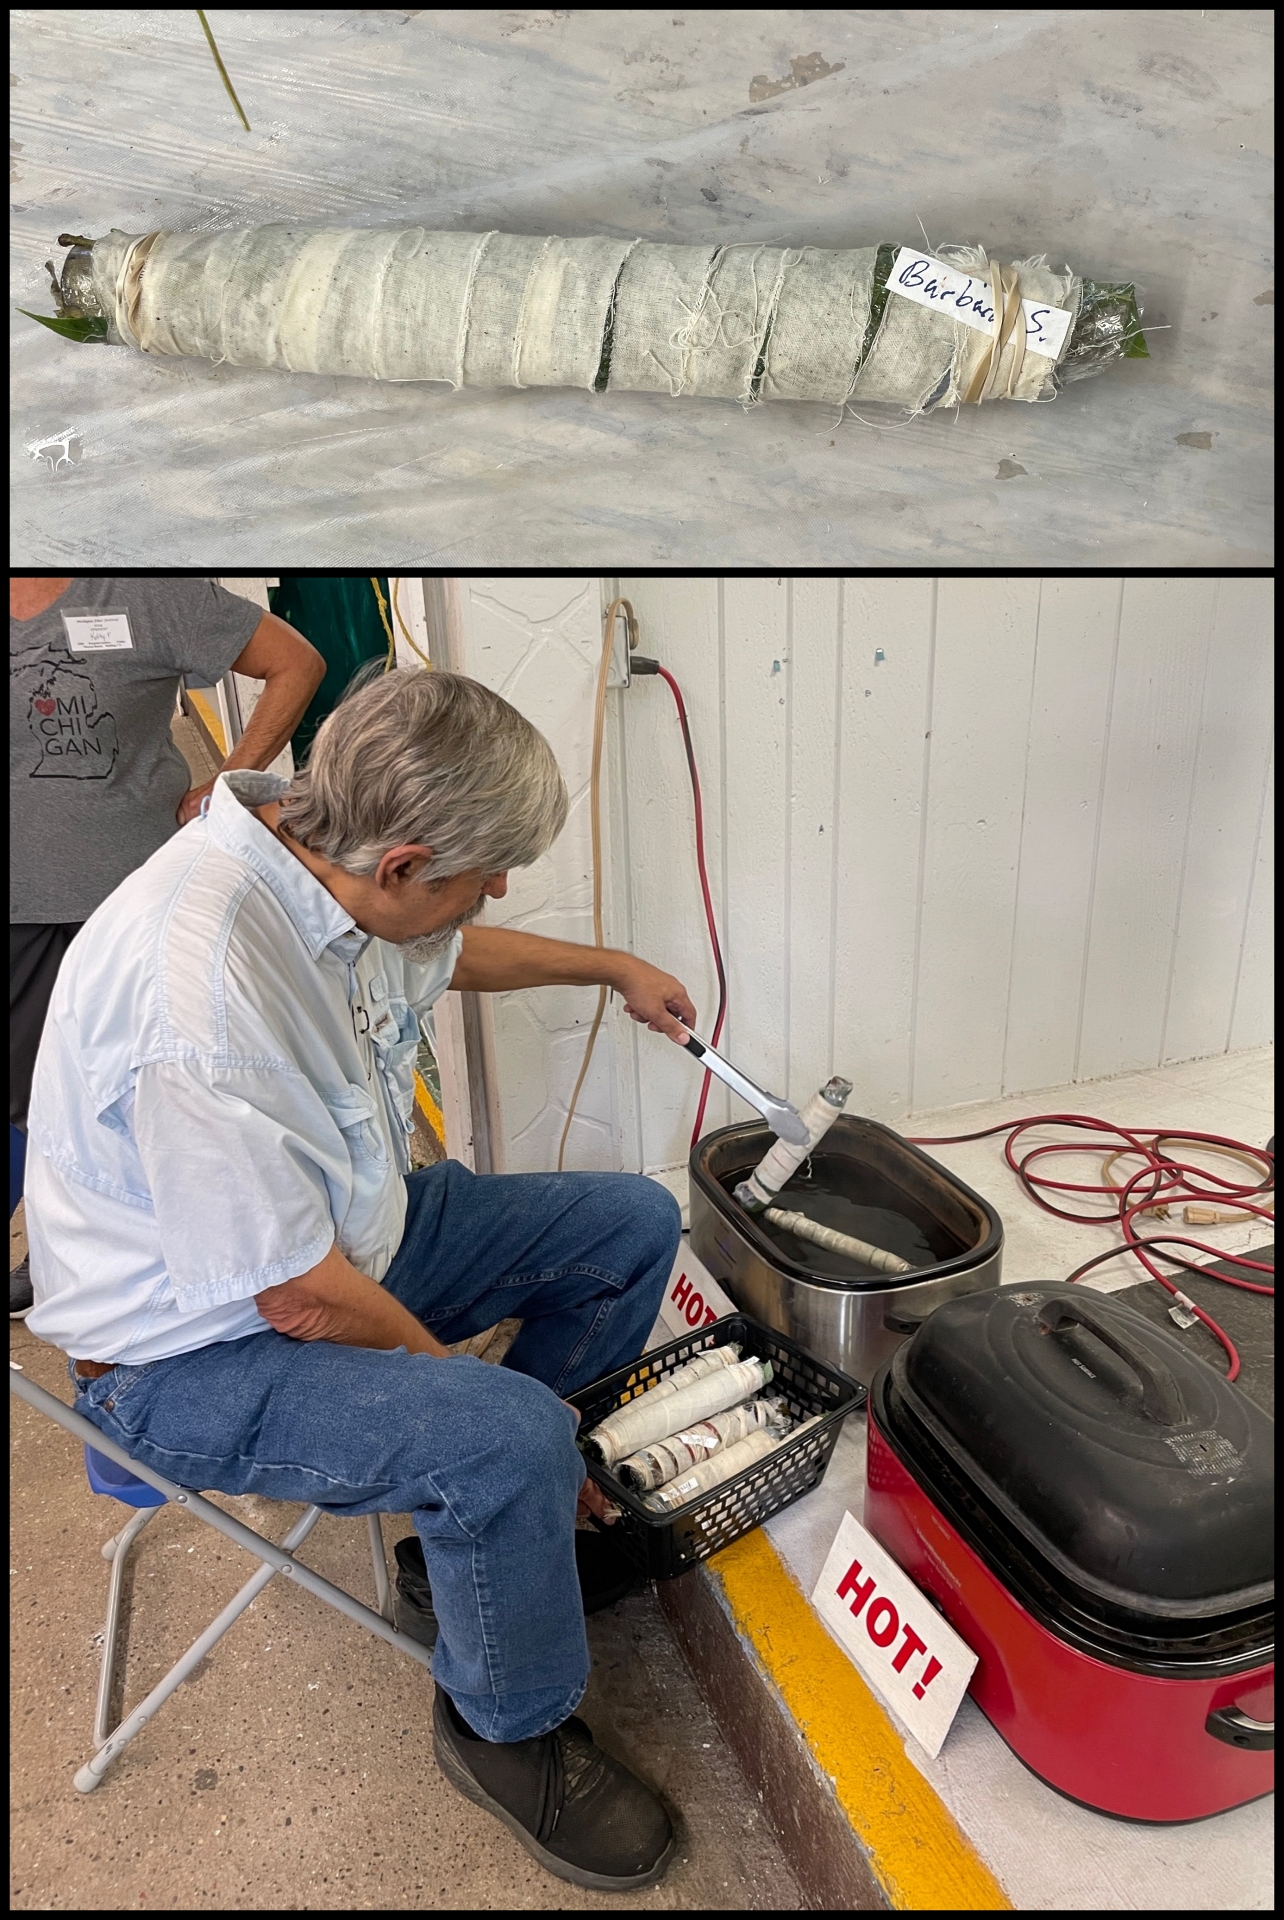
Friday – Ecoprint on Leather Naturally & in Color withM. Teresa Brown Learn how to ecoprint on lambskin leather naturally as well as create a beautiful background in color! Ecoprinting (also known as botanical printing) involves collecting leaves, plants and flowers to imprint their images directly upon the leather.
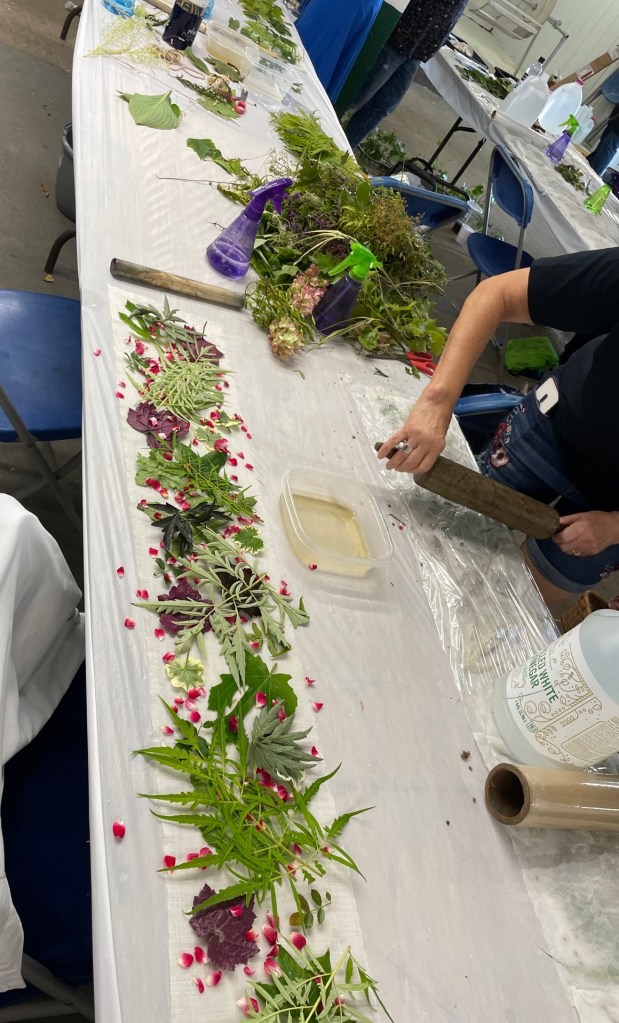
Because I am not really a plant person and have never done any Ecoprinting on fabric, let a lone leather, I wasn’t sure what to expect. Throughout the day Teresa discussed: • Leather -everything you need to know to understand, locate, select and work with leathers that accept ecoprinting no matter where you live! • Equipment-what you need and how to use it (most of which you already have! • Plants-All about plants, leaves, weeds and flowers and using them on Leather • Mordants- descriptions and ratios • Dyes- easy to use selections for permanent results • Care – and conditioning of your leather • Sources for leather, dyes and mordants and tools (in US and online)
We used sheepskin and lambskin (8in x 20in/20cm x 50cm), laid our plant materials, rolled, wrapped and set the bundles into a hot water bath (175F/80C) for 75 min.
Coming back after lunch we unrolled our bundles and WOW!. It was really interesting to see how the different leaves and blossoms printed. The lambskin piece also incorporated using a dye blanket to create a background color to the leather.
~~~~~~~~~~~~~~~~~~~~~~~~~~~~~~~~~~~
Saturday – Easy Dye Silk Scarves with Teresa Brown Create your own beautiful abstract designs on silk scarves. No need to steam or heat set with the specially formulated, safe dyes. You’ll leave with 2 ready to wear pure silk scarves.
I enjoyed the EcoPrint on Leather and when saw that there were still openings for Teresa’s mini workshop on Saturday morning I signed up. I have limited space at home to do any dyeing so I was interested in which dyes we would use that do not require steam or heat to set.
For the first scarf we were shown 3 different ways of folding and scrunching the fabric then used pipette to draw the dye in a line or simply one drop at a time. The second scarf was of our won design.
~~~~~~~~~~~~~~~~~~~~~~~~~~~~~~~~~~~
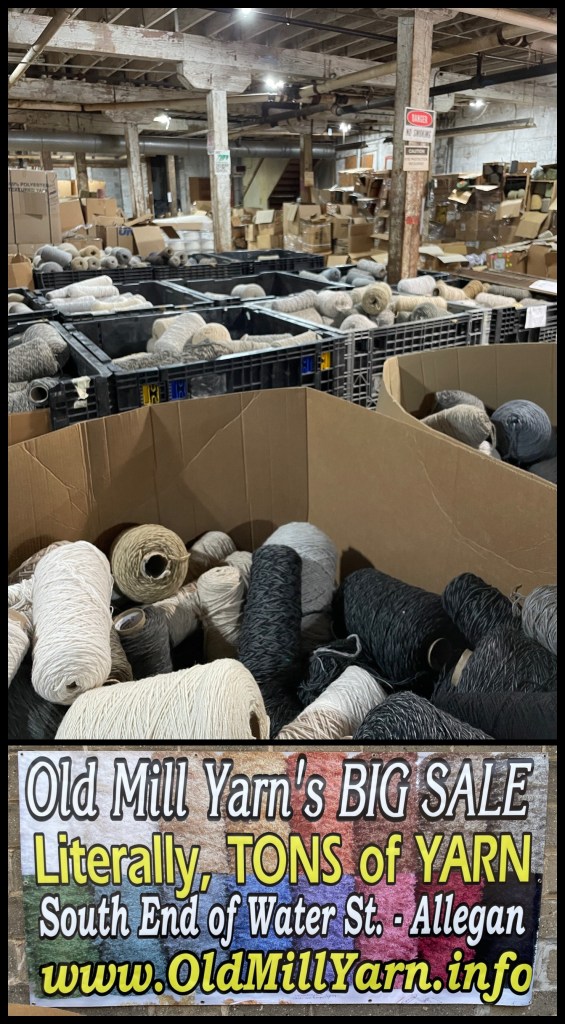
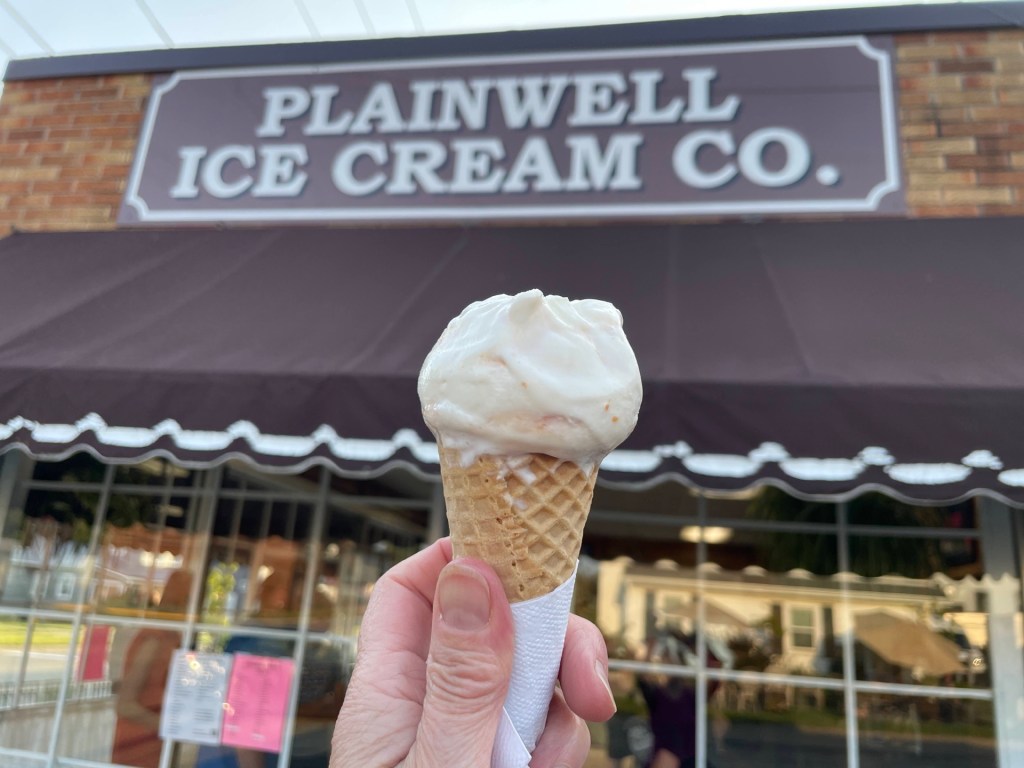
This year’s Michigan Fiber Festival was another welcoming set of days filled with excellent workshops, strolls past vendor stalls and in the animal barns, chatting with old friends and new, topped off with evening meals at favorite local brewpubs Schaendorf Brewing Co. in Allegan, Maude’s Taphouse in Otsego, Old Mill Brewpub in Plainwell and of course a stop at Plainwell Ice Cream Company.
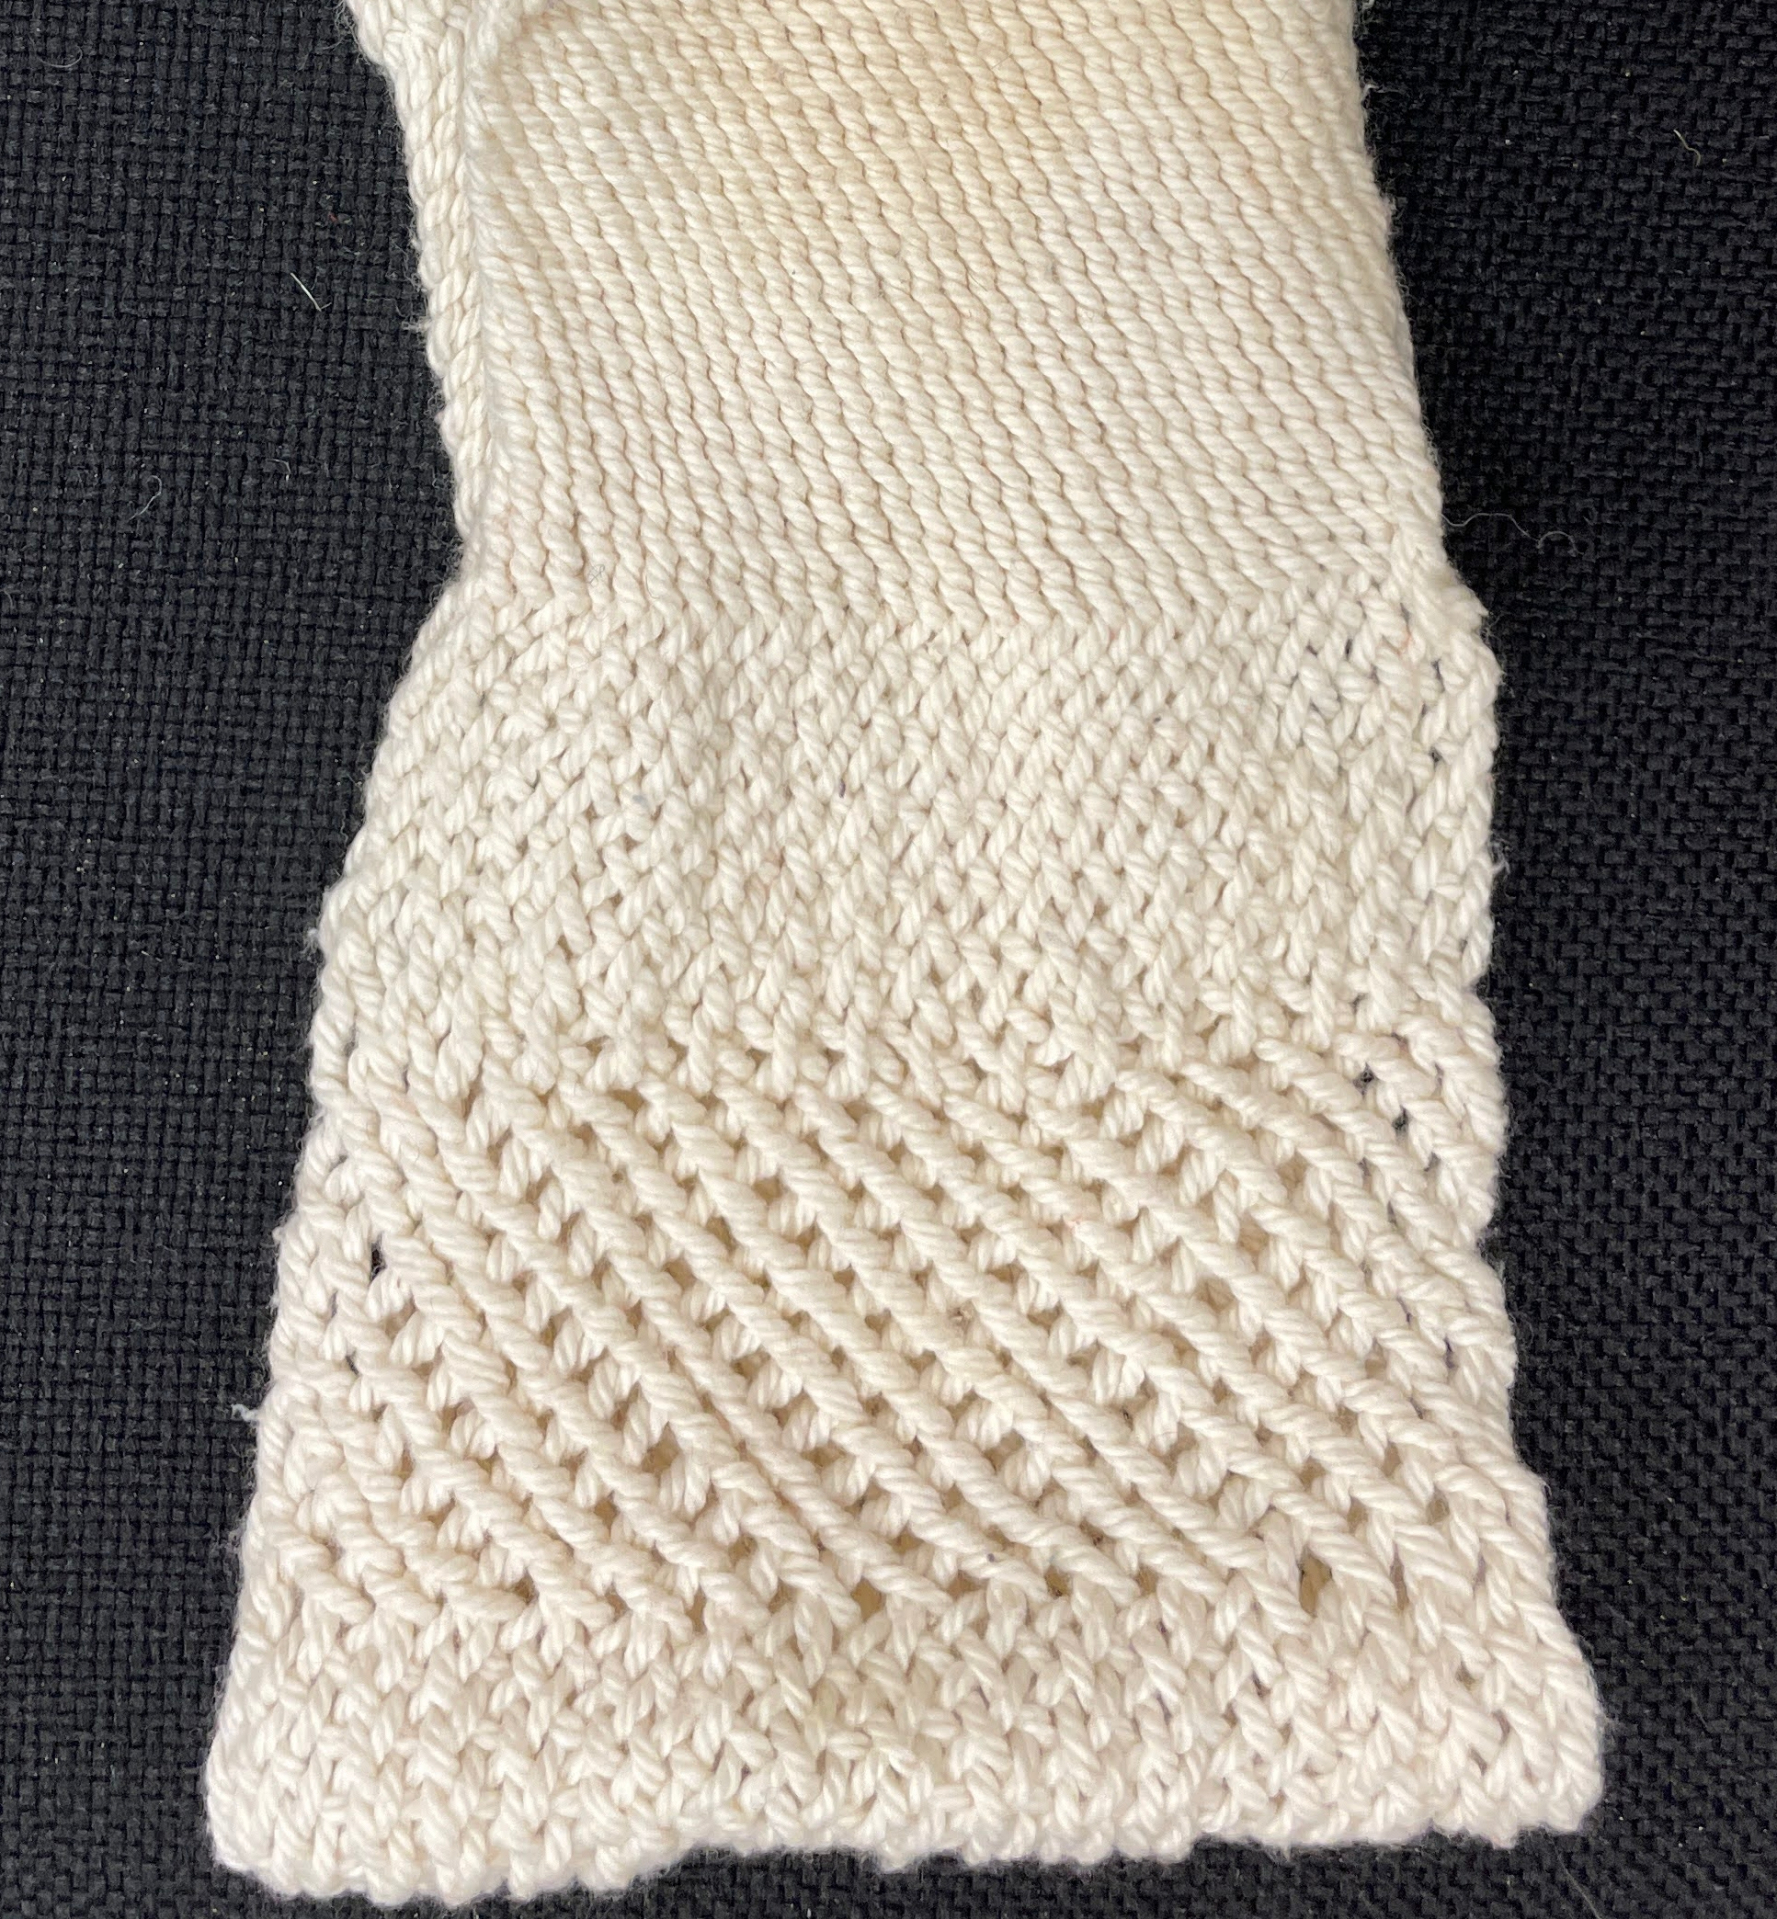
Sprang: An ancient method of constructing fabric where threads or cords are intertwined and twisted over one another to form an openwork mesh that has a natural elasticity. Archaeological evidence from the Bronze age indicates that Sprang predates knitting.
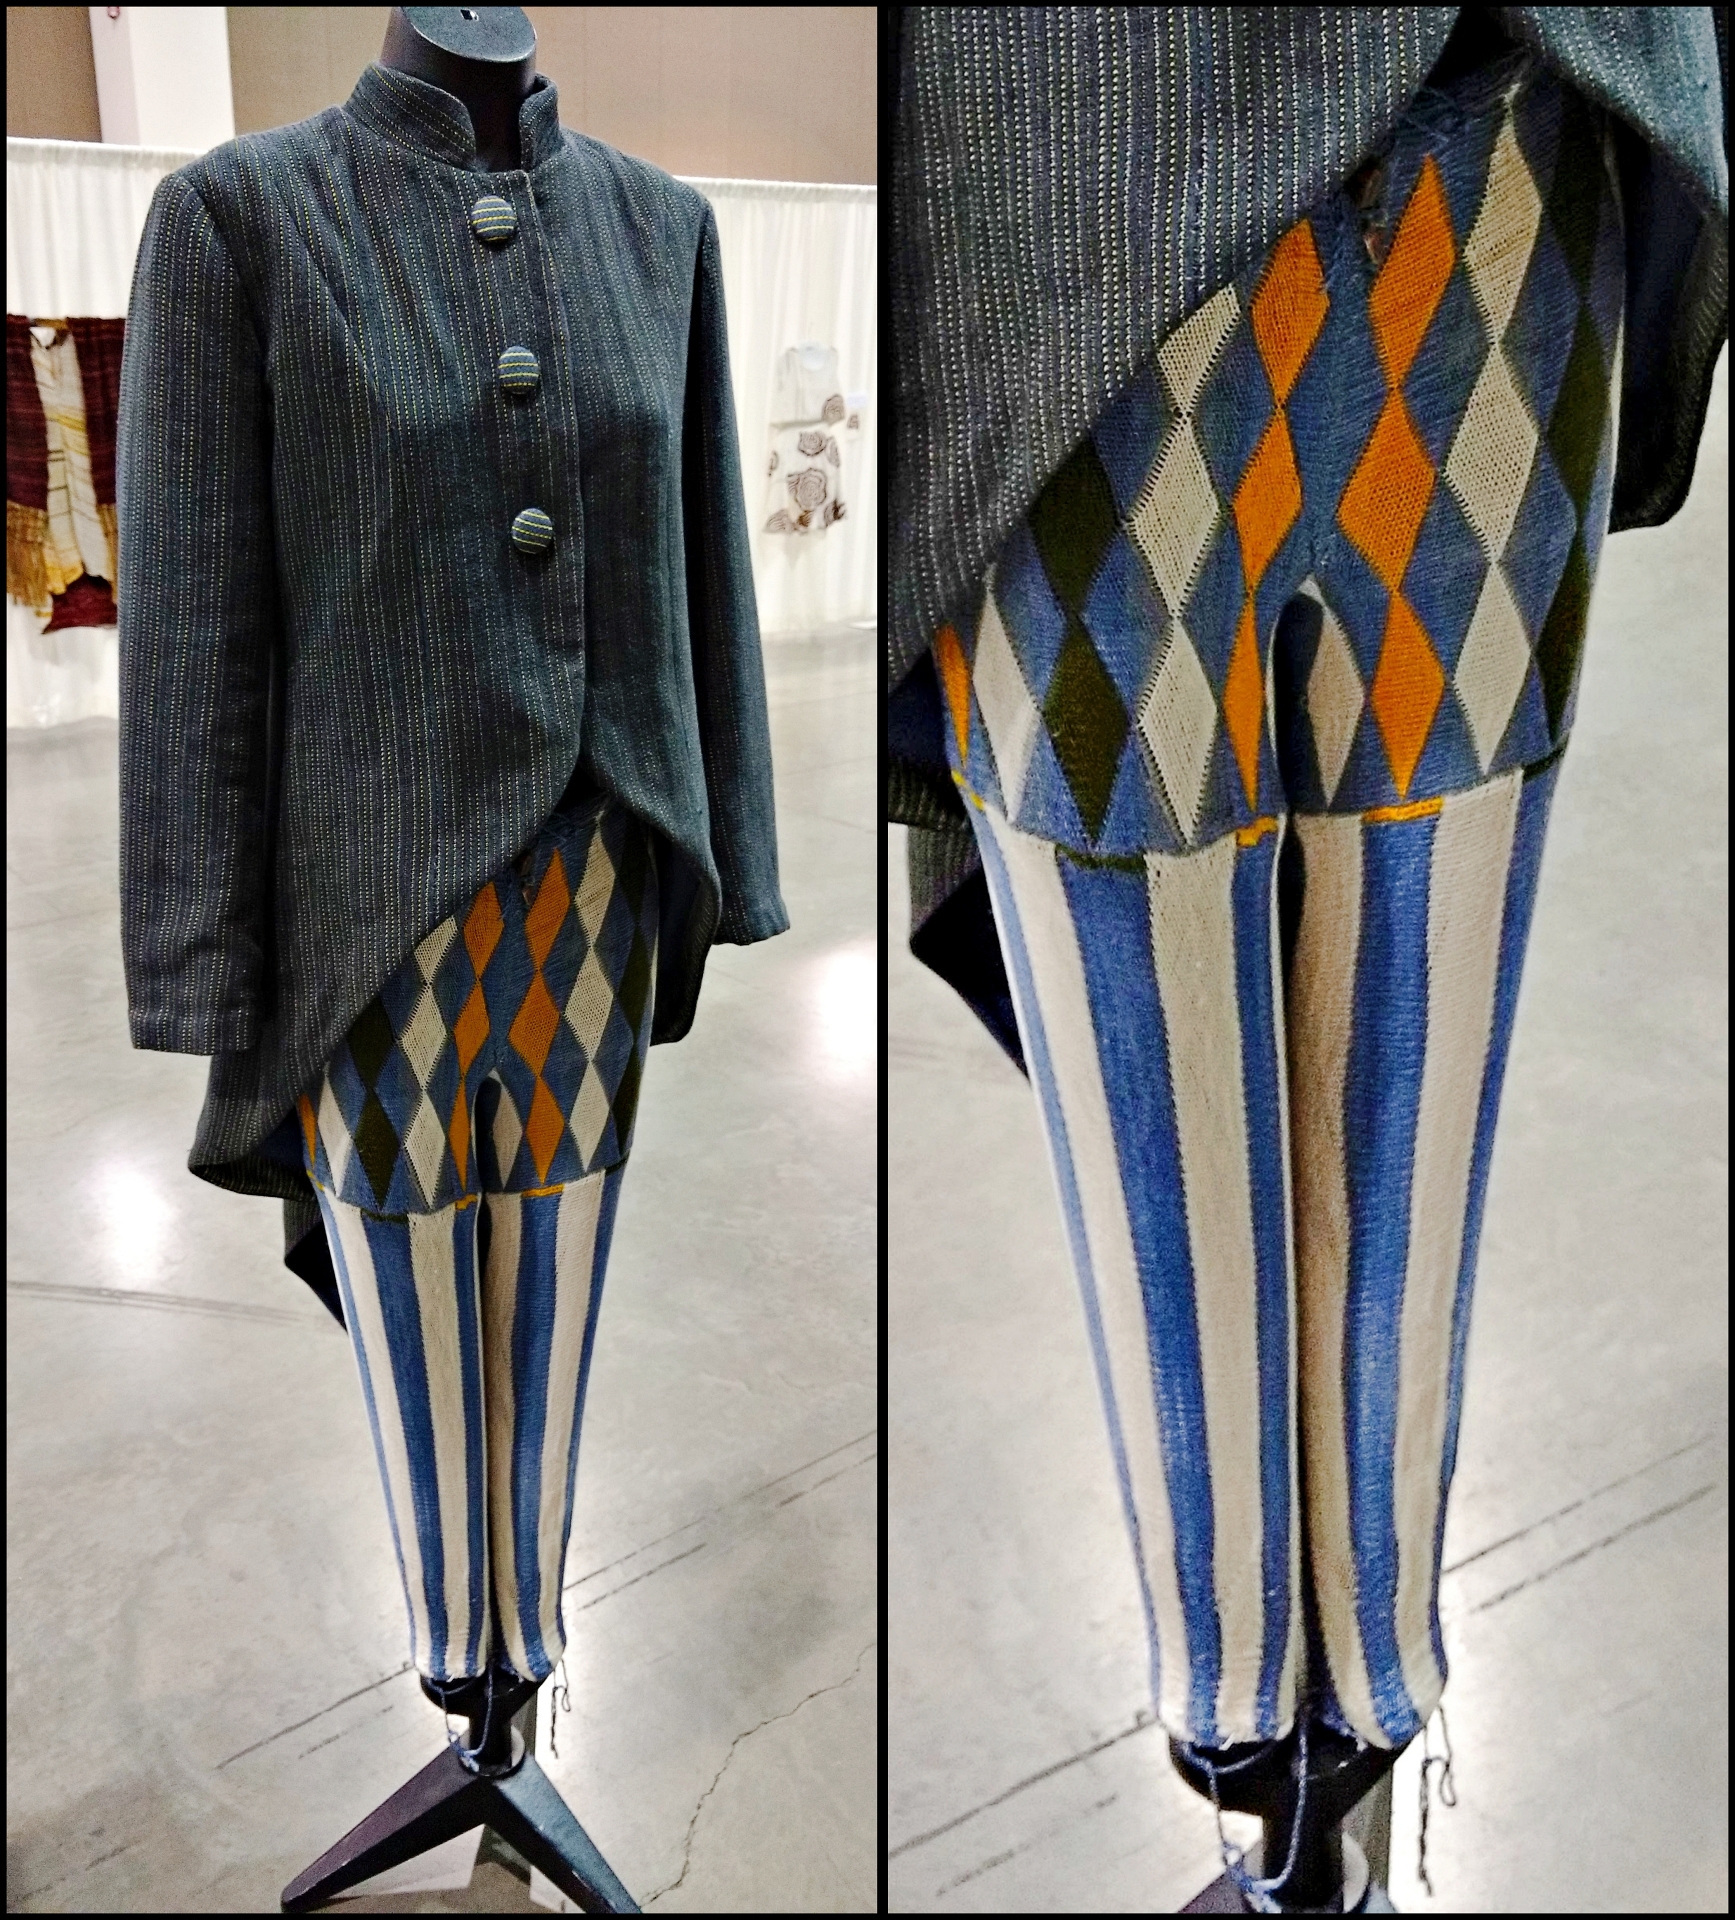
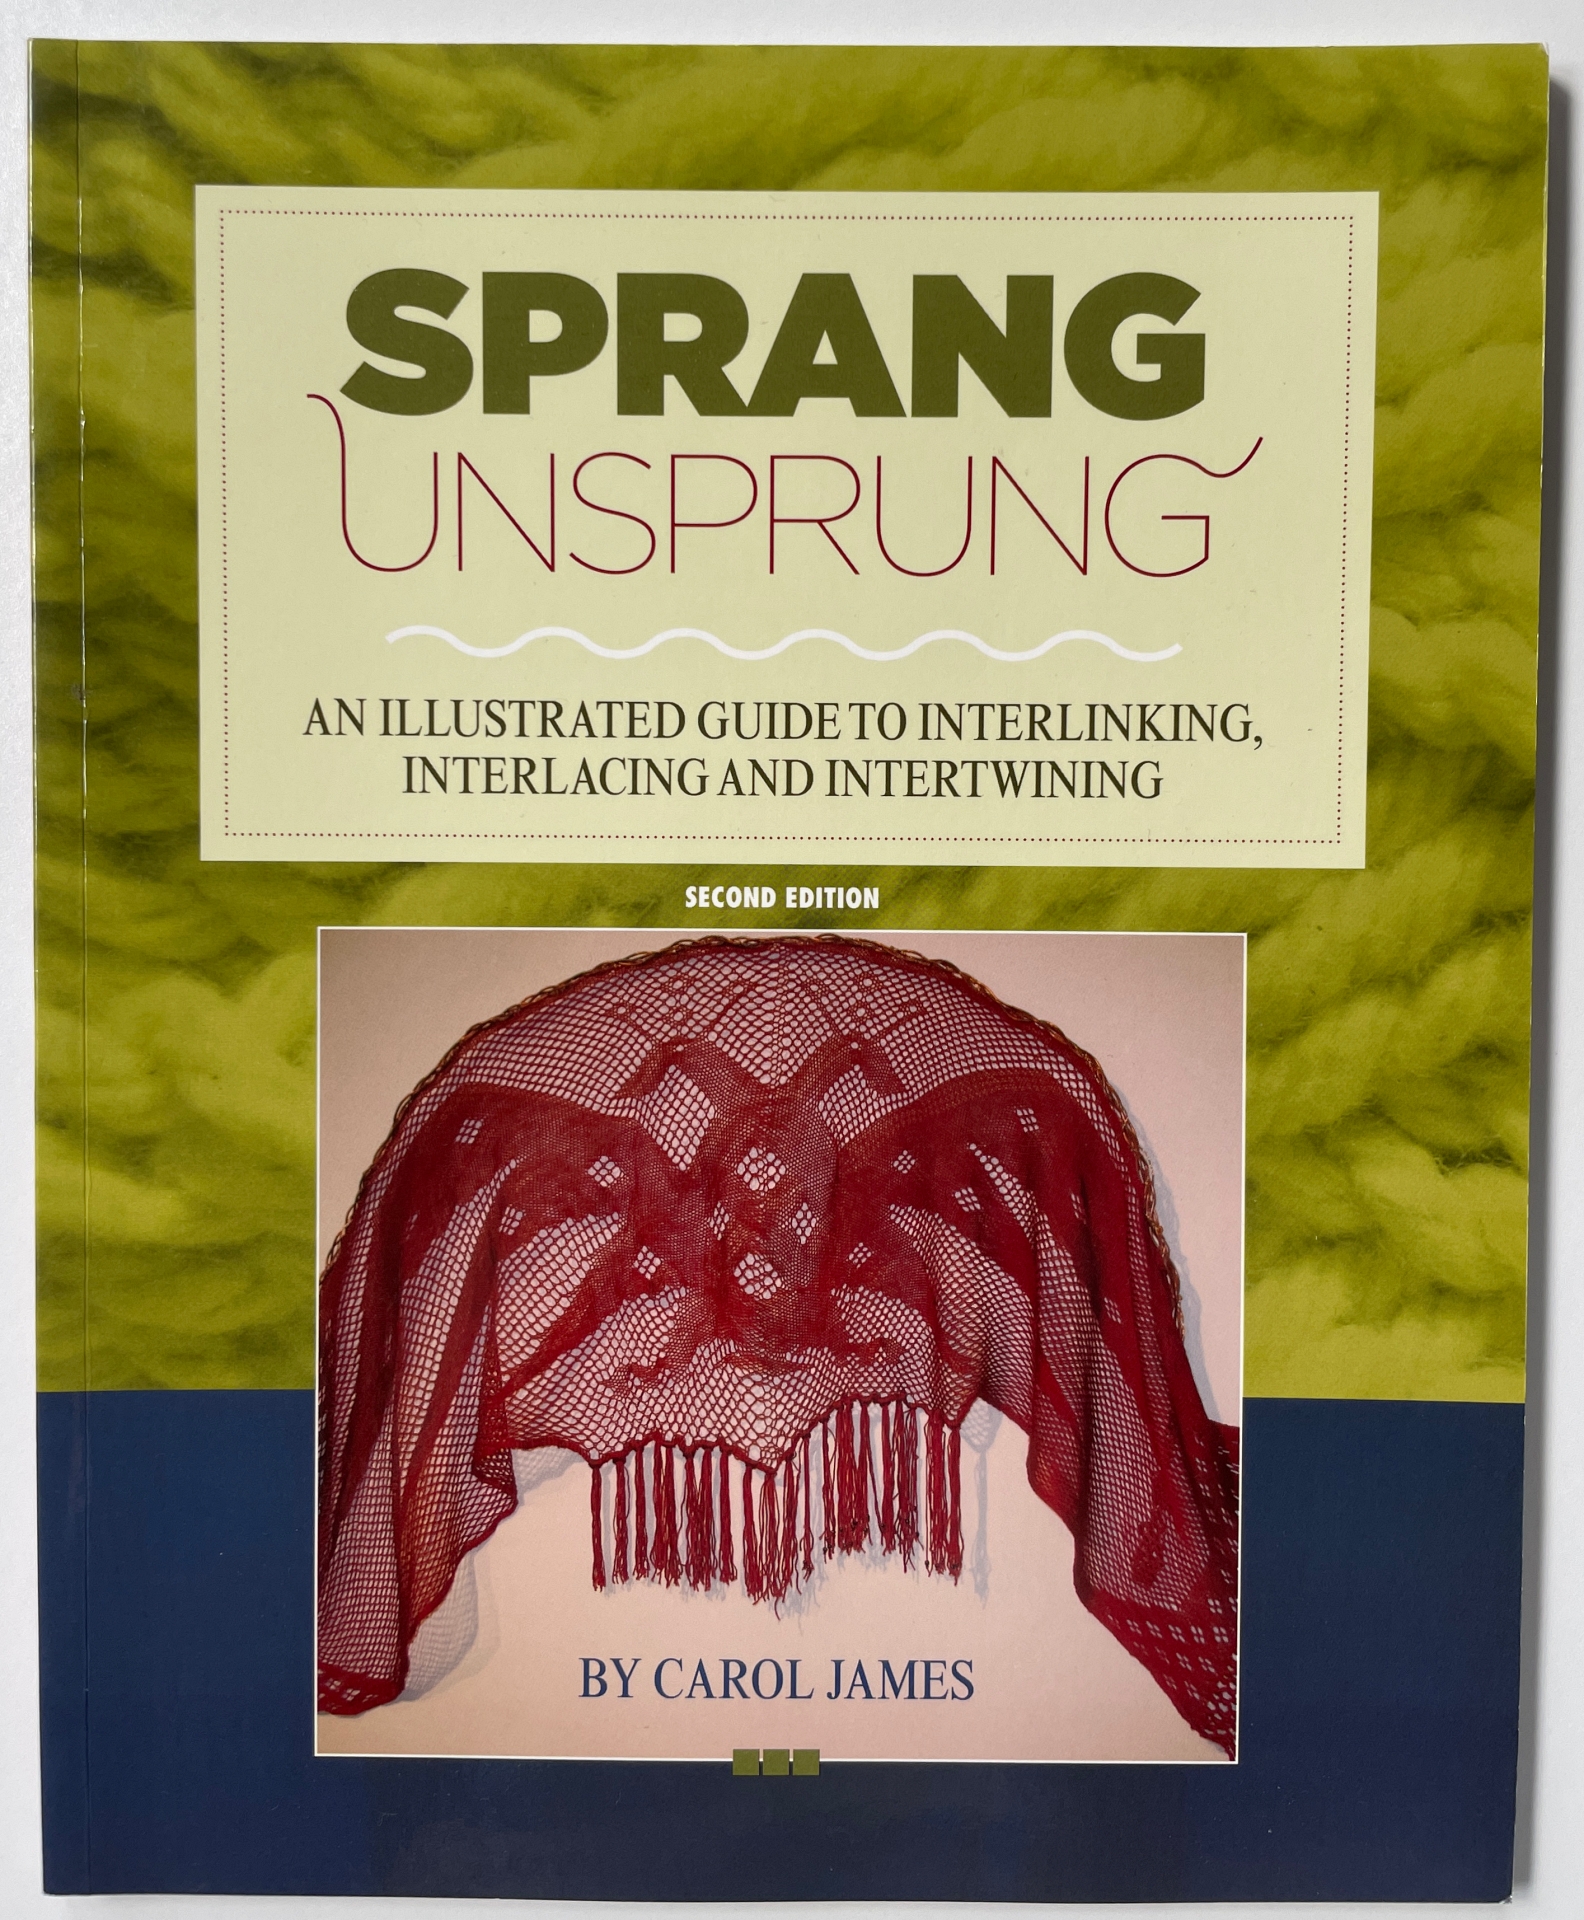
Back in 2016 I attended theHandweavers Guild of America biennial International Fiber Conference Convergence® in Milwaukee Wisconsin. It was here I saw Sprang for the first time. Carol James made an amazing pair of sprang ‘trousers’ which were part of the fashion show. I was intrigued and bought her book Sprang Unsprung to add to my fiber techniques library .
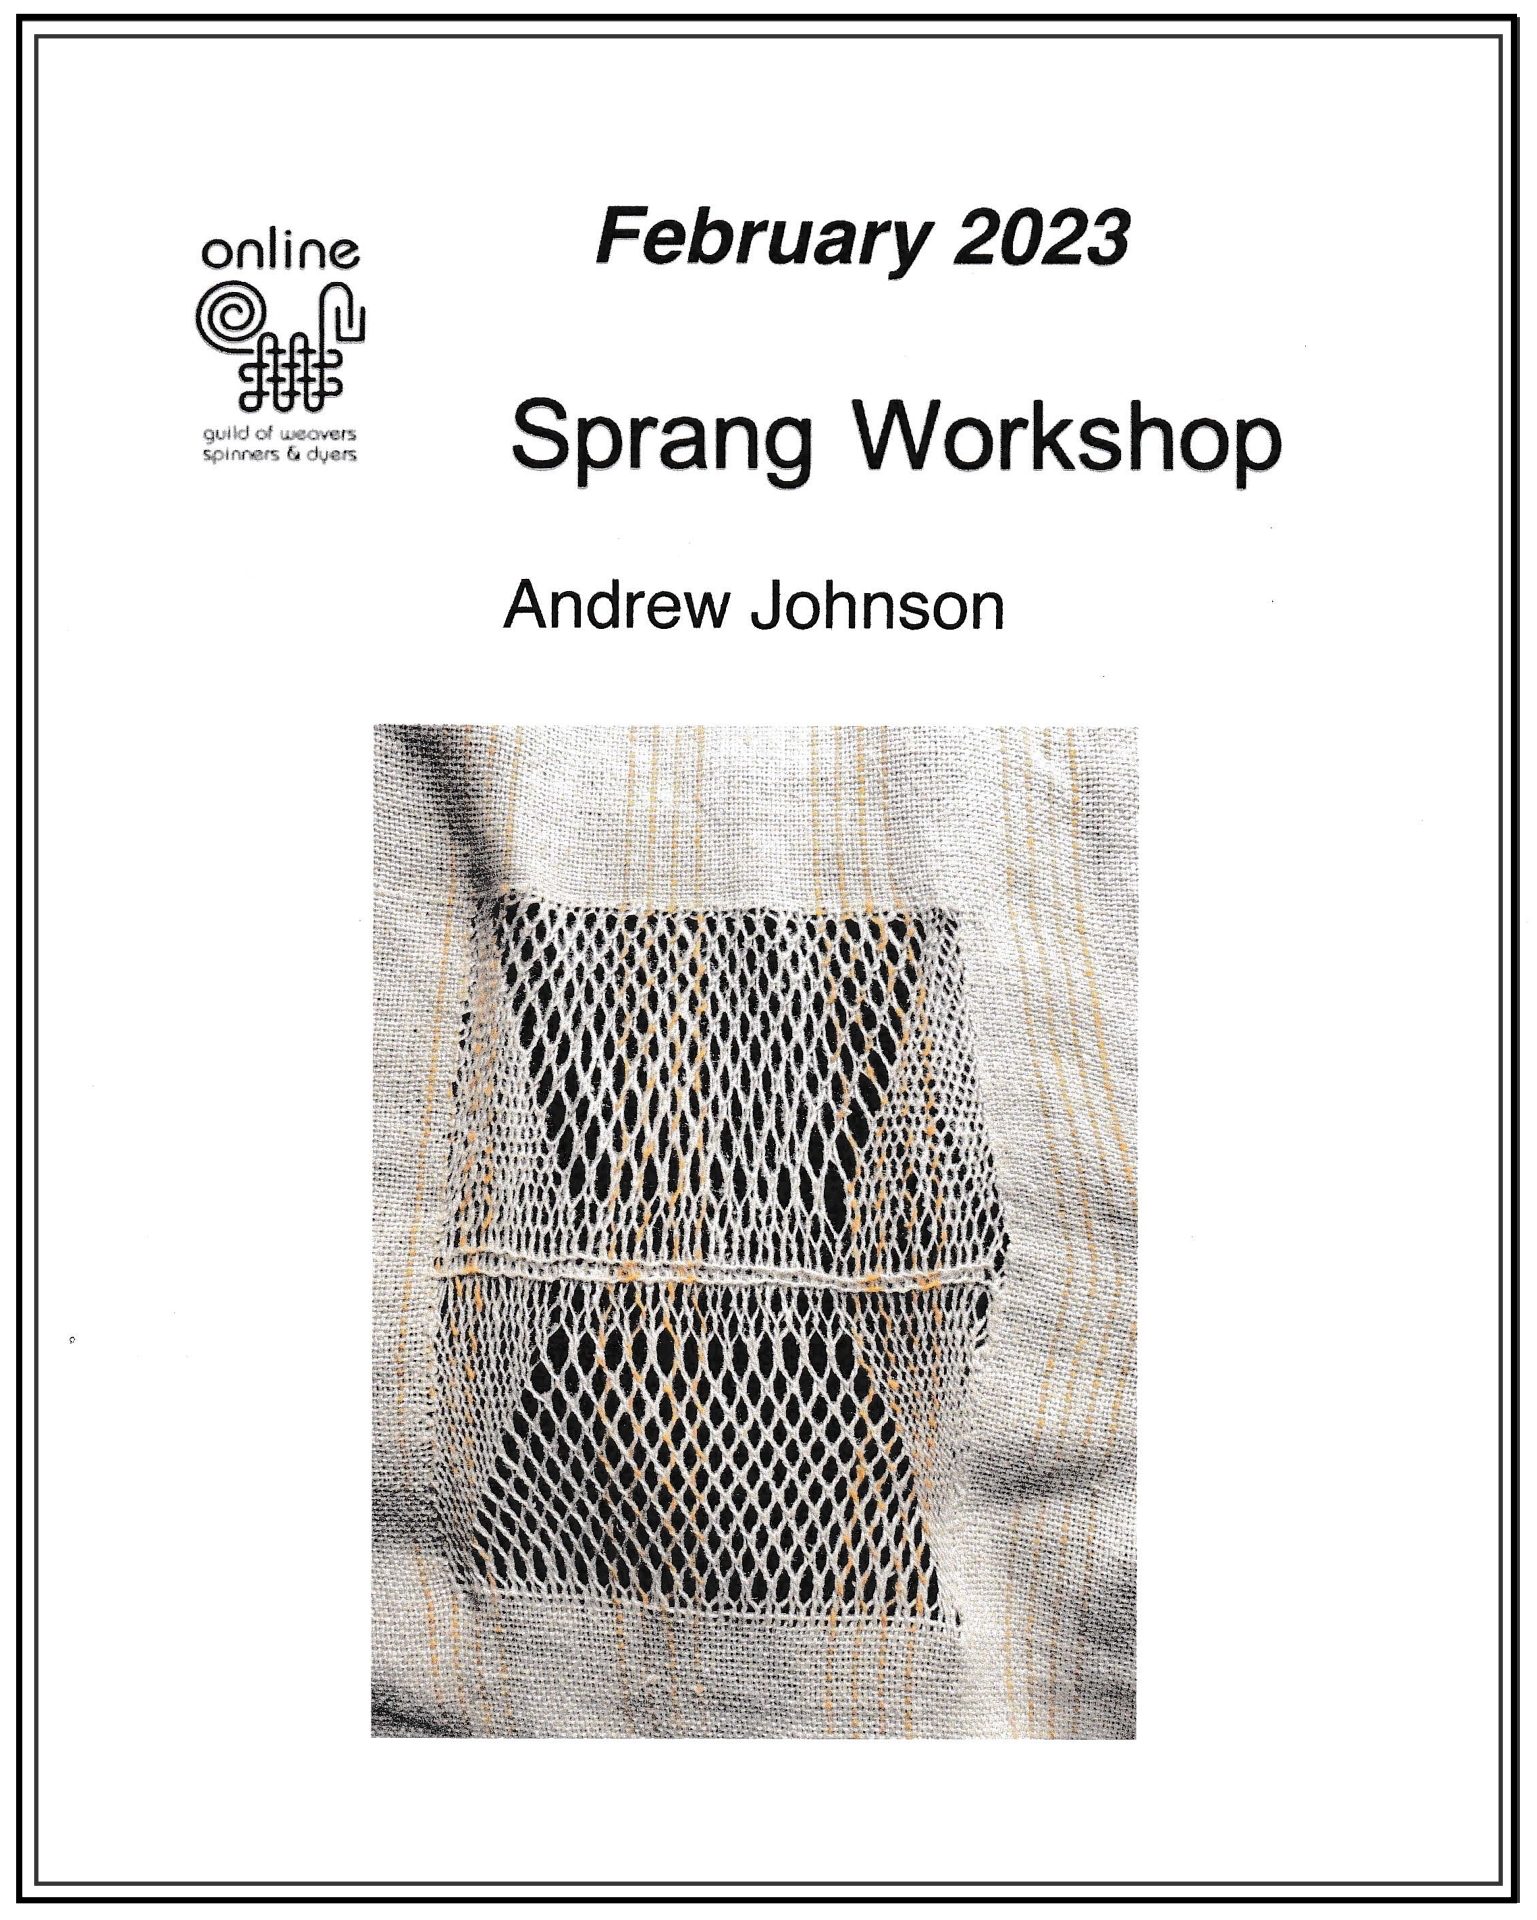
The good news is my interest in Sprang was rekindled. The bad news…although Andrew’s explanations and Carol’s book are well written I realized that for me to learn this very spatially oriented technique I need to take an in-person workshop.
This year Convergence® was held in Wichita Kansas July 11-17, 2024.
I was already attending the National Storytelling Network conference “Together Again” (our first in-person conference since Covid) in Seattle from July 11-14 and would not be able to attend the main events but as I skimmed the offerings for the end of Convergence® I saw that a Sprang workshop with Carol James was being offered from July 15-17!!
The main events for the NSN conference were scheduled Thursday through Saturday with Sunday being a 1/2 day. I left early Sunday morning to fly to Kansas City Missouri, drove to Wichita, and was ready for class Monday morning. I was disappointed that the Wearable Art Fashion Show Exhibit had been taken down Sunday evening (sigh) and the Market Place vendors had now packed up (bummer but good news for my allotted travel budget’s health).
Sprang – Day 1
There are 3 commonly used Sprang stitches: Interlinking, Interlacing and Intertwining.
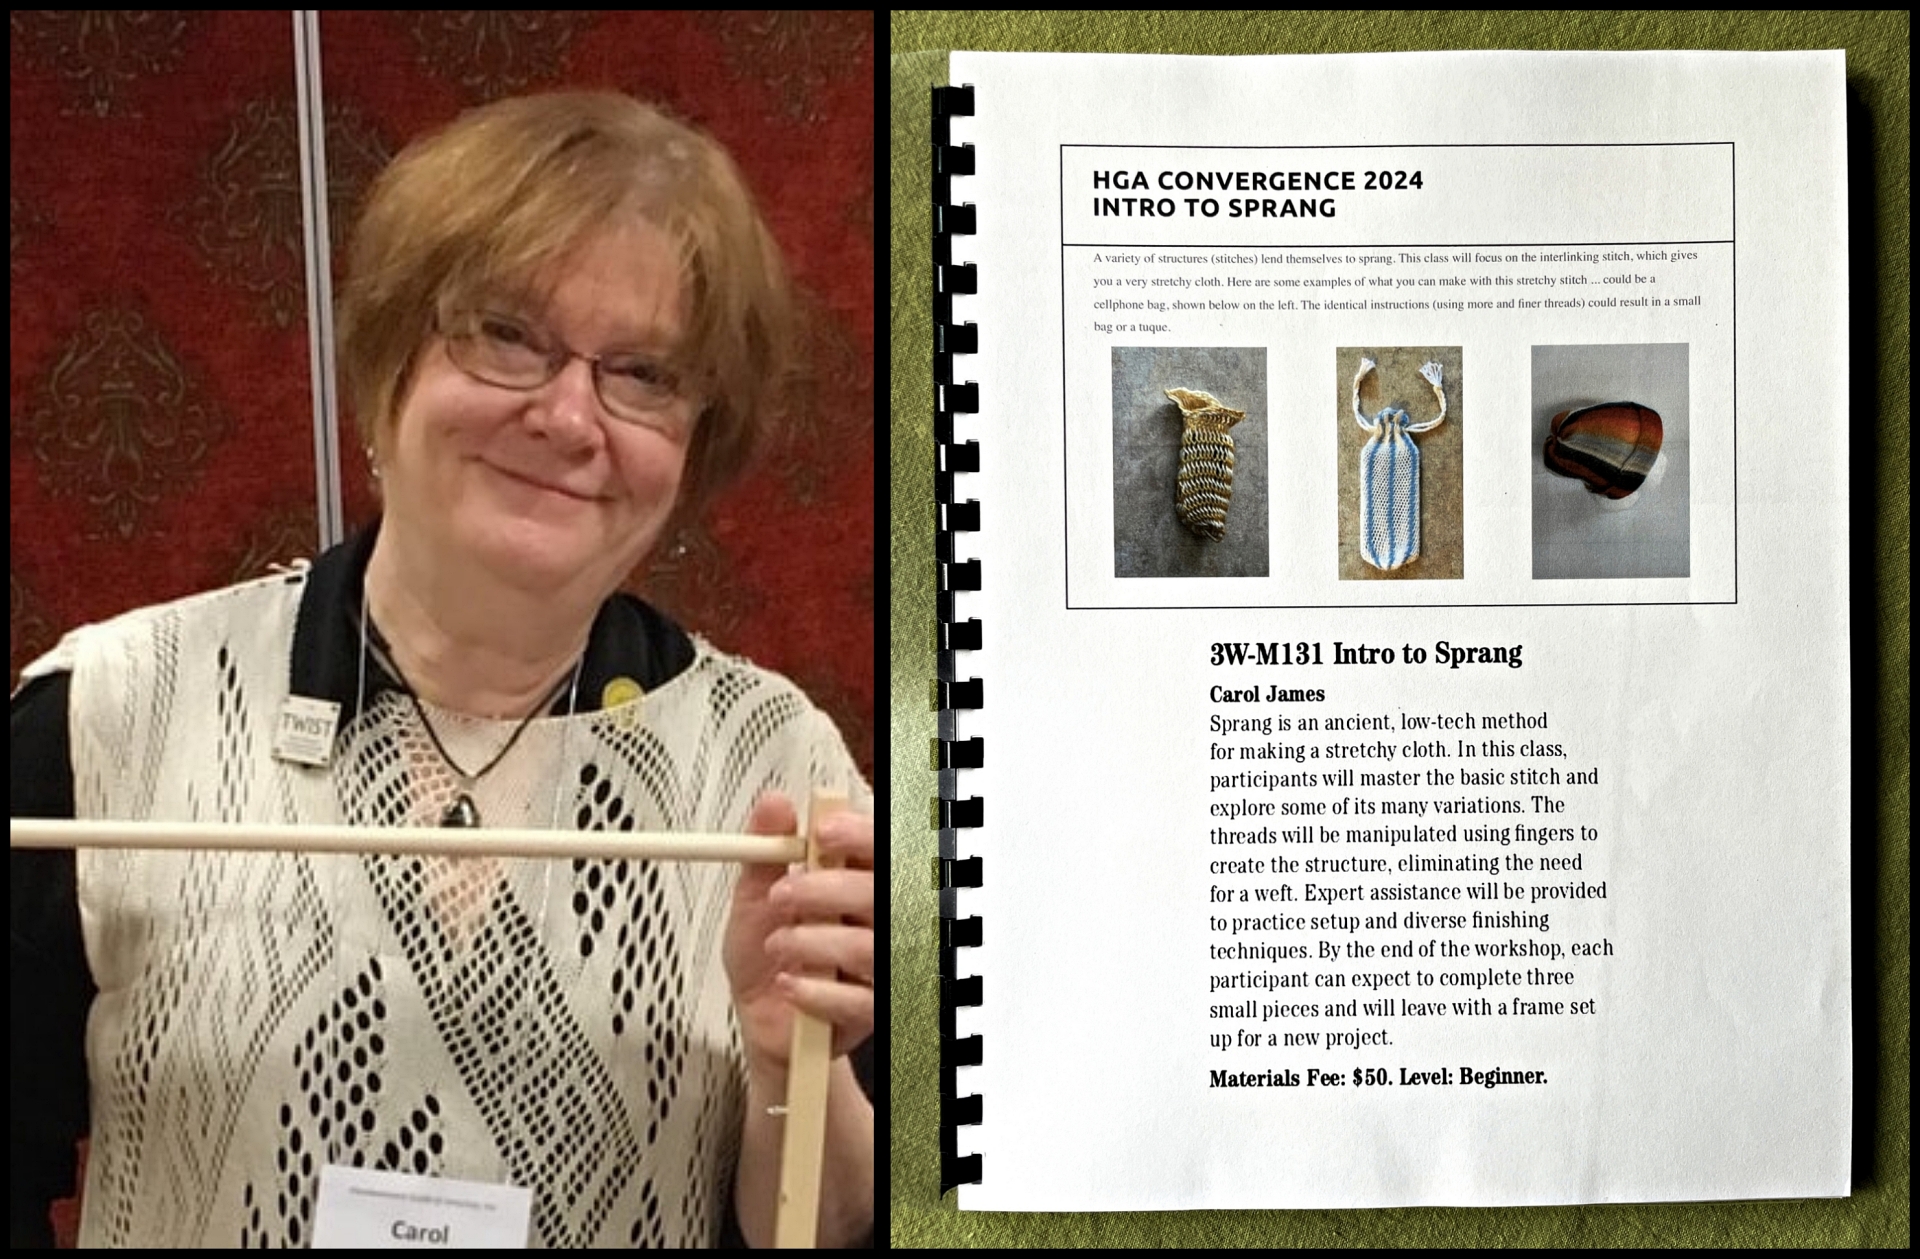
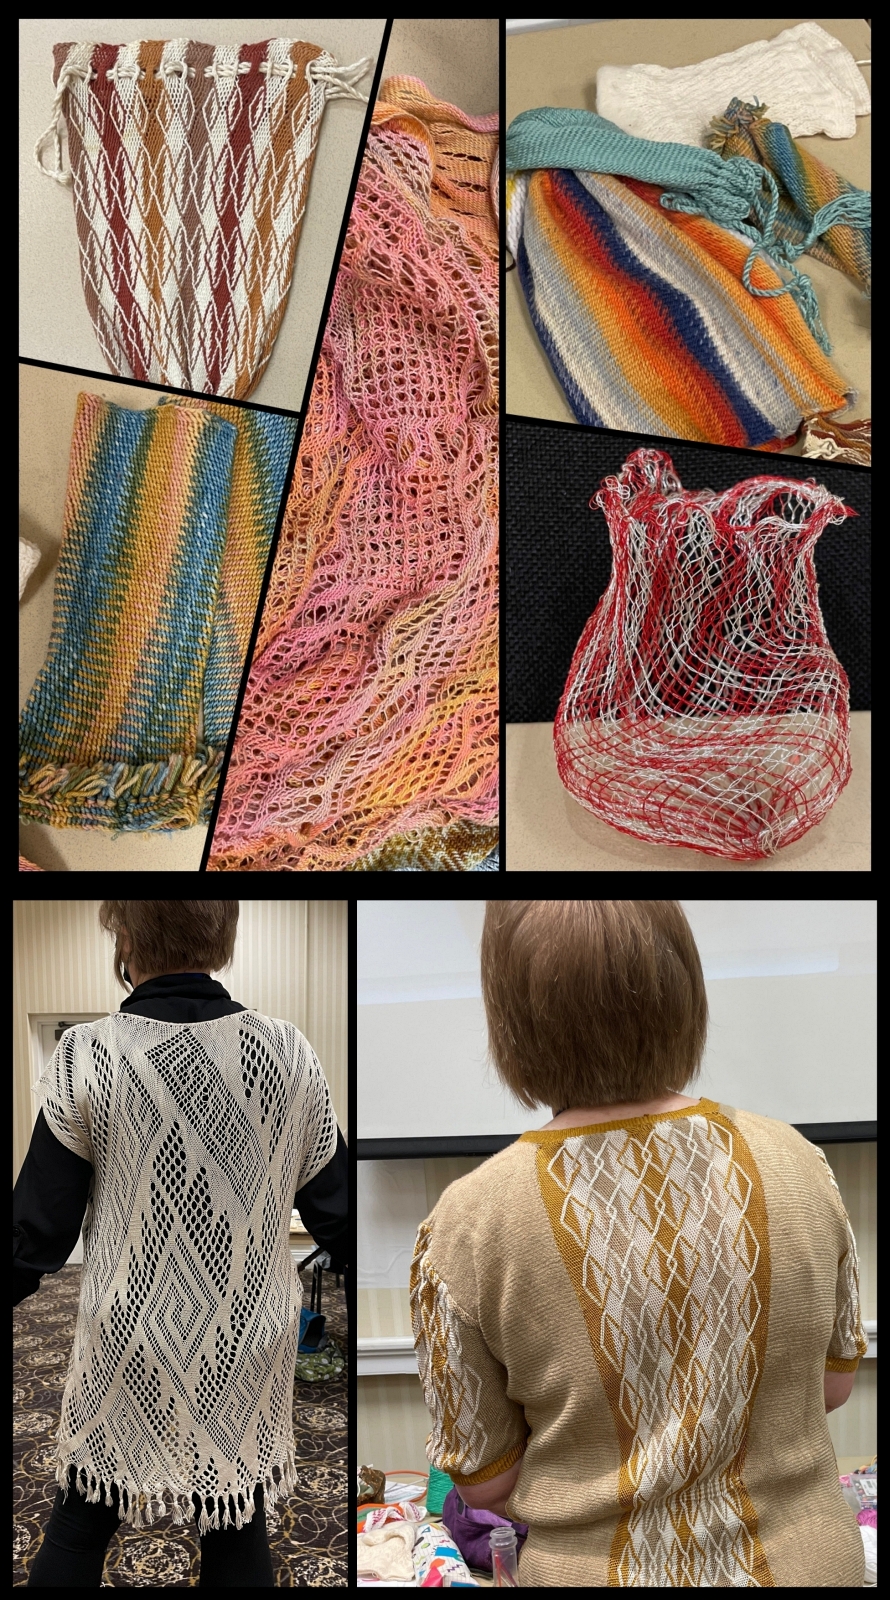
Carol sent handouts in advance and her goal was that by the end of the 3 days we would all have solid understanding of and be comfortable doing a basic interlinking stitch. Her philosophy that any mistakes are simply ‘irregularities that are an invitation to look at structure’ was reassuring. She had lots of samples of things one can make using Sprang – bags, hats, scarves, fingerless gloves, even a wire vessel – and each day she wore a different Sprang garment.
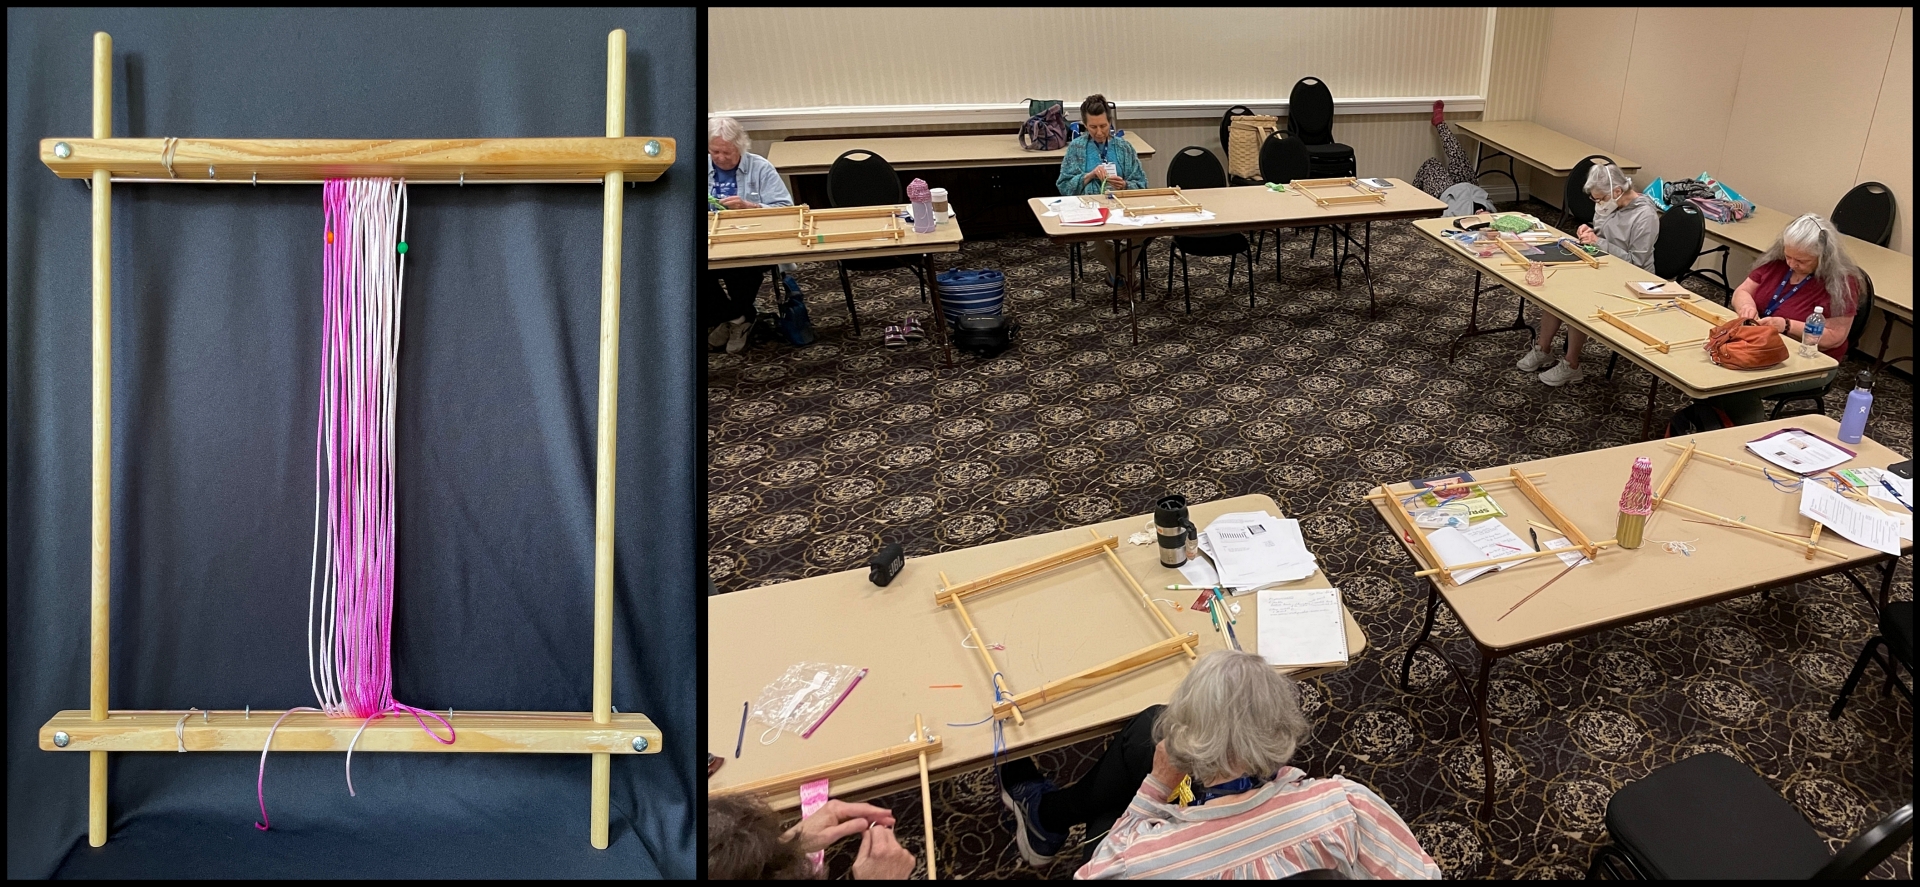
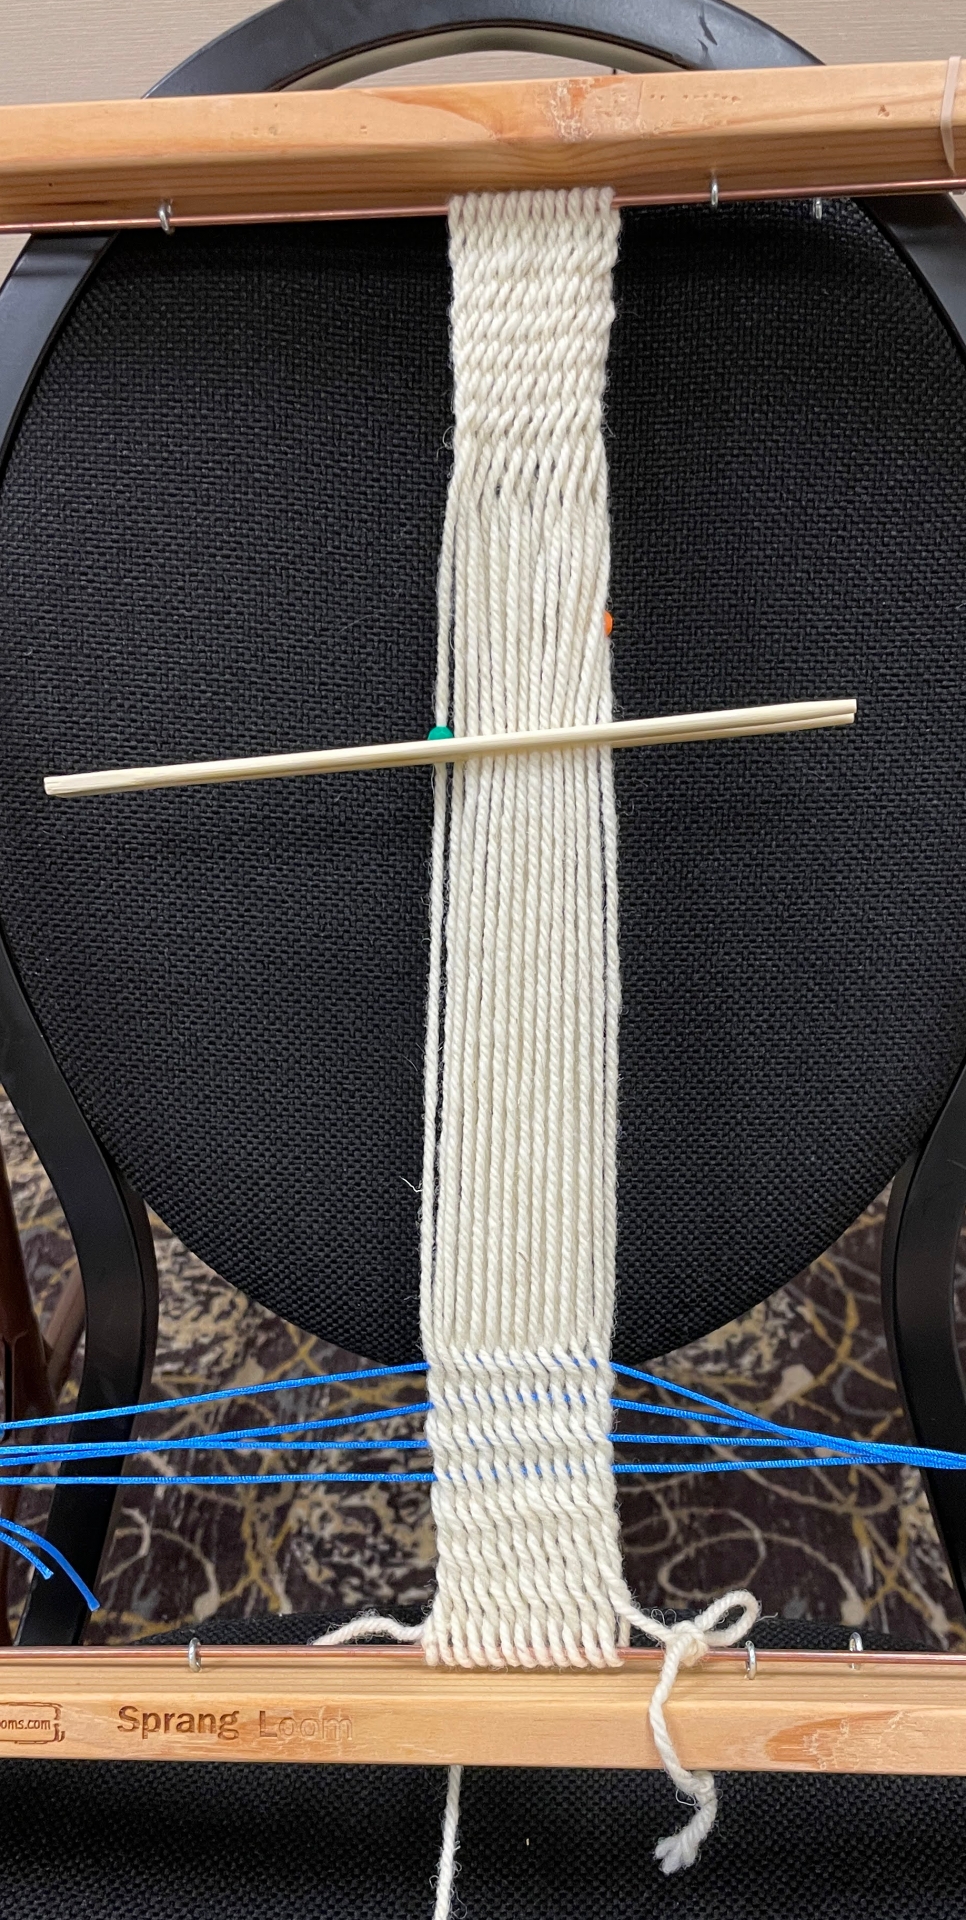
Our materials fee included the loom for us to take home and Carol had already put a warp on it so we were off!
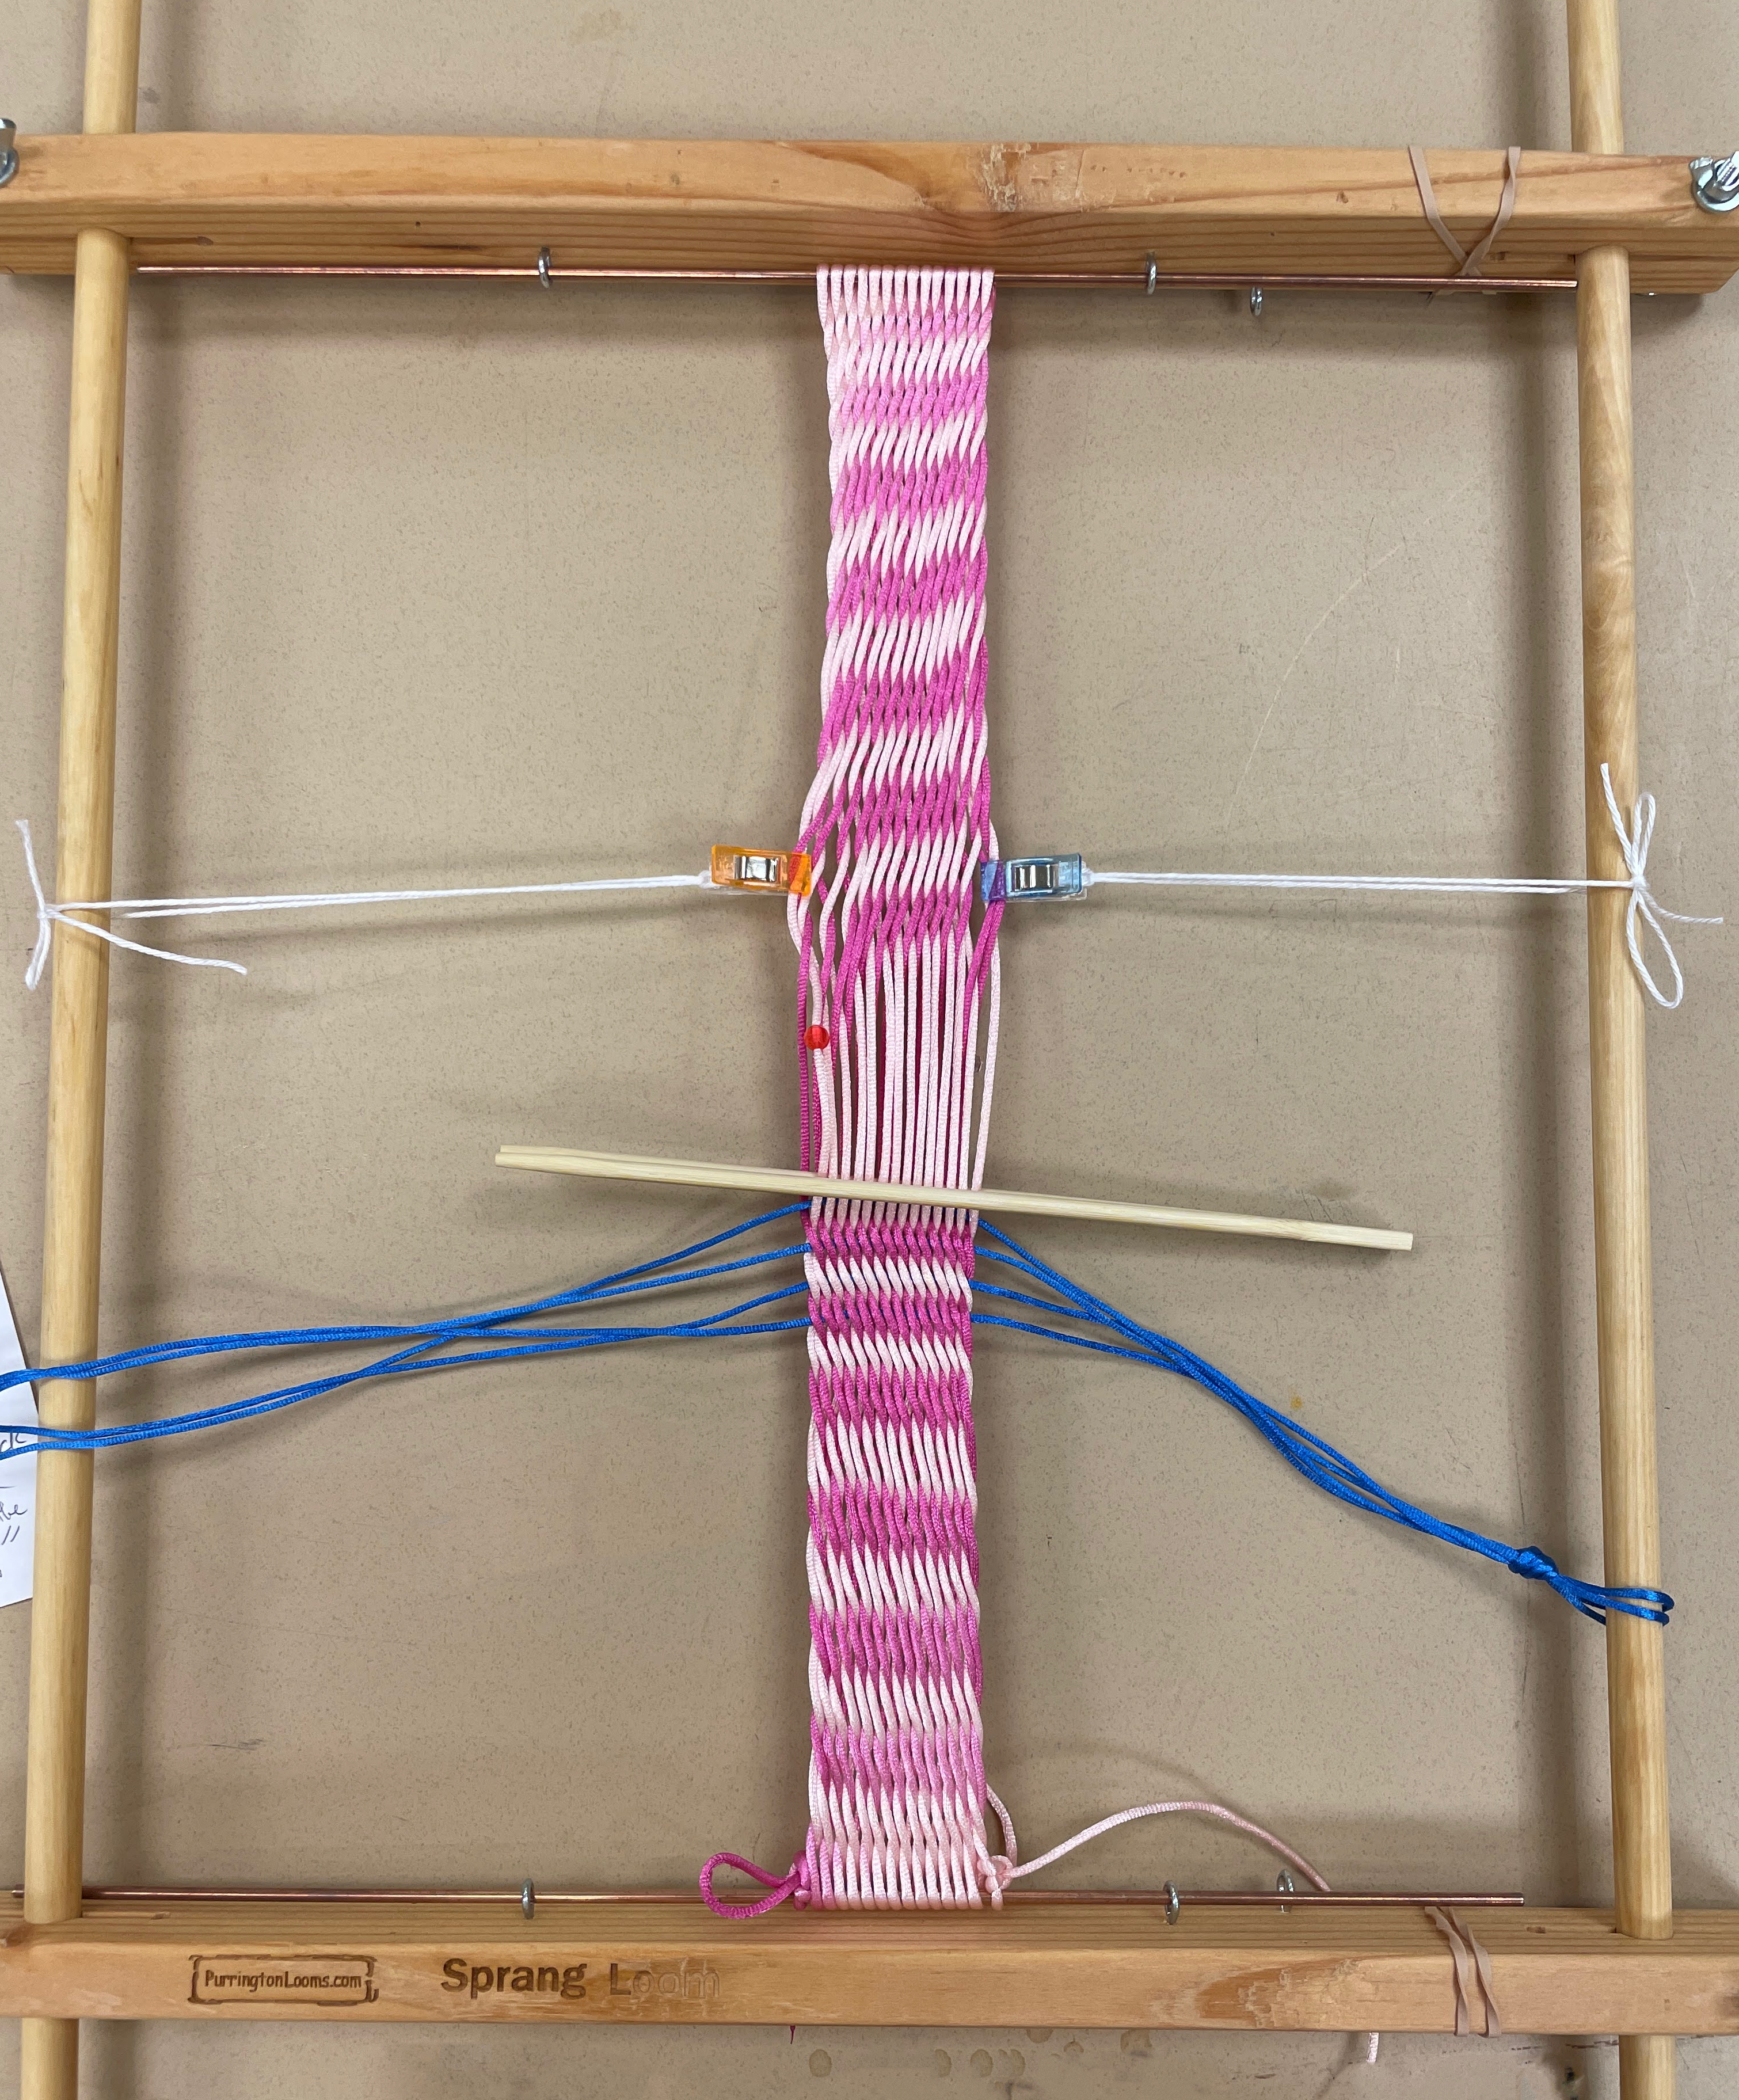
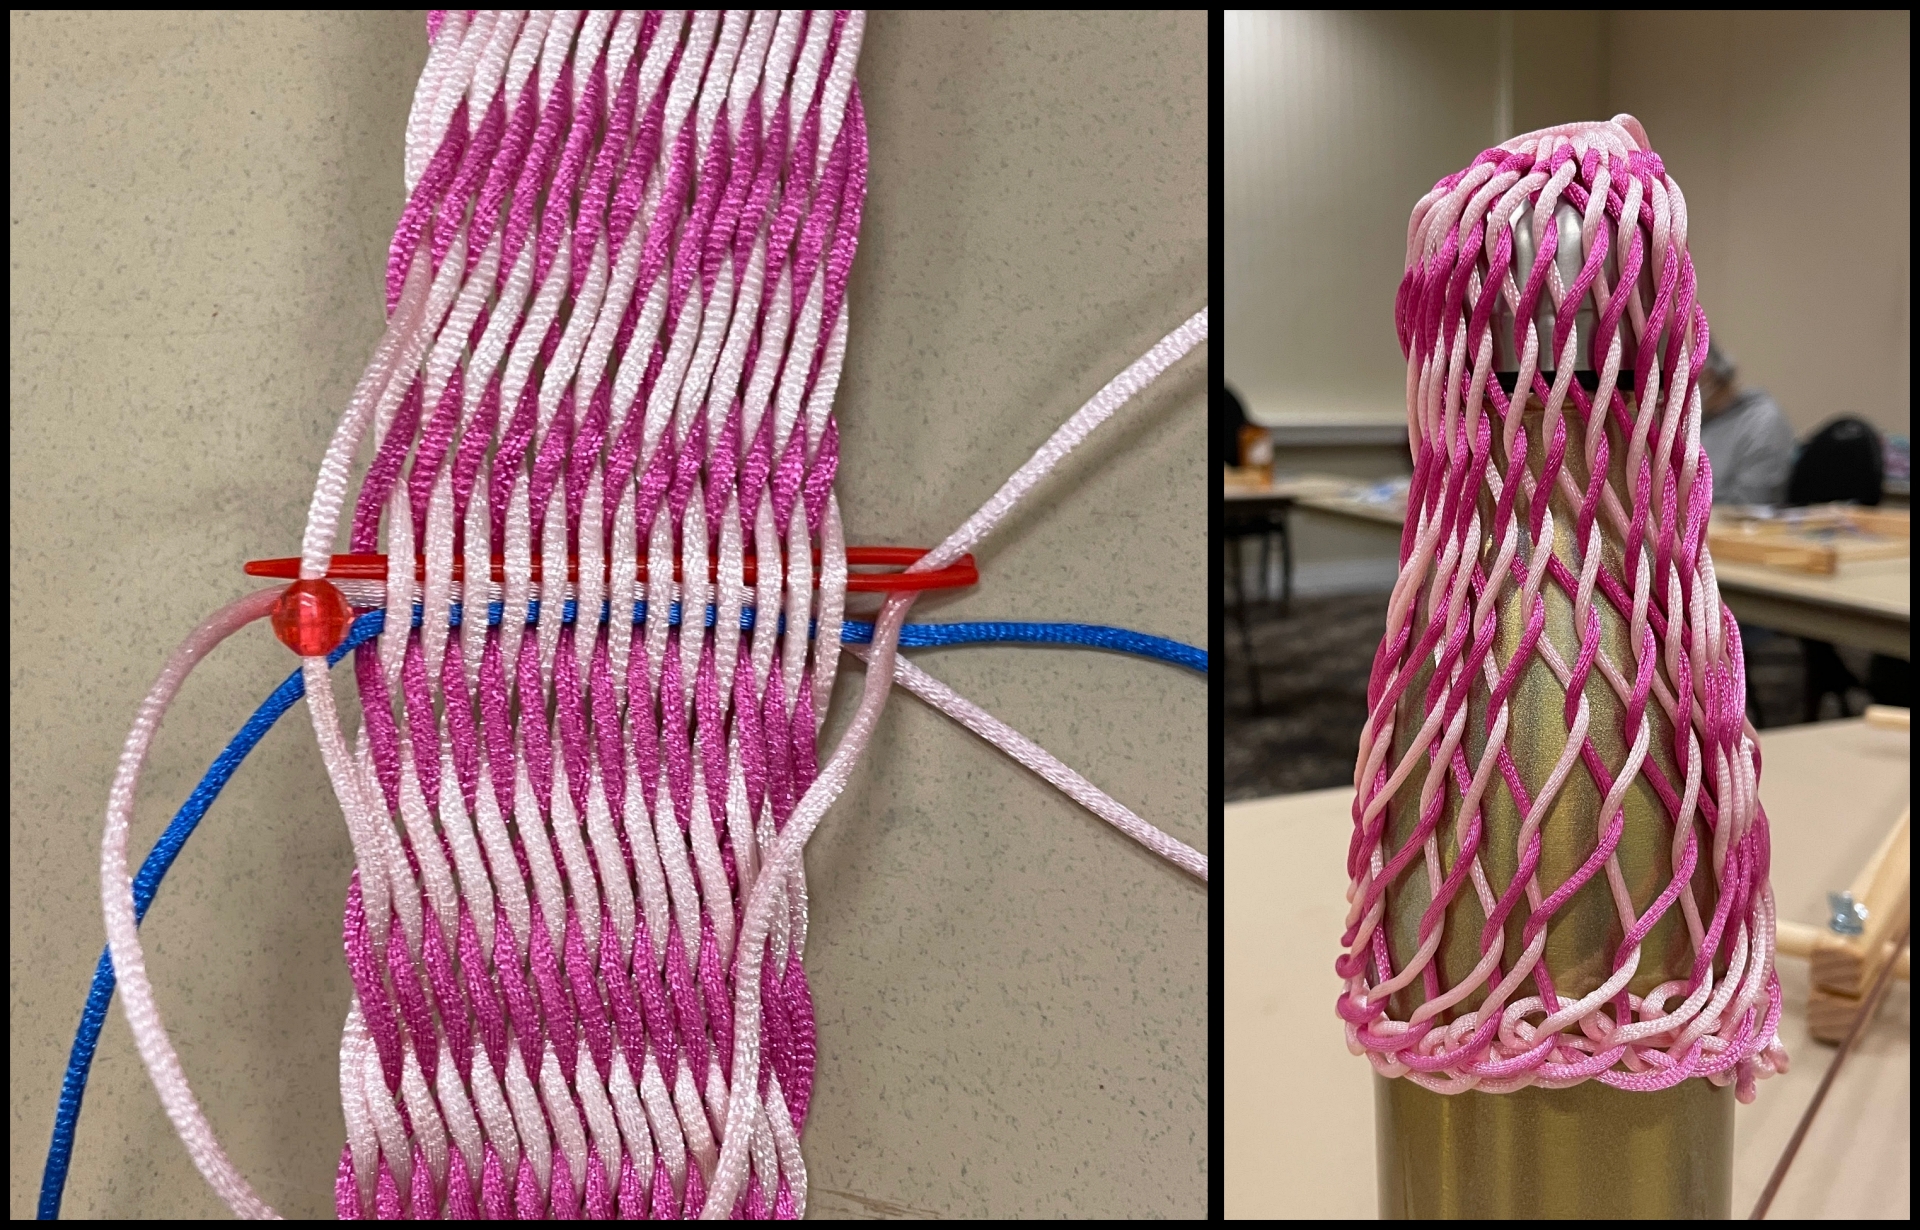
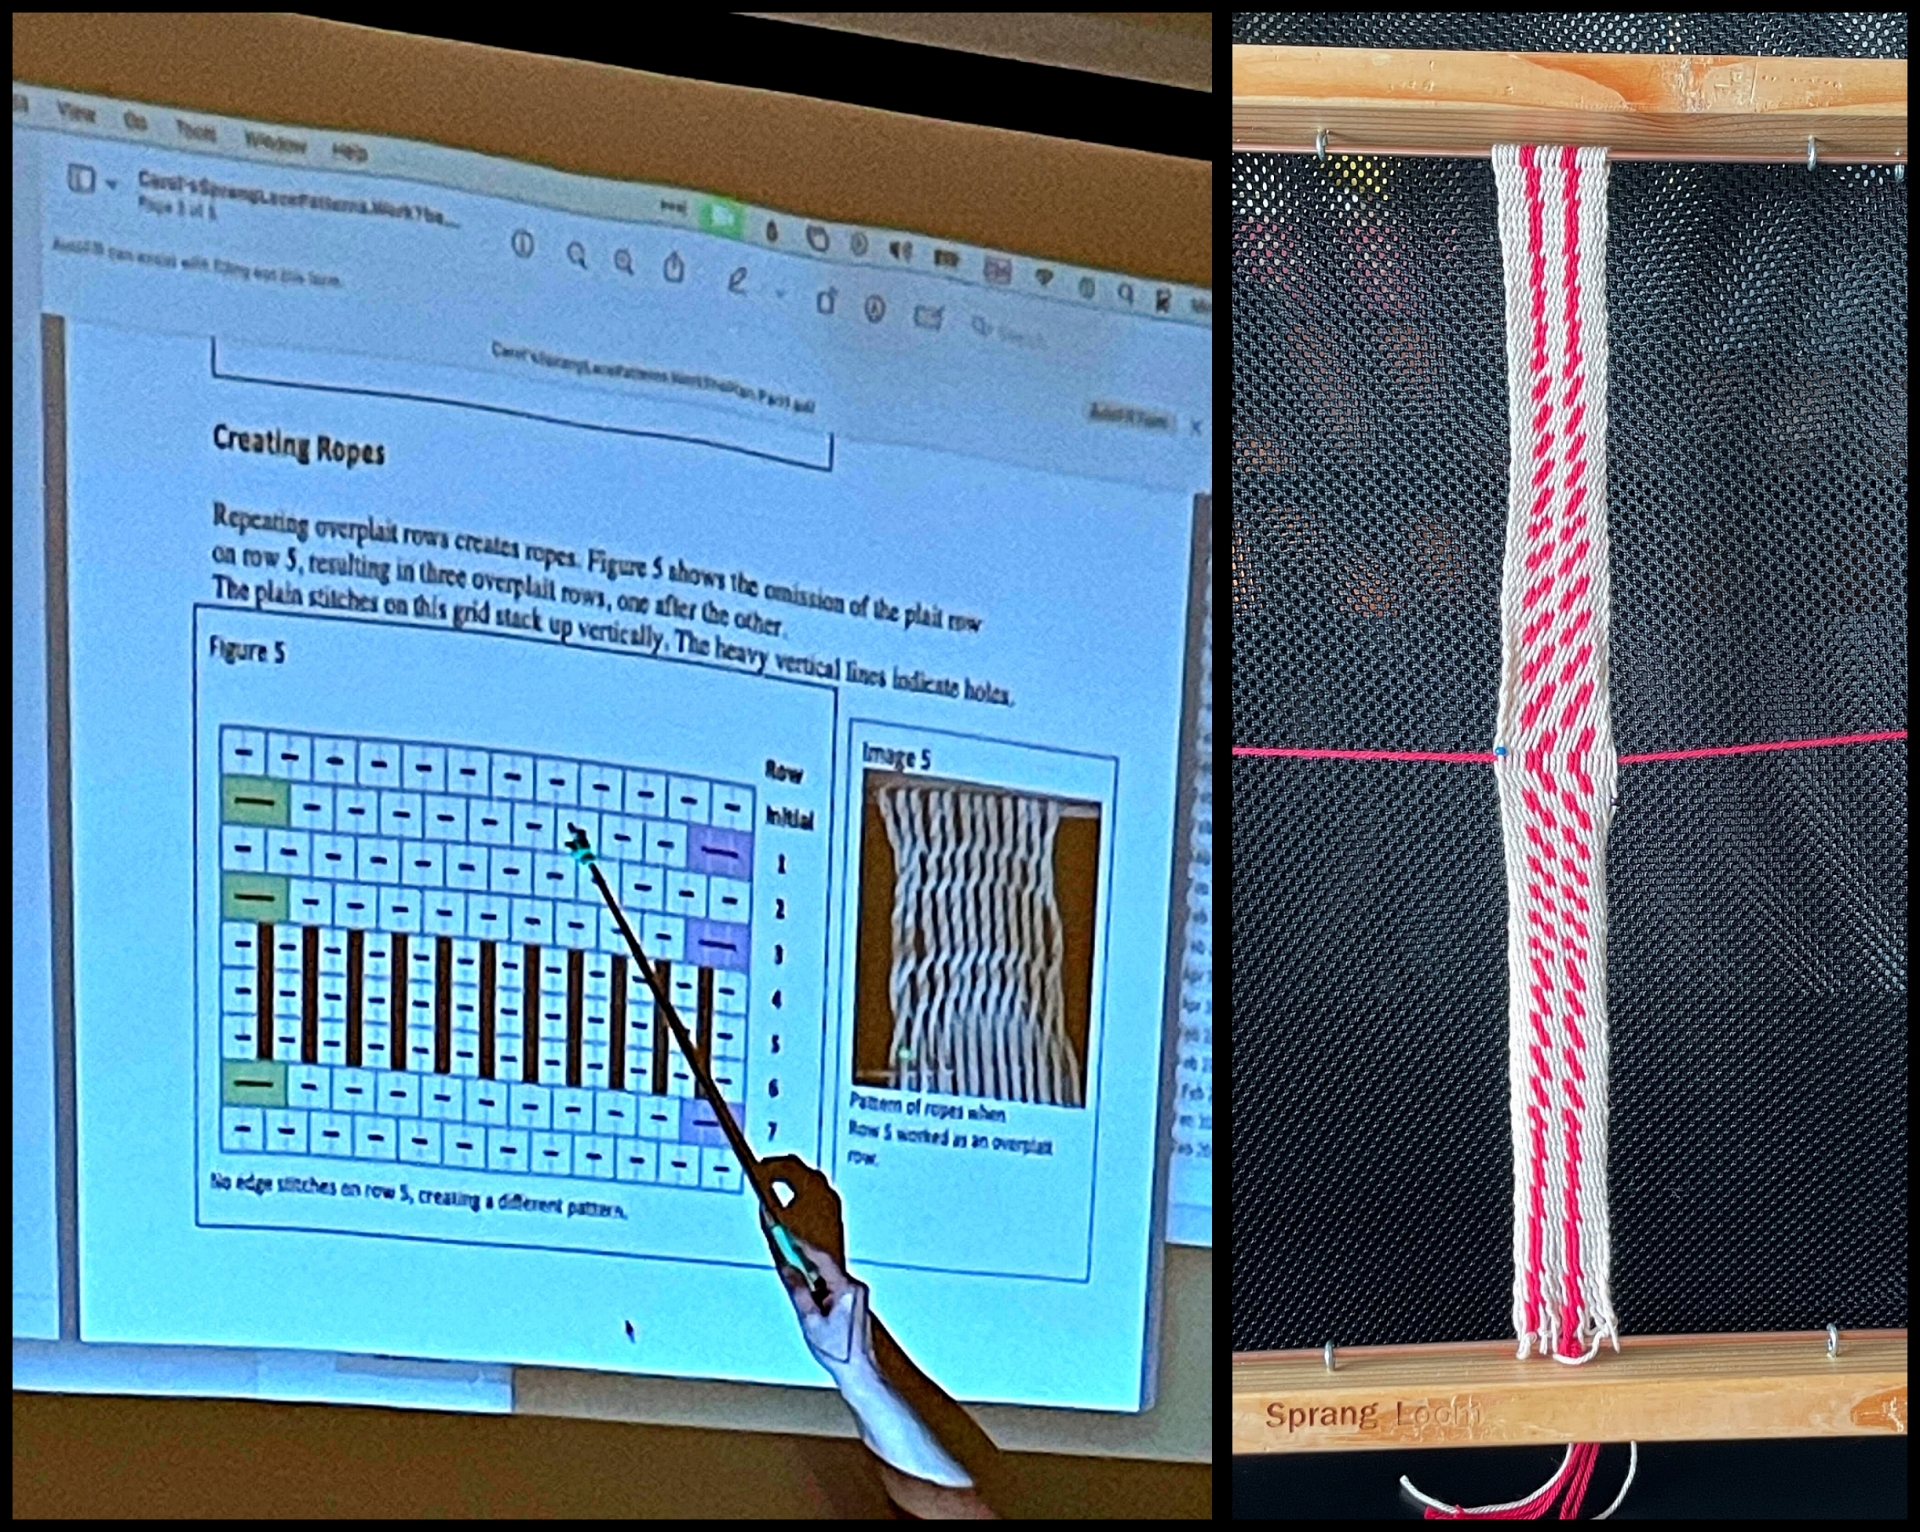
Using our fingers we manipulated the warp yarns, moving them forward, back and around creating the expandable cloth. The blue safety lines help keep track of the last few rows so we would not have to take everything apart if we got confused.
The nifty thing about Sprang is you make 2 things/items at once because twisting the top also twists the bottom. We worked our sample then undid the twists and started again. Repetition helps the brain remember what the hands need to be doing. After lunch we threaded a center cinch line, slipped it off the loom rods, folded it in half and sewed the sides together to make a small stretchy pouch.
The rest of the afternoon was spent winding a new warp onto the loom using wool yarn this time.
Sprang – Day 2
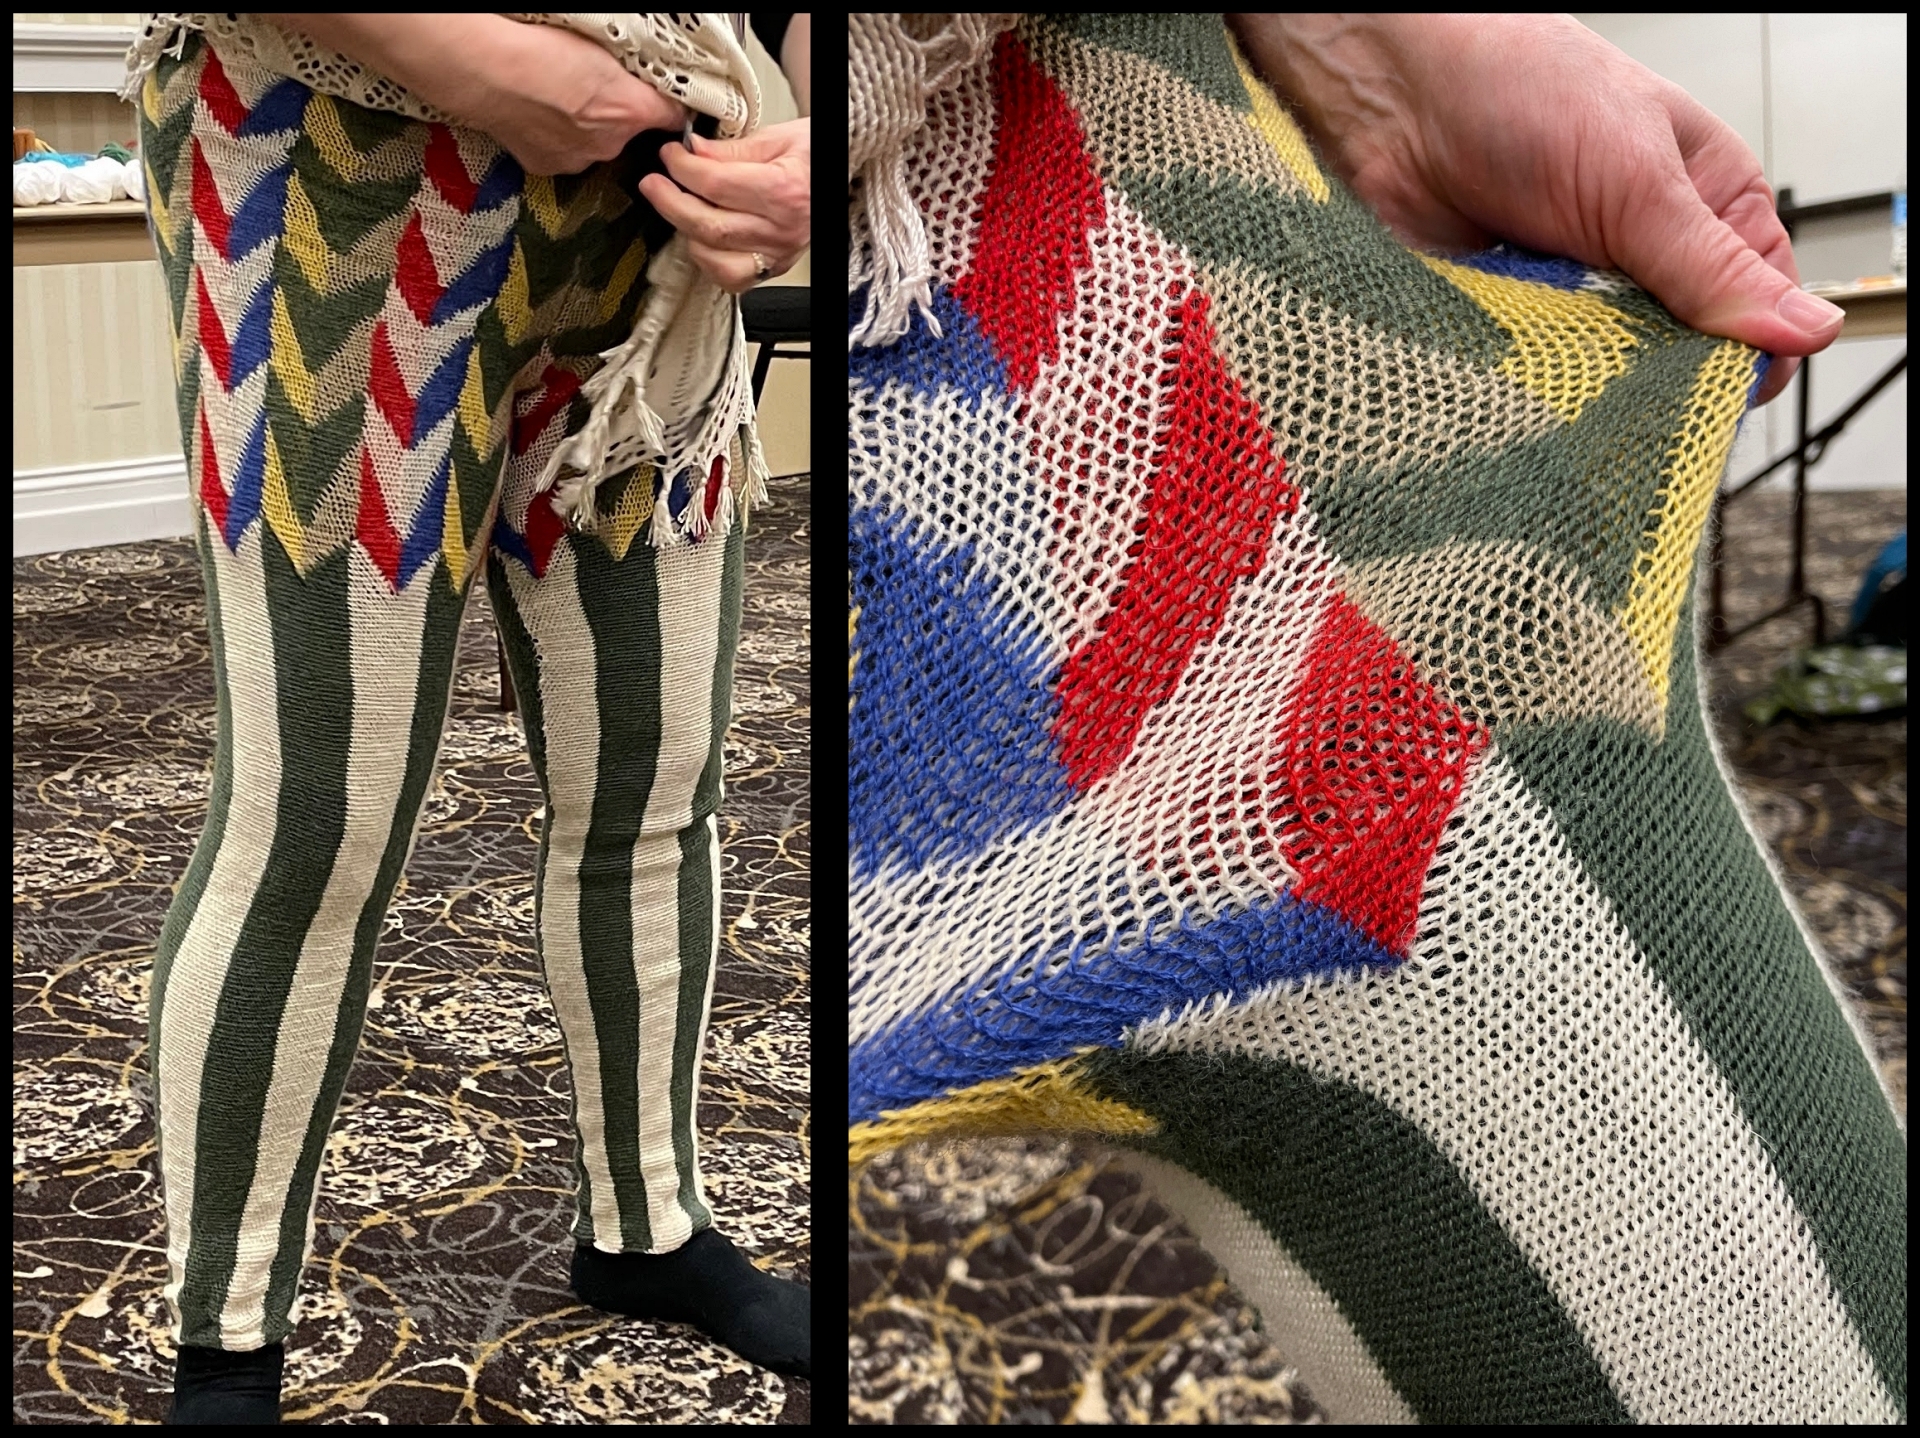
Carol brought in a pair of Sprang trousers/tights – marvelous!!! They were all the rage in the Middle Ages.
She discussed different ways to use crochet stitches to lock the center line.
And then we moved on to working with 2 colors of cotton yarn to make stripes and were introduced to reading patterns.
Sprang – Day 3
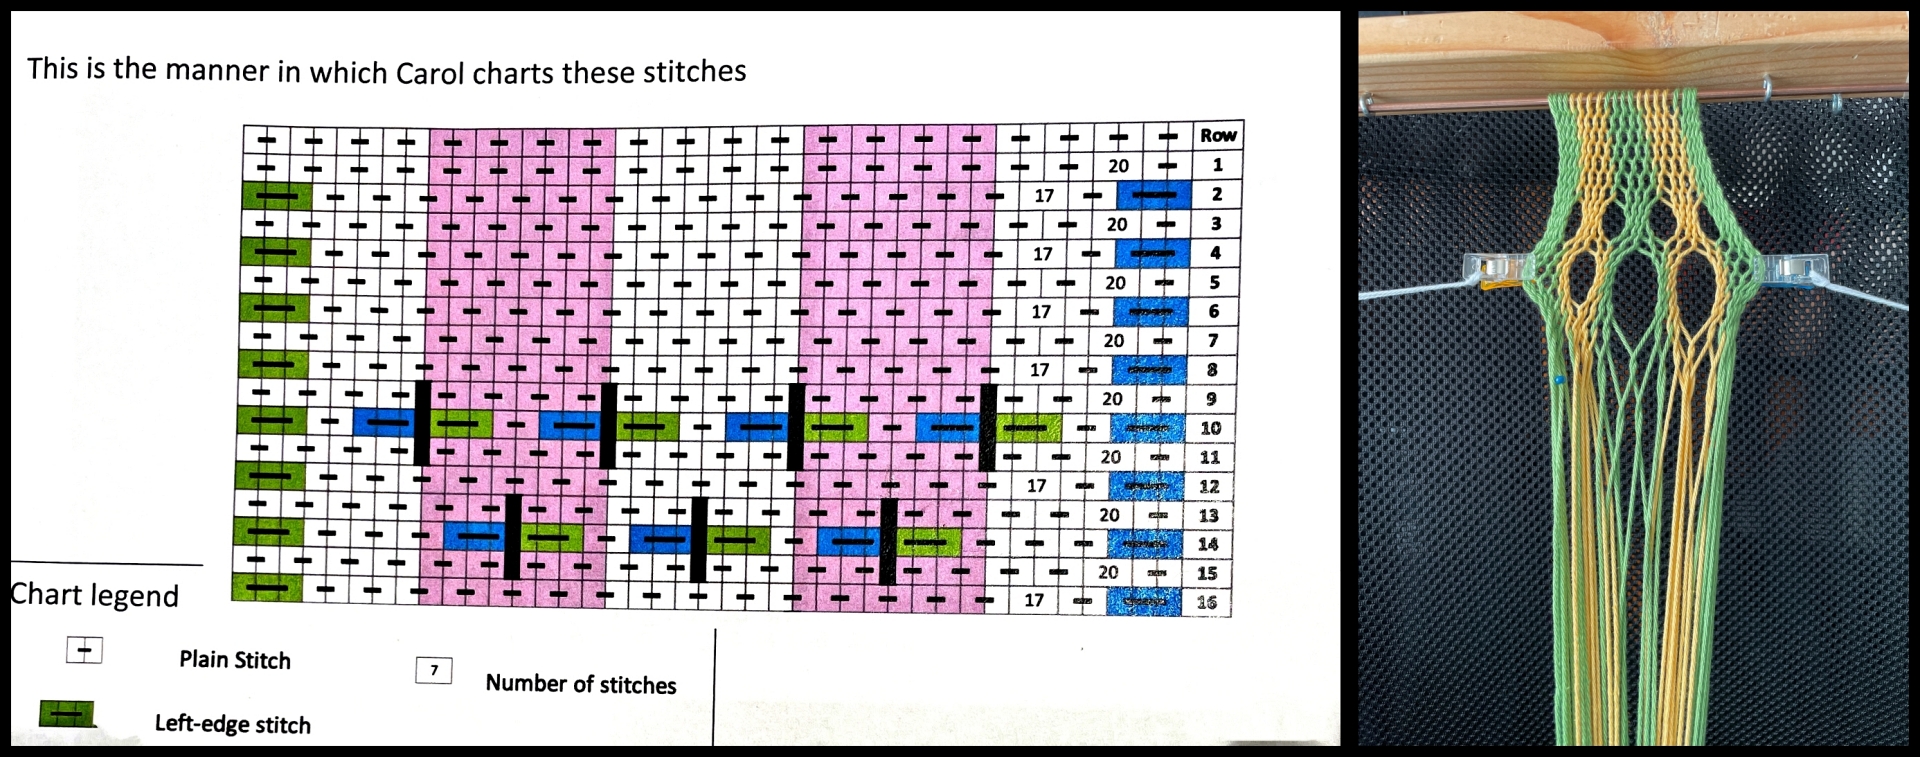
We were shown how to do several styles of decorative stitching to stabilize the center. Another 2 color warp was wound and a review of reading patterns for our next sample – making slits/holes.
In the afternoon Carol gave an excellent PowerPoint talk of the history of Sprang from ancient Greek, Roman, Egyptian, pre-Columbian North & South American cultures to Medieval Europe into the Renaissance and beyond. Sprang military sashes were worn well into the 18th century. Major-General Edward Braddock, who lay dying on the battlefield during the French and Indian War,gave his military sash to a young George Washington.
As our 3 days together came to an end Carol’s workshop goal had been achieved – we all had a solid understanding of and were comfortable doing a basic interlinking stitch. Plus we have patterns for making twists and transpostions/cables for future projects.
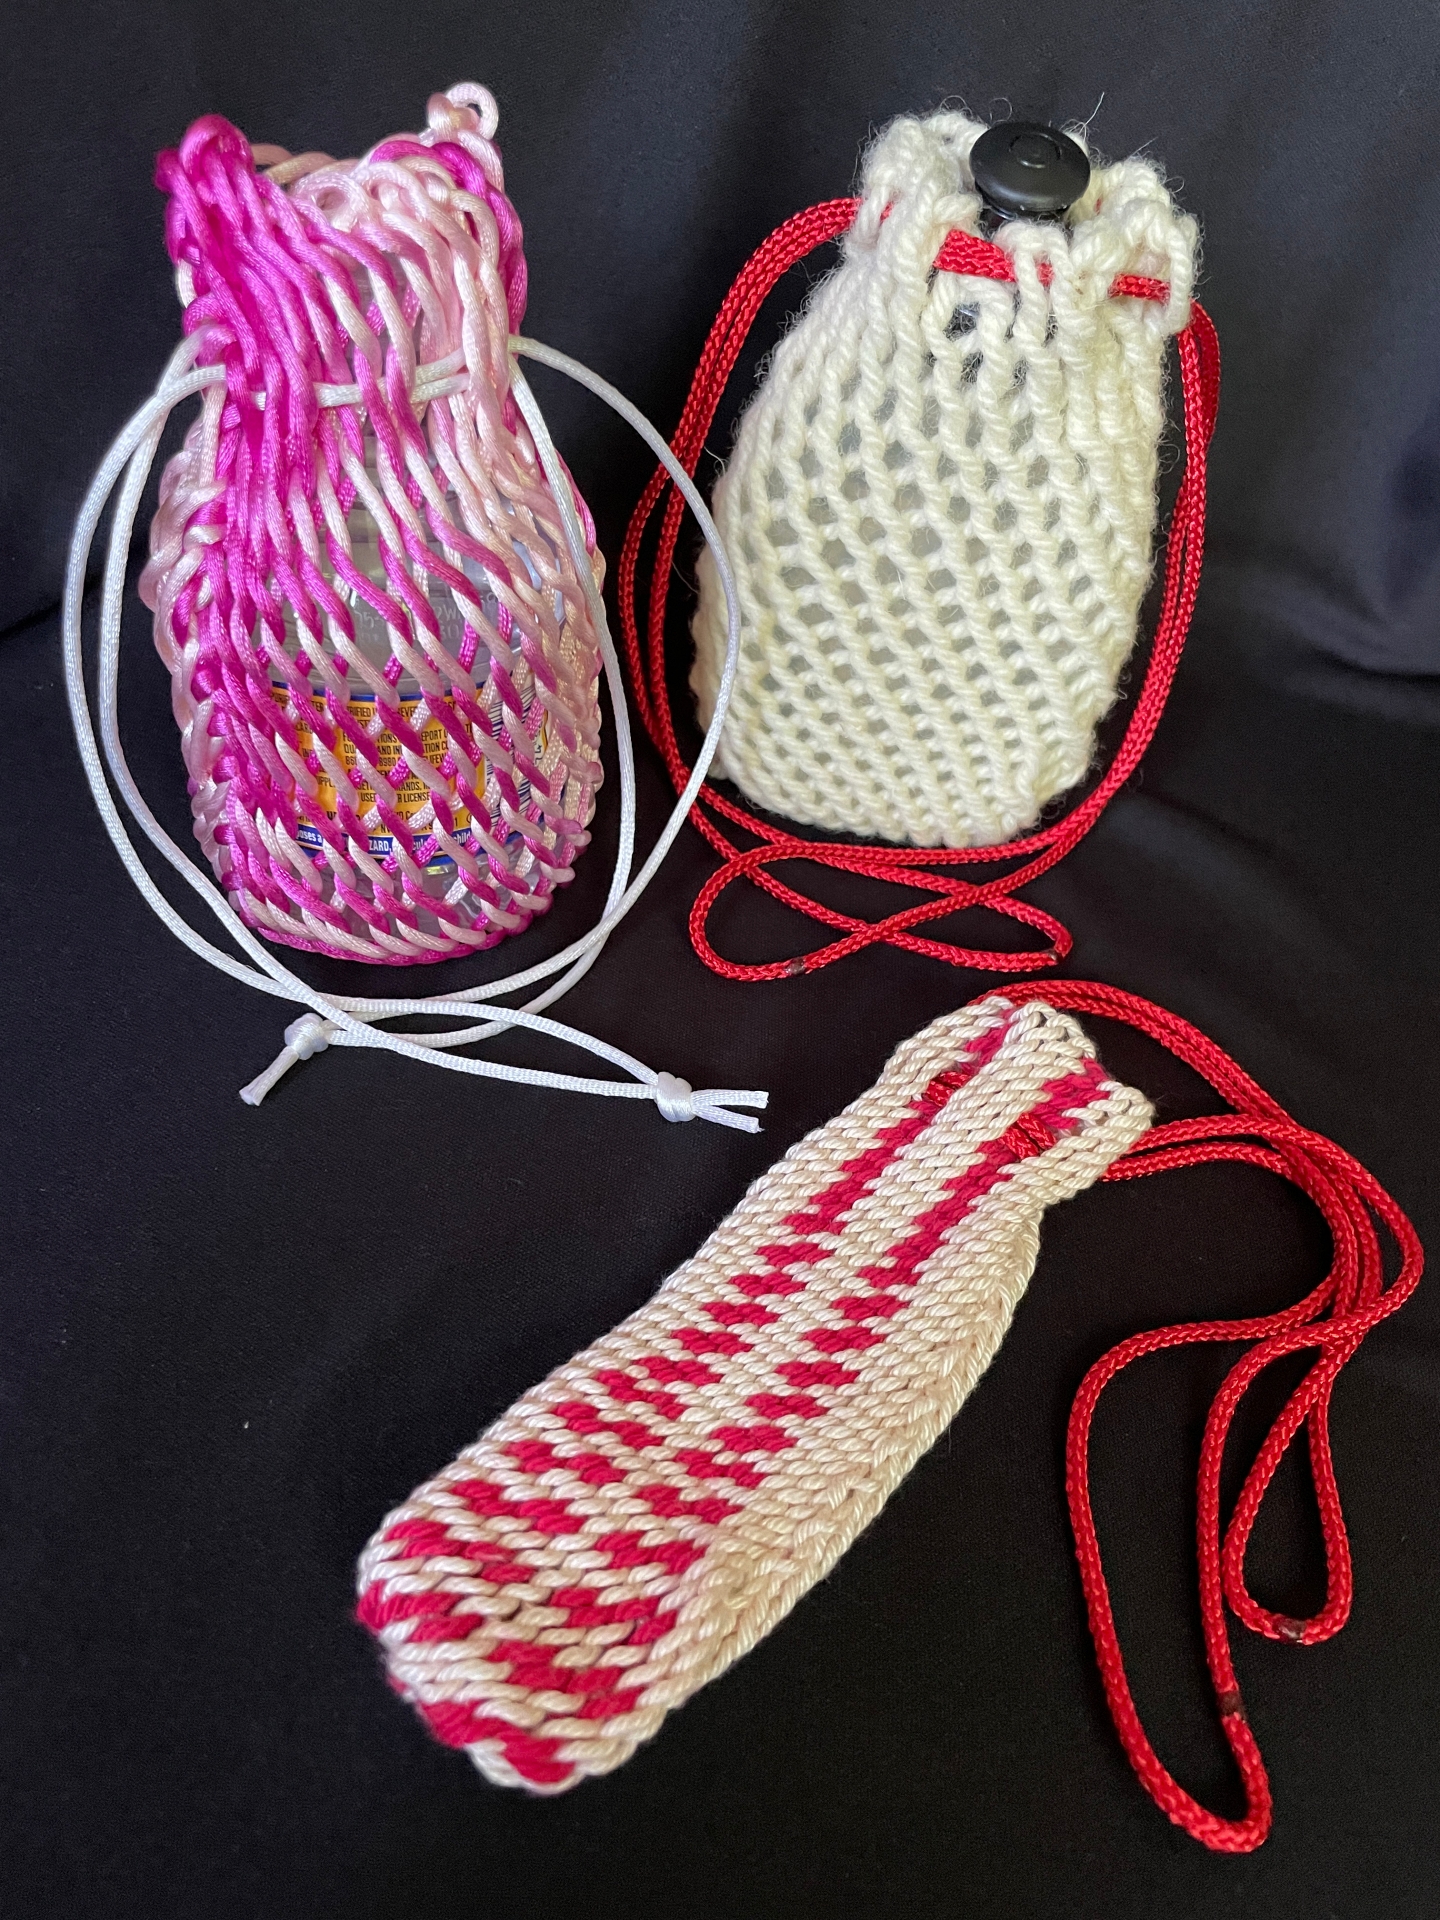
This was a great springboard into an ever expanding world of Sprang! I made 2 mini water bottle bags and small pouch. I think I’ll try making a pair of fingerless gloves next….
Wool prefelt is a lightweight batting compressed to the point where the fibers will hold together, but have not yet shrunk to form the strong cohesive bonds.
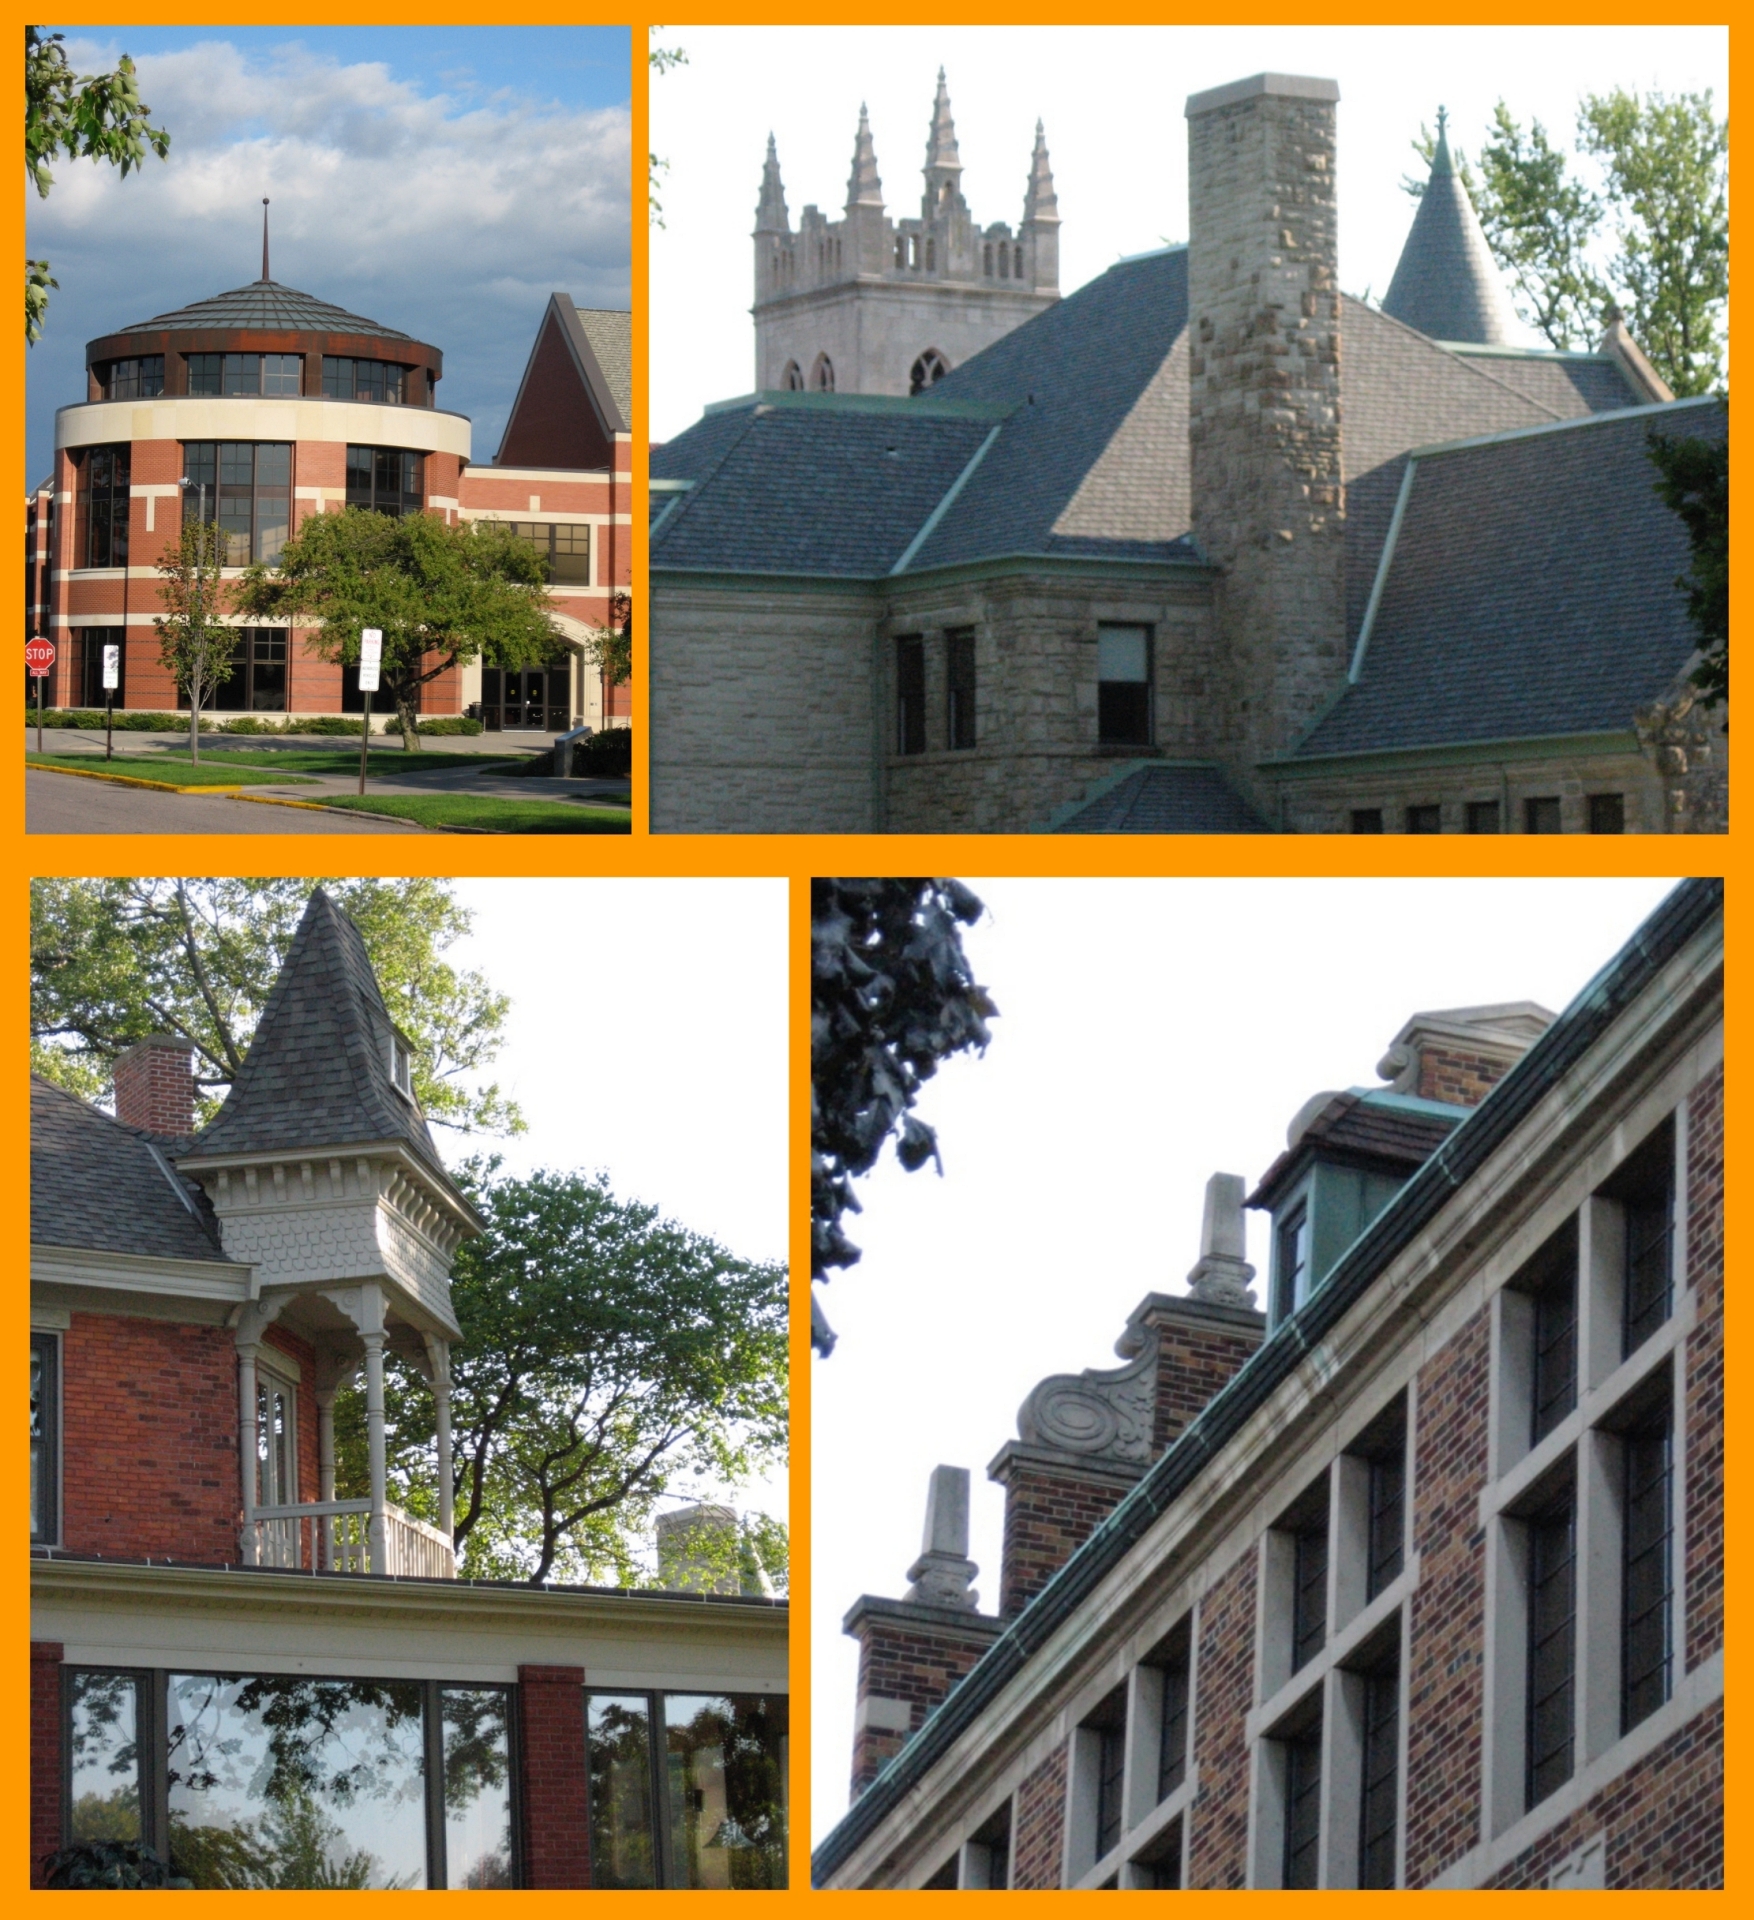
Michigan League of Handweaversheld their annual set of workshops once again at Hope College in Holland, Michigan. The campus has fabulous range of old and new buildings which I have always found inspiring for design ideas. Spending 3 uninterrupted days surrounded by creative people learning new fiber techniques is my happy place!
Six workshops were offered this year: –Beyond Rep Weave, exploring Rep Weave and its new variations with Lucienne Coifman –The Art of Transparency with Laura Viada –Double Rainbow with Jennifer Moore –A Tapestry Weaver’s Tool Kit with Brenda Osborn –Unlocking the Mystery of Block Weaves and Profile Drafting with Jill Staubitz –Surface Design & Dimension Using Prefelts with Kathy Forzley
I signed up for Surface Design & Dimension Using Prefelts with Kathy Forzley. “Take the mystery (and the guilt!) out of using prefelts to create surface design & dimension on felt. This wet felting class focuses on surface design techniques using handmade and commercial prefelts, partial felts, nuno prefelts and small felted pieces to create patterns and textural designs on a felt surface.”
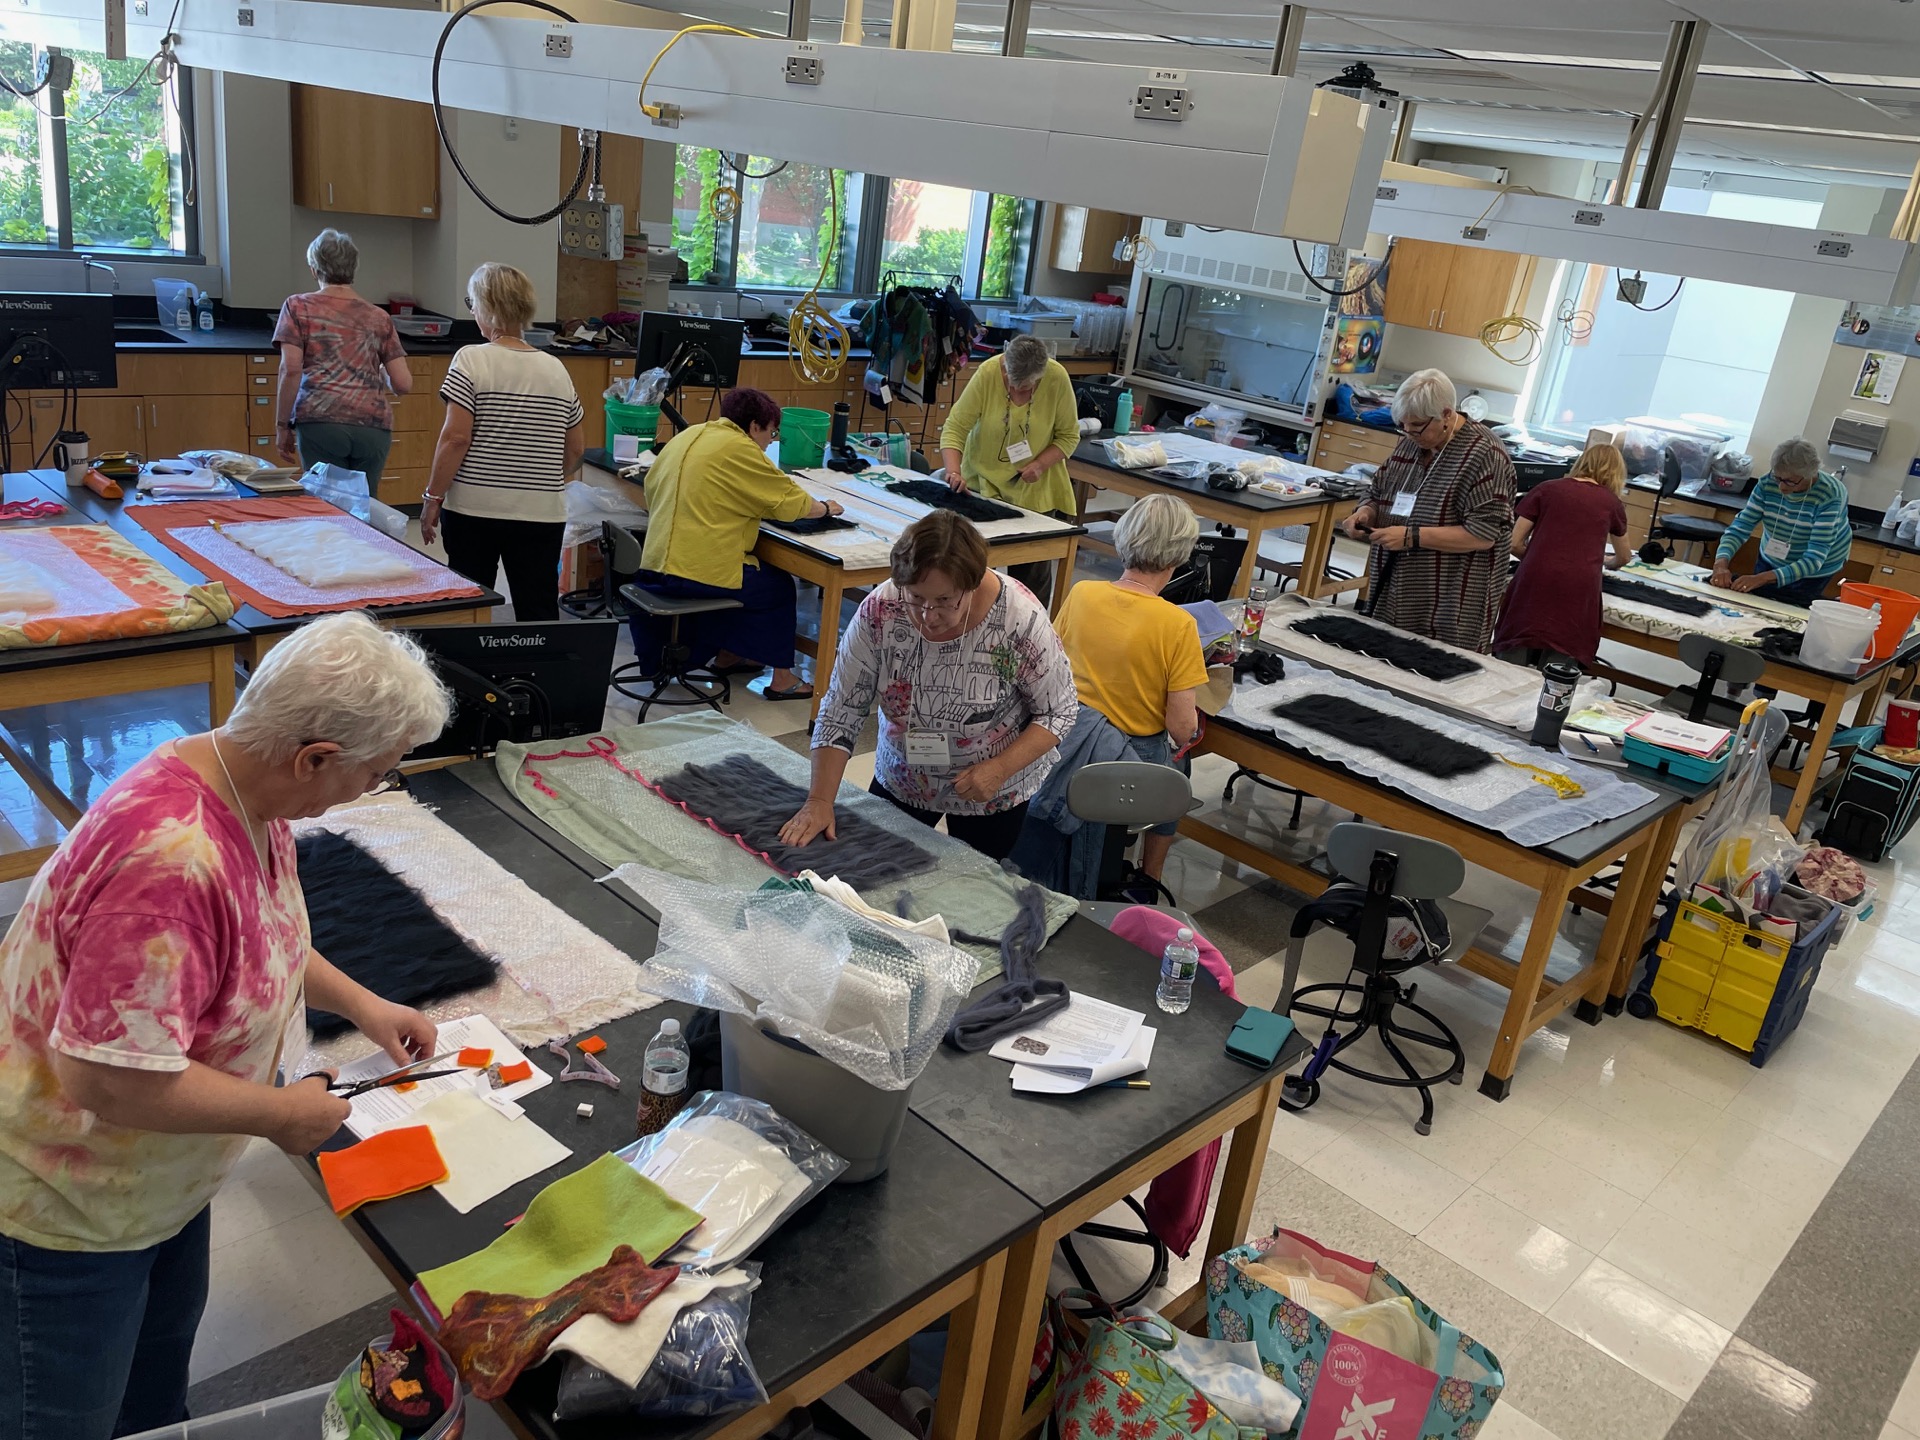
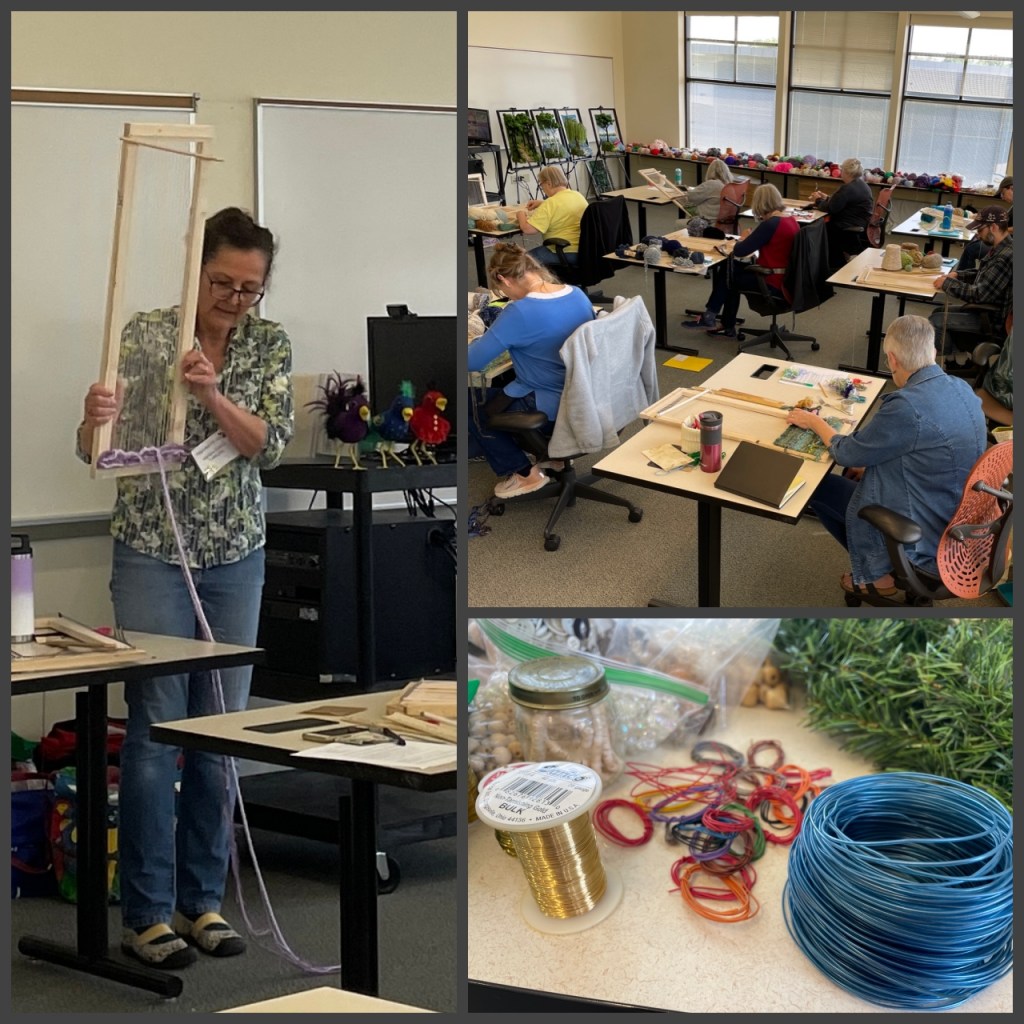
Our classroom was in the Science Building since felting can be a bit messy, requires access to water and large tables for our work surface. There were 10 of us in the workshop which filled the room! Kathy supplied us with pretty much everything we would need (and then some!) for 3 projects plus a fabulous 25 page set of detailed instructions for reference once we are back home and on our own. Her philosophy of ‘We’re here to play so let’s have fun!’ encouraged us to experiment, try new things and if we had an idea but didn’t know how to implement it she helped us figure out way to do it.
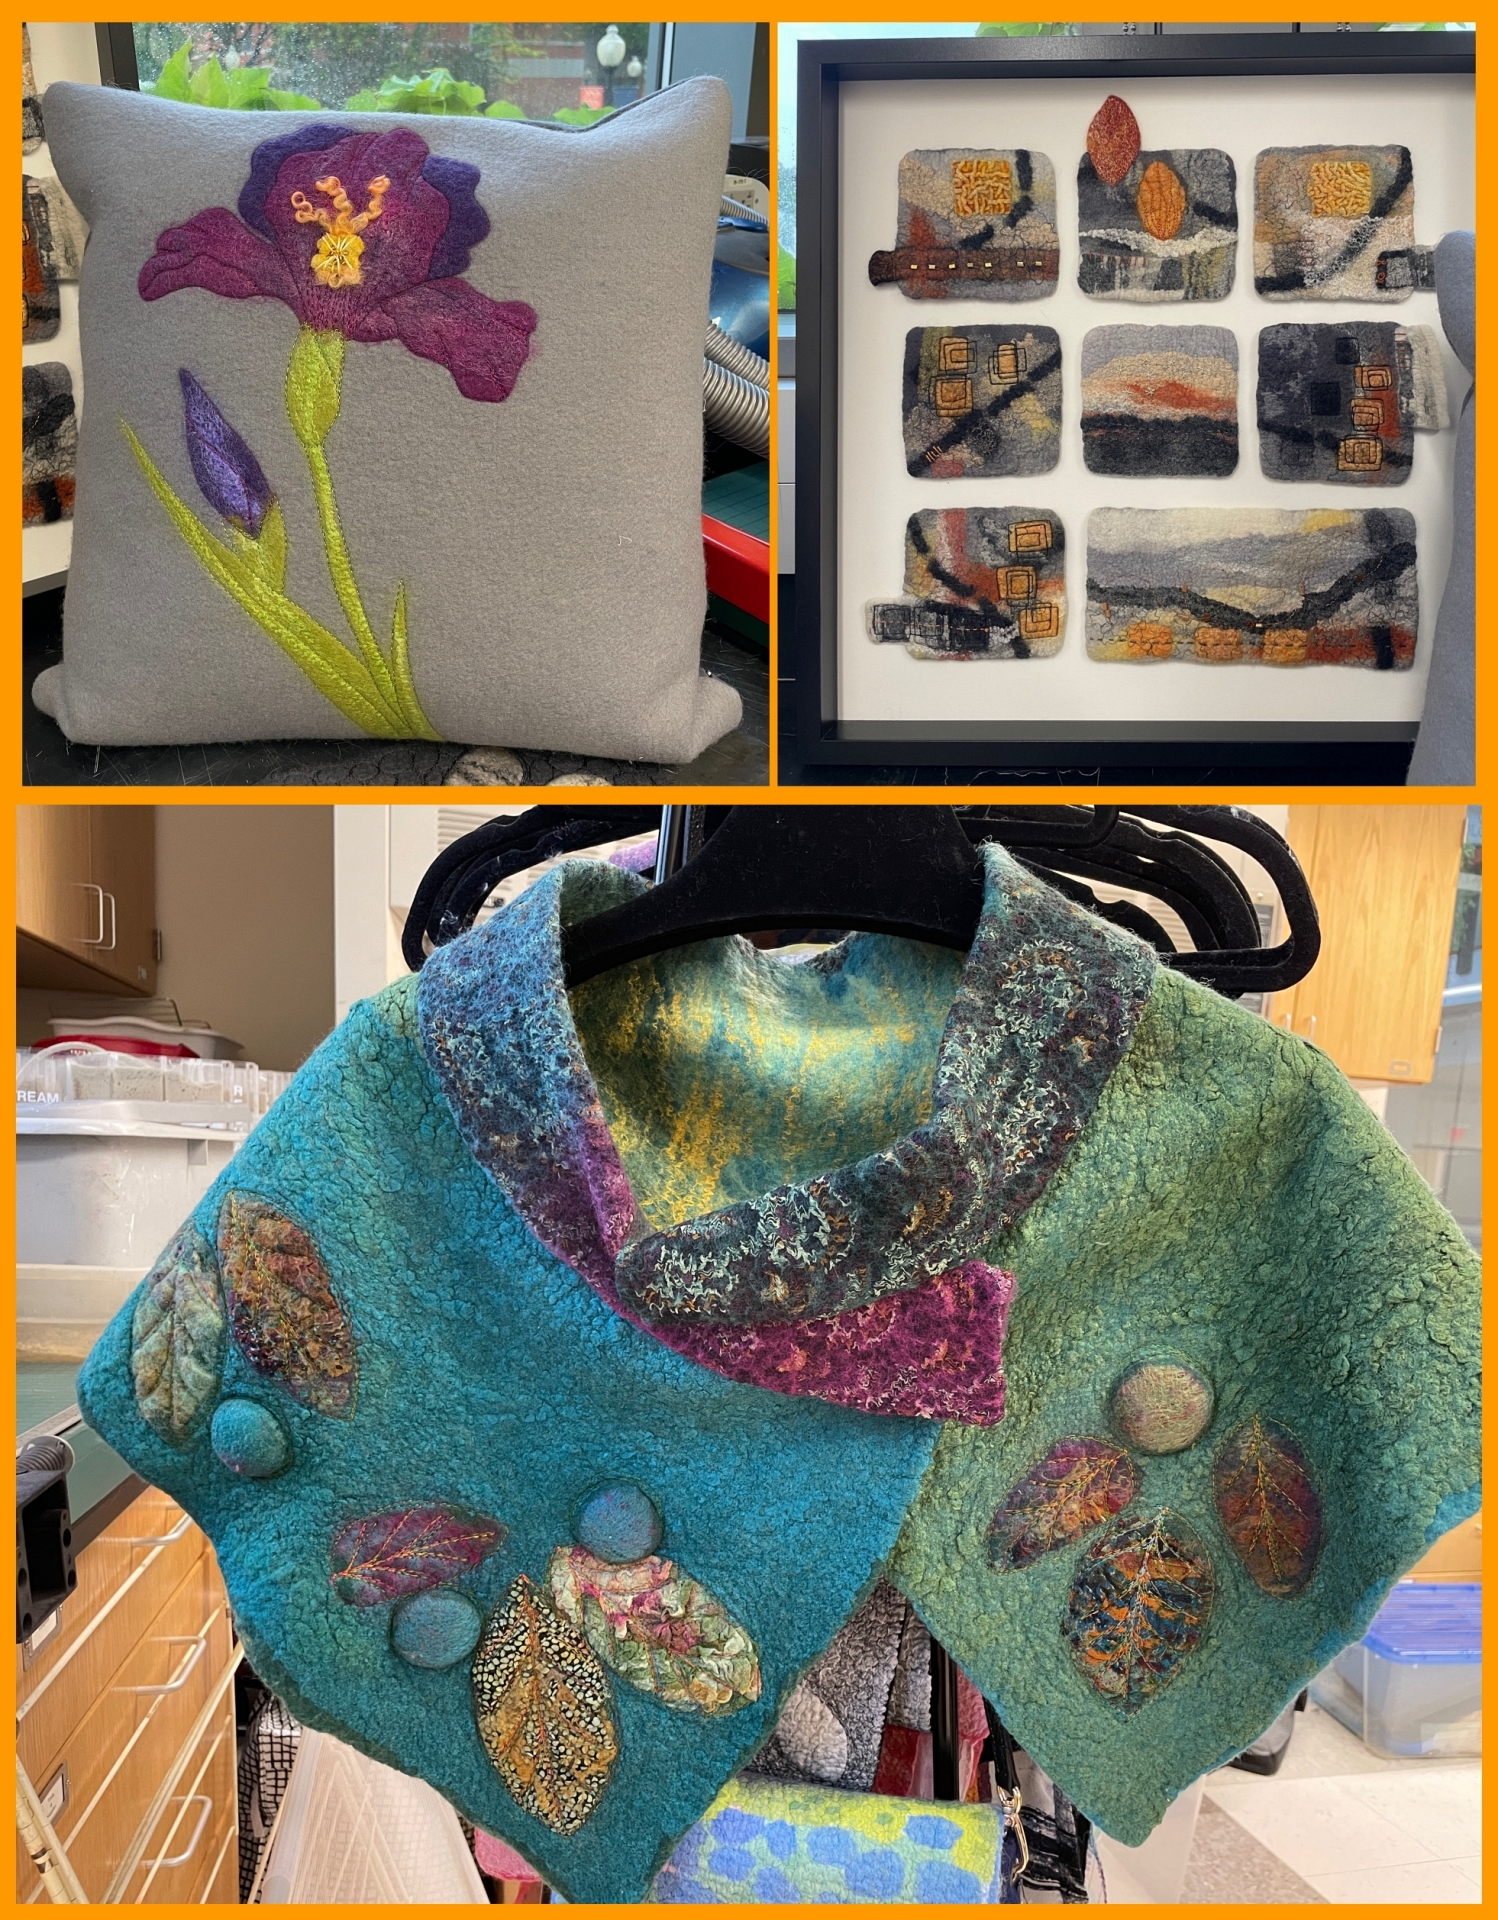
And had amazing examples of her work for inspiration.
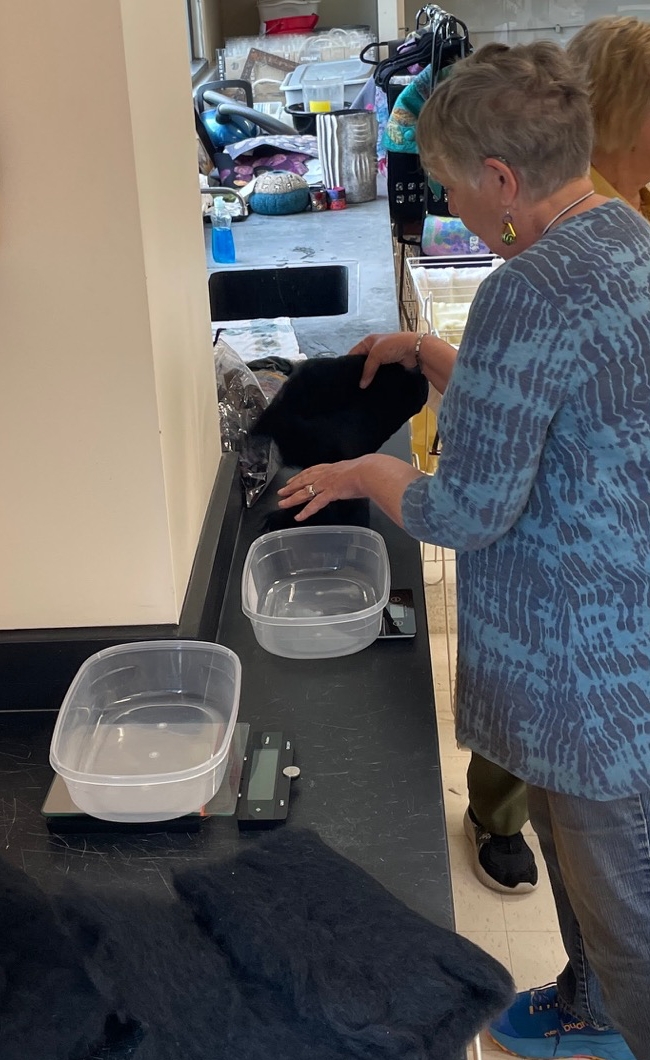
Day 1 The day began by going through all the materials Kathy gave us and discussing the attributes of commercial prefelts, home made prefelts, fully felted scraps and the different fabrics we would use as overlays to keep things in place and to mute colors. We weighed and set aside the different amounts of wool fiber we would need for each day’s project.
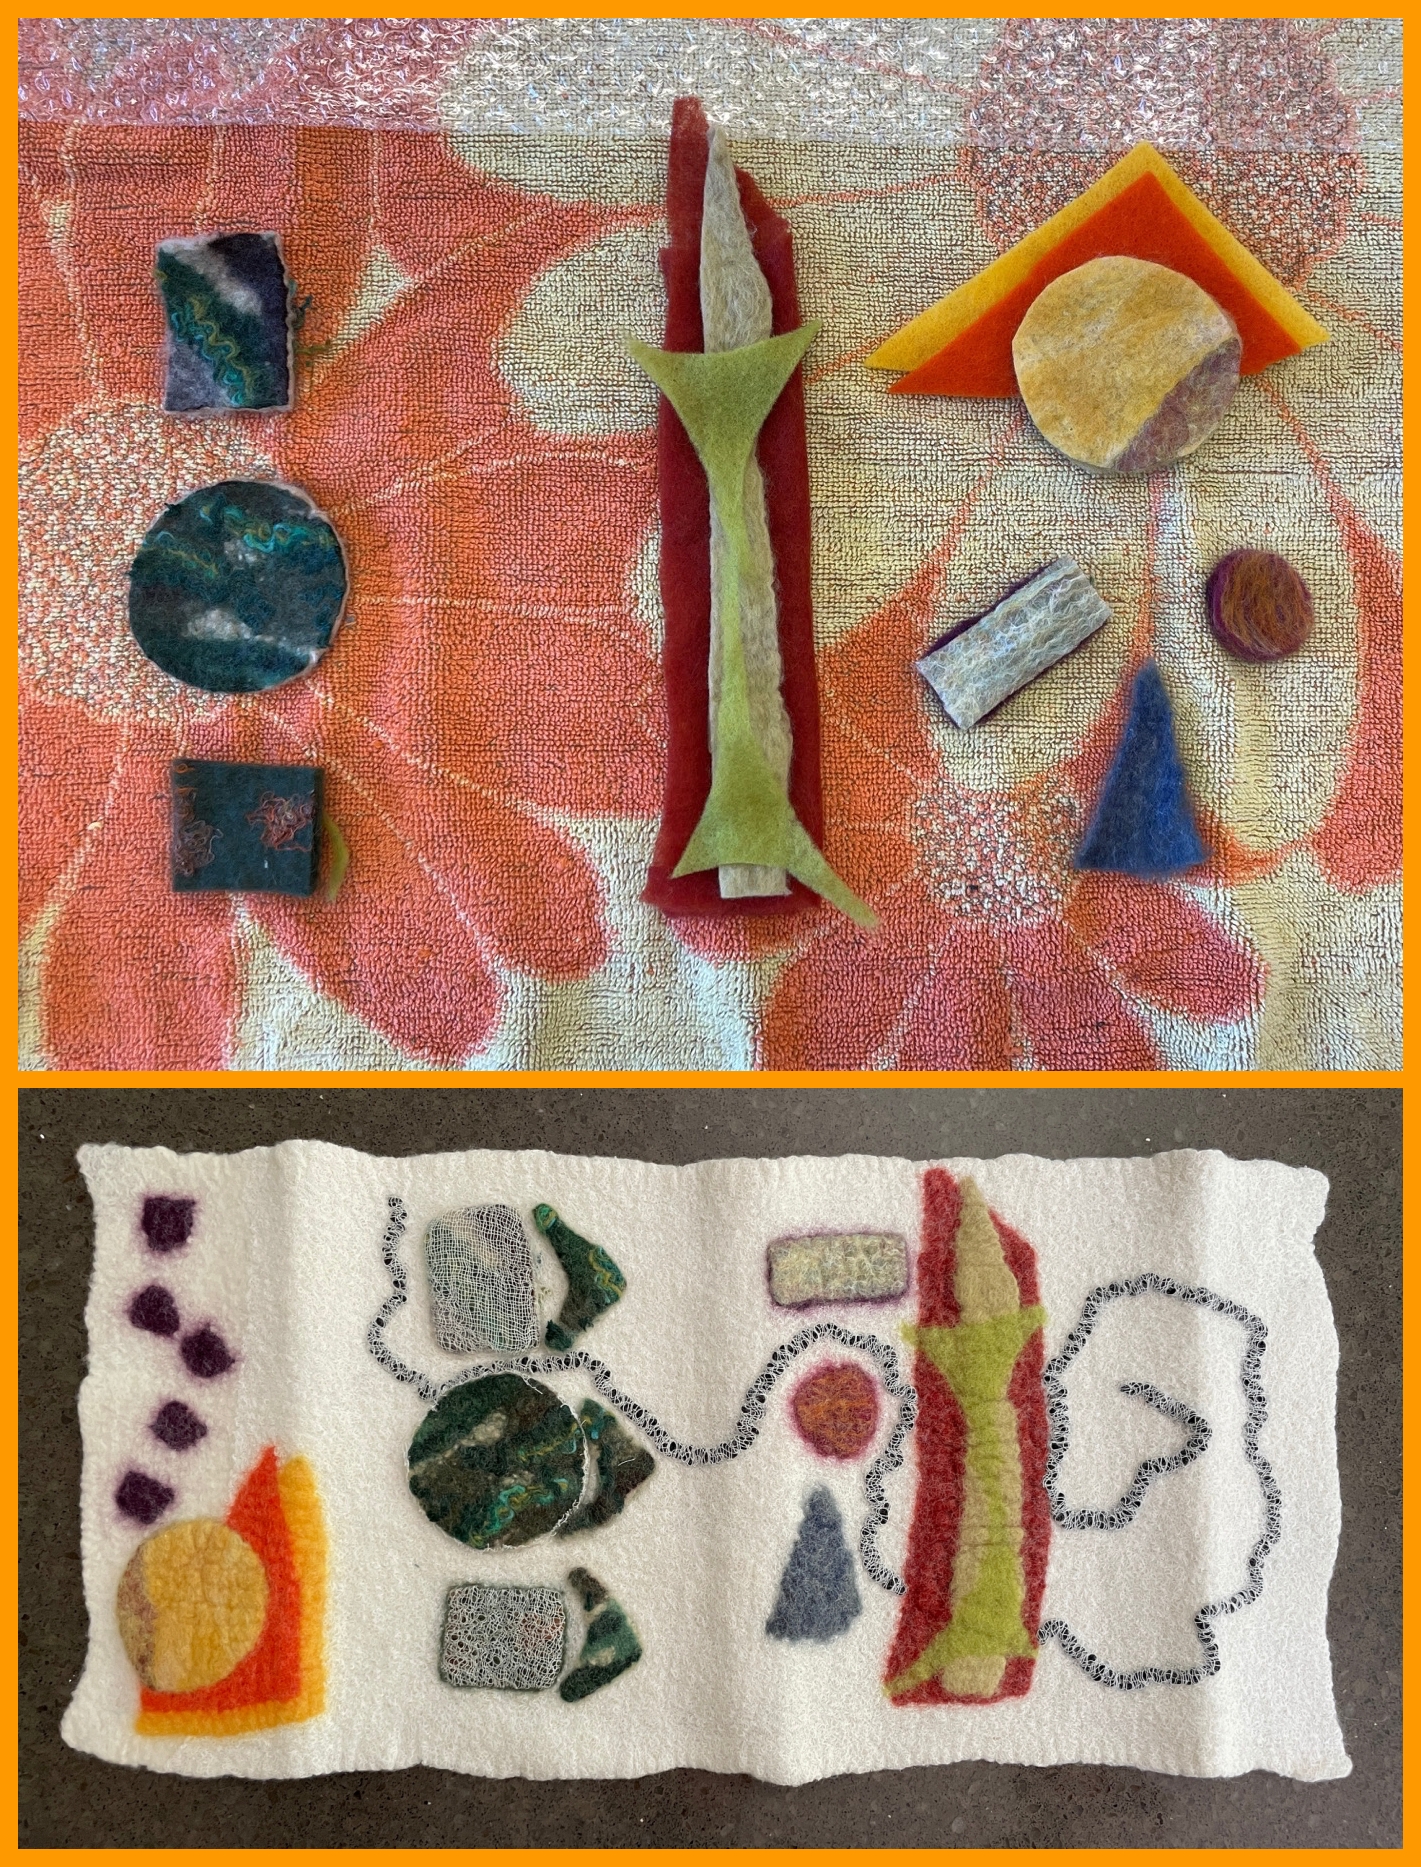
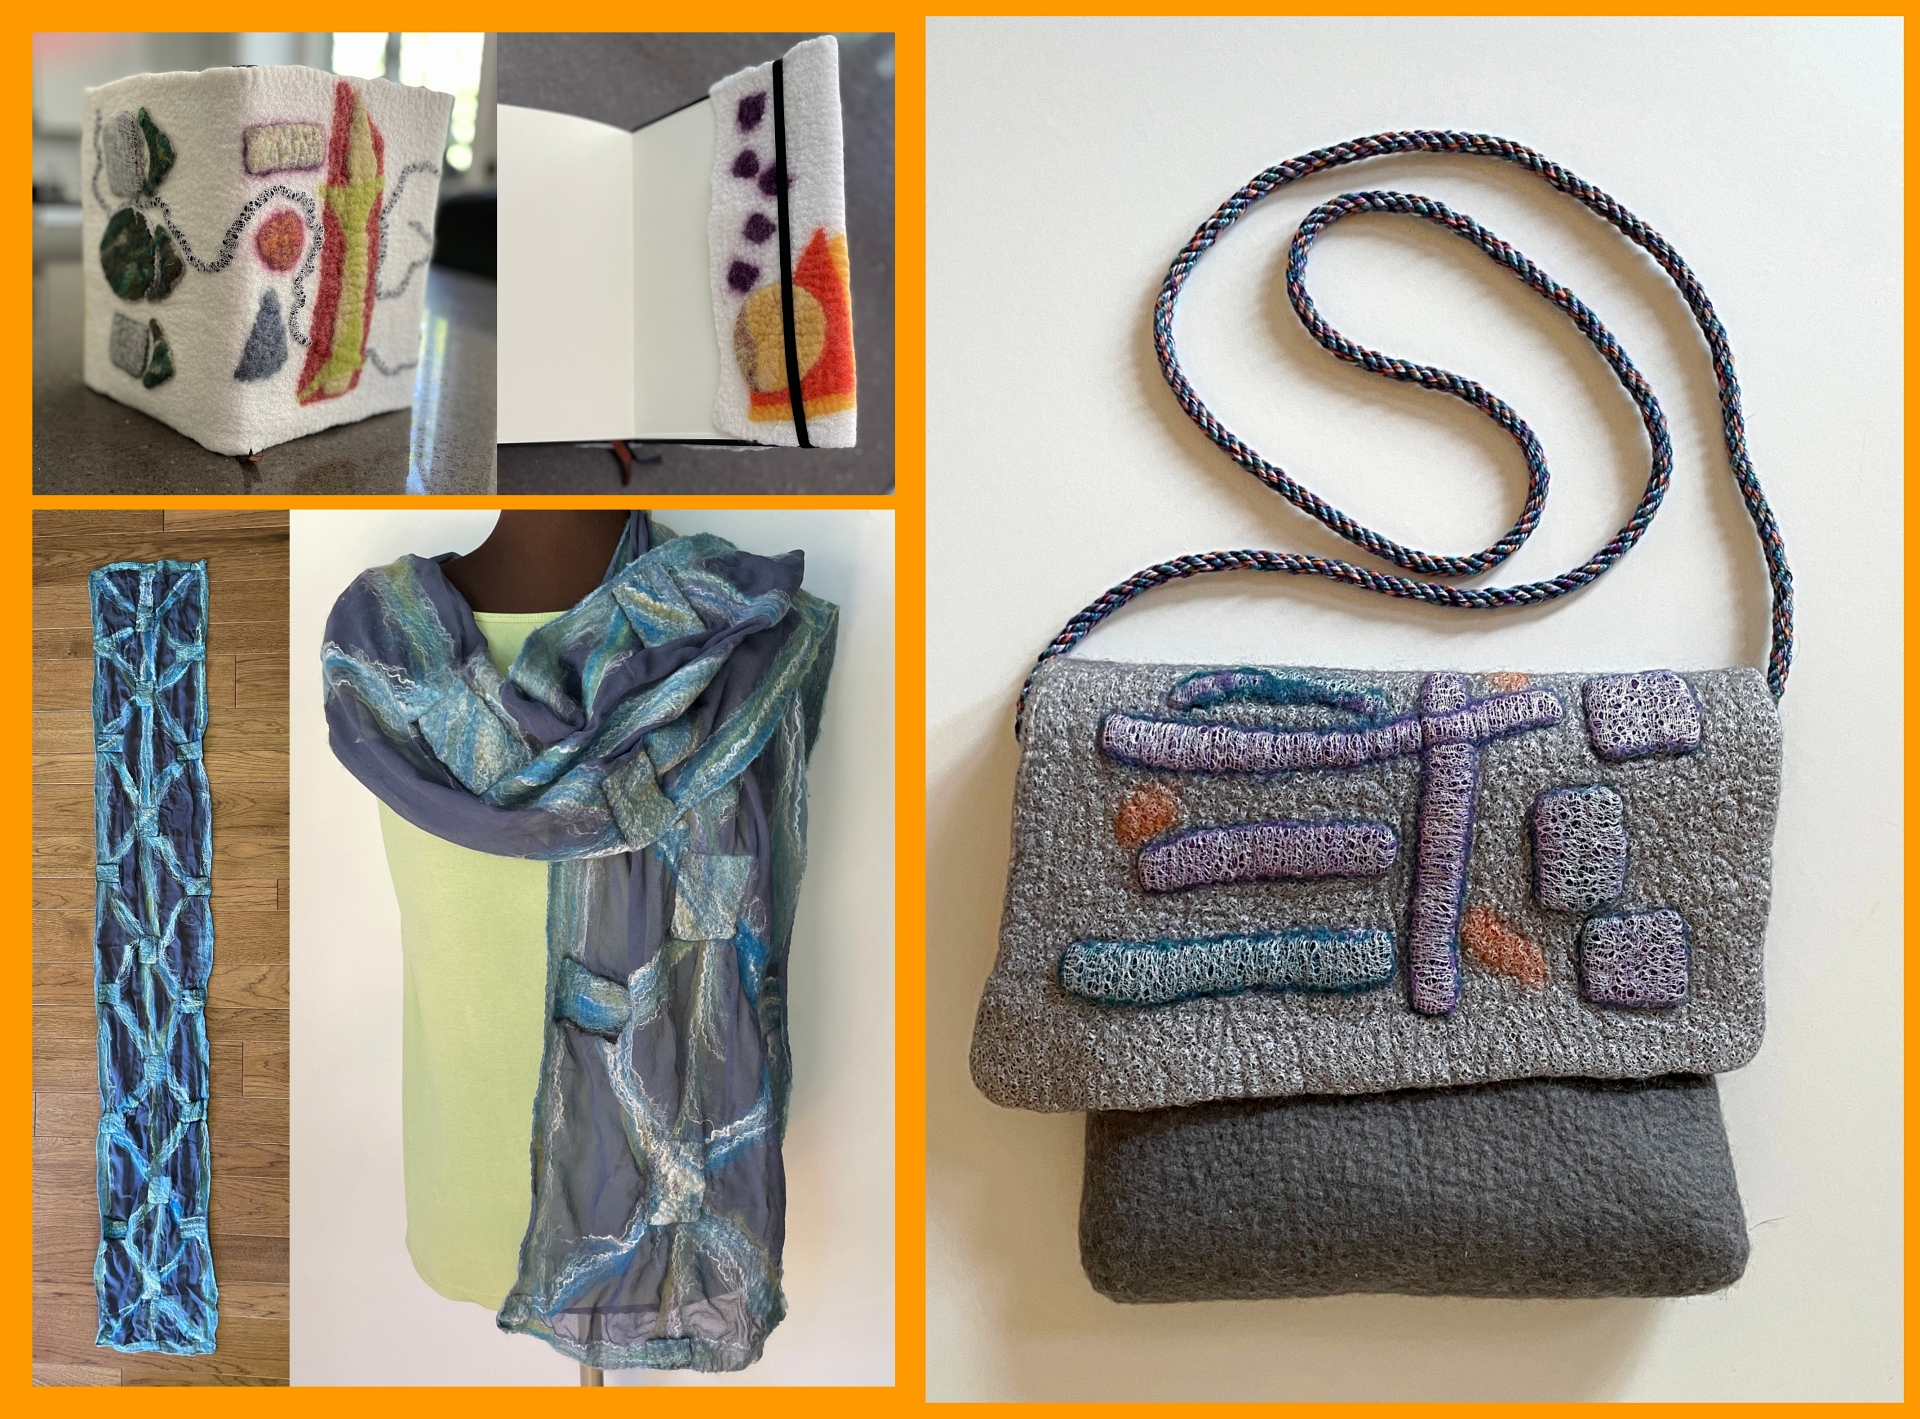
Journal Covers- Using commercial prefelts and the fully felted scraps I brought from home I laid out a variety of shapes and thicknesses.
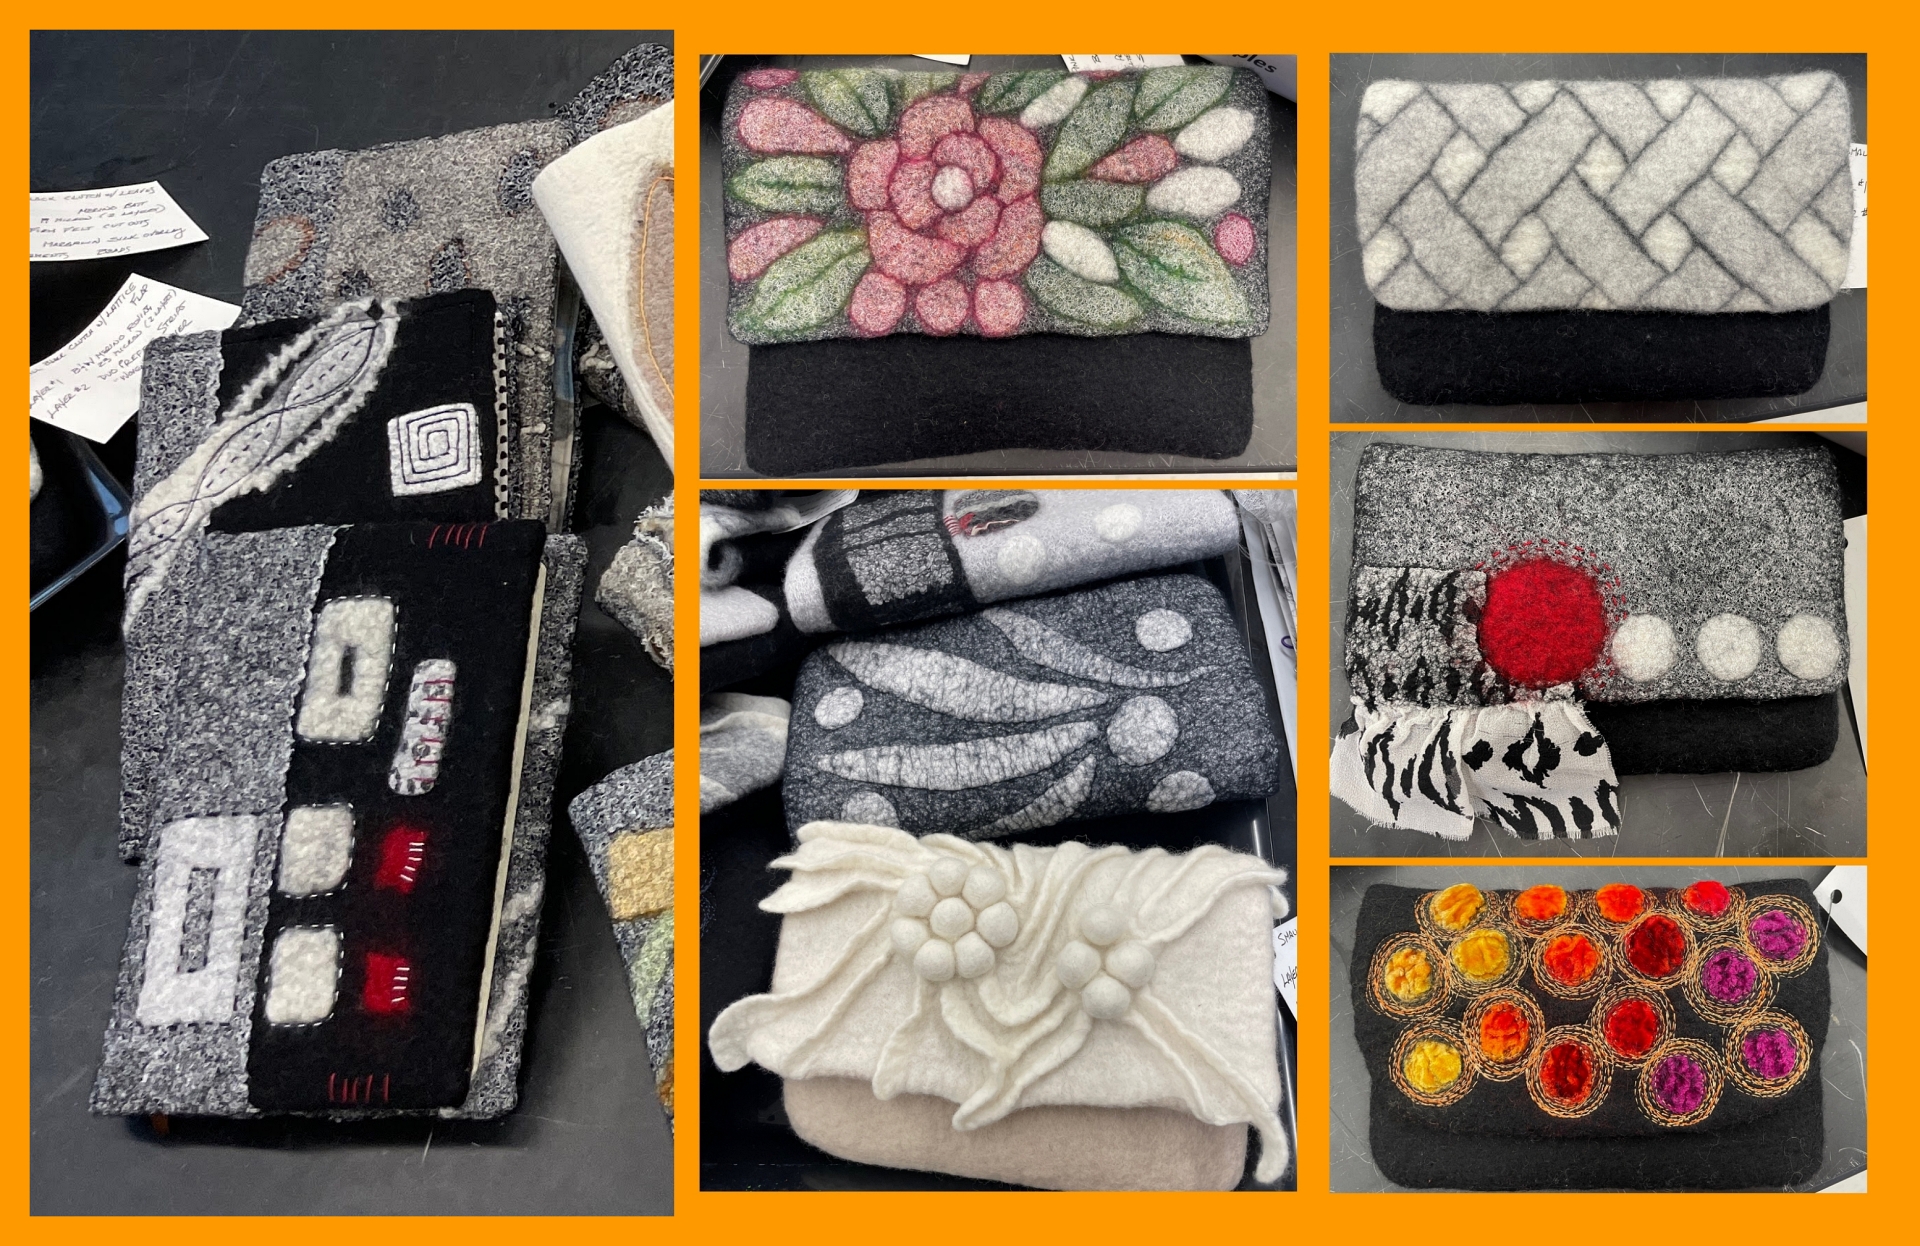
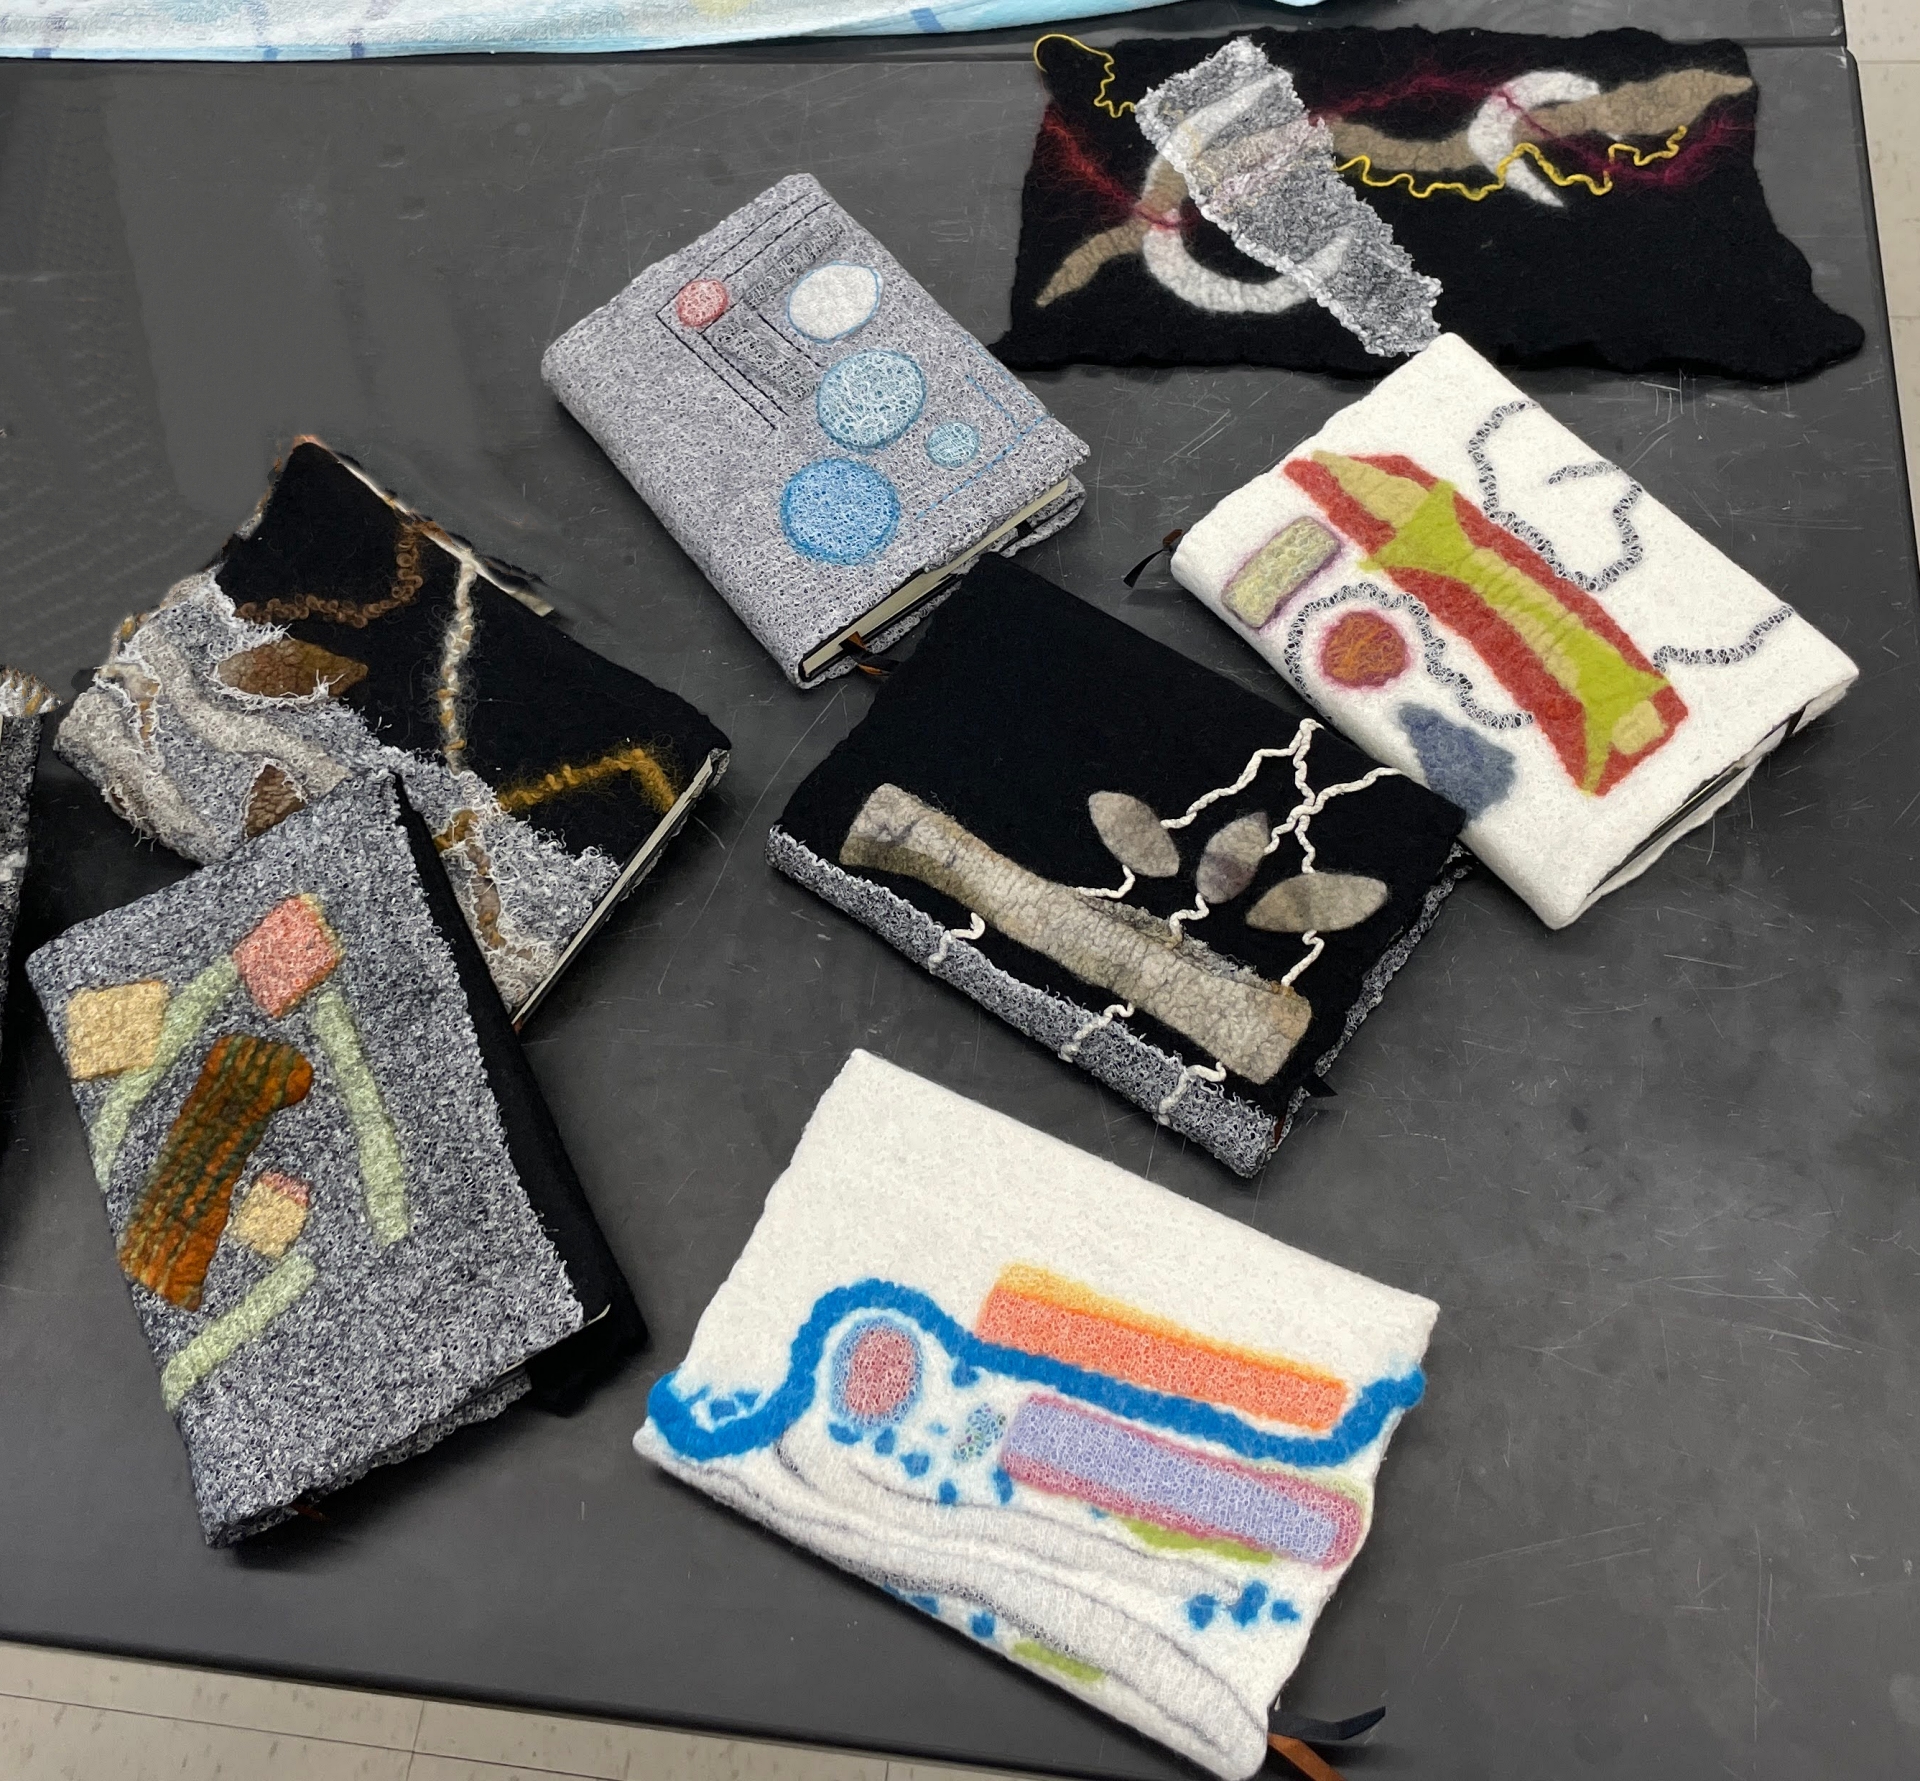
I love the class variety – each cover was unique to its creator!
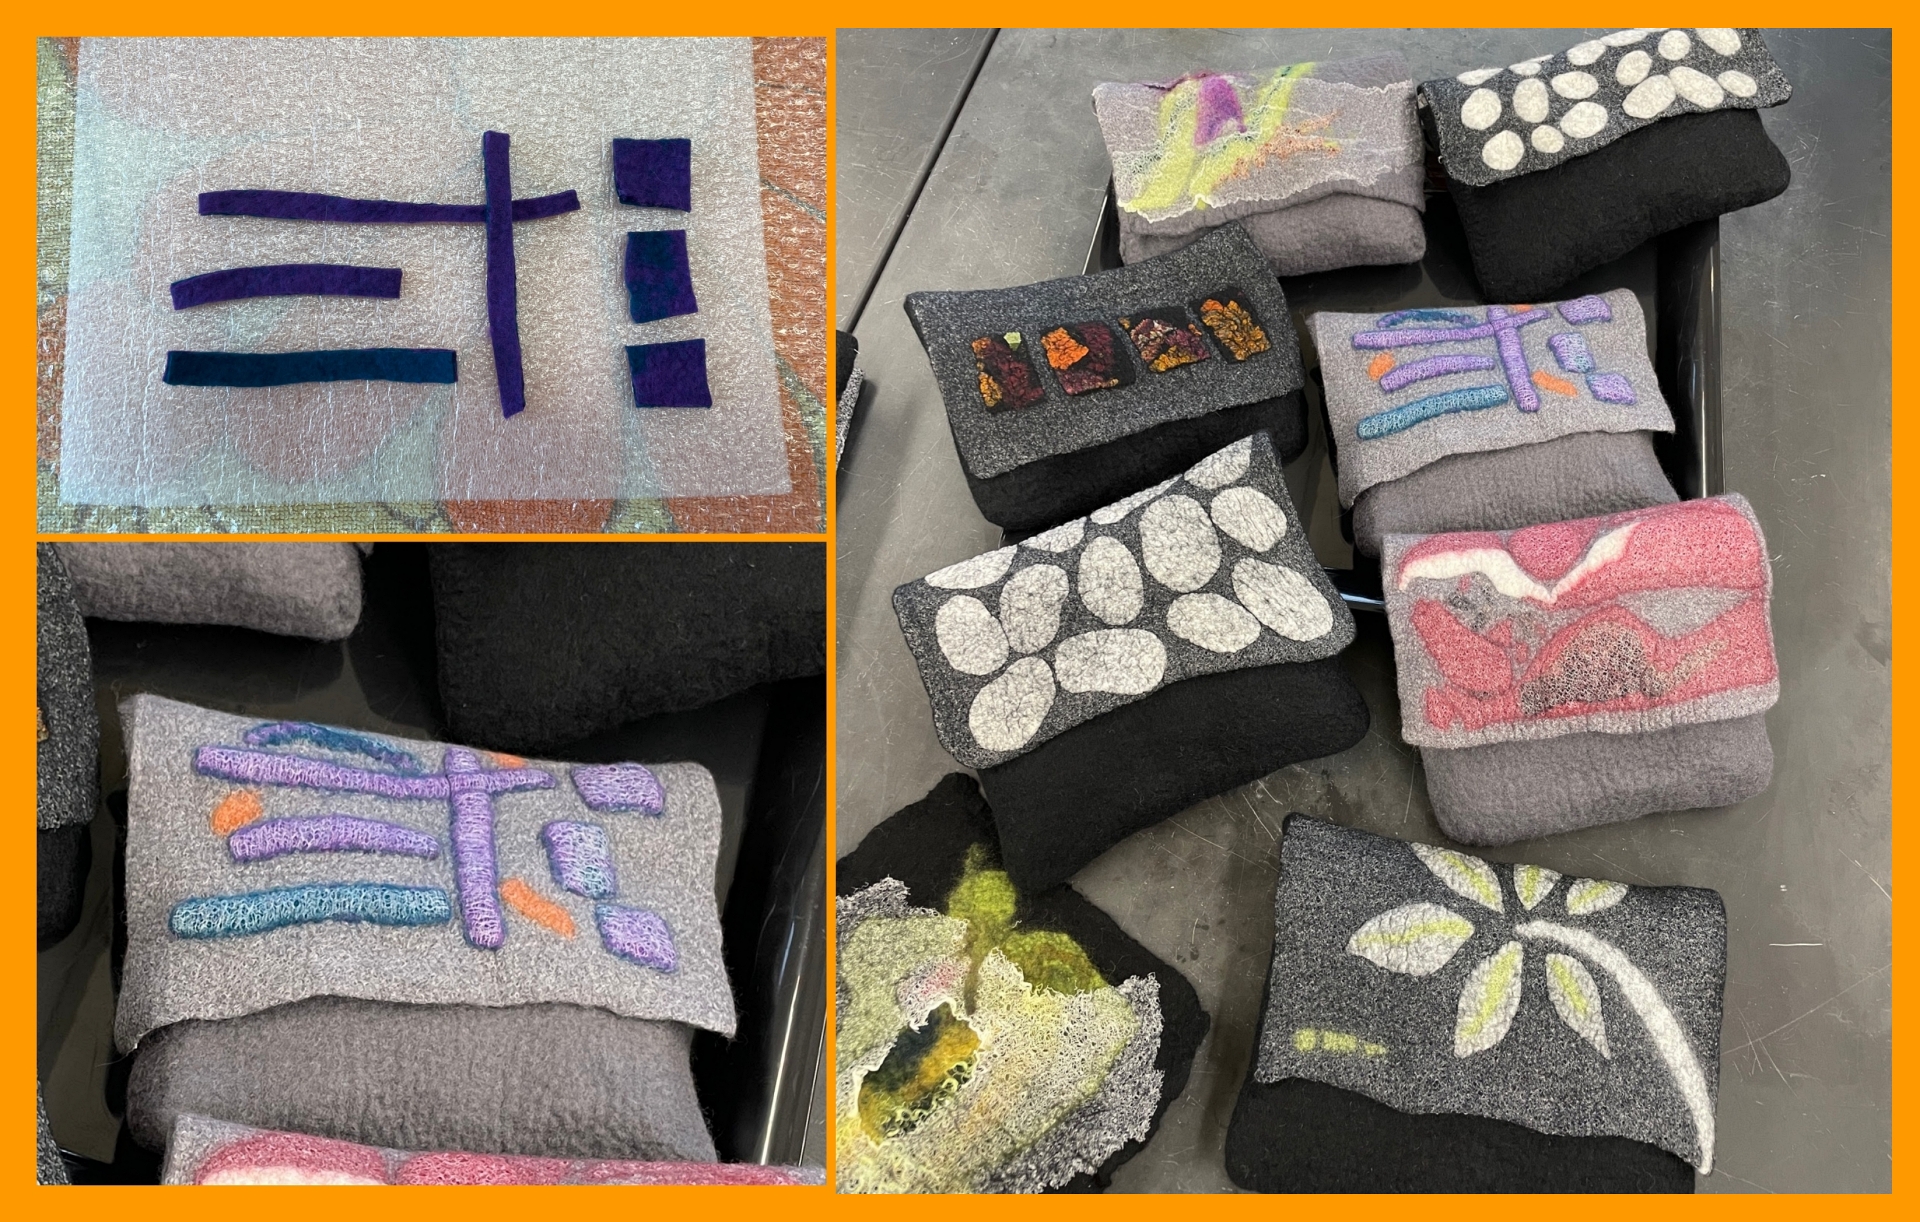
Day 2 – Clutch Purse We used a plastic resist to create a ‘3 dimensional container’. Again I used some heavily felted scraps this time with a silk overlay and the variety in class was inspiring.
We finished the day by making our own prefelts and cleaned up our room for the evening ‘Walk-About’ where we all get a chance to see what the other workshops had been doing.
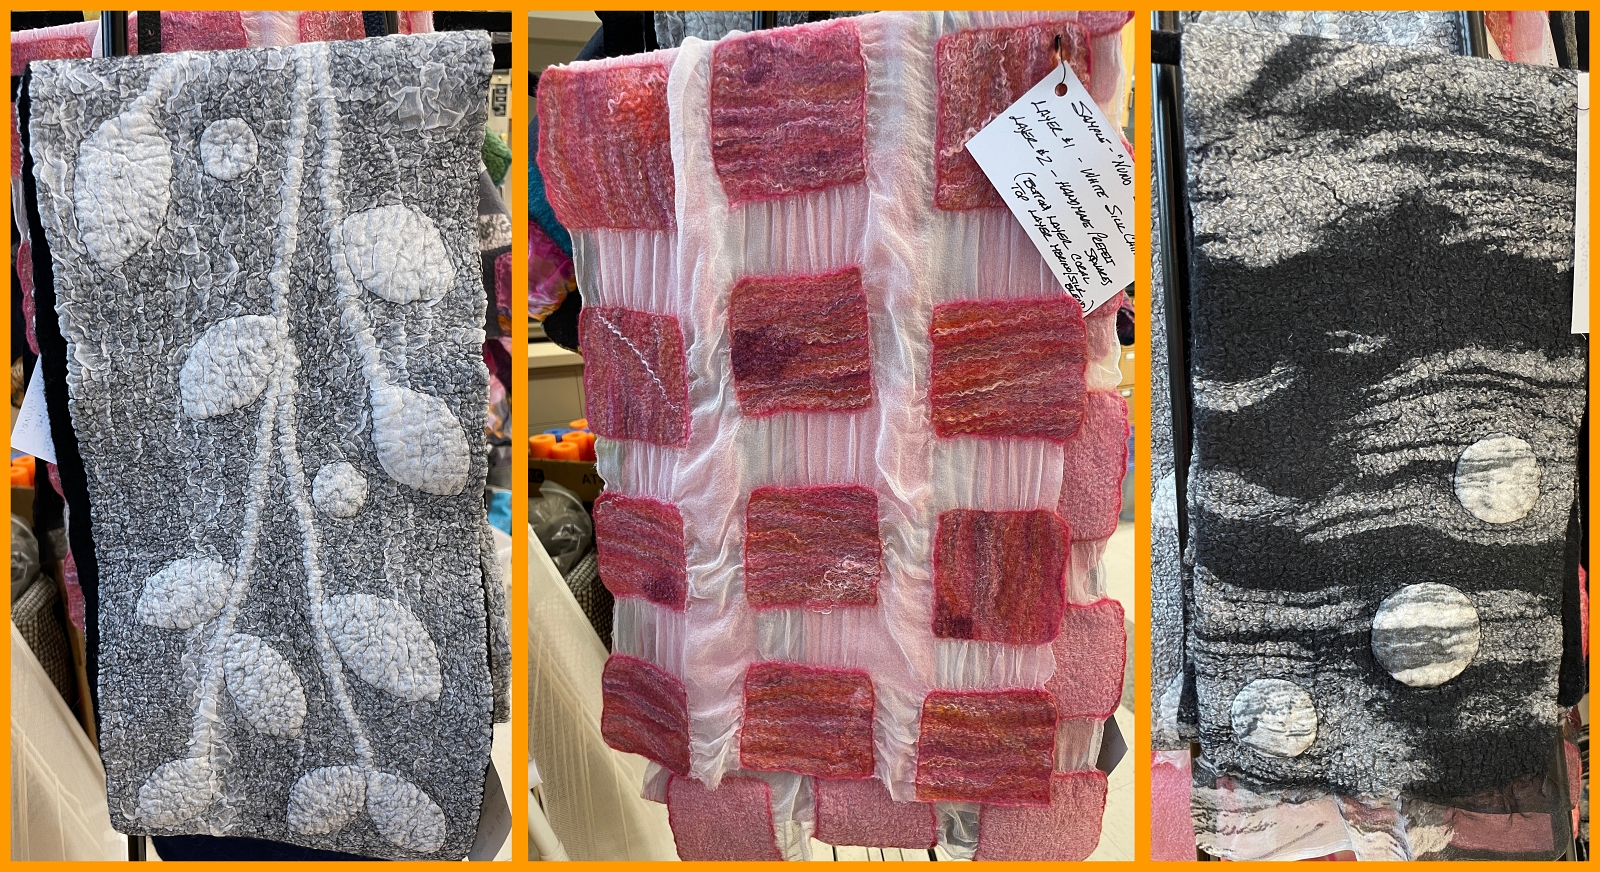
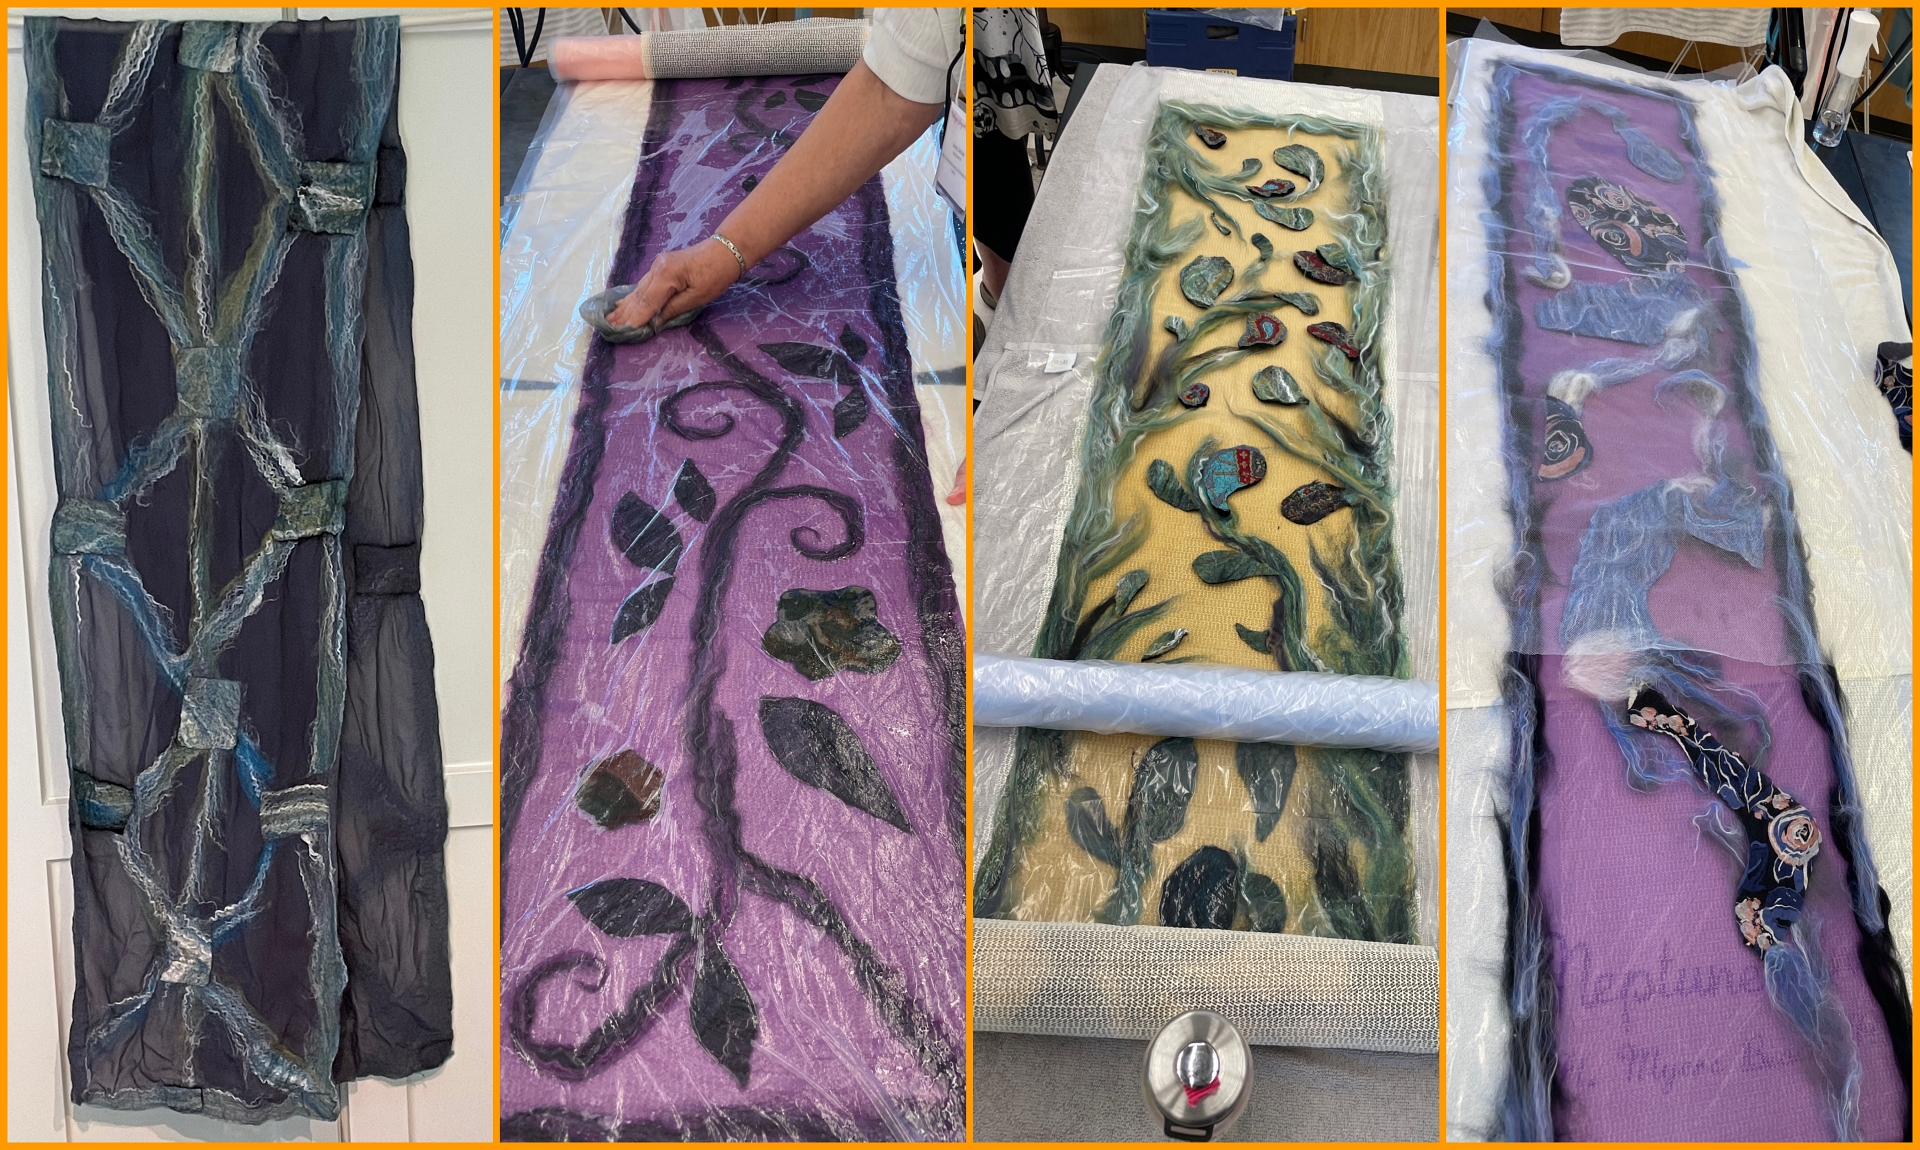
Day 3 – Felt Embellished Silk Scarf Kathy demonstration how to make the cool ridges she used on one of her purses and we made a scarf using our newly made prefelts and loose fiber to embellish silk fabric.
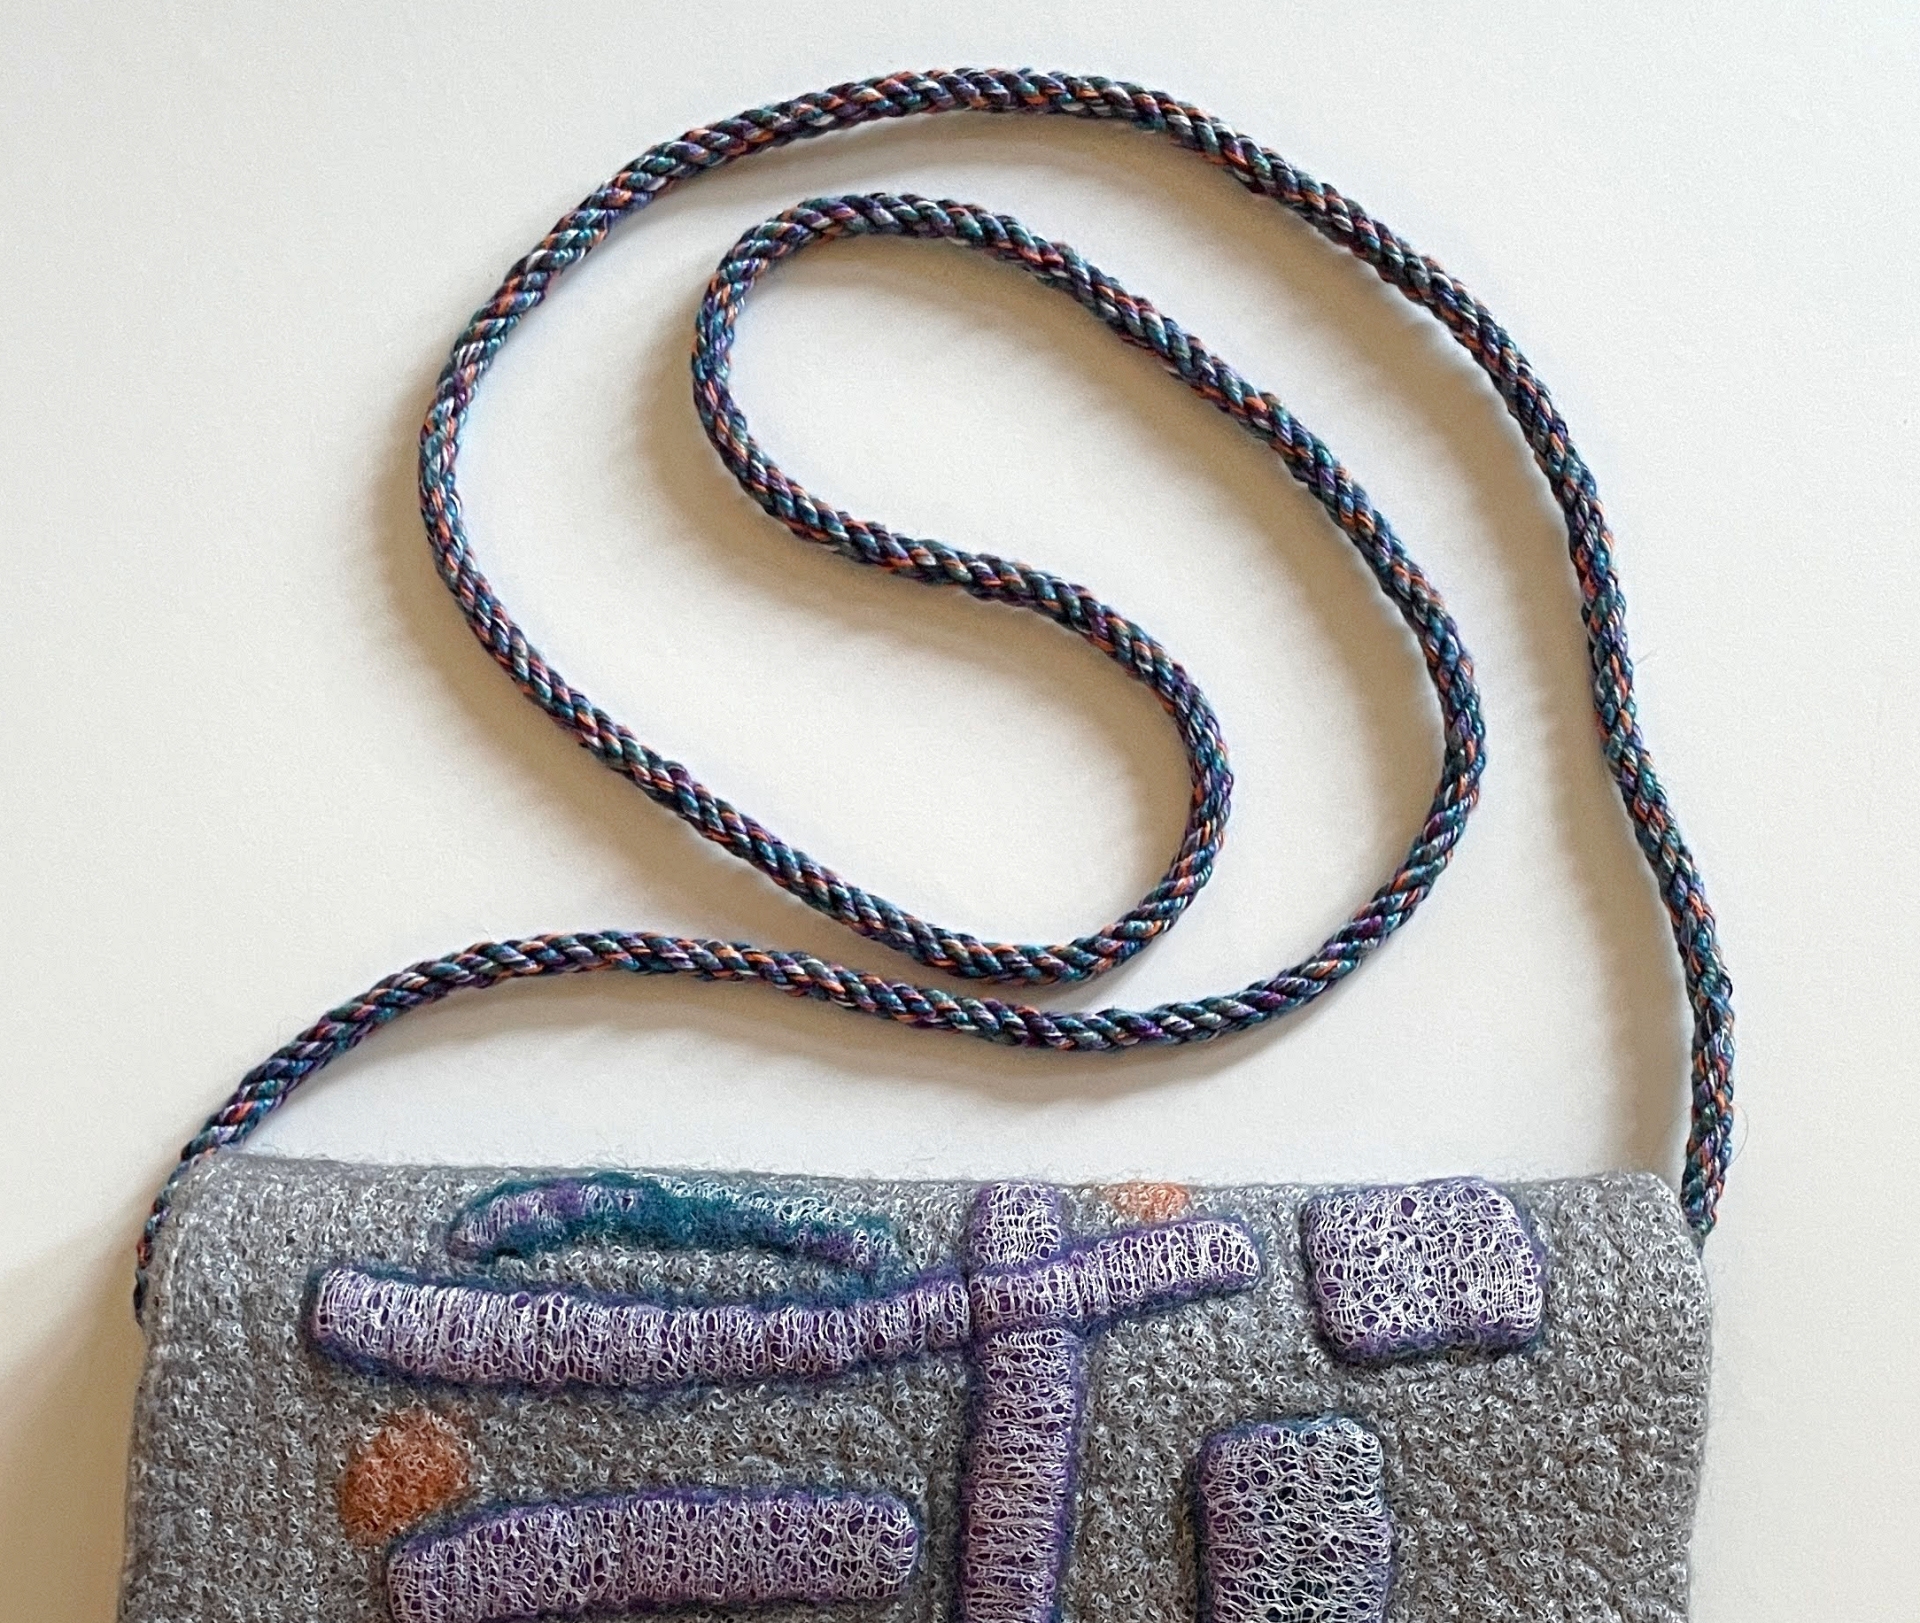
Now that I’m back home – I may add some stitch work to the journal cover. I added a strap to make the clutch into a cross-body bag. I pulled yarns from my weaving stash that fit the colors of the purse, used my cord winder to twist them together and threaded it through grommet holes I added to the sides. I can shorten of the strap as need by simply tying an overhand knot further up the cord and tucking the extra into bag.
~~~~~~~~~~~~~~~~~~~~~~~~~~~~~~~~~~~~~~
Being inspired by the imaginative designs my fellow participants created and having new techniques added to my tool box… this is one of the best workshops I’ve taken!
The theme for the May meeting of the Ann Arbor Fiberarts Guild was “Celebrating Member Fiber Explorations”. This is our final meeting of the season and members are invited to share fiber art projects they’ve been working on all year, and workshop participants are welcome to show their unique responses to the Guild workshops they attended. This was my chance to actually wear the dress so I packed up the collection for the show & tell.
Besides myself the November 2023 virtual workshop with UK paper artistJennifer Collier[see March 2024 blog] inspired 2 other members to create full size wearable garments. We had a great runway show with Trish Ritchie wearing her kitchen apron made out of pages from Cooking Light Magazine and Carolyn Michaels wearing the pinafore apron Helen Welford made using paper grocery bags.
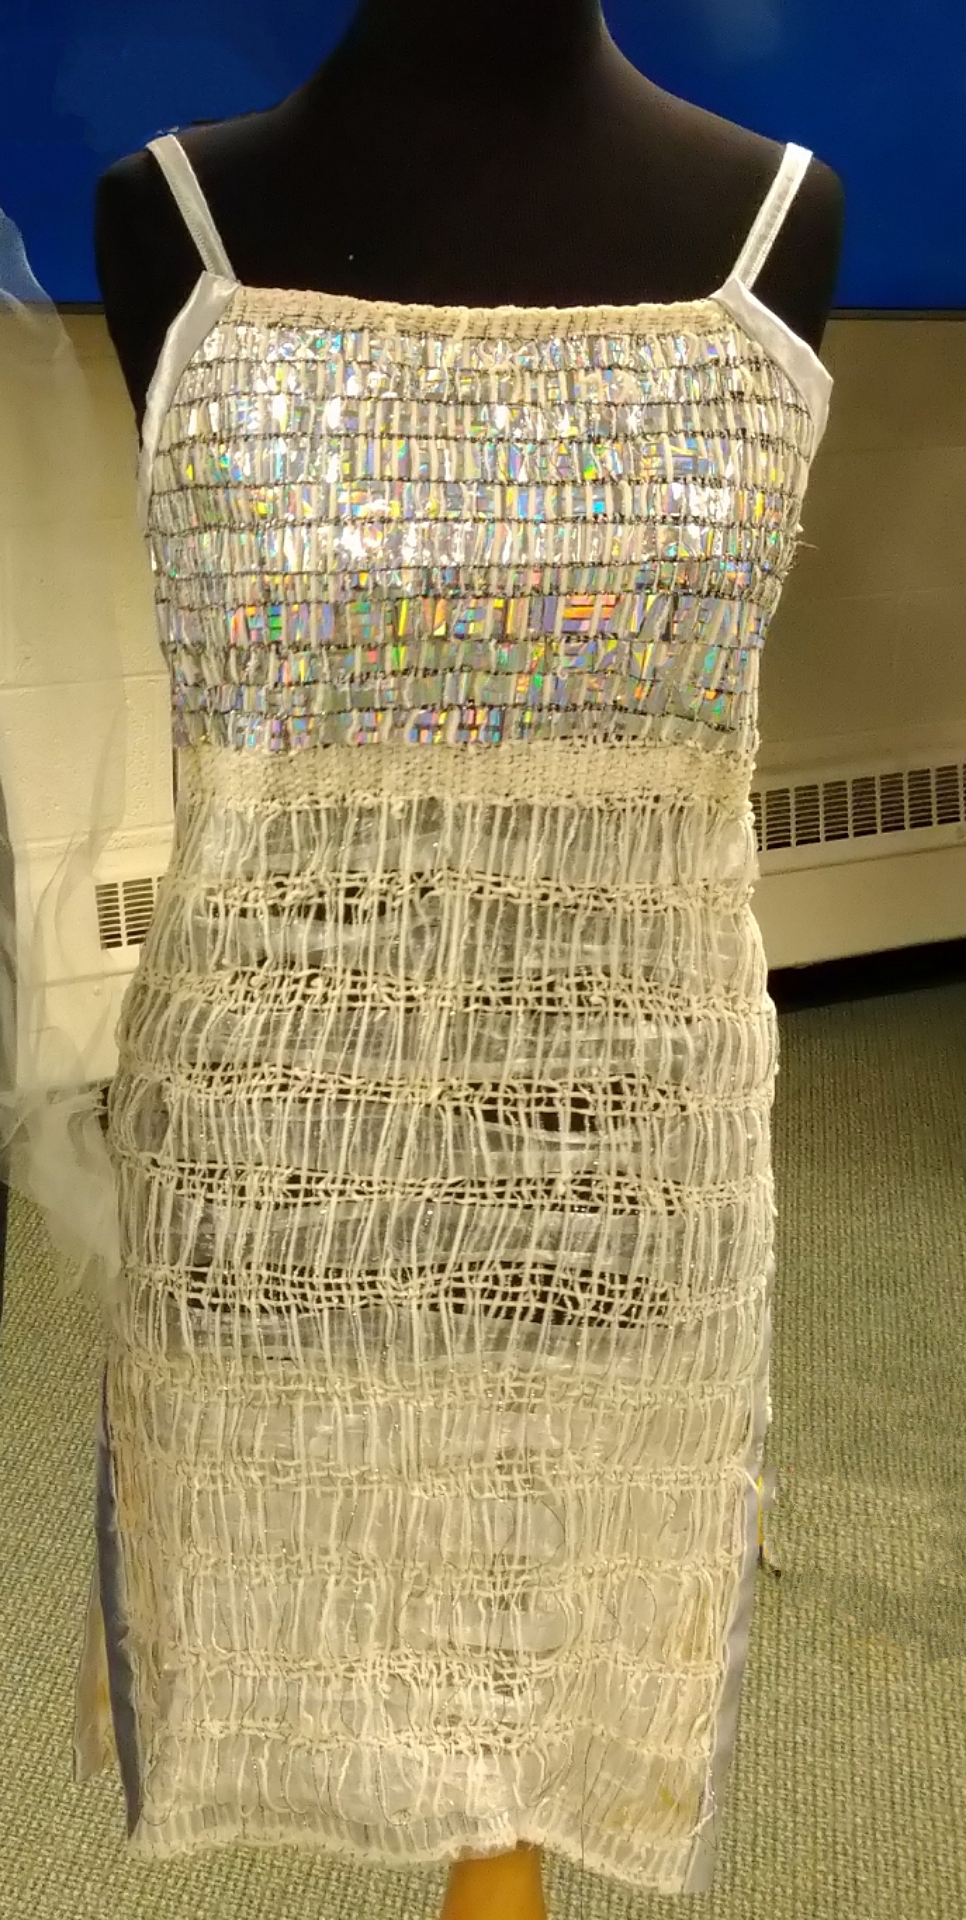
Also on display in memory of long time member Marion Marzolf was the dress she created for the 2015 guild recycled materials challenge woven using chenille yarn for warp and strips of mylar balloons and plastic for weft.
Creating the Couture Cartography Collection was challenging but also fun and exciting. I will not be wearing the map dress again any time soon. The paper is fragile and it’s not very comfortable. One does not bend nor sit if wearing it. However…. it is wonderful to twirl in!!
Couture (adjective): of, relating to, or being high-end custom-made fashion Cartography (noun): the science or art of making maps Combining science, aesthetics and technique, cartography builds on the premise that reality (or an imagined reality) can be modeled in ways that communicate spatial information effectively.
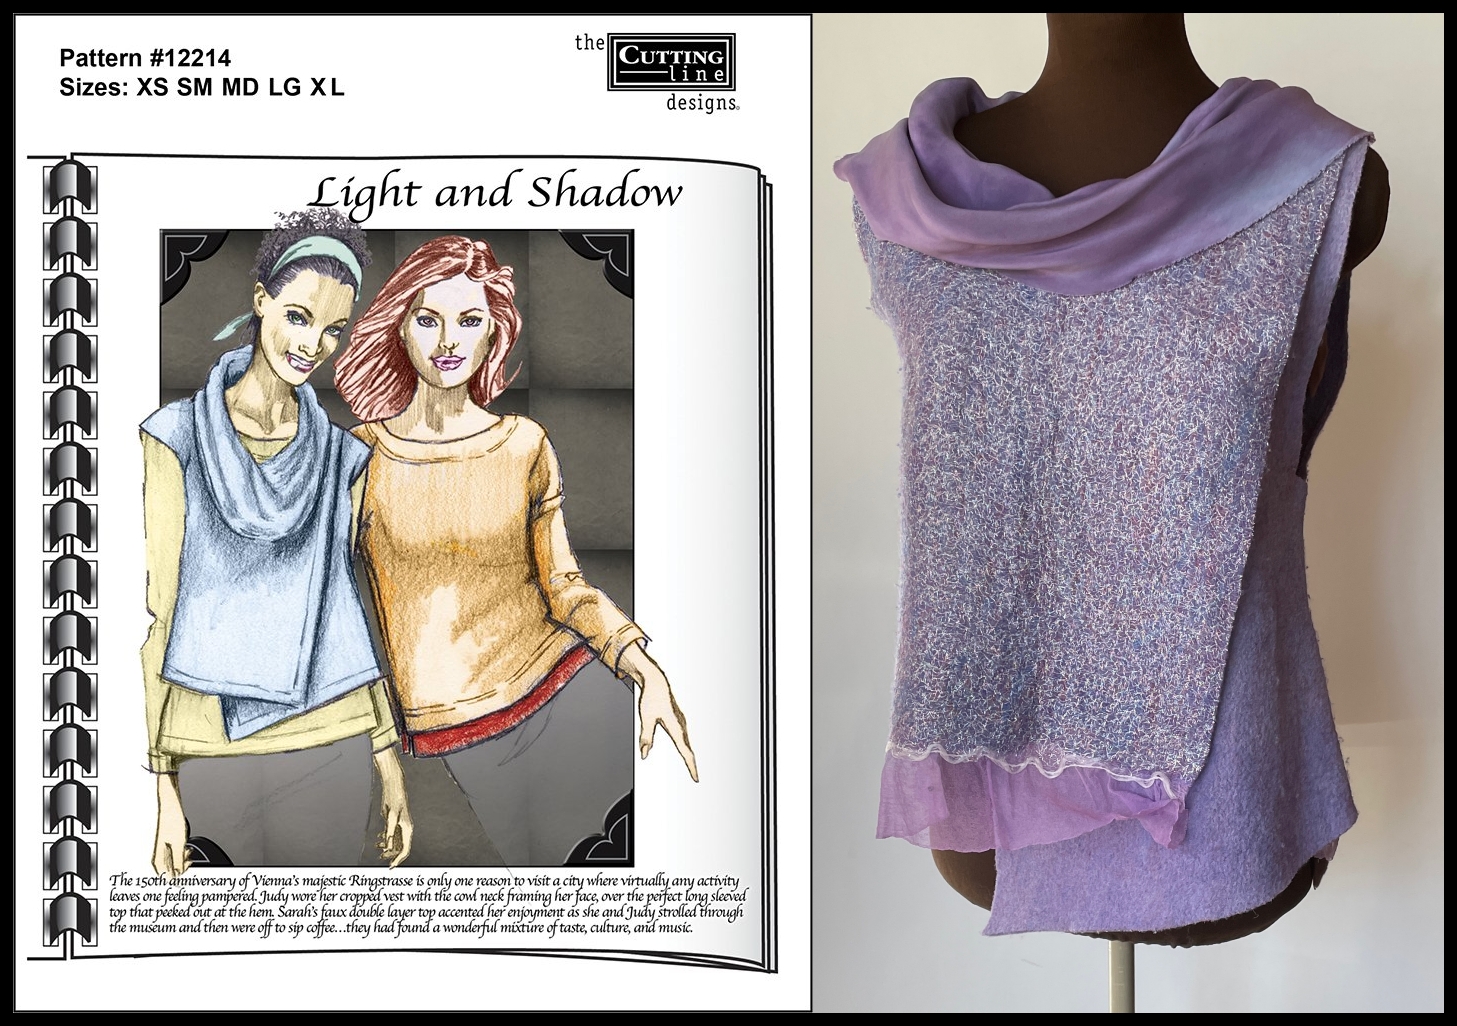
My first idea was the pattern I used to make a vest after making a heavier felt with metallic fabric imbedded – Cutting Line Designspattern #12214 Light & Shadow. I knew the cowl would be a challenge but thought the paper would lay smoothly for the body.
Regrettably this did not work with paper and getting it on/off was a problem. On to the next idea – try Pattern #1028 Artist Vest by Dana Marie Design, Co. – the pattern I used to make my Surround Sound Vest[see July 2013 blog].
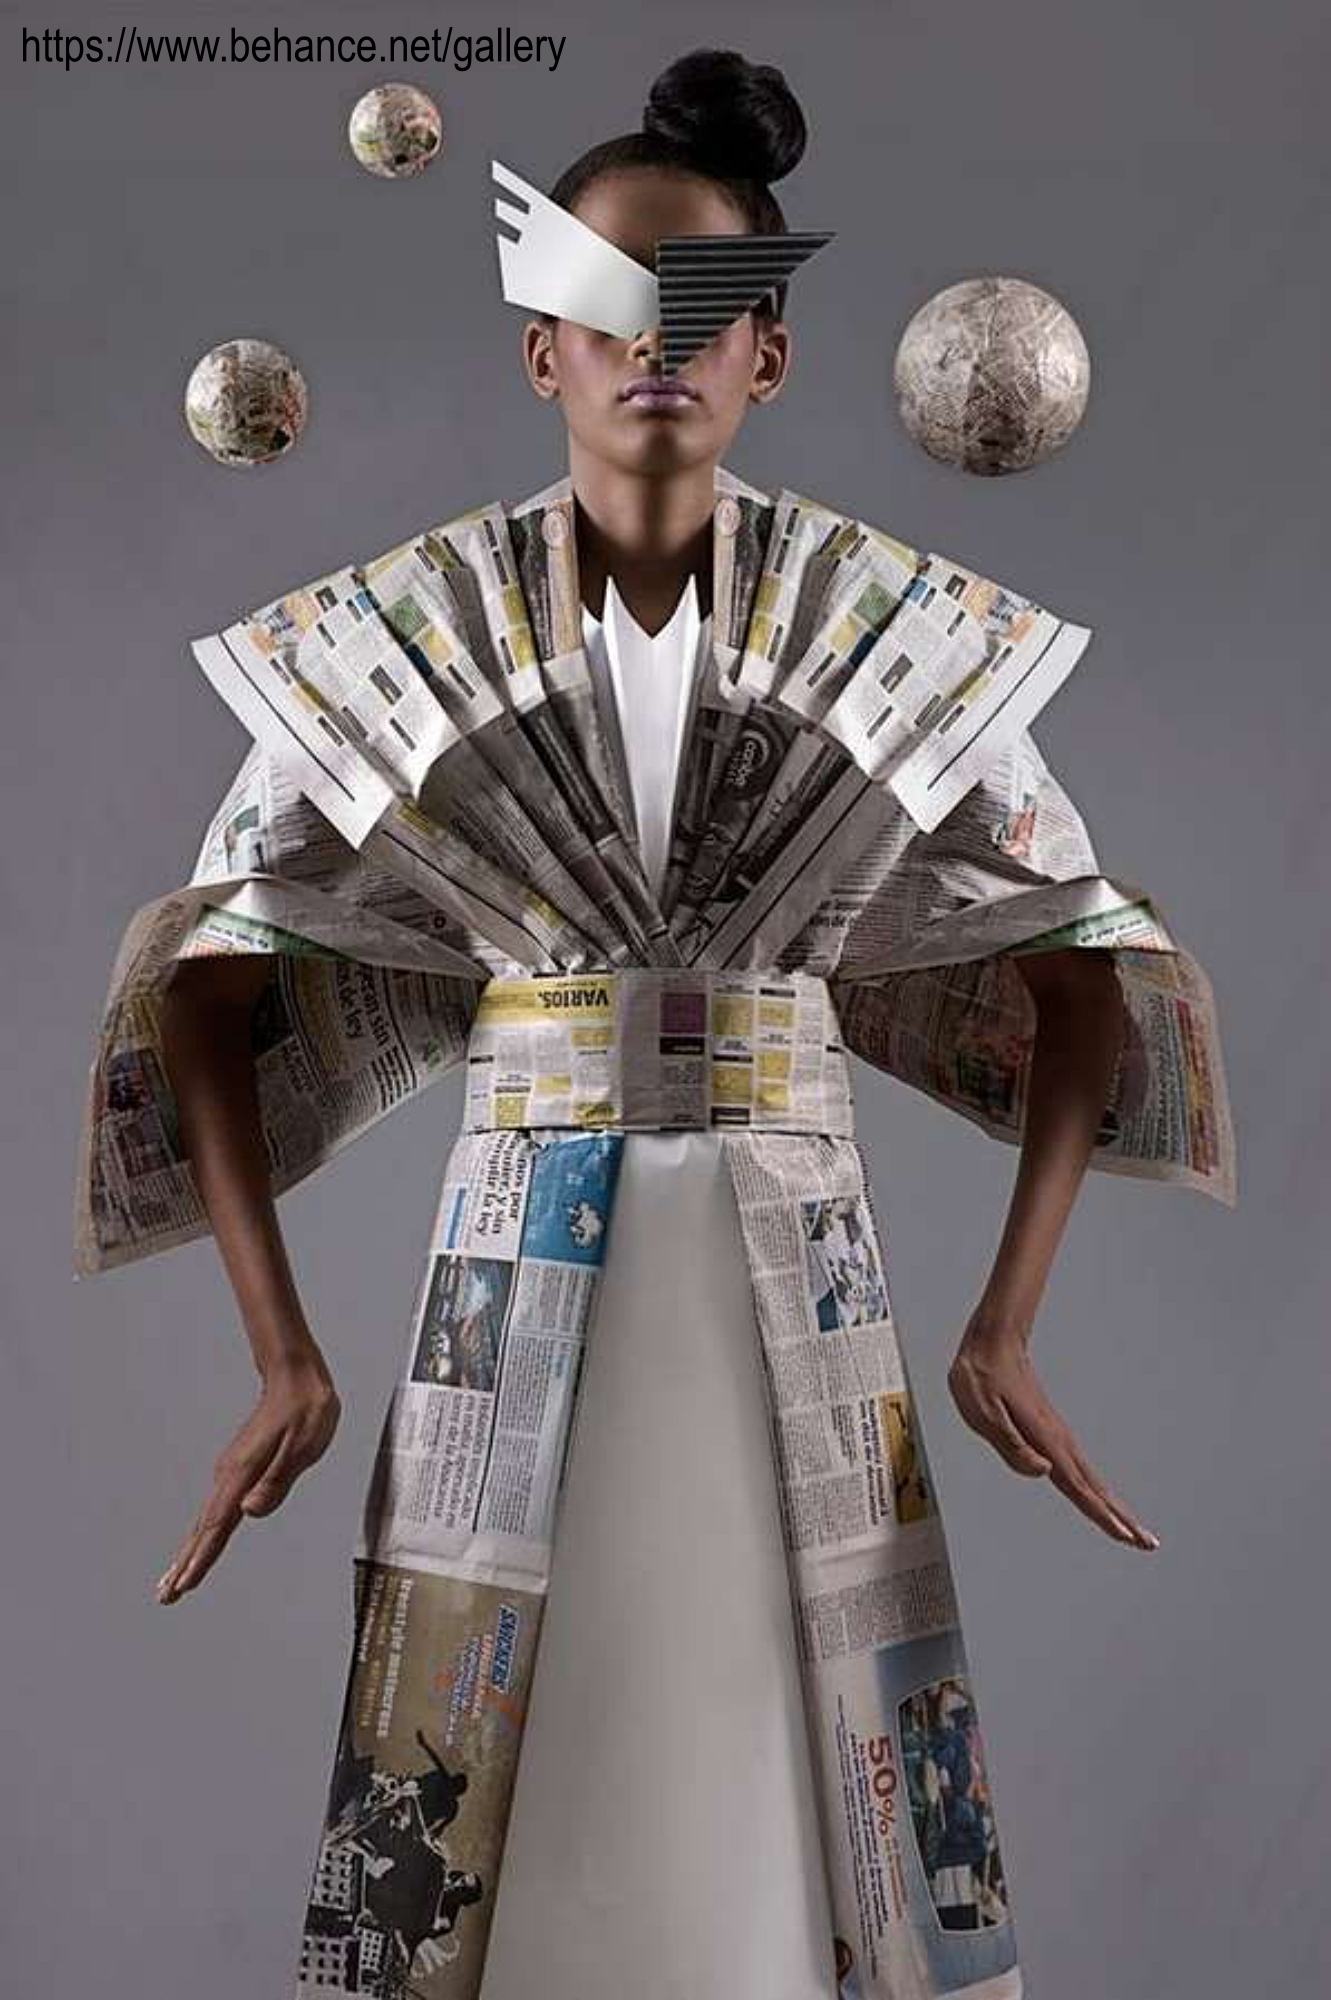
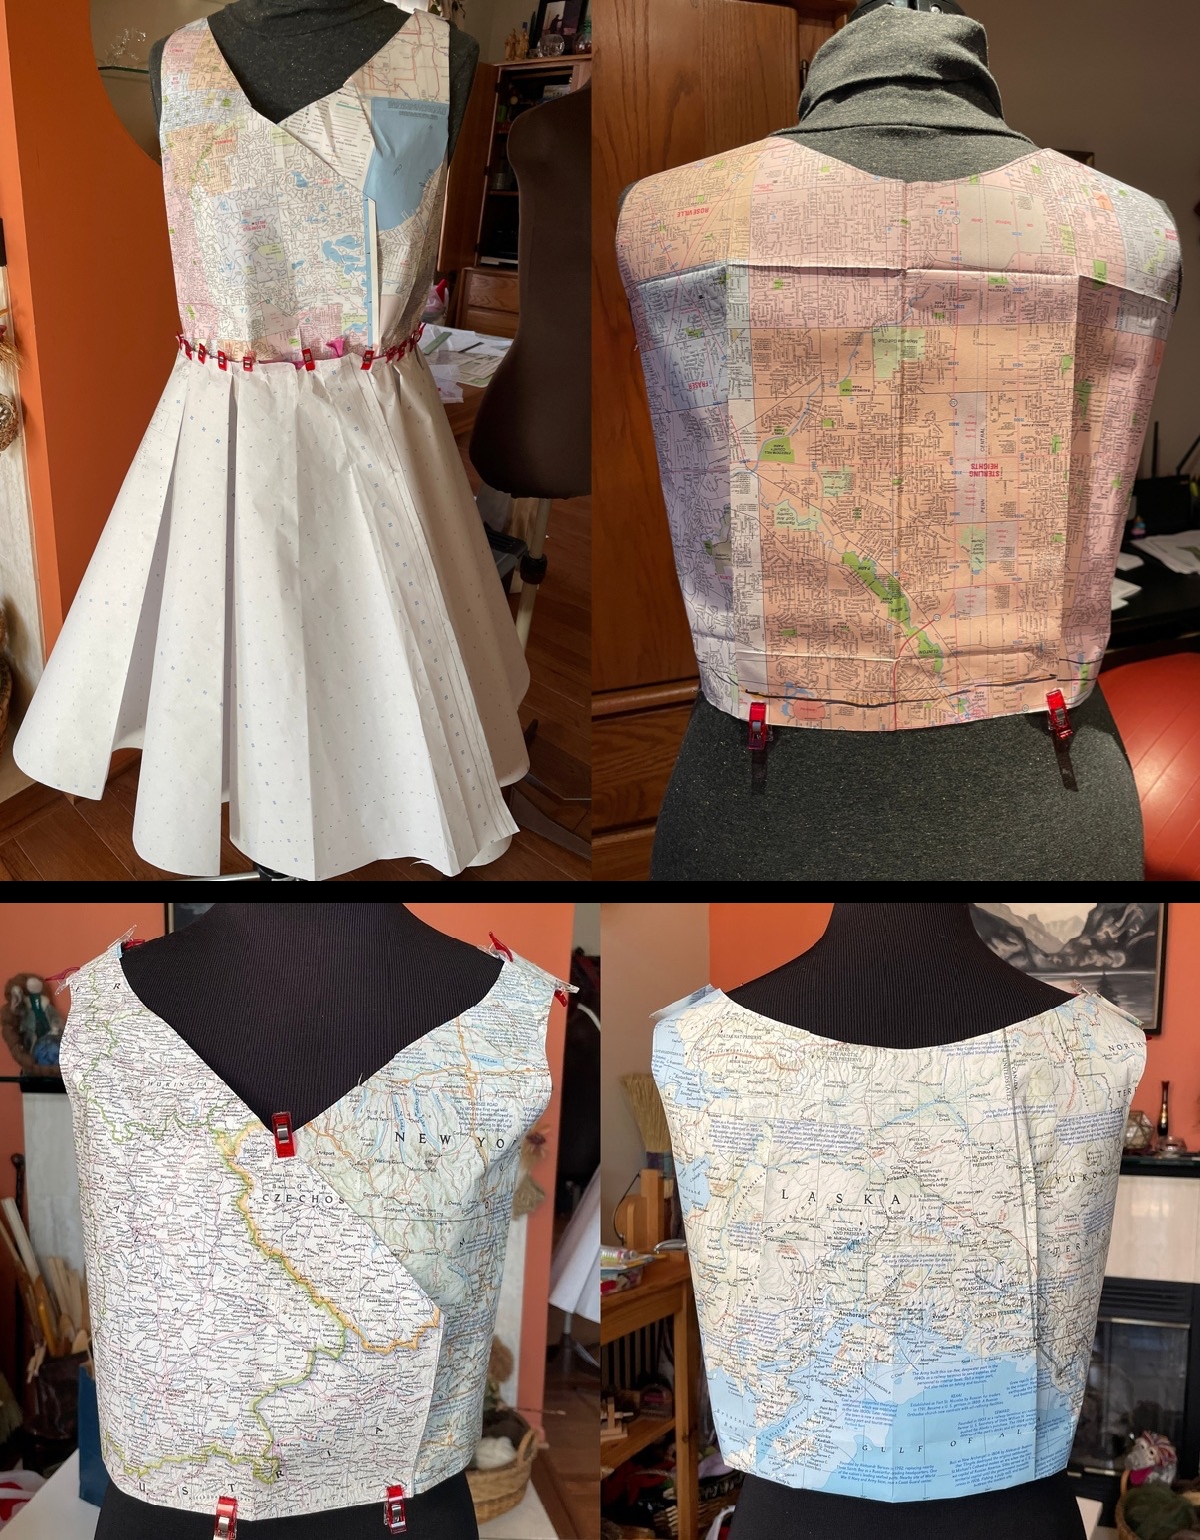
Prototype constructed. This pattern worked much better but the fit was cone-shaped. Searching the web for other ideas I came across an amazing paper garment. Here was my solution – add a belt!
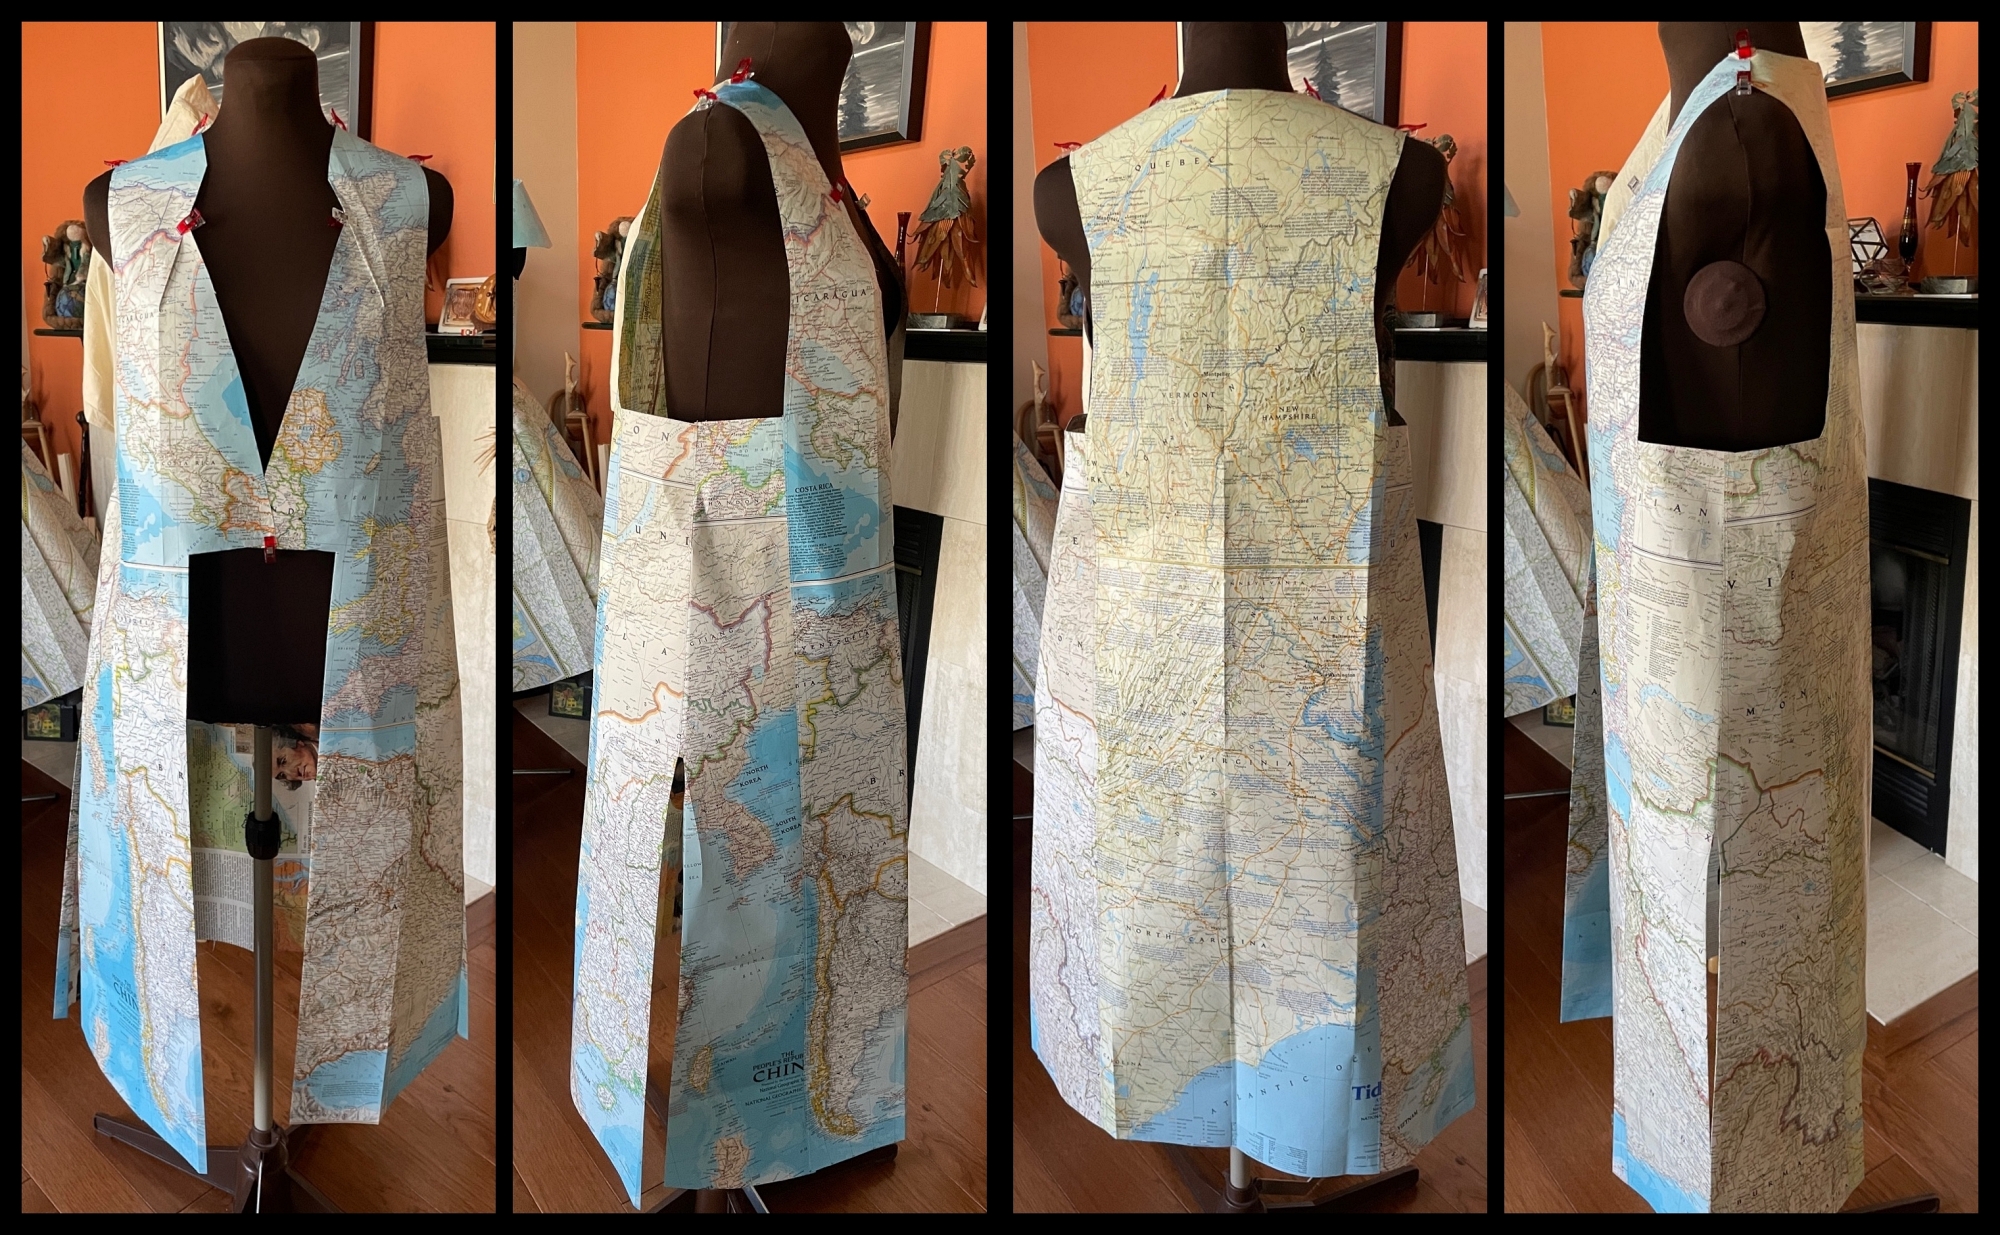
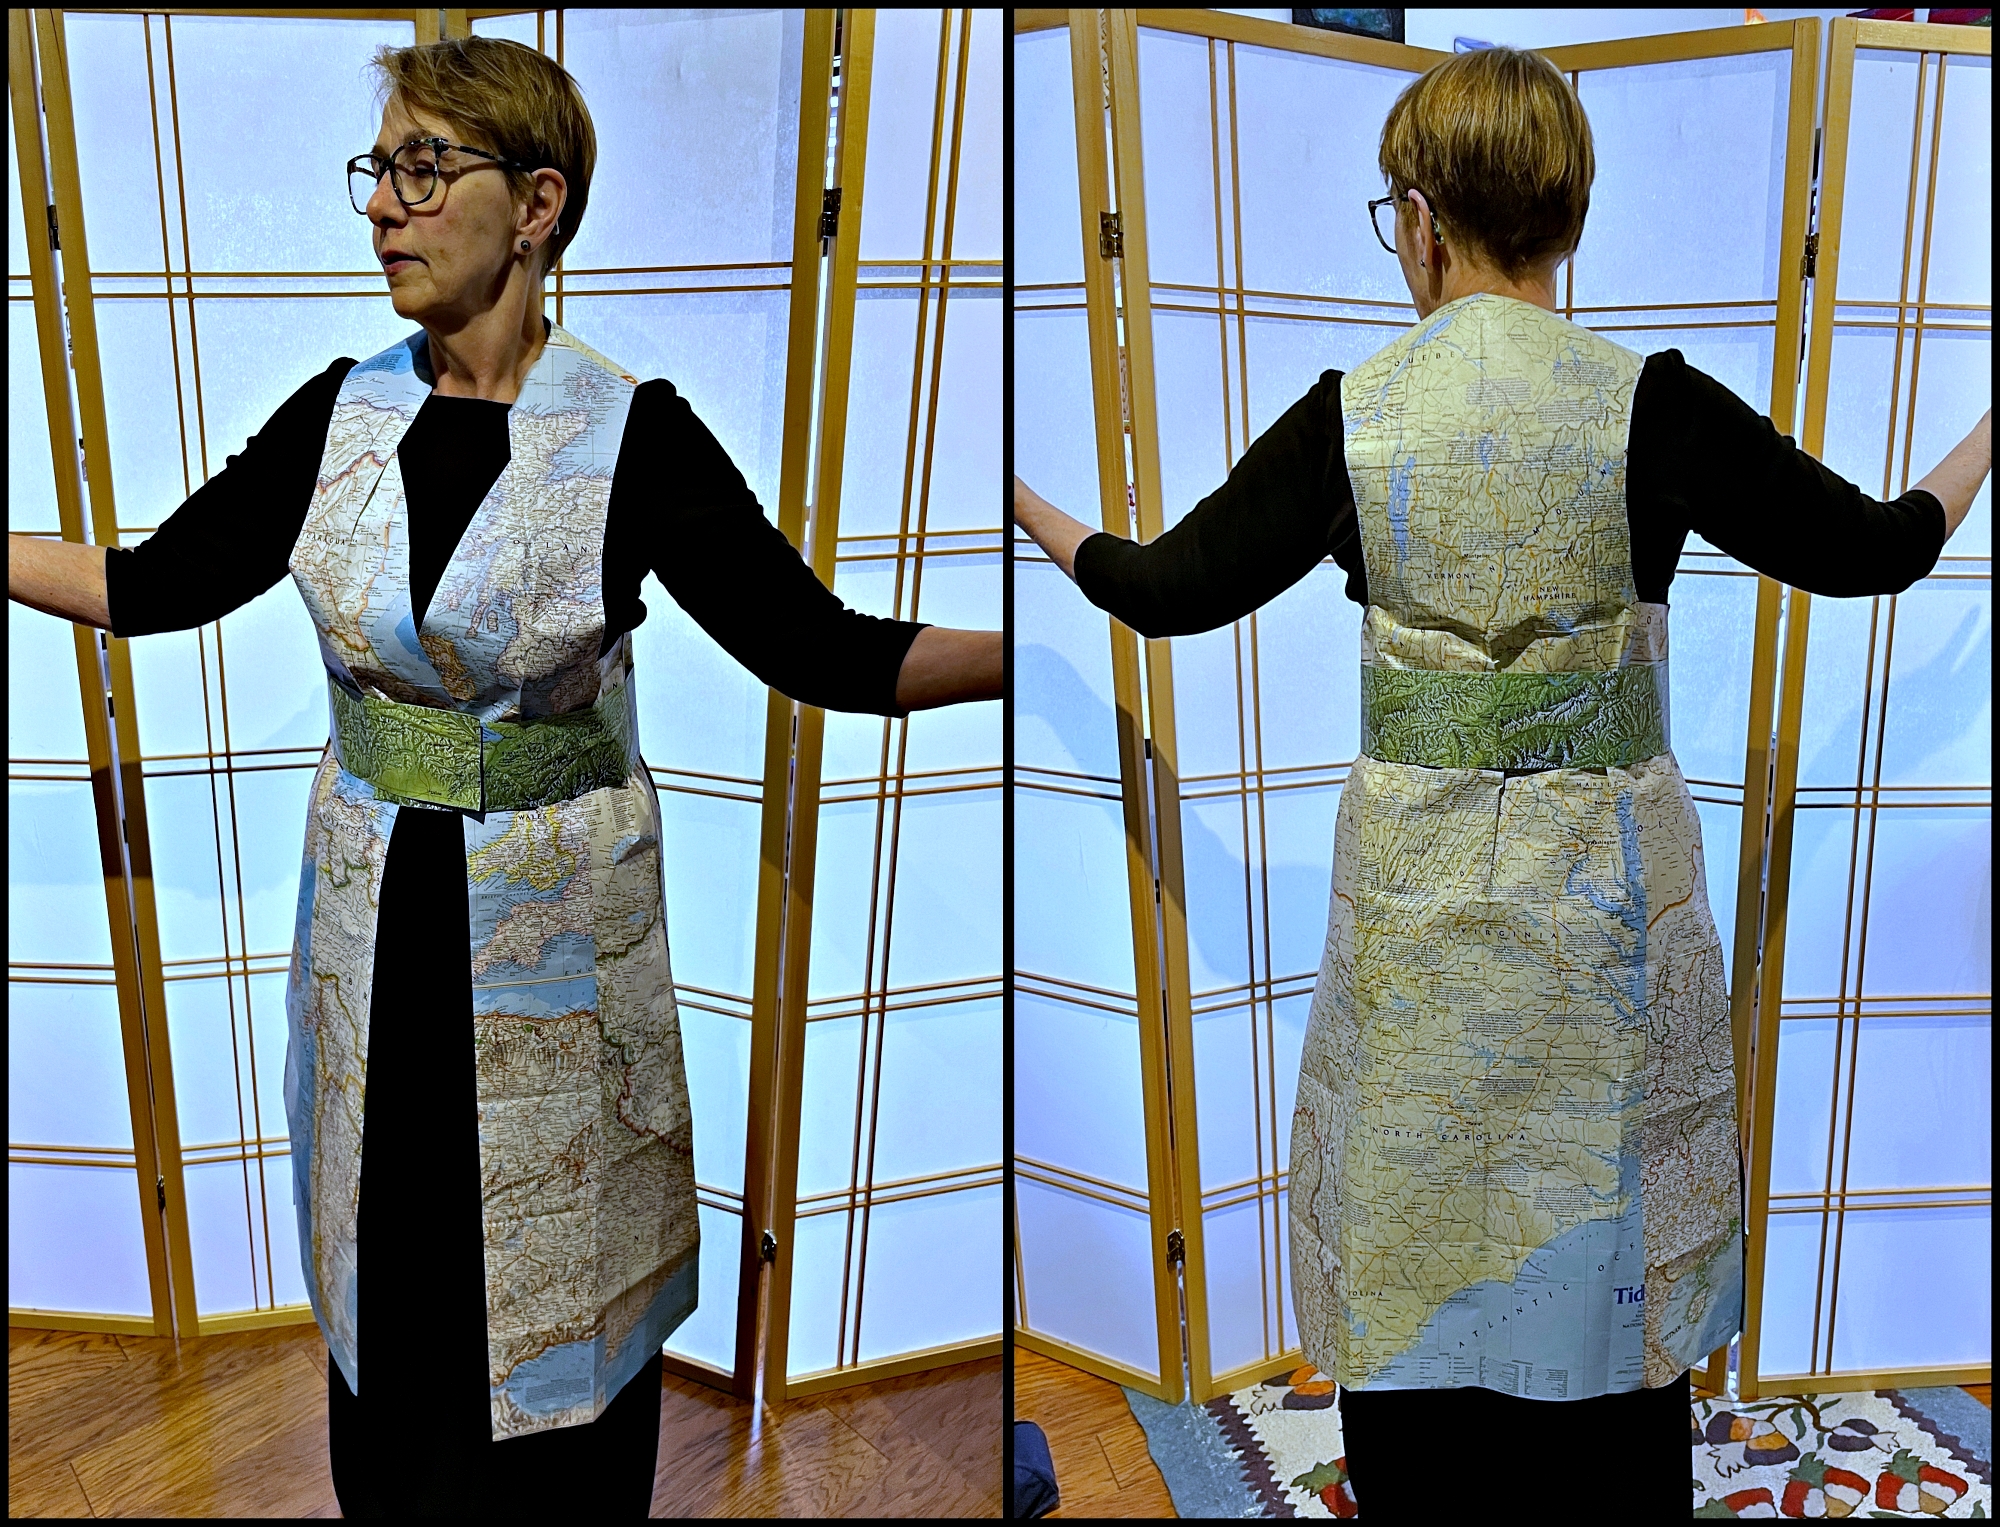
Now I pulled out the remaining National Geographic maps and made the actual vest. I planned to have a green belt as contrast and tested accenting the vertical seam lines with a green stripe.
Seeing everything sewn together and upright on the dress form – I decided to keep it simple and not add the extra green accent.
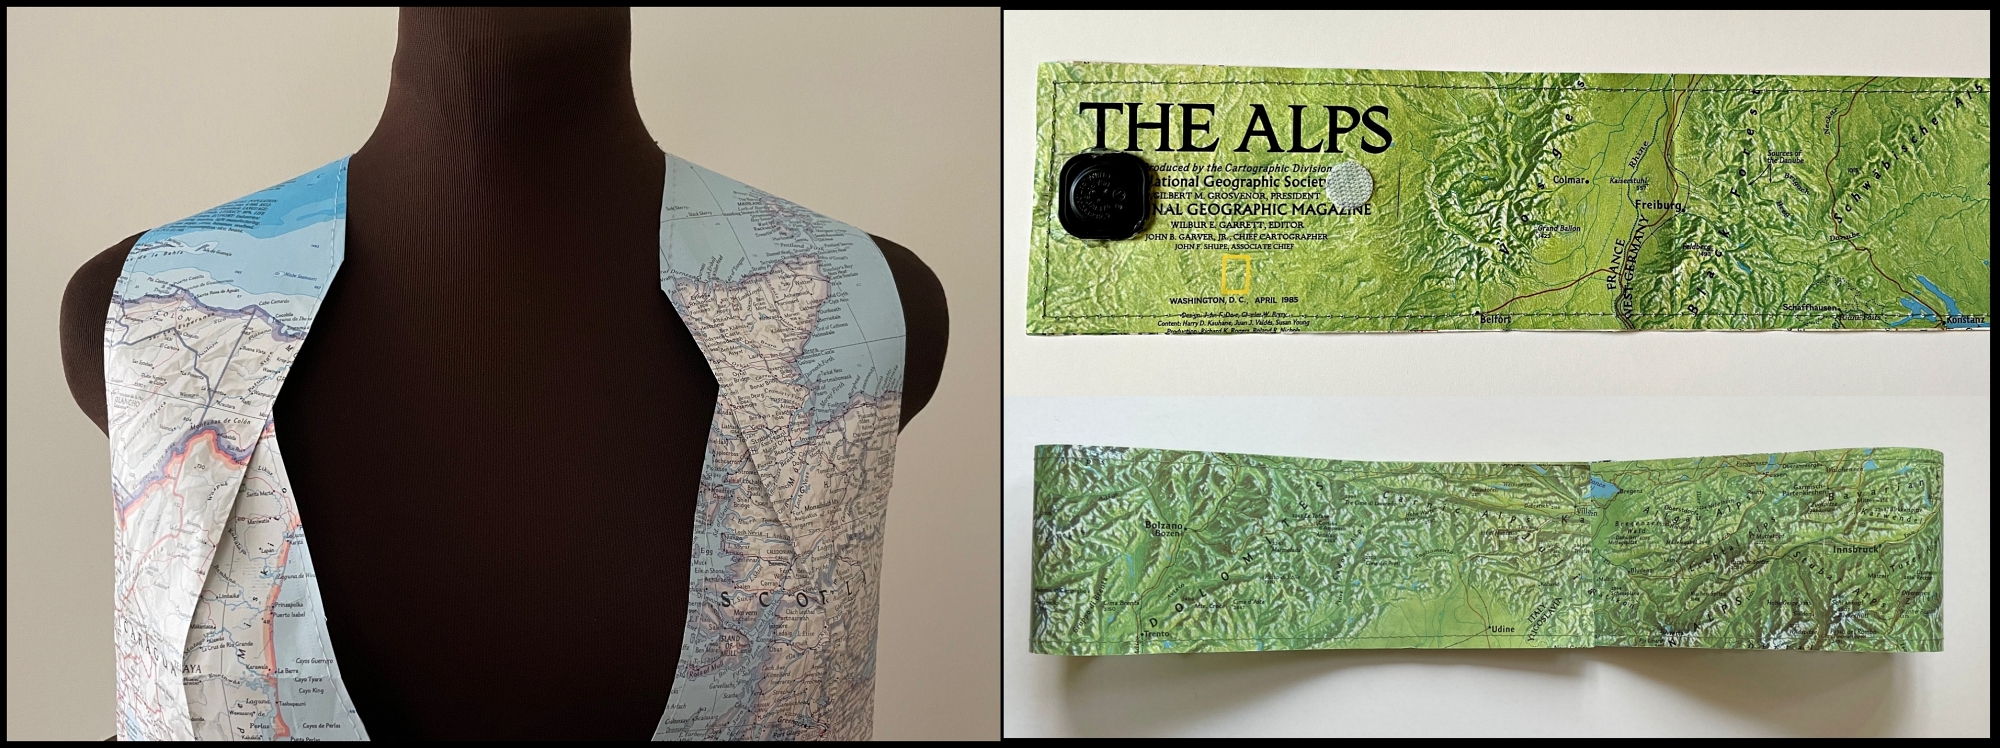
Folding the paper on the dress form to shaped the bust-line, allowing the paper to ‘do what it wanted to do’, created a lovely shape for the neckline. A map of the Alps made the belt with a magnet & velcro closures.
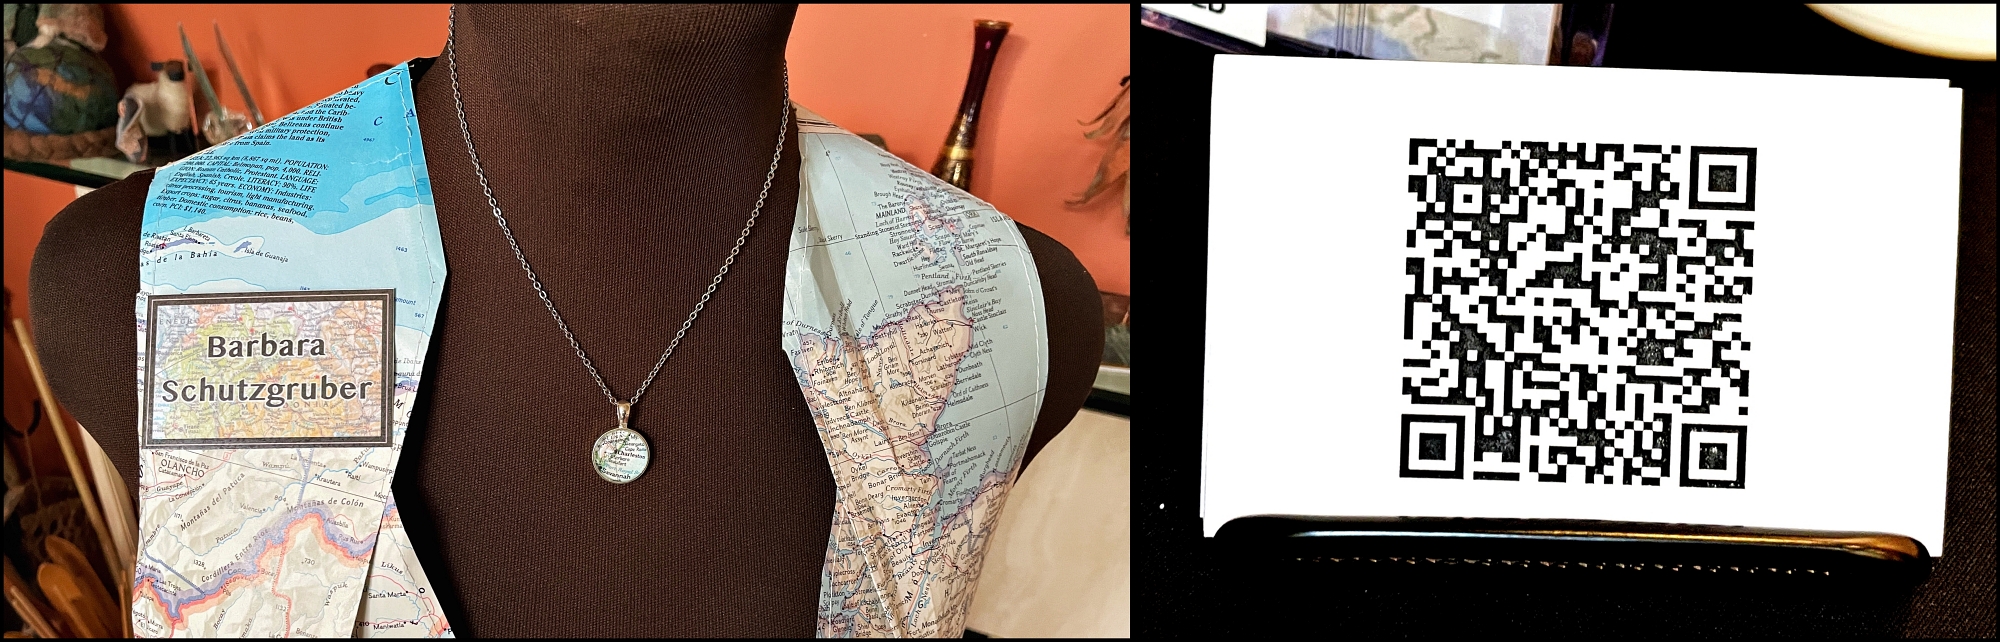
Even though I cannot sit wearing the vest it will be fairly comfortable for the reception. A map pendant necklace and custom name tag finished the look. The gallery suggested creating a QR code linked to the March 2024 blog for patrons to read how Couture Cartography was made.
The opening reception was well attended and I throughly enjoyed talking with attendees!
I am always amazed at the variety and calibre of work members of AAFG create.
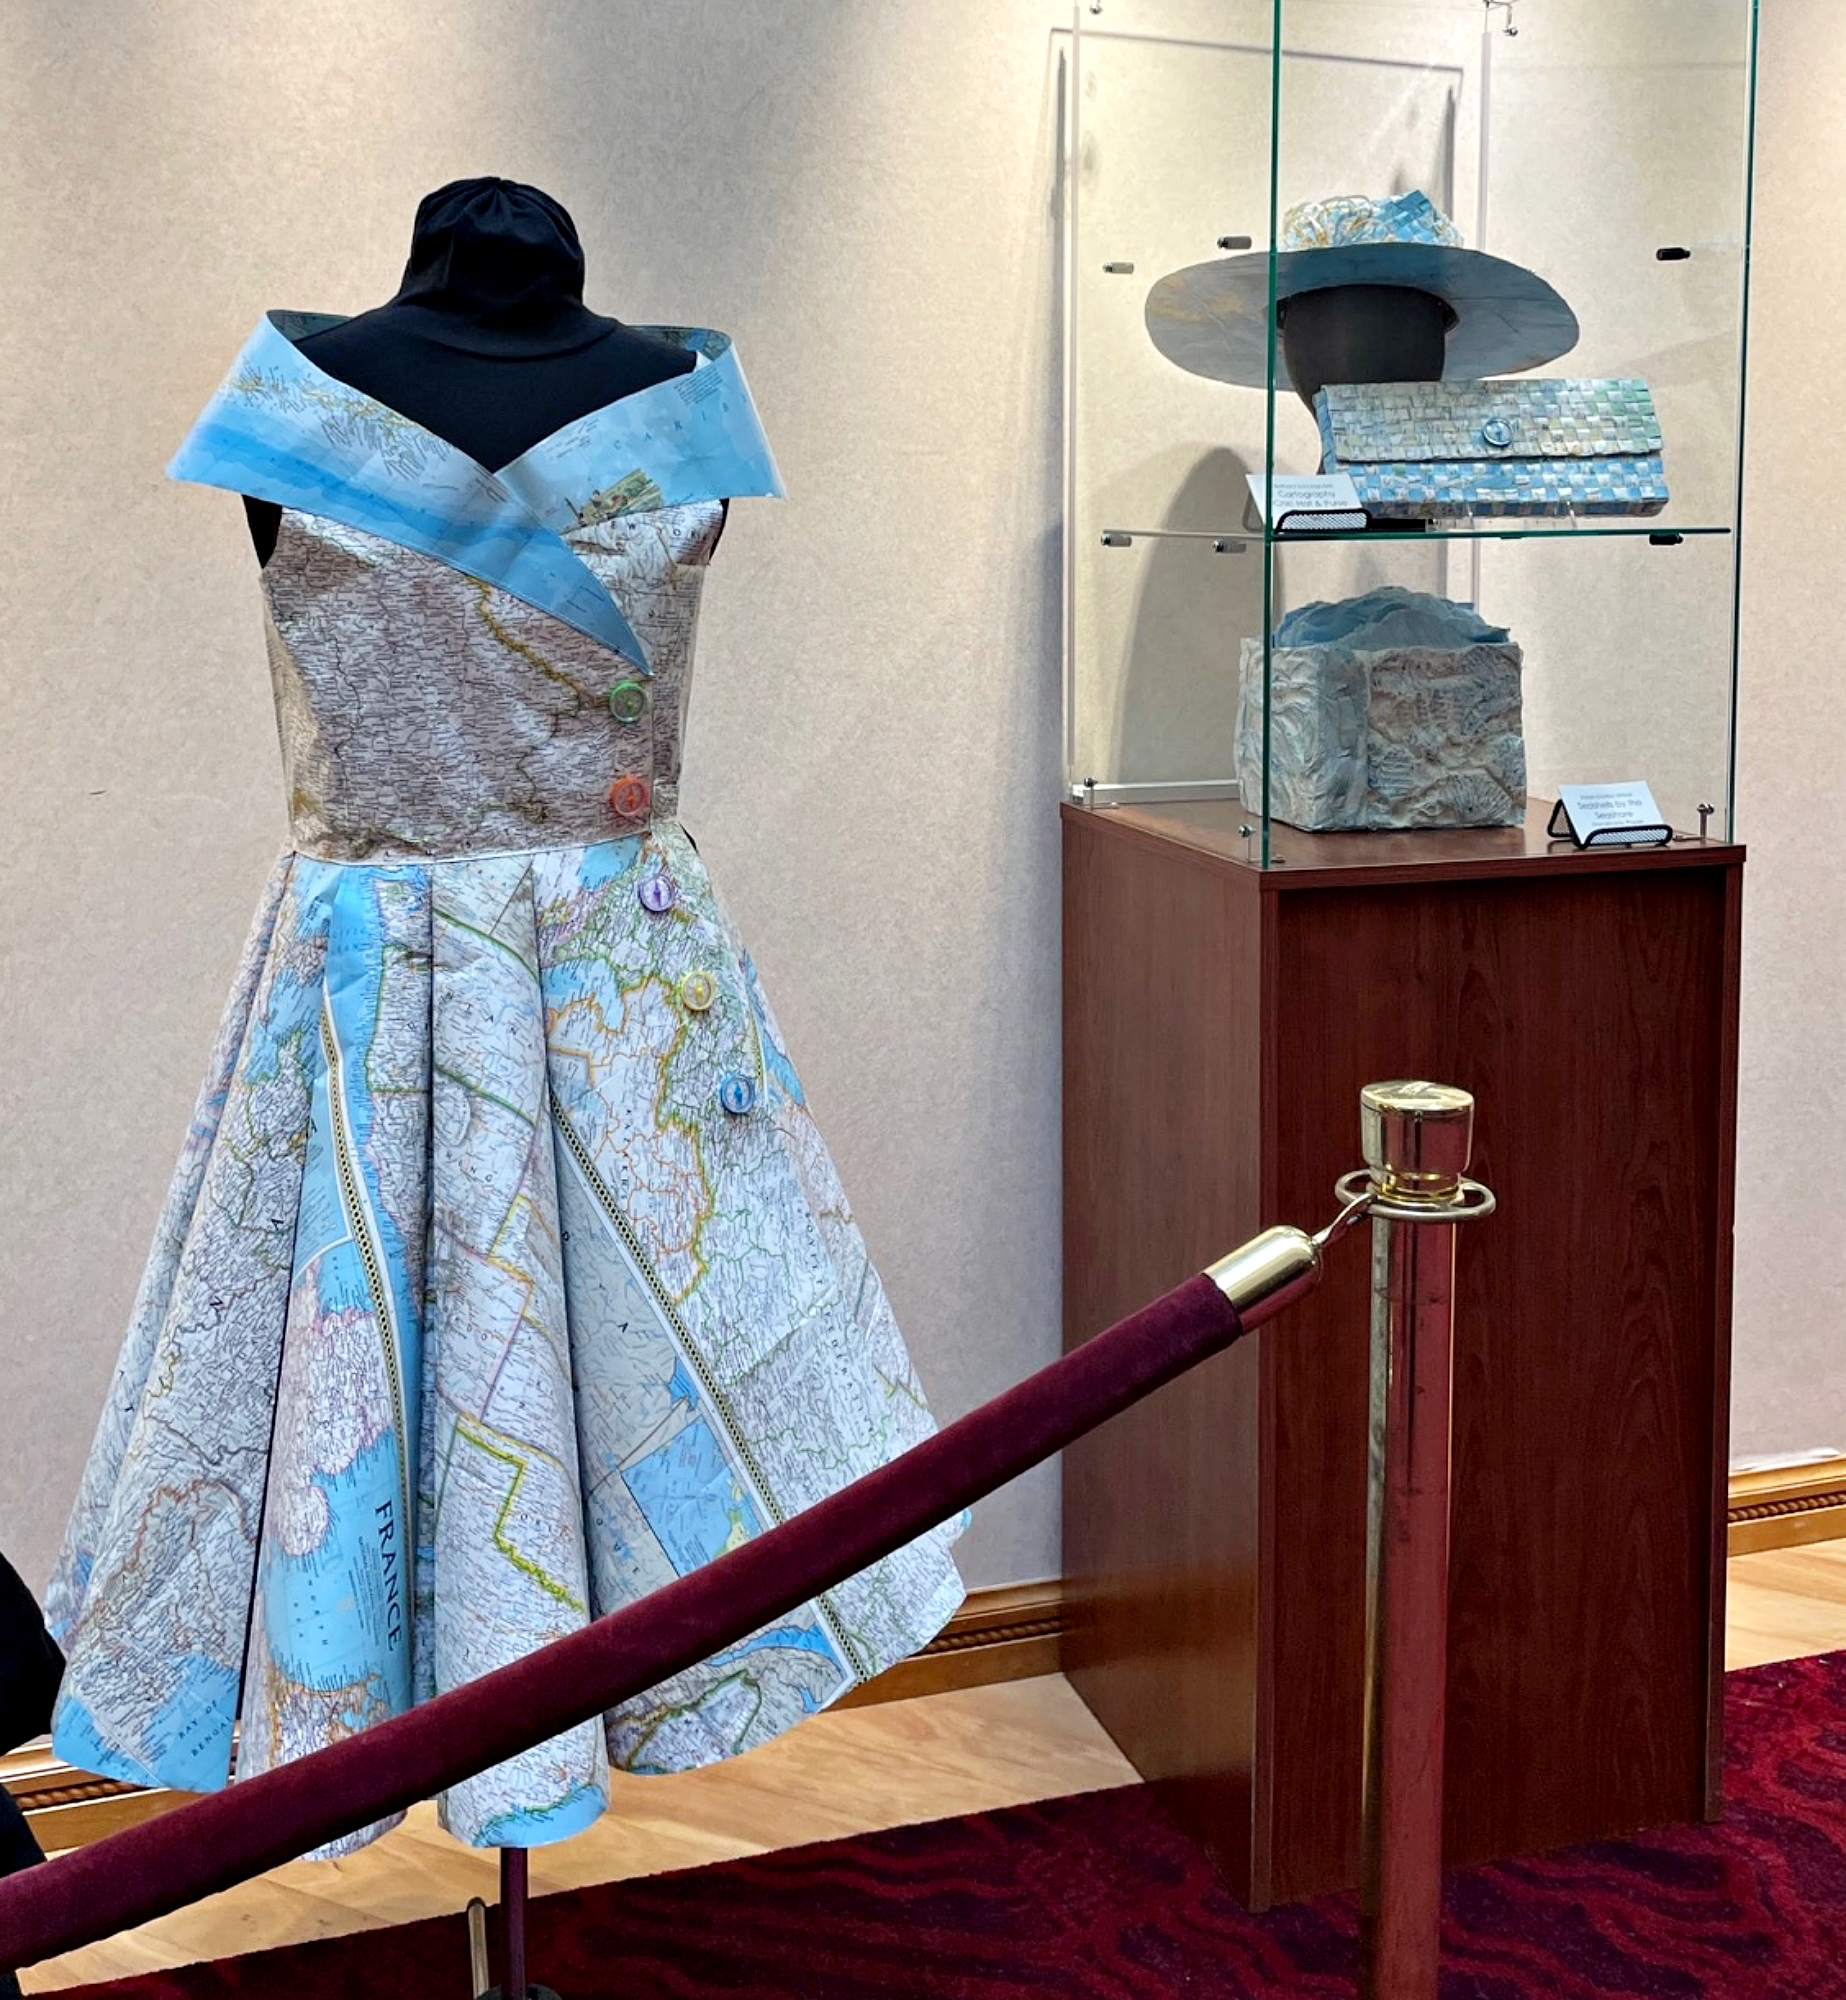
Guild member Karen Koykka O’Neal is a paper maker. Her sculpture Seashells by the Seashore has me thinking about a future collaboration for one more paper garment… Making a gardener’s vest from paper made with plant fibers.
Couture (adjective): of, relating to, or being high-end custom-made fashion Cartography (noun): the science or art of making maps Combining science, aesthetics and technique, cartography builds on the premise that reality (or an imagined reality) can be modeled in ways that communicate spatial information effectively.
I find maps fascinating! We used National Geographic maps to decorate the nursery. They’re colorful and informational works of art.
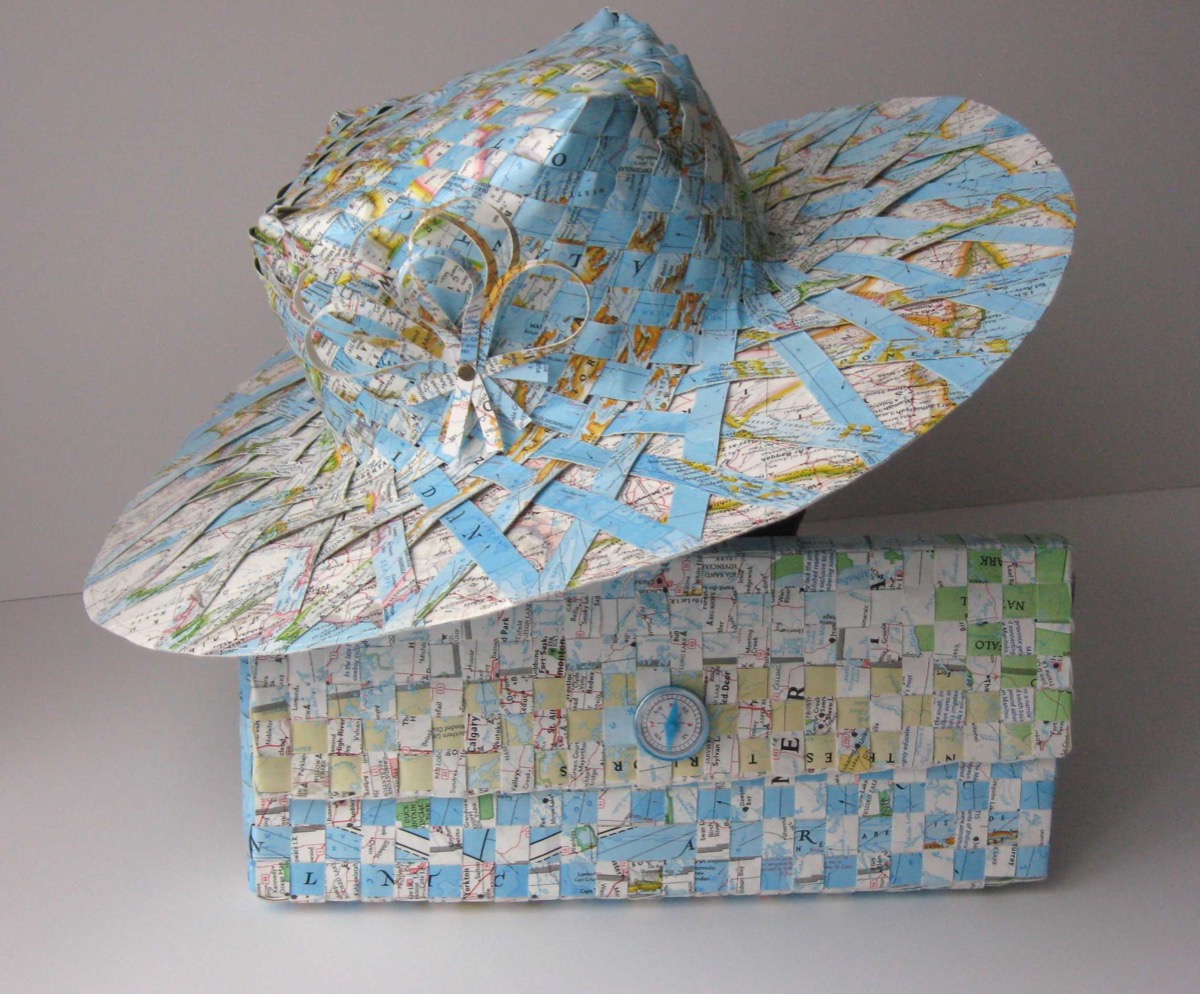
In 2015 theAnn Arbor Fiberarts Guildheld a Recycled and Repurposed Runway challenge. I created a hat and purse out of maps using basket weaving techniques. [see March 2015 blog Cartography Chic]
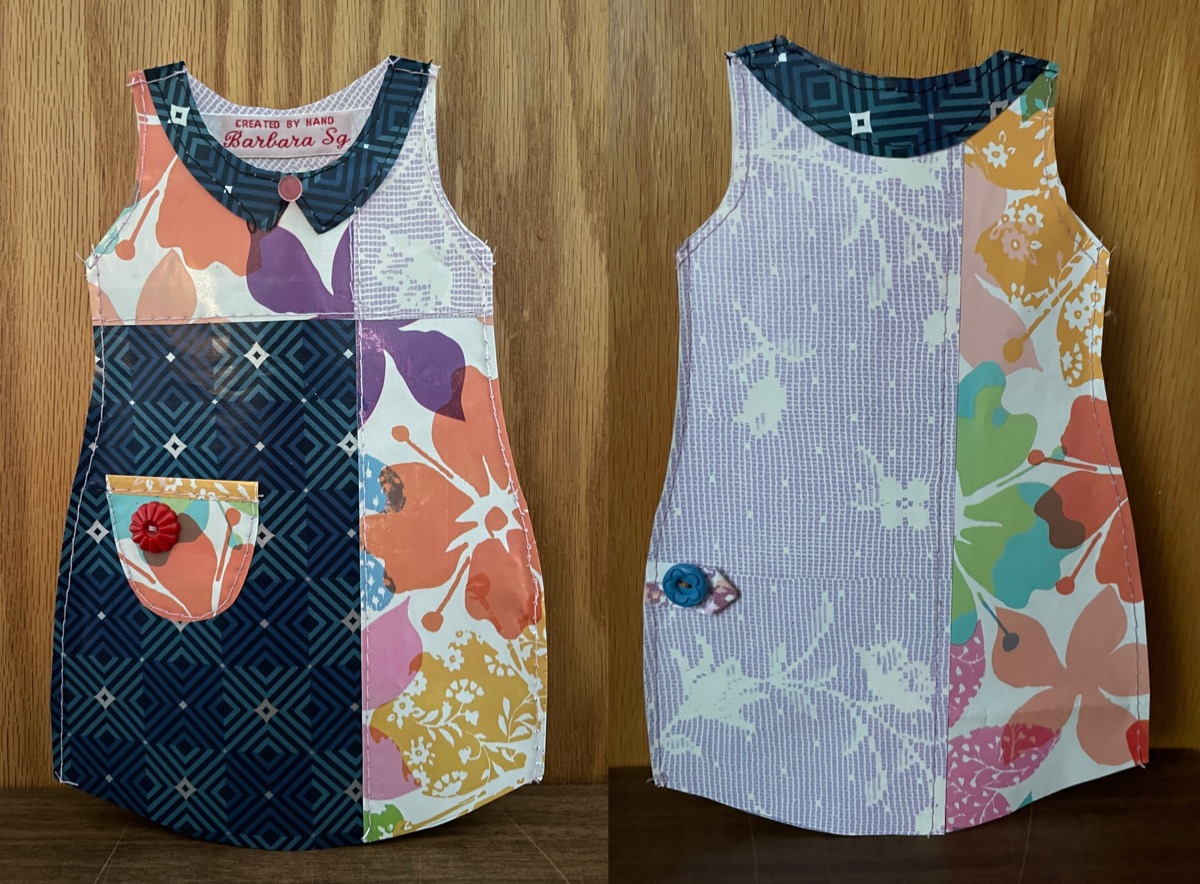
In November 2023 AAFG offered a virtual workshop with UK paper artistJennifer Collierto ‘create a fashionable, small paper dress from ordinary office supplies and recycled materials easily source at home.’ I’ve been sewing garments since high school and the sewing concepts are the same… BUT working with paper is NOT the same as working with fabric! Jennifer guided us through several exercises and then we moved on to design and create our own paper dress using her 6 in x 8.5 in/15.25 cm x 21.5 cm template as the starting dress pattern.
The workshop was fun and got me thinking…..could I make a full size, wearable dress???? I would use National Geographic maps that I’ve been collecting for years to go with my hat and purse. Over the next 2 months I thought about possible dress patterns I have that might work and searched online for different videos posted showing what techniques others have used to create full size garments.
I found a great article from theVictoria and Albert Museumabout paper dresses being a fashion item from 1966-1968. “The perfect expression of fashion’s own fickleness, these two-dimensional shift dresses were cheap and ‘disposable’ – designed to be worn only once or twice – and proved ideal vehicles for the bold, graphic prints that had become so popular during the decade.”
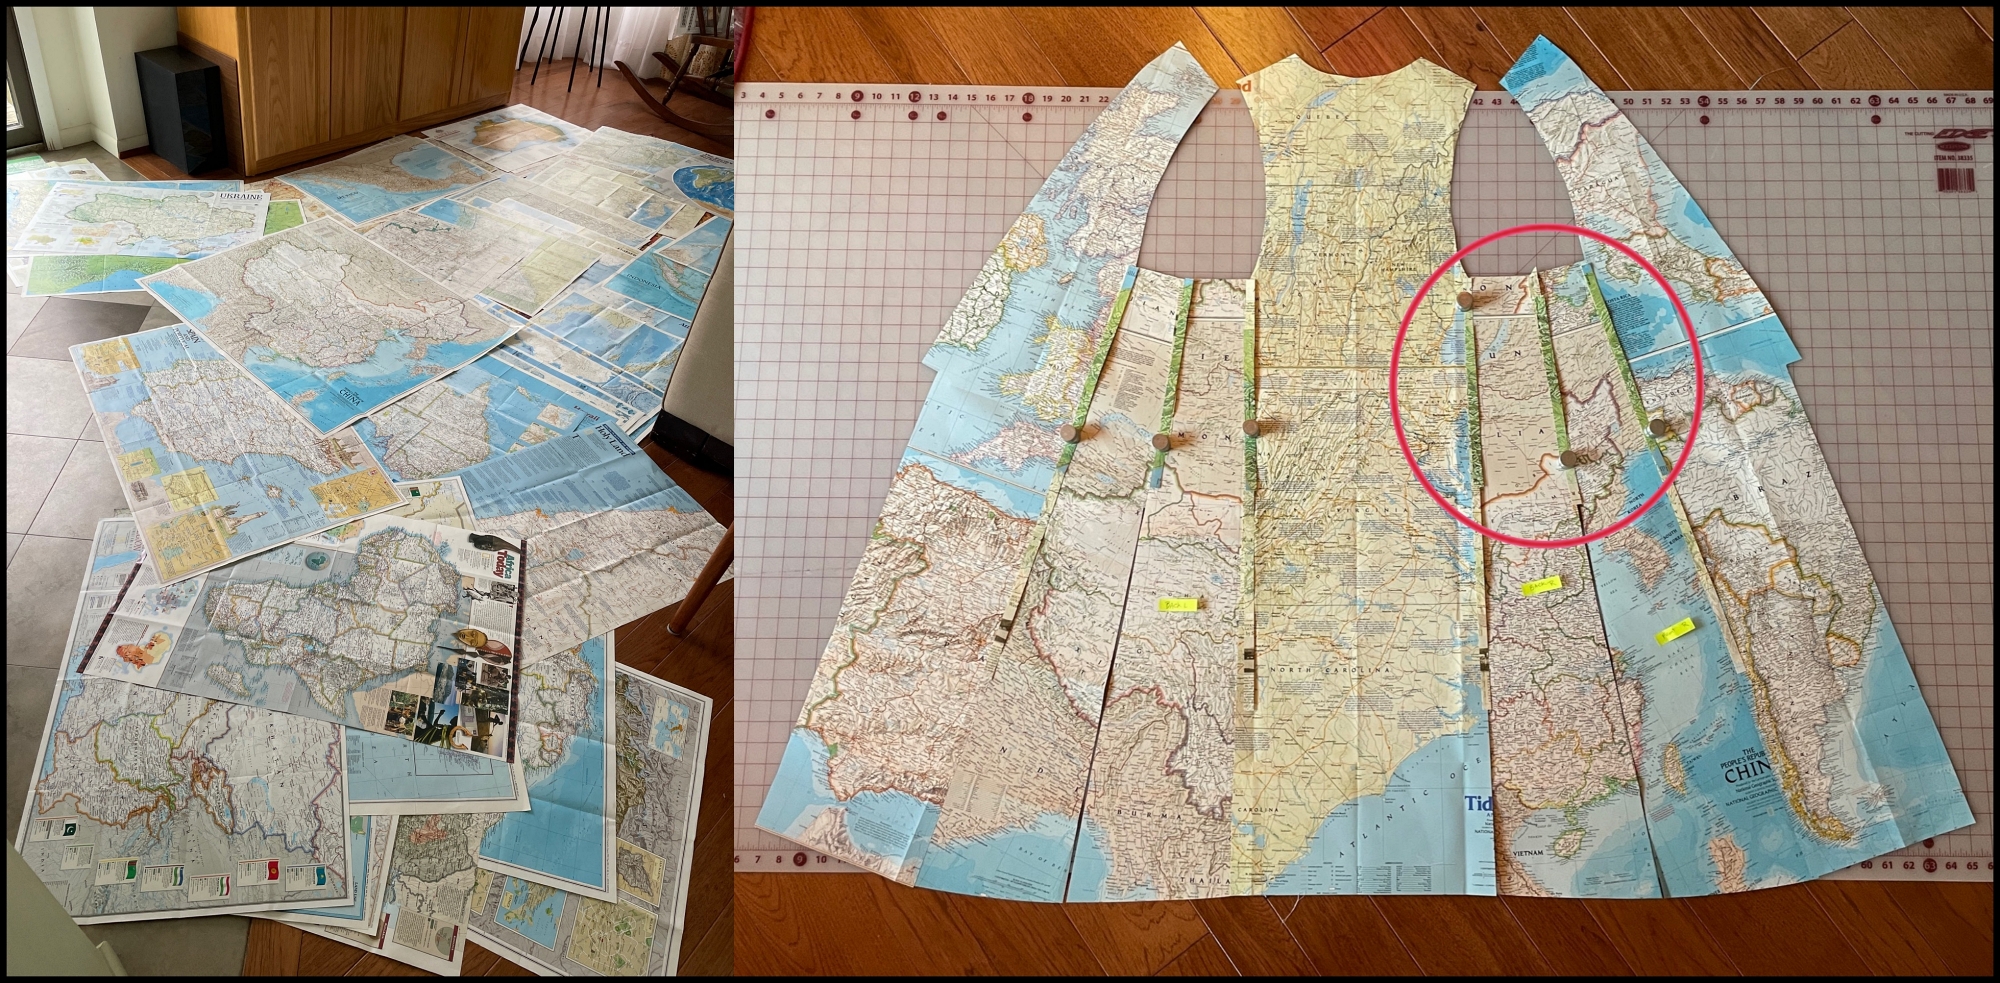
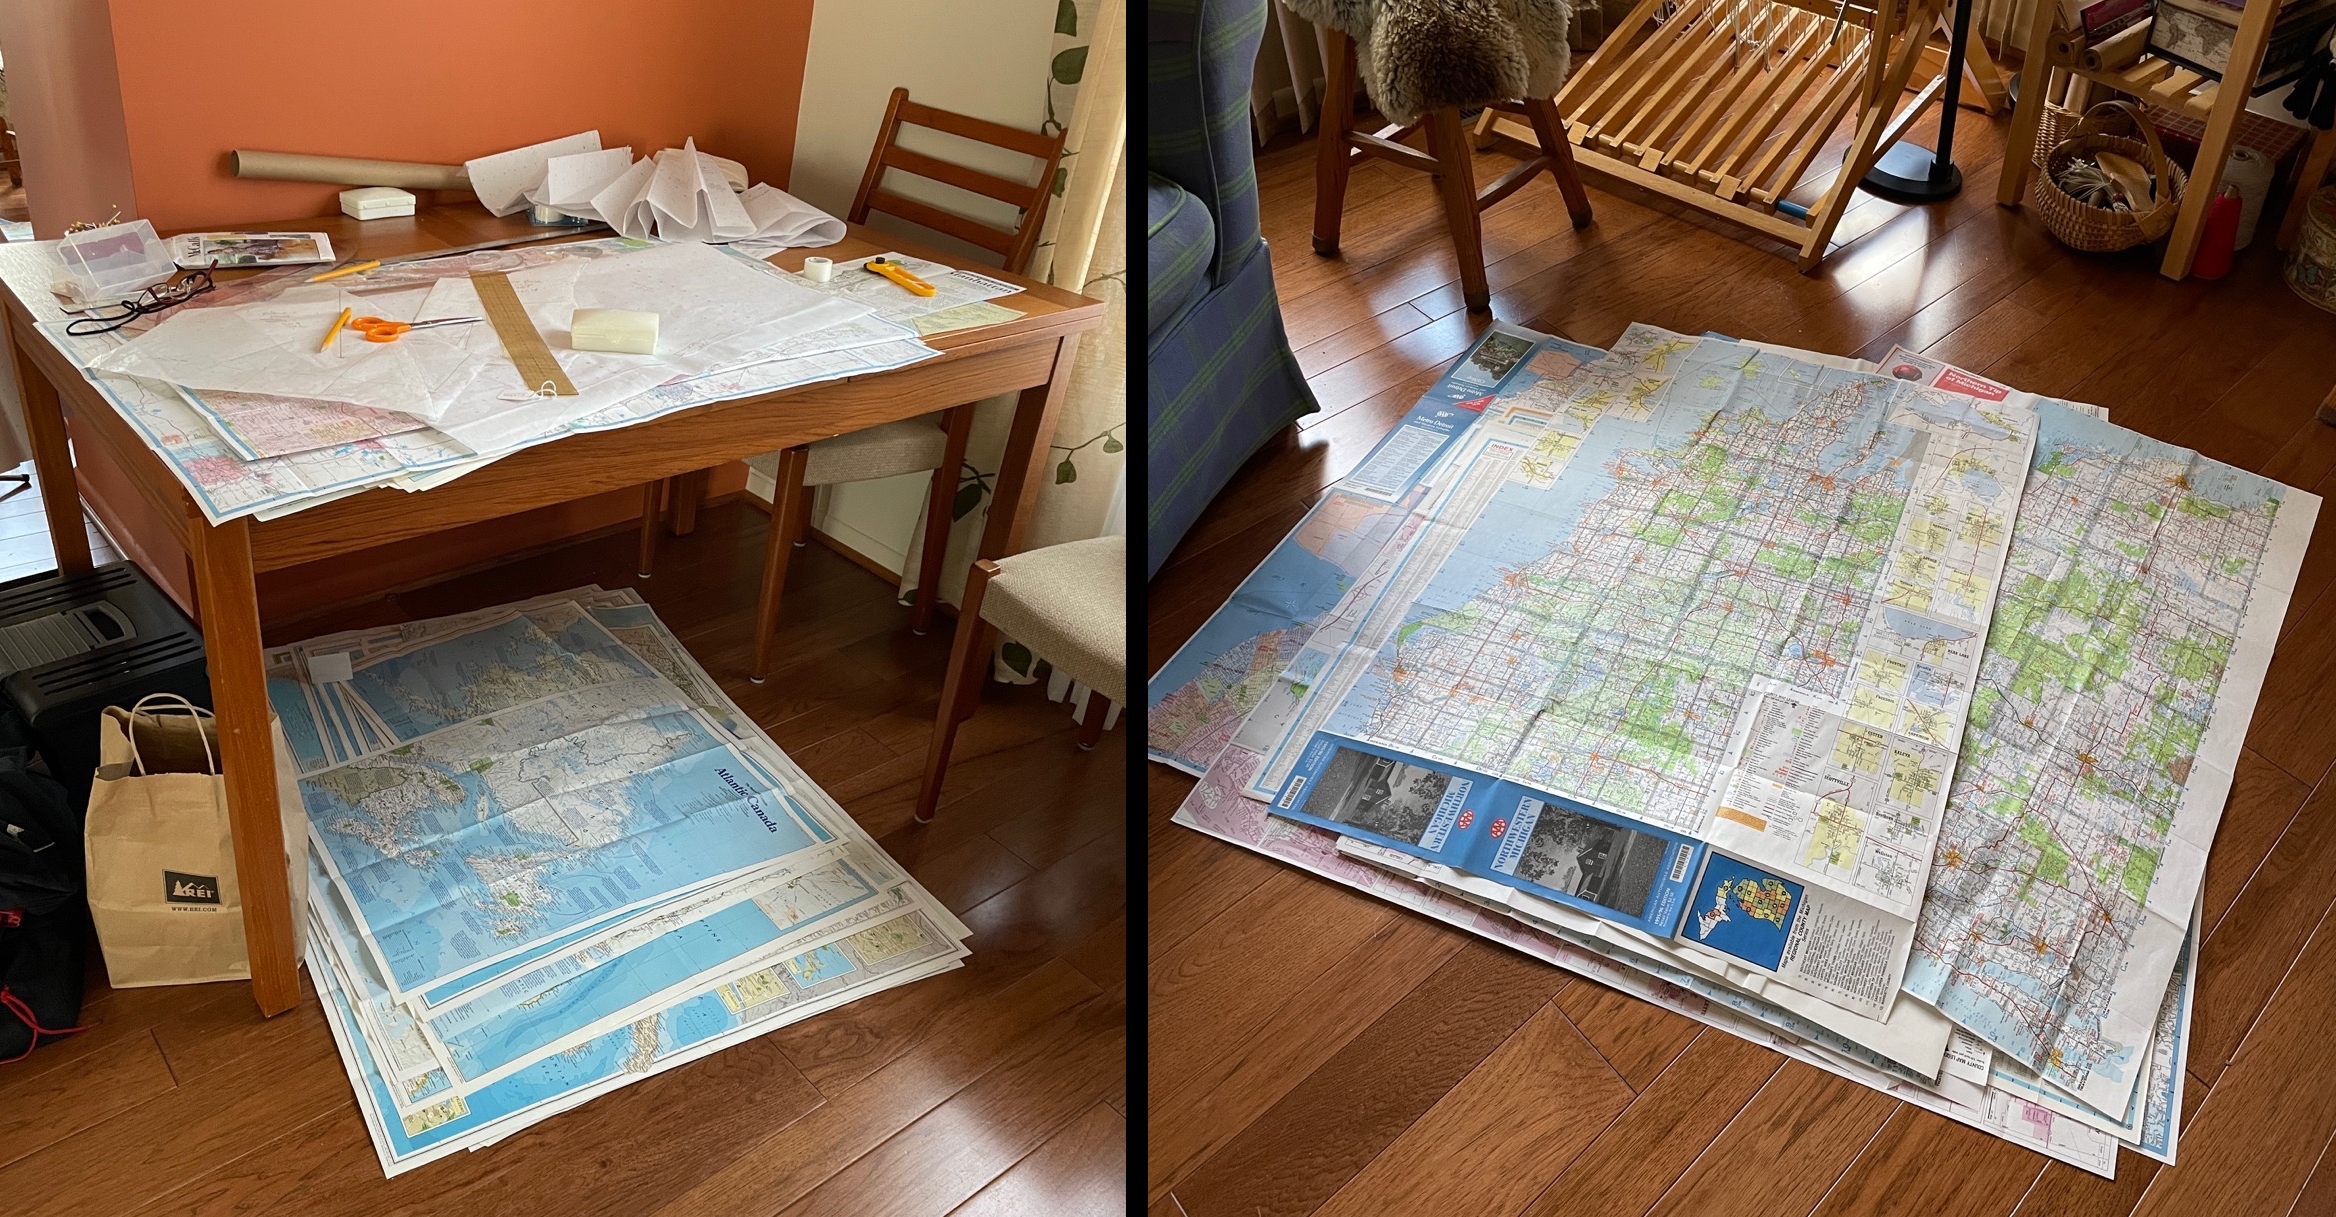
By February I was ready to start! I pulled out my box of maps and began to sort them into National Geographic and AAA road maps as well as size and color groupings. These maps would take over much of the floor space in the house for the next month!
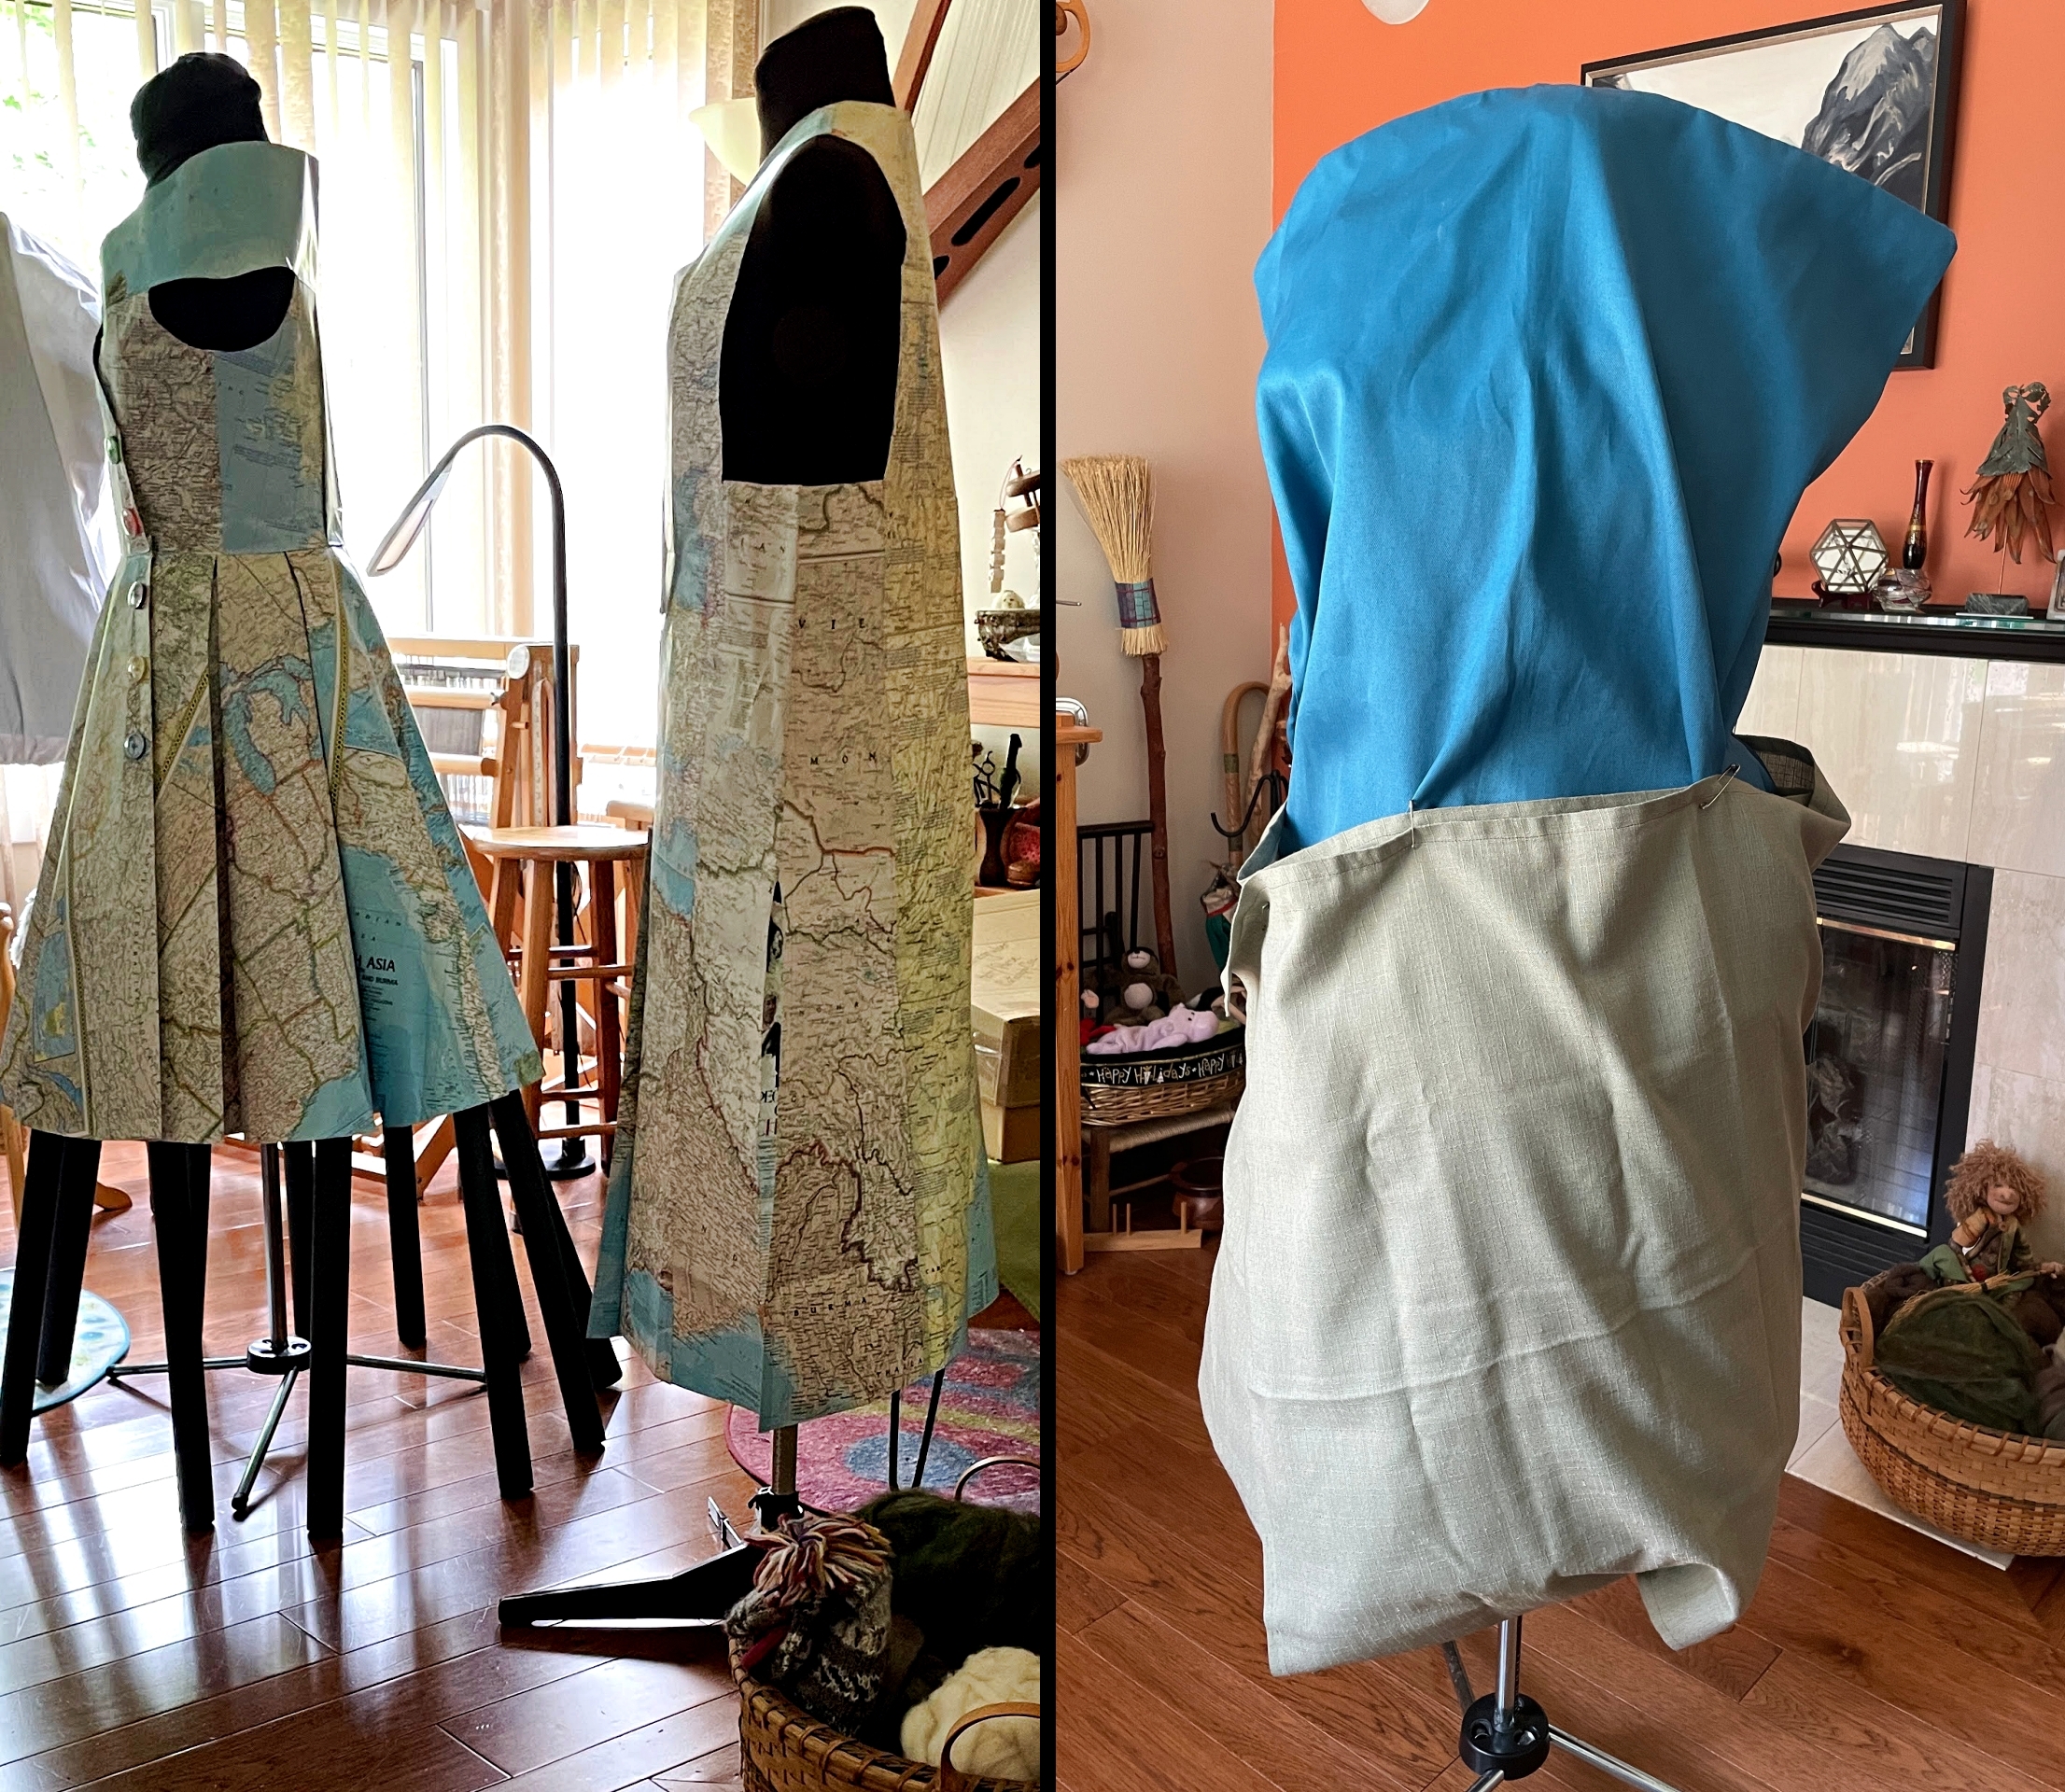
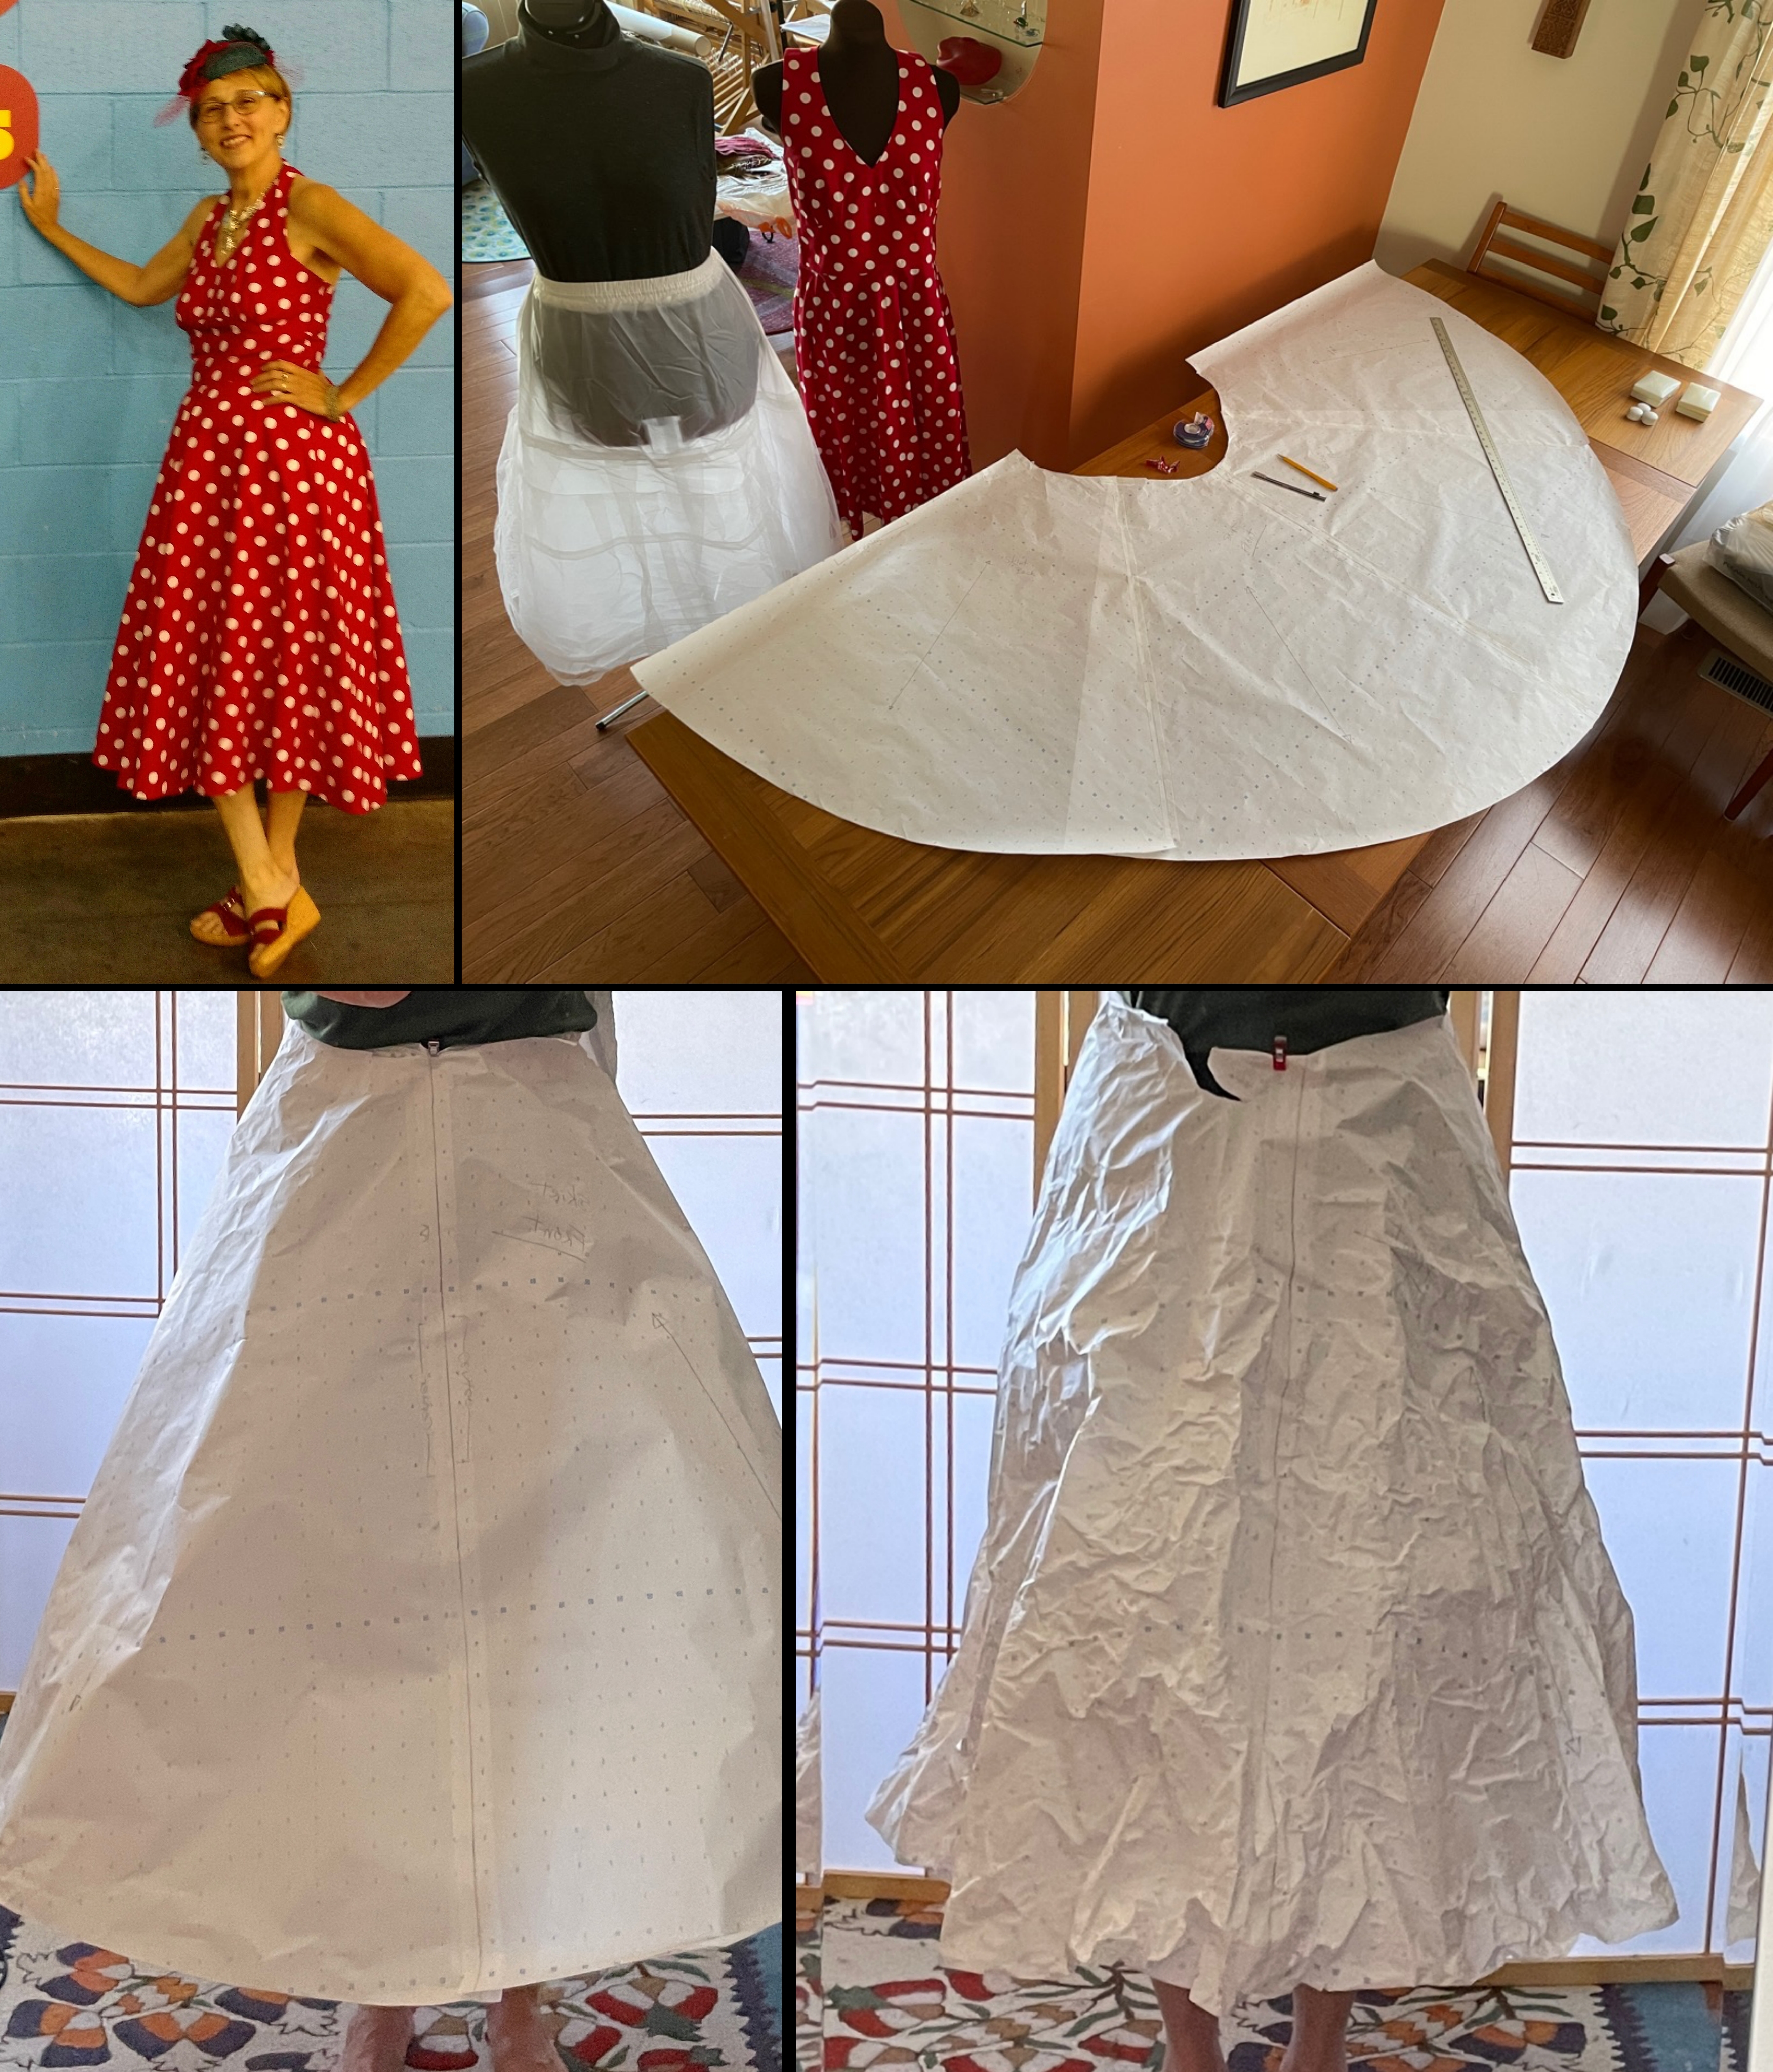
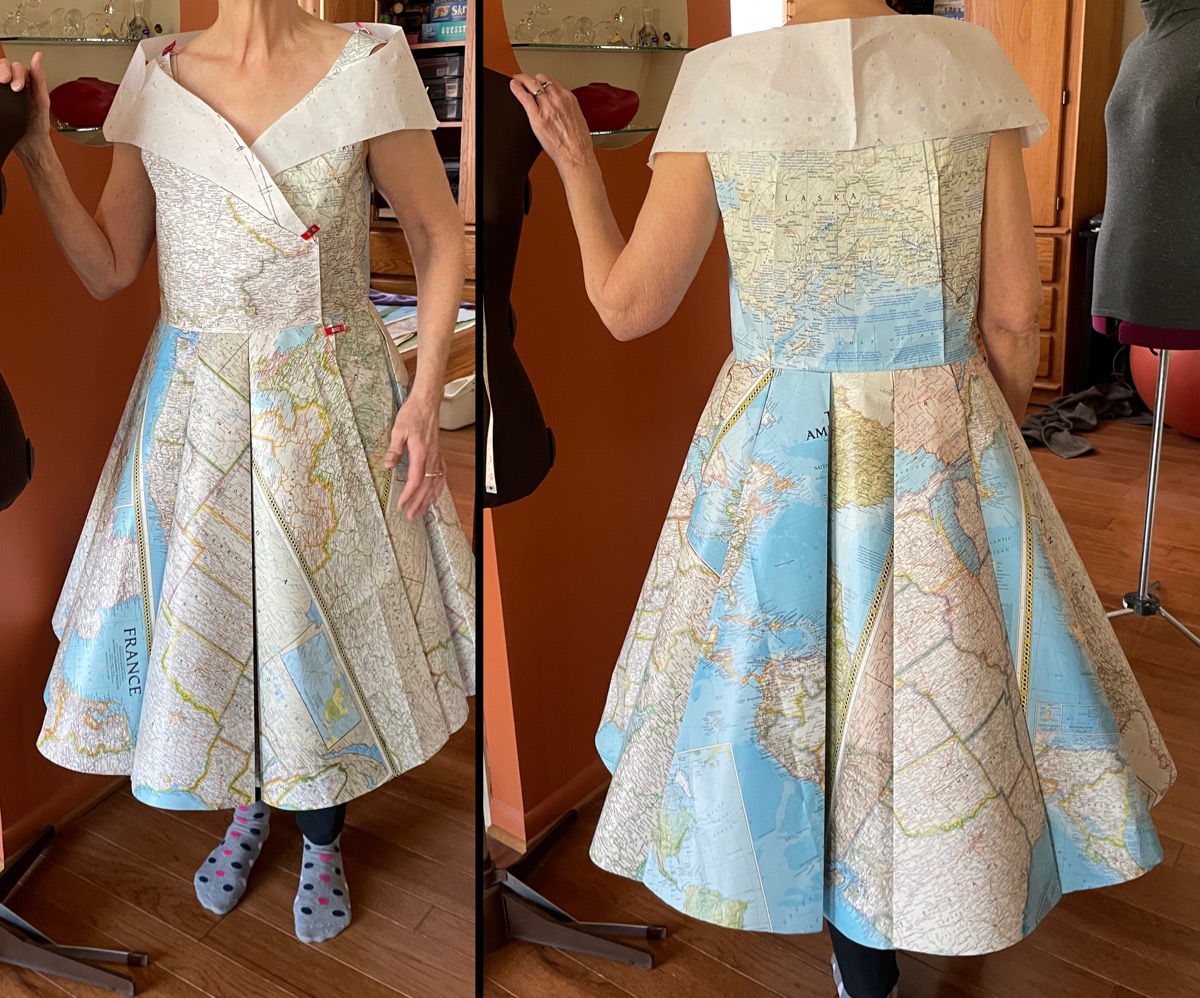
I chose a halter sundress made for a 1950’s themed gathering for my pattern and began my prototype for the skirt. I quickly learned paper does not drape like fabric! The skirt is too stiff. I tried crumpling the paper which helped and I liked the texture but this ‘look’ would not work well with the detailed printing of the maps and I need to rethink how will I get into and out of the dress. Back to the drawing board.
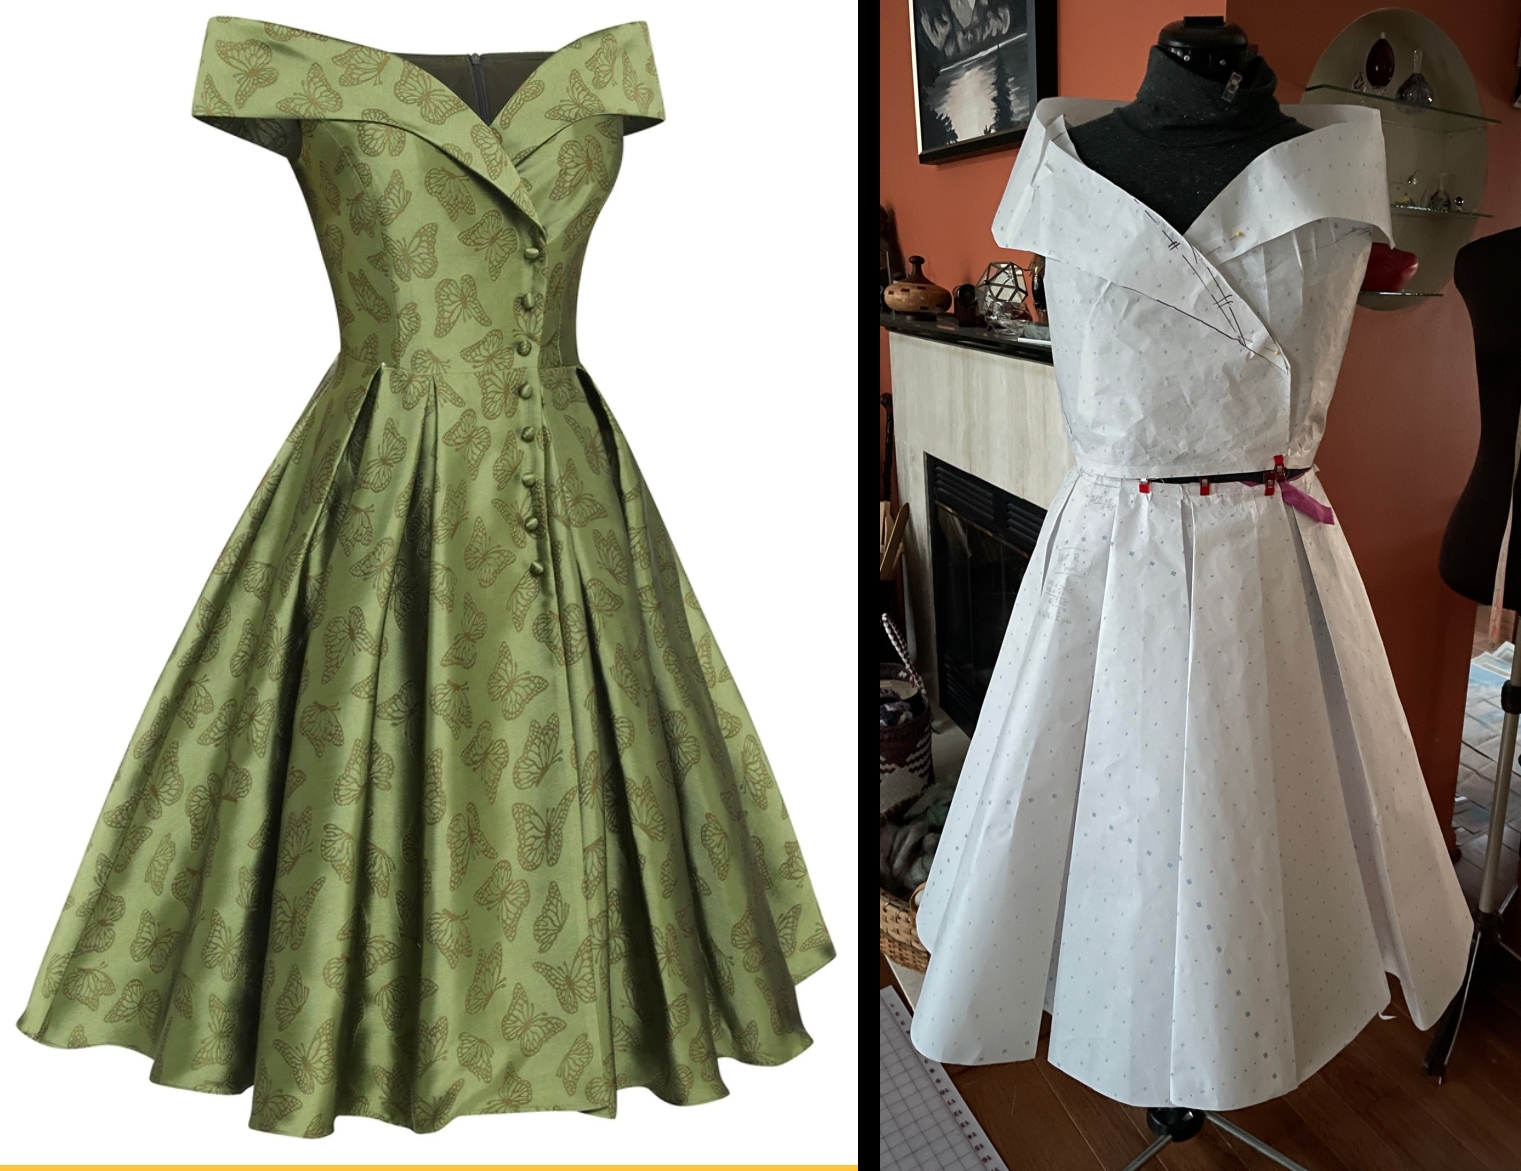
More searches for inspiration photos brought me to a 1950’s cocktail dress. Box pleats would be a better choice for the skirt and a wrap dress design would be easier to put on/take off. On to the next prototype! I need 6 yards worth of maps to make the skirt and fitting a bodice was a challenge as darts do not work that well with paper.
Once the bodice pattern was sorted the next step was to make the bodice using the road maps as a test. Now I was ready to make the real thing using the National Geographic maps! I had to be careful as some of the maps are from the 1980’s so the paper is fragile along the original fold lines that have been there for 45 years and can tear easily. Bodice done….next step…. the skirt.
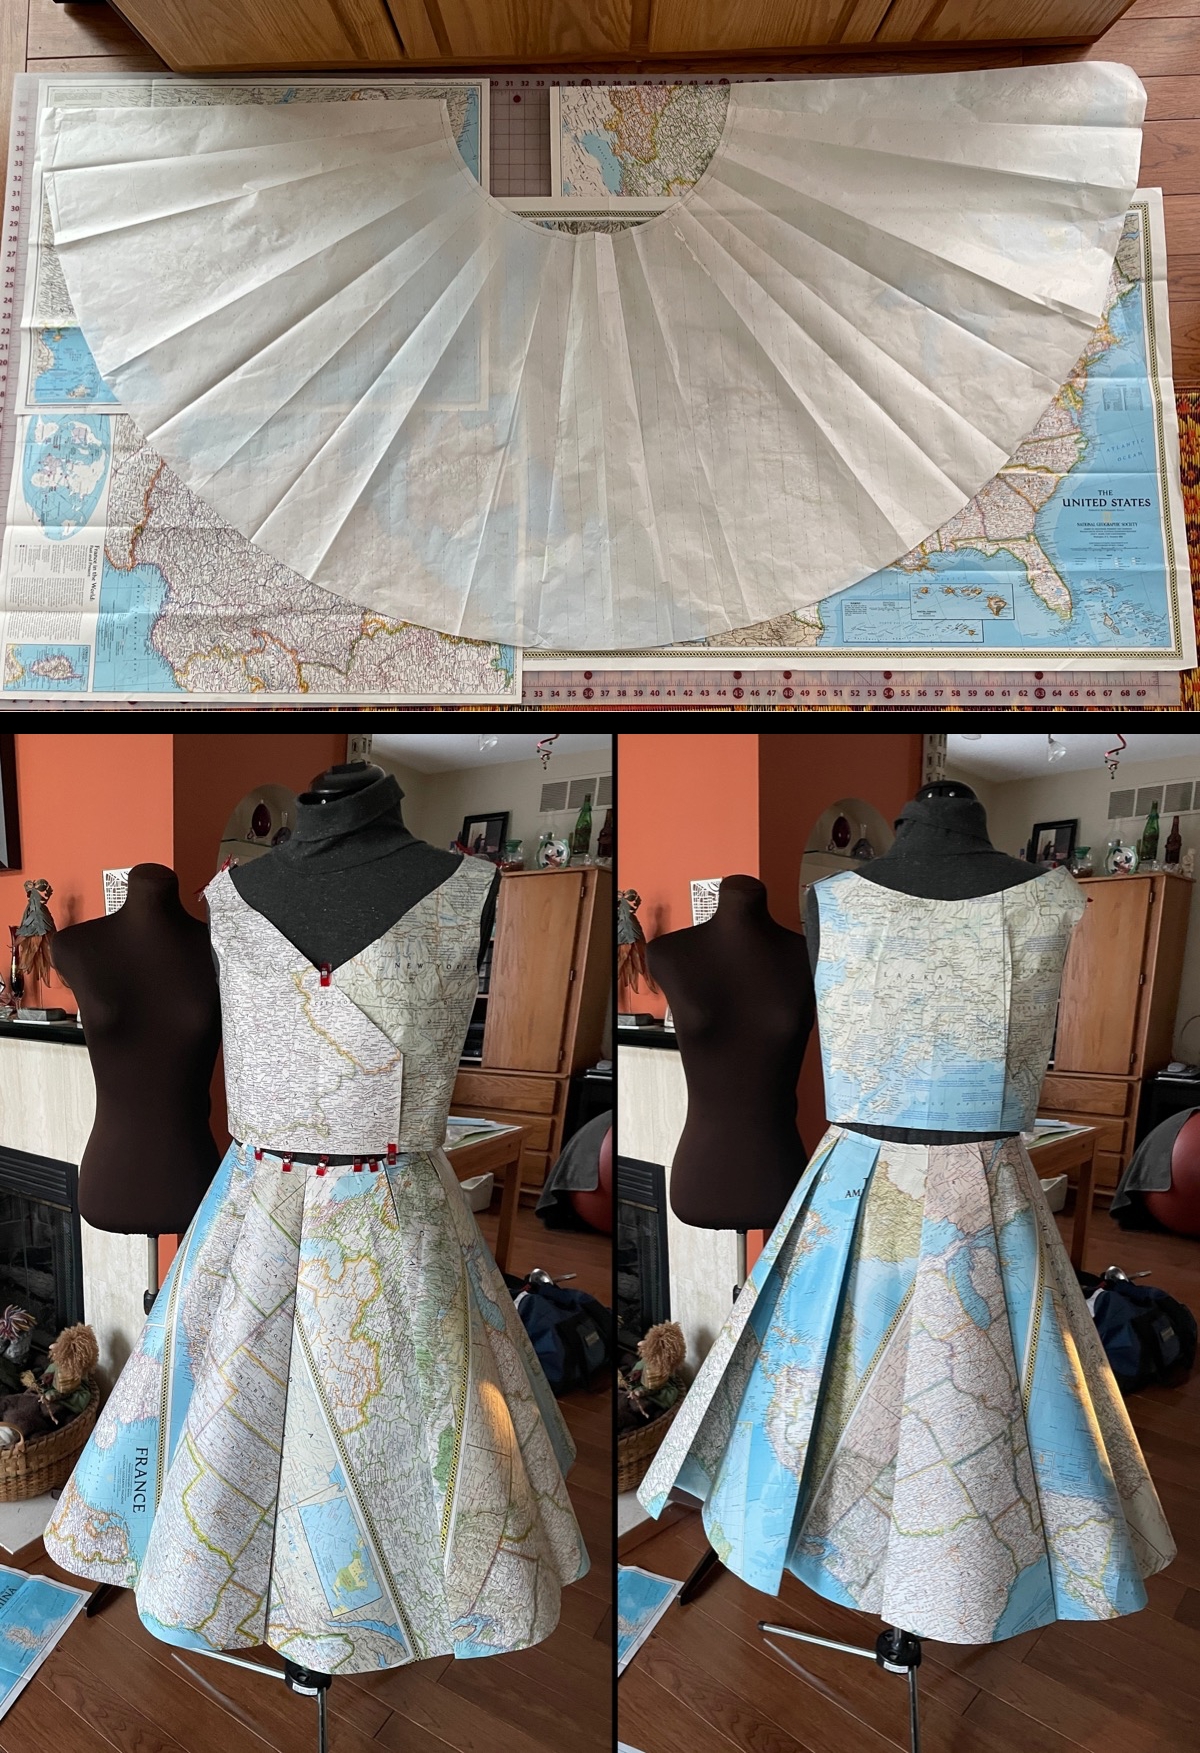
I made a tissue pattern for the skirt panel so I could see how best to lay out the maps. 3 full panels and 1 half panel are needed for the skirt. I cut and glued the maps to make a ‘fabric’ large enough for each panel and then sewed the panels together to make the skirt.
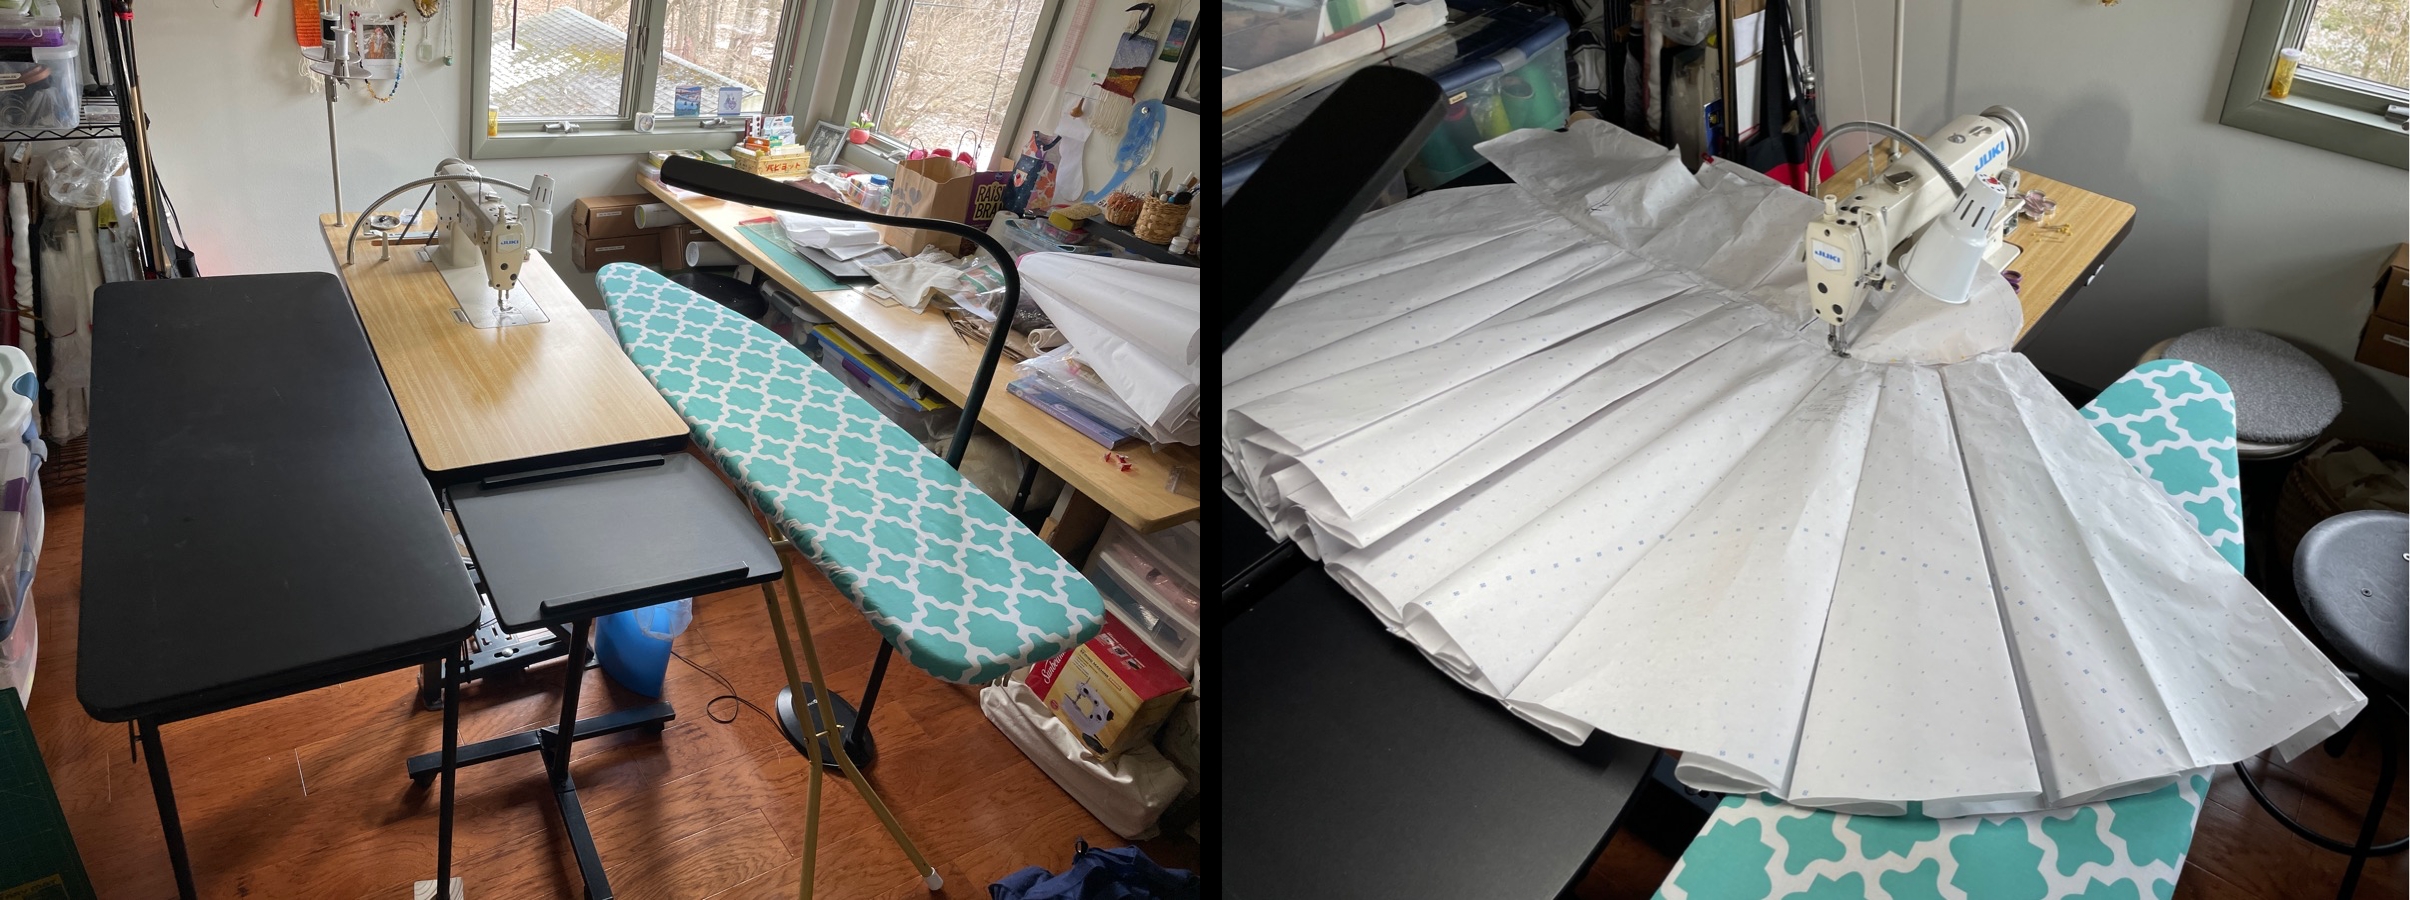
I devised a way to extend the sewing table to support the 6 yards that make up skirt panels and tested sewing the prototype full skirt to the bodice.
With the map skirt and bodice sewn together I gingerly tried it on. The dress CAN be worn…very carefully while standing. No sitting down!
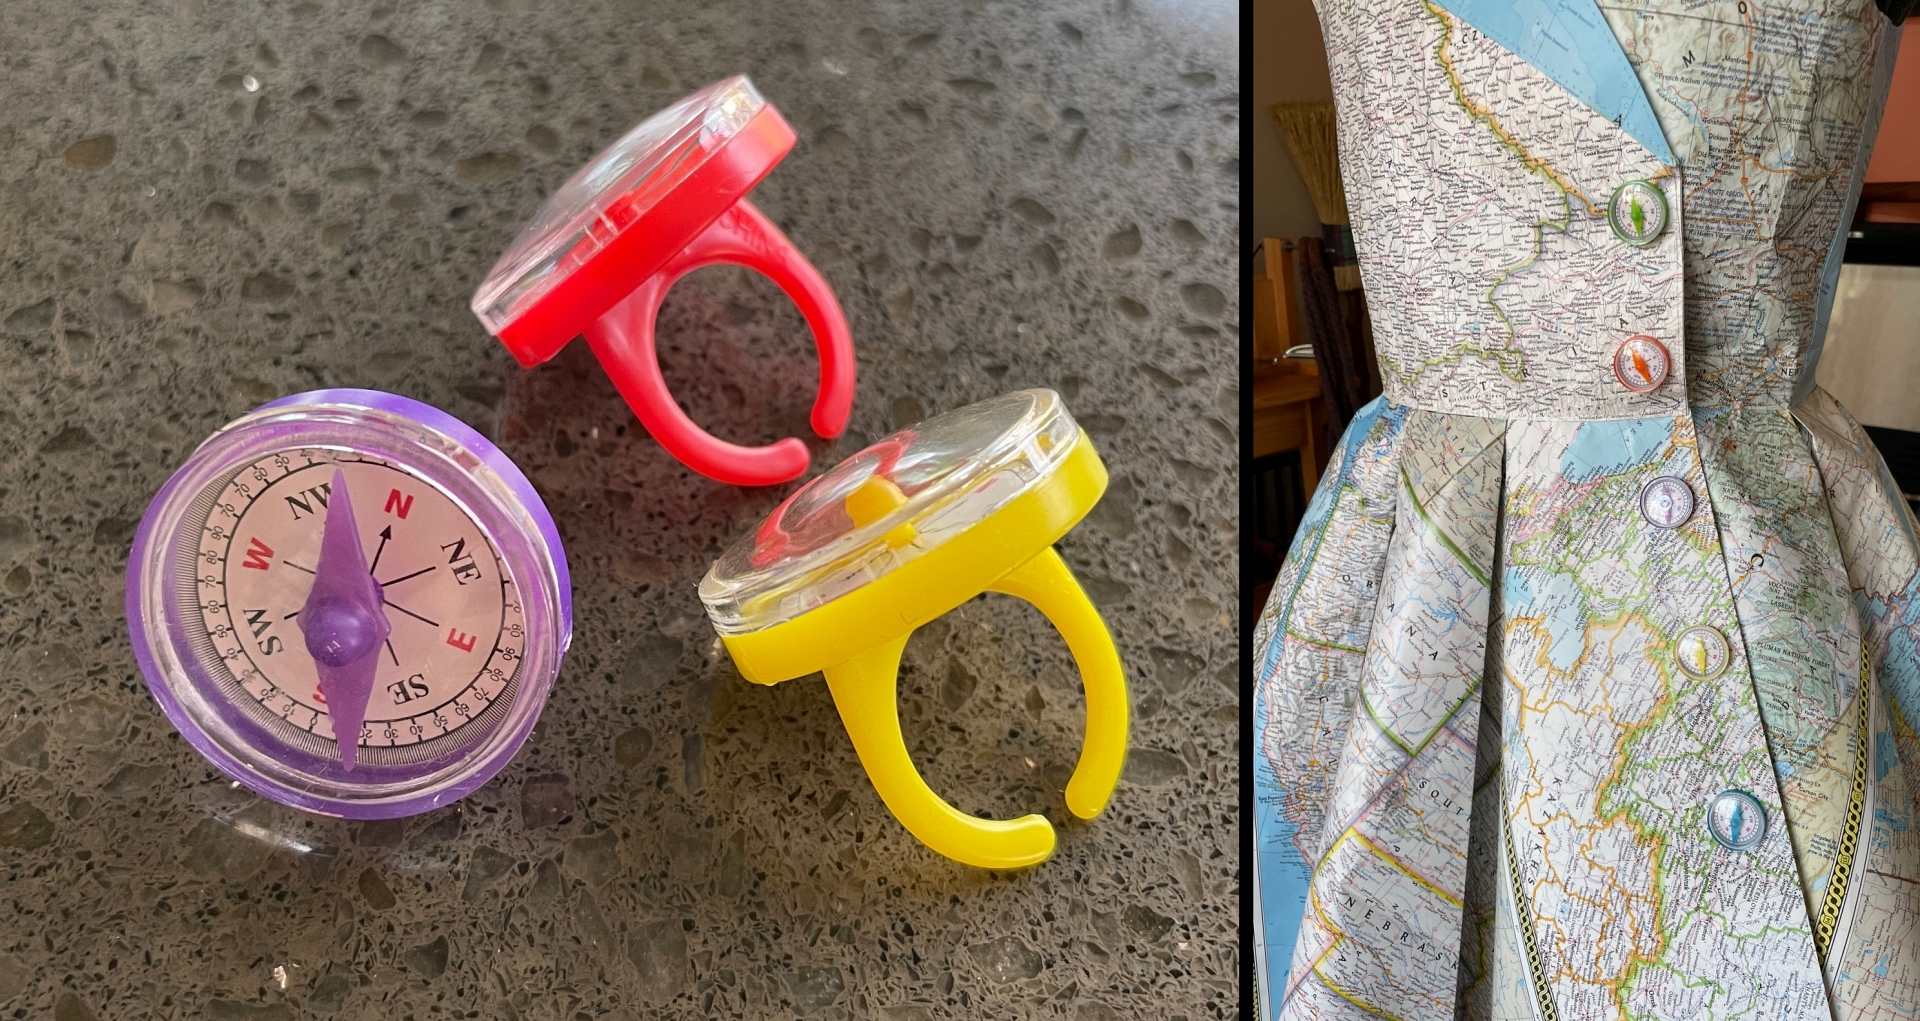
The last piece to be made was the shawl collar which took multiple hours figuring out the best way to lay the maps and make it double sided. Sewing it to the bodice without tearing sections of the dress was extremely tricky. I used magnets for the closures and made ‘buttons’ by cutting the ring section from plastic compass party favors to be glued onto the dress.
Couture Cartography was completed as the clock struck midnight.
The dress along with the hat and purse was on display at theVillage Theaterin Canton Michigan the month of April 2024 as part of the Ann Arbor Fiberarts Guild exhibit.
This project was challenging and pushed my creativity and problem solving abilities. Though I have no plans to make another dress out of maps in the near future I made vest from maps to wear at the artist reception.
I’ve been working with cloth and fiber since I was a kid. Anyone who works with fabric, yarns and fiber knows you end up with bits and pieces of leftover scraps. I struggle with throwing away those bits and pieces because my fiber teachers and role models lived through the Great Depression and/or rationing in WWII. “Waste not…want not,” was the mantra. “You can’t throw out a perfectly good piece of cloth. Save it….you’ll use it for some project in the future.” This became even more ingrained once I started weaving and felting my own cloth. After all the money, time, energy and effort (even blood, sweat & tears at times) I was not about to throw out any bit of cloth or loom waste warp yarn .
As the years have gone by, not only do I have a serious stash of yarns and felting fibers
but my pile of scraps has grown too with odds & ends of yarns, oddly cut handwoven fabric from making fitted garments, plus all the muslin test garments and scraps.
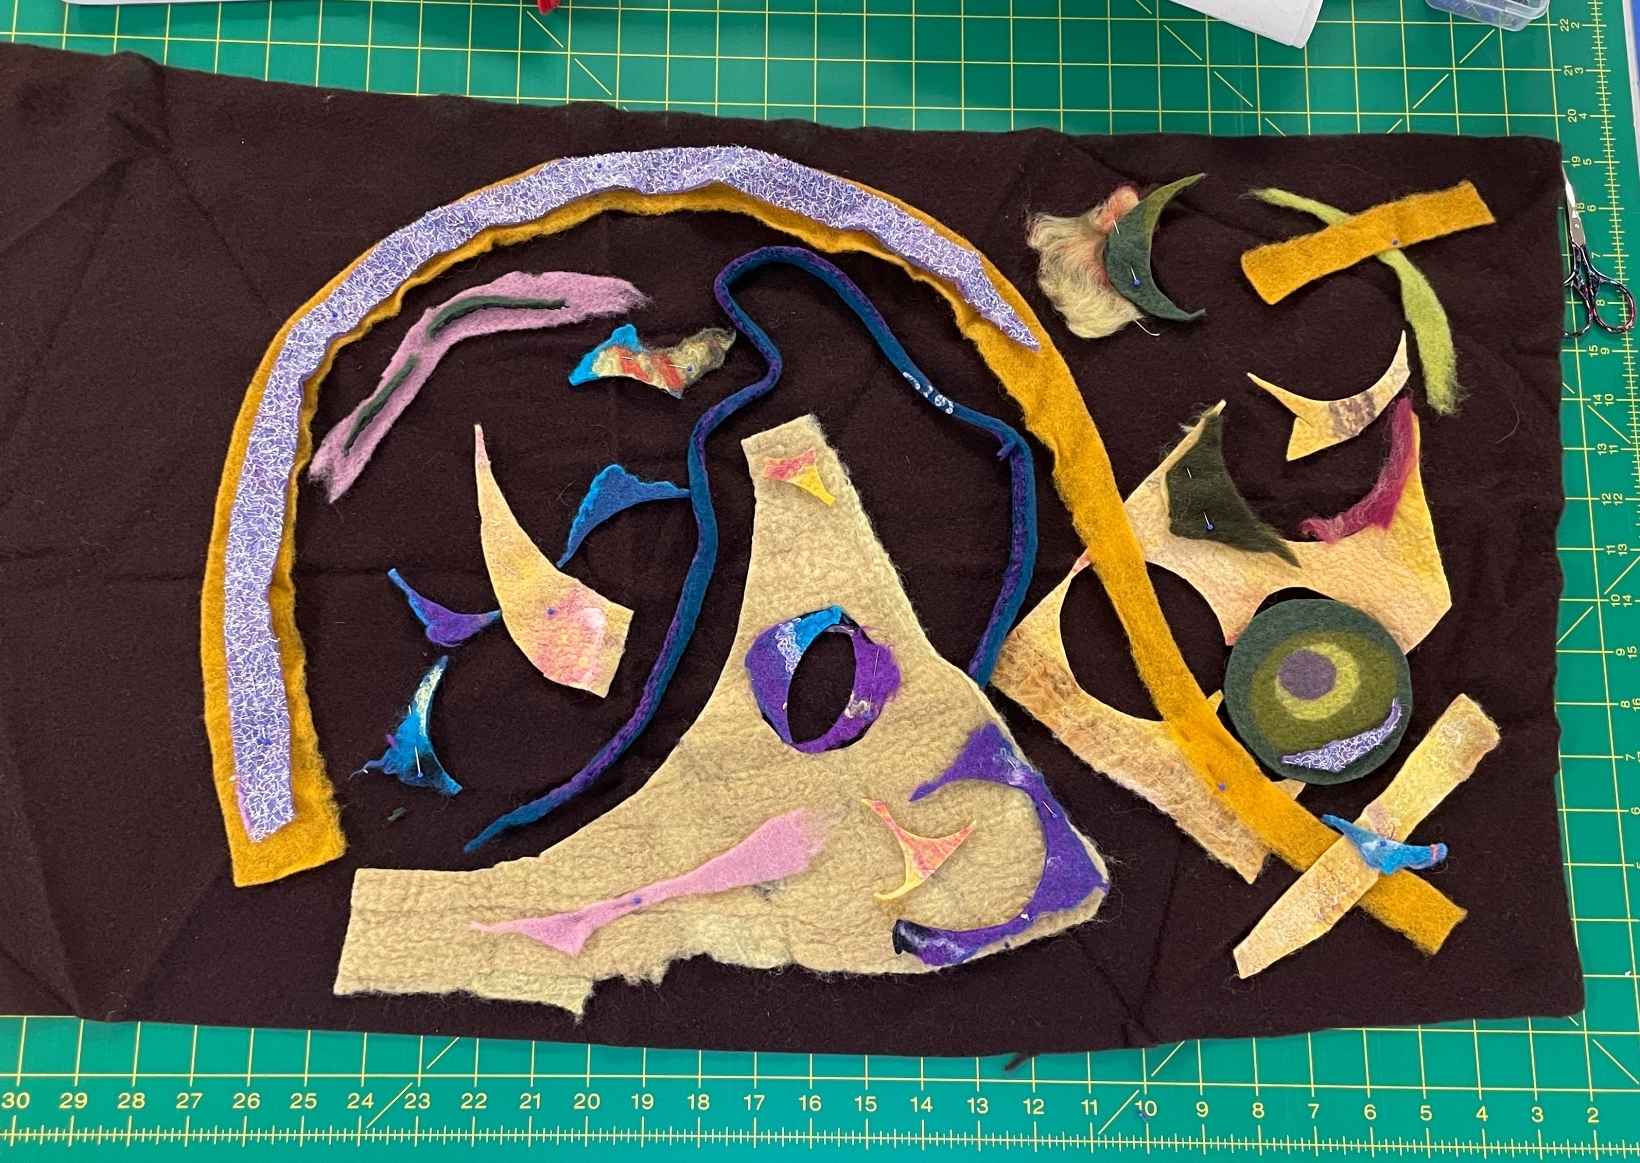
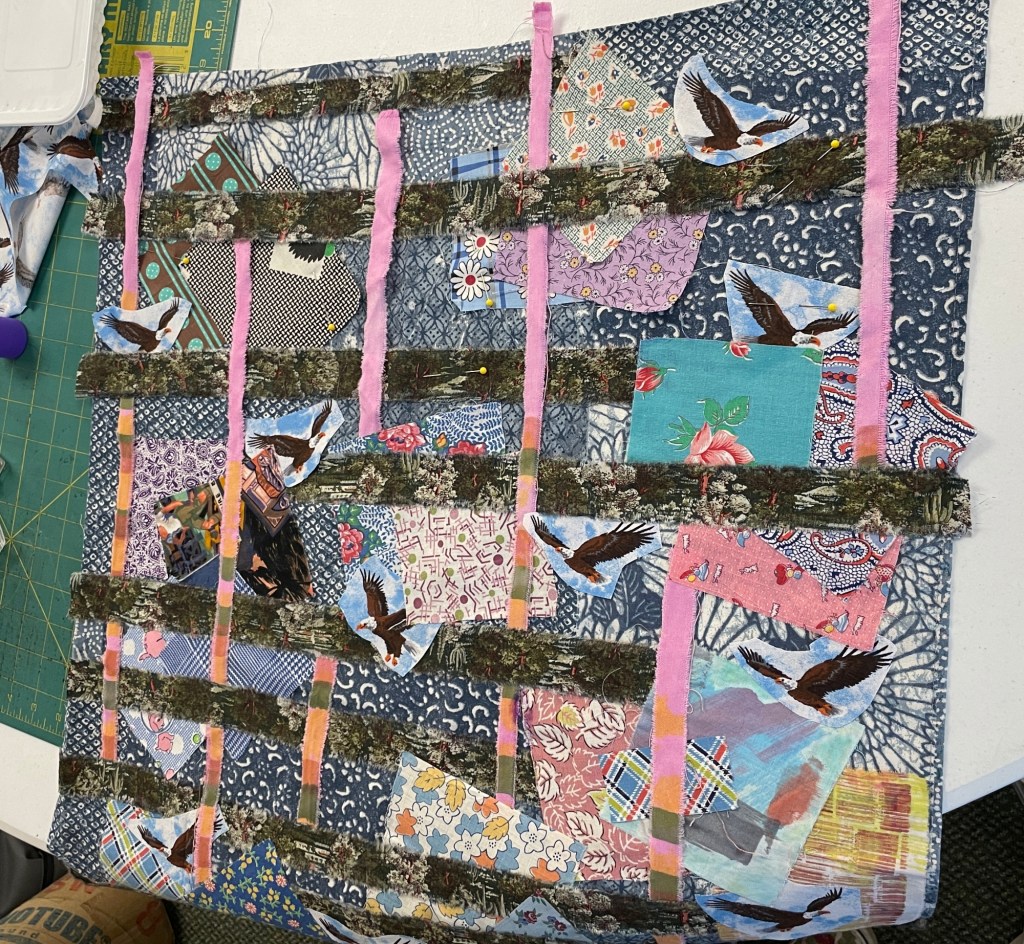
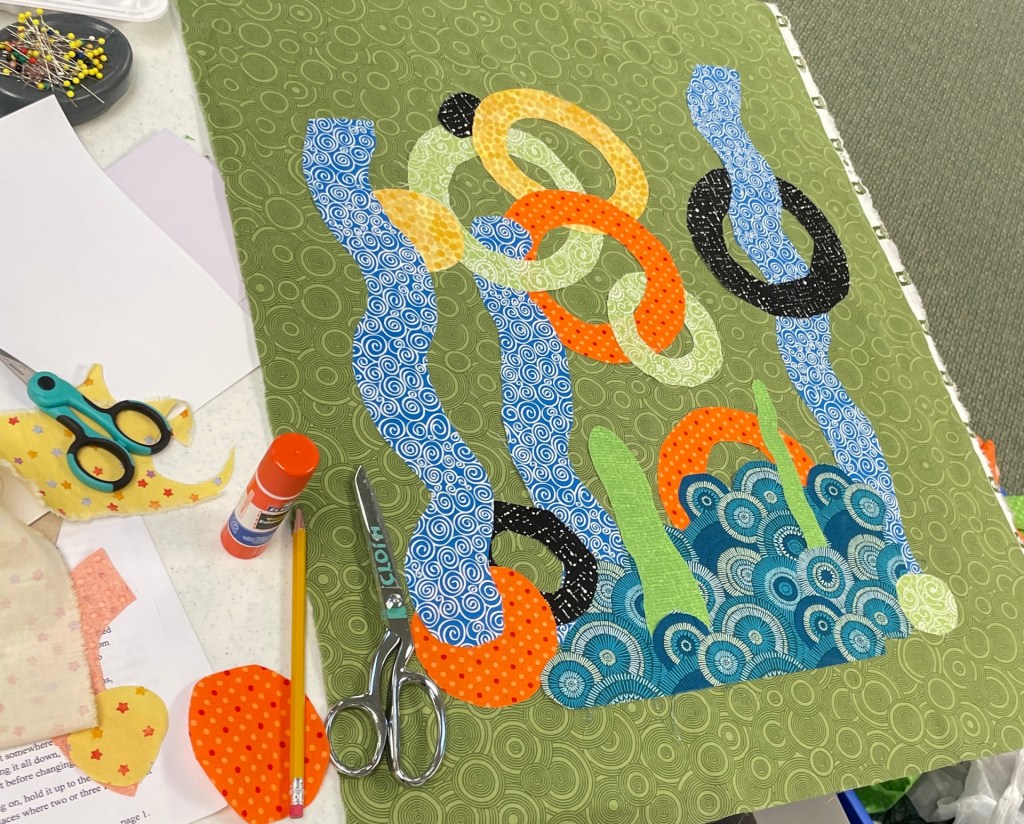
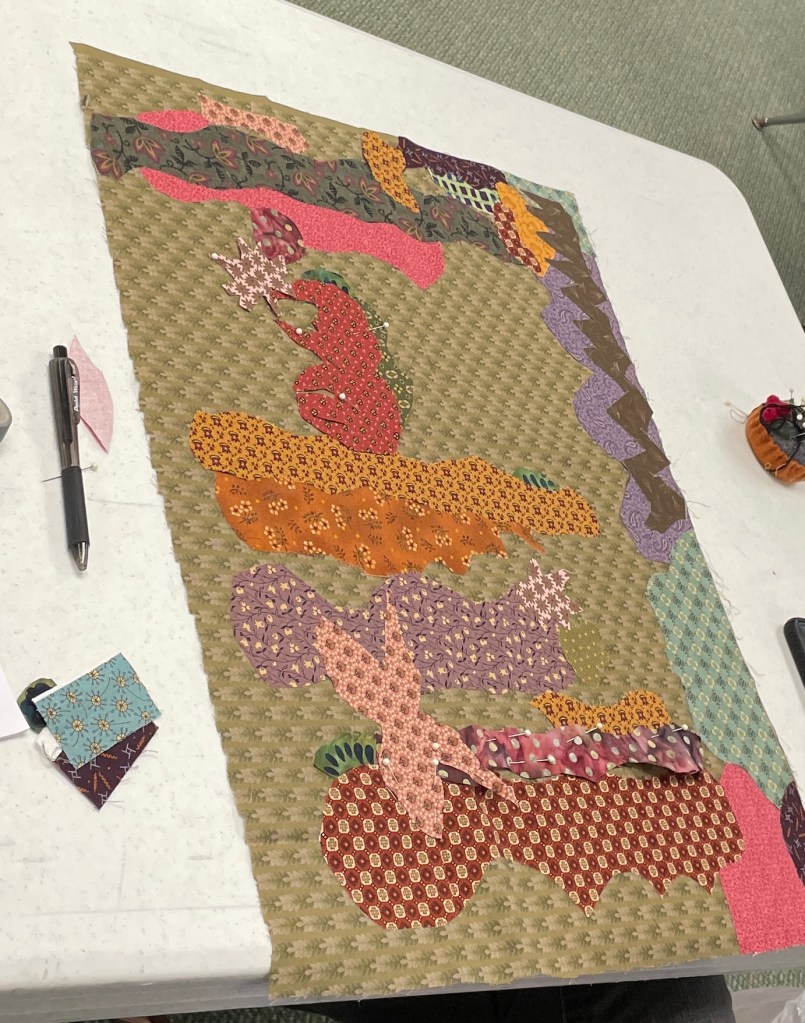
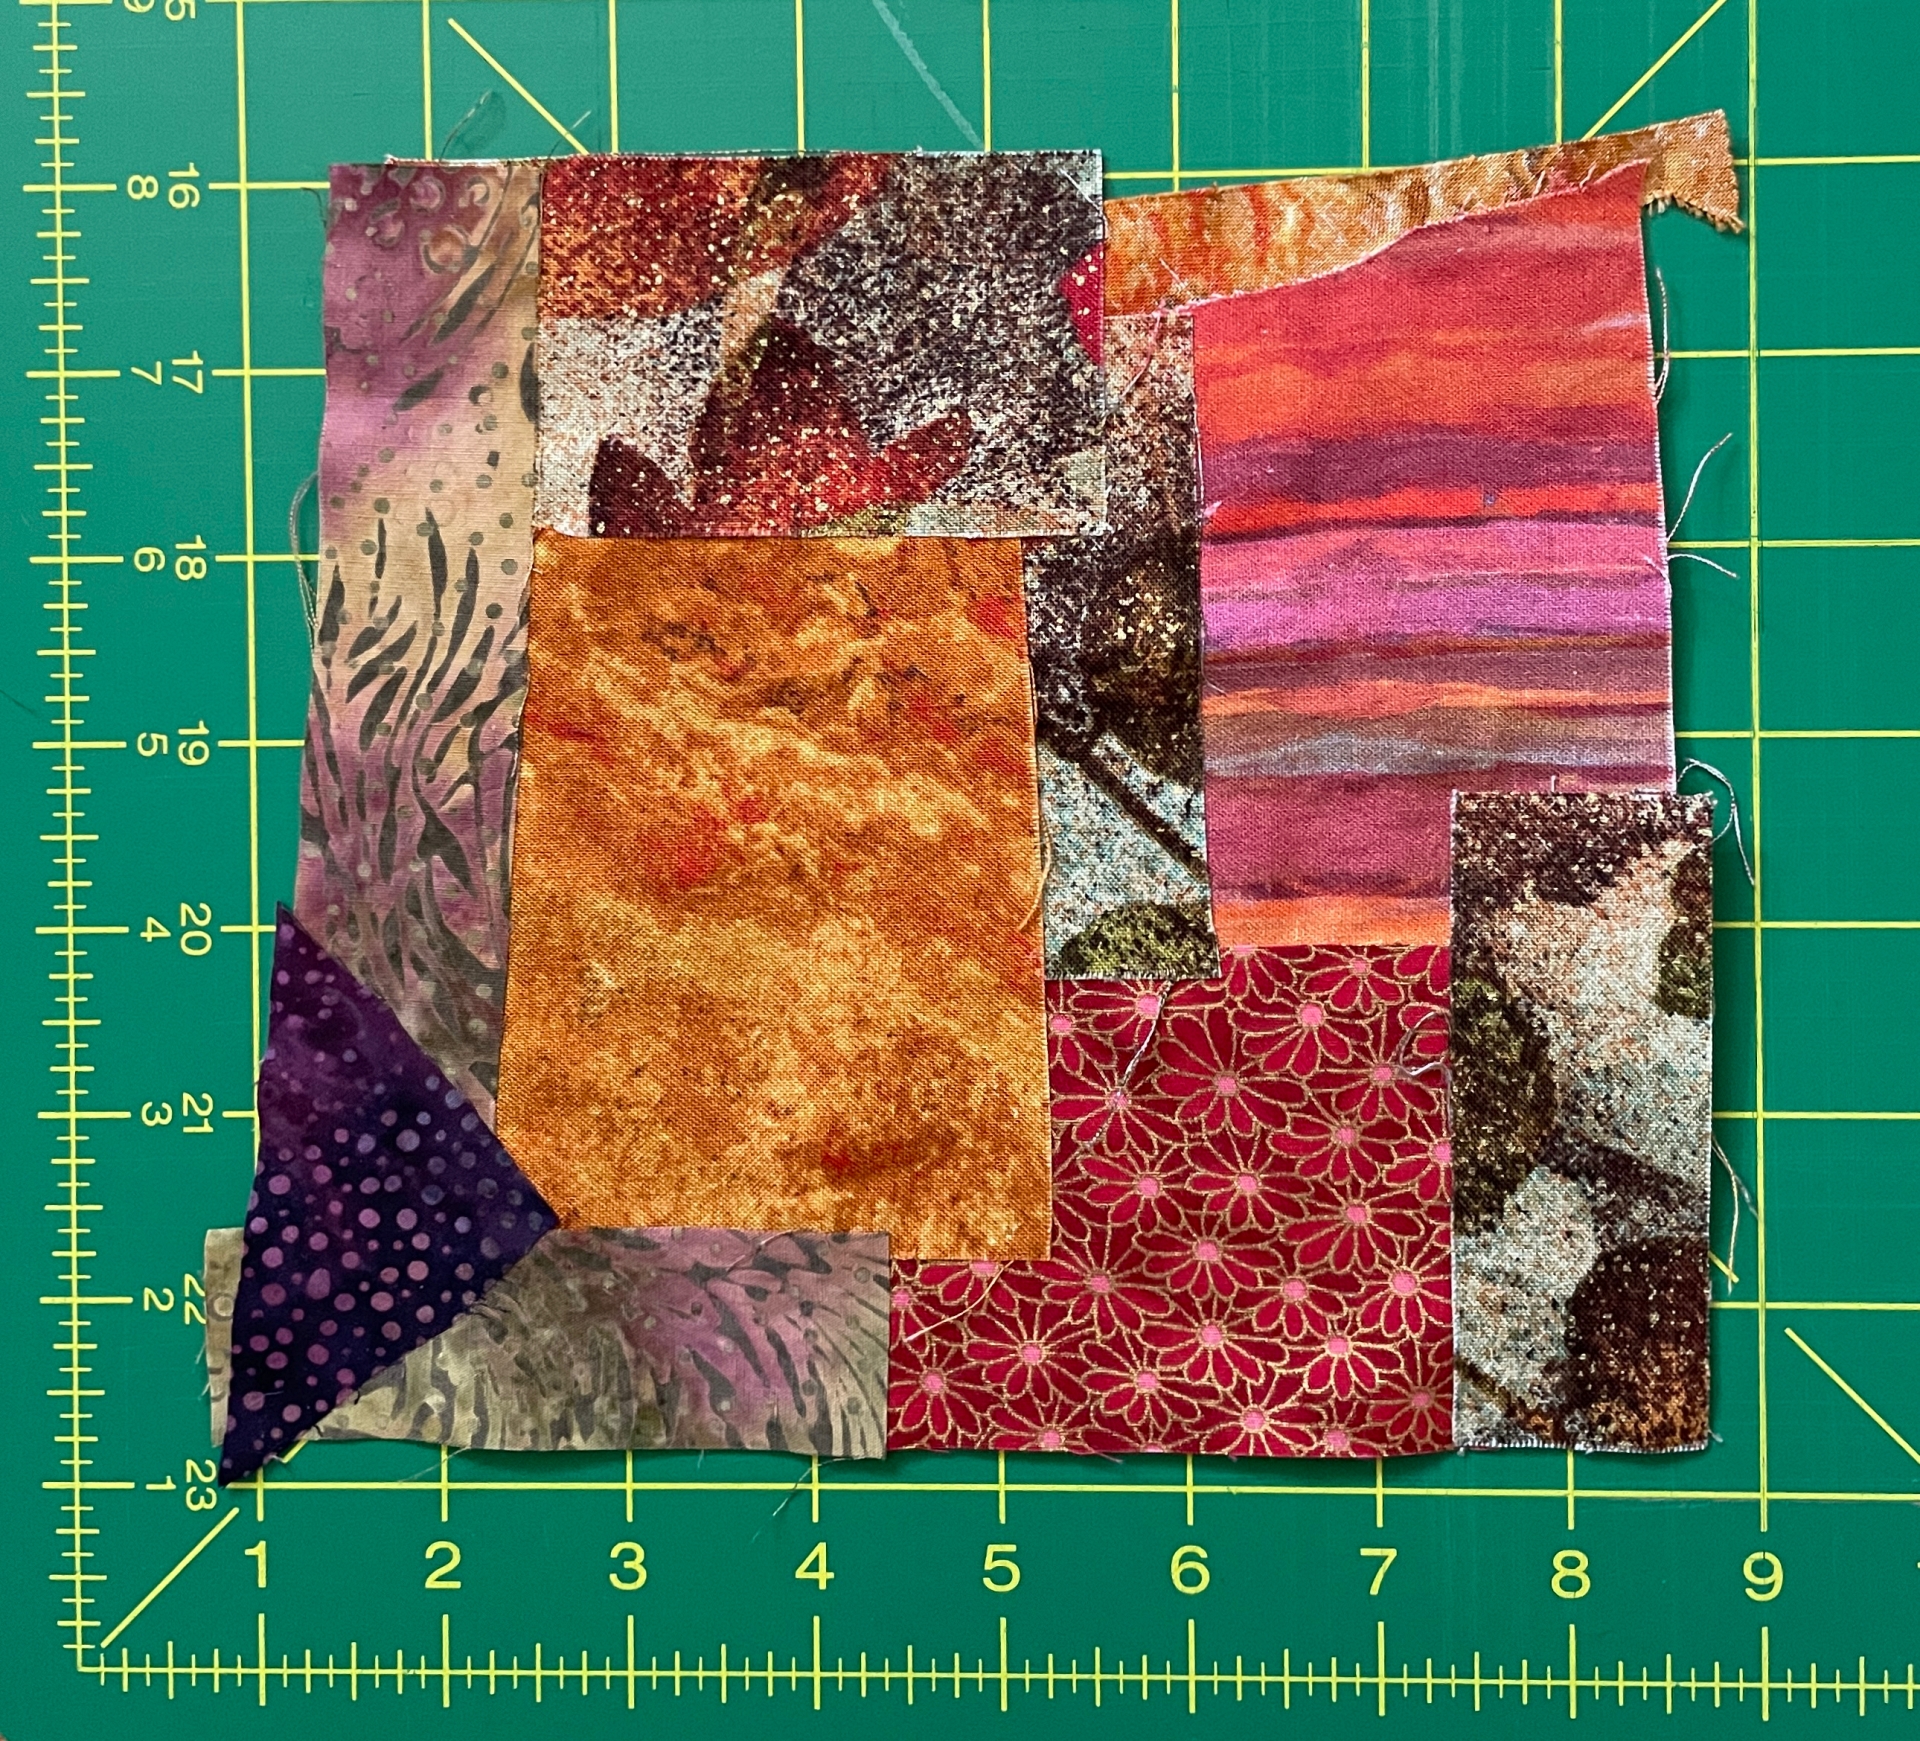
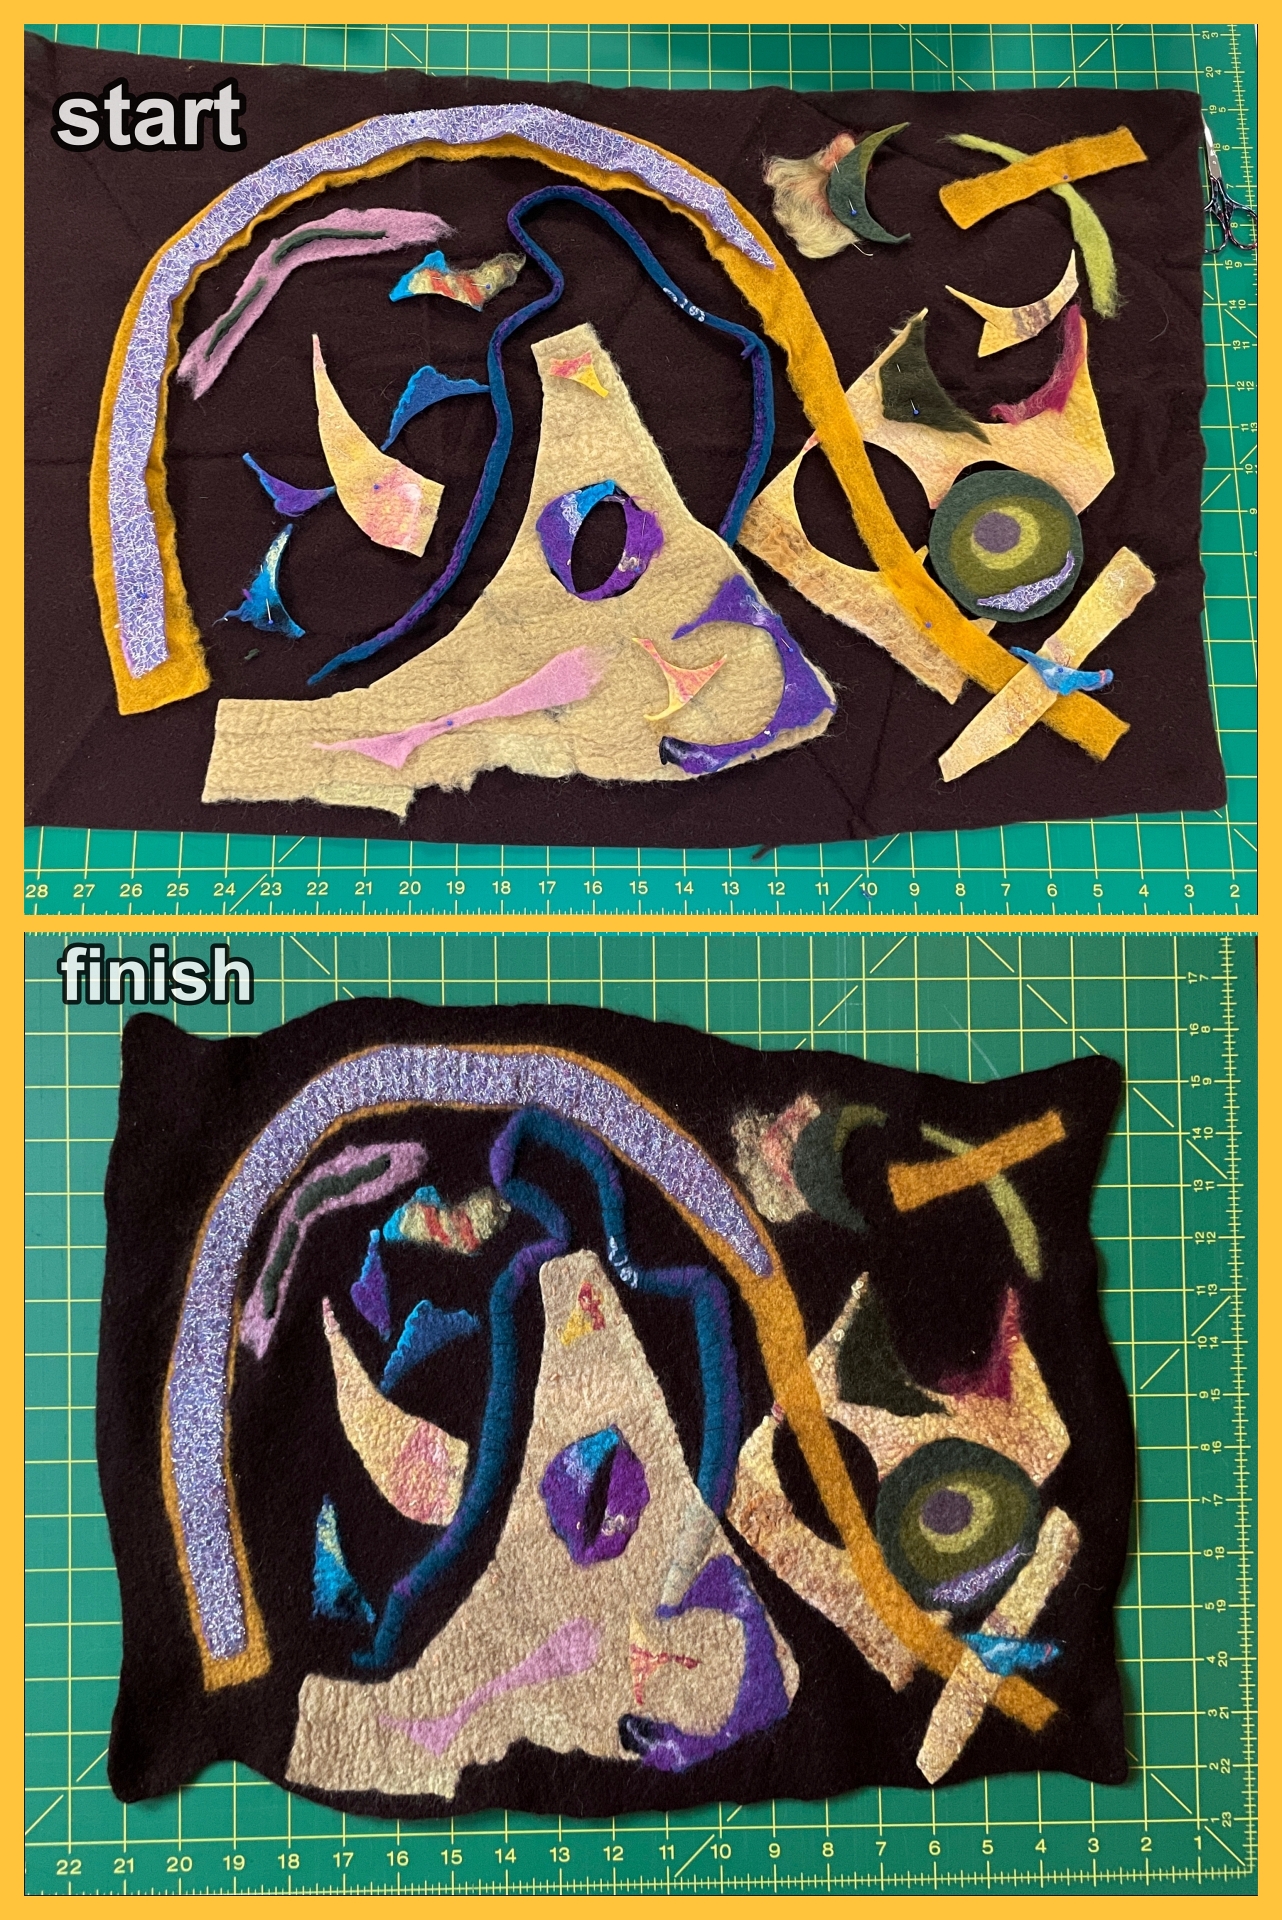
The Ann Arbor Fiberarts Guild kicked off the new year with a workshop by Thom Atkins called ‘Scrappy Improvisations’. Thom’s an amazing quilter who plays with fabric scraps to test new ideas and create new fabric.
“Drawing from his unique mix of whimsical imagery, abundant textures, and blended techniques, Thom will inspire your improvisational spirit and unlock your sense of play as you turn leftover fabrics into a cohesive new piece. Gather all the odd fabric scraps from your stash to give them new life as an abstract art quilt composition. Finally, a way to put all those little bits to good use!”
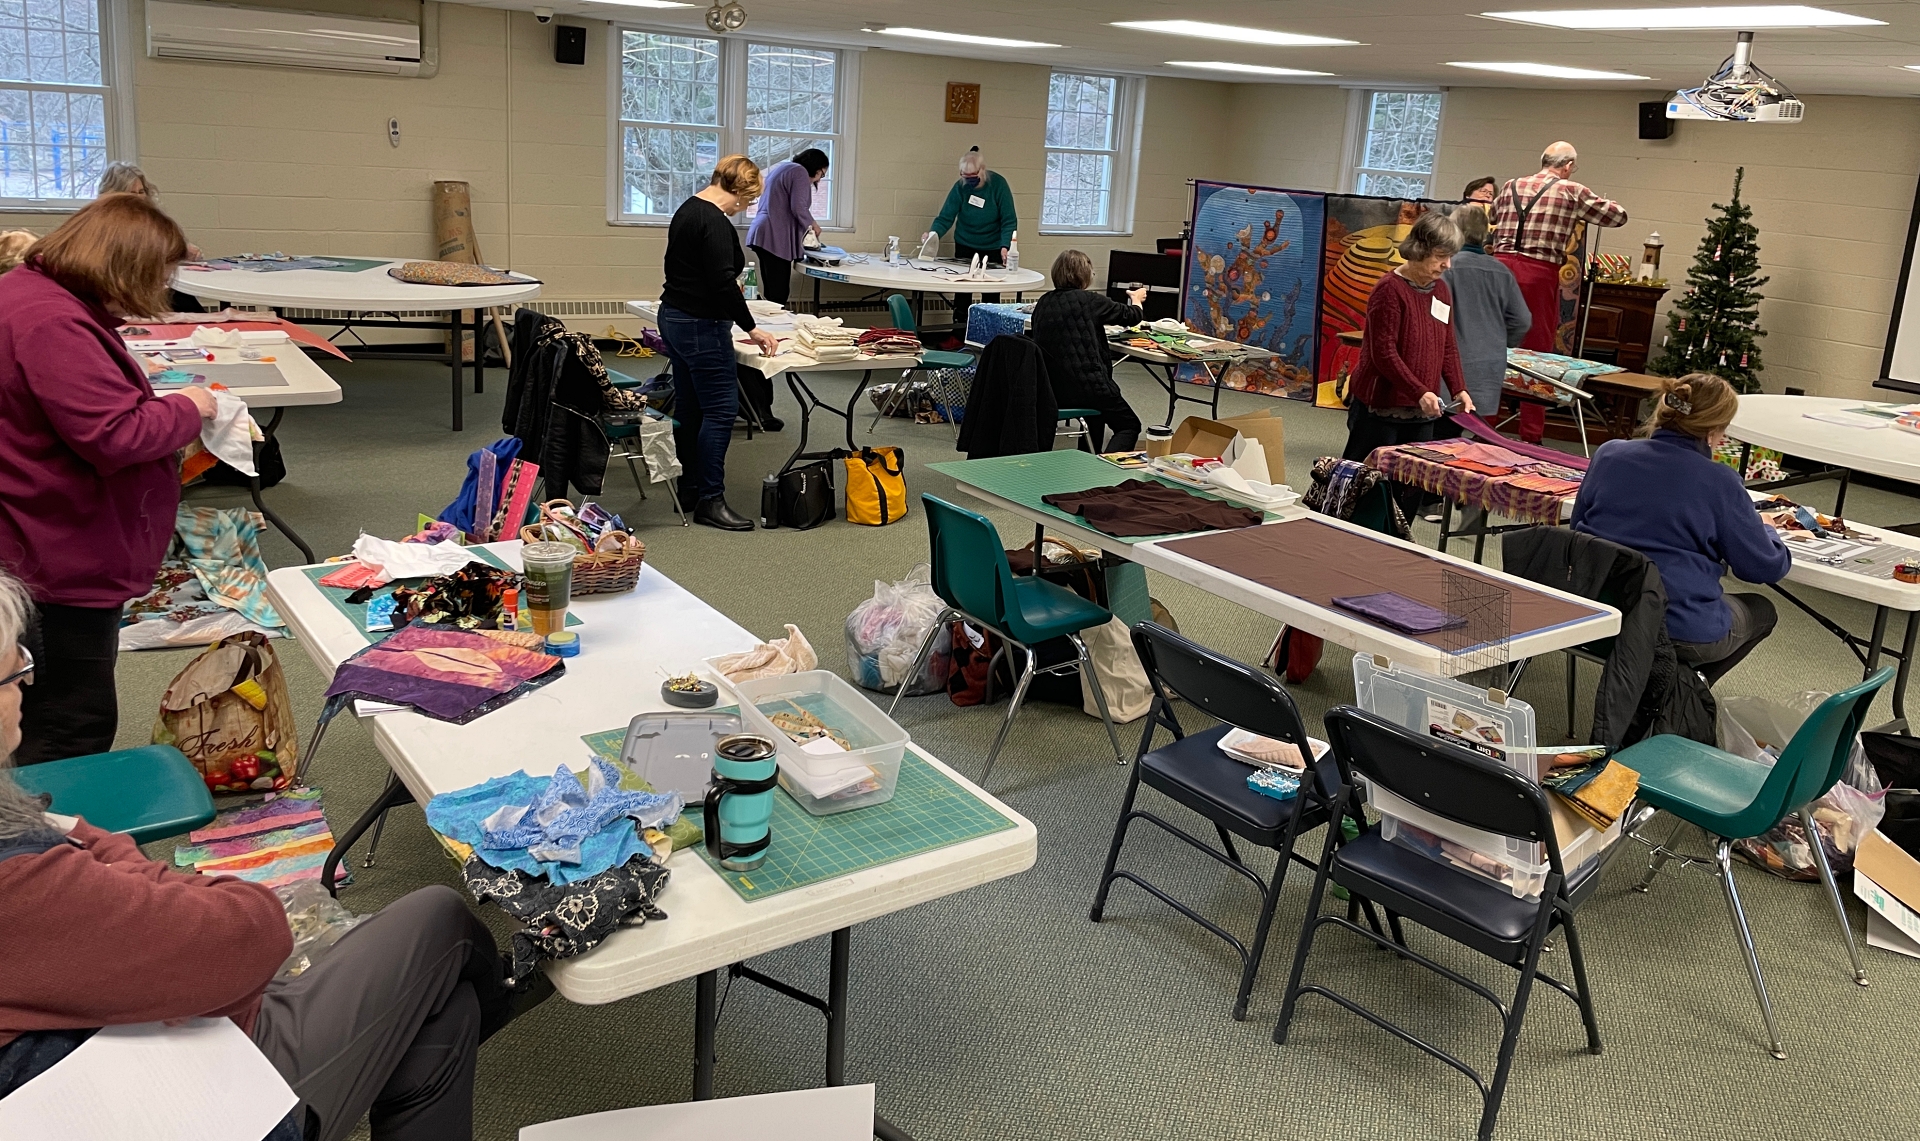
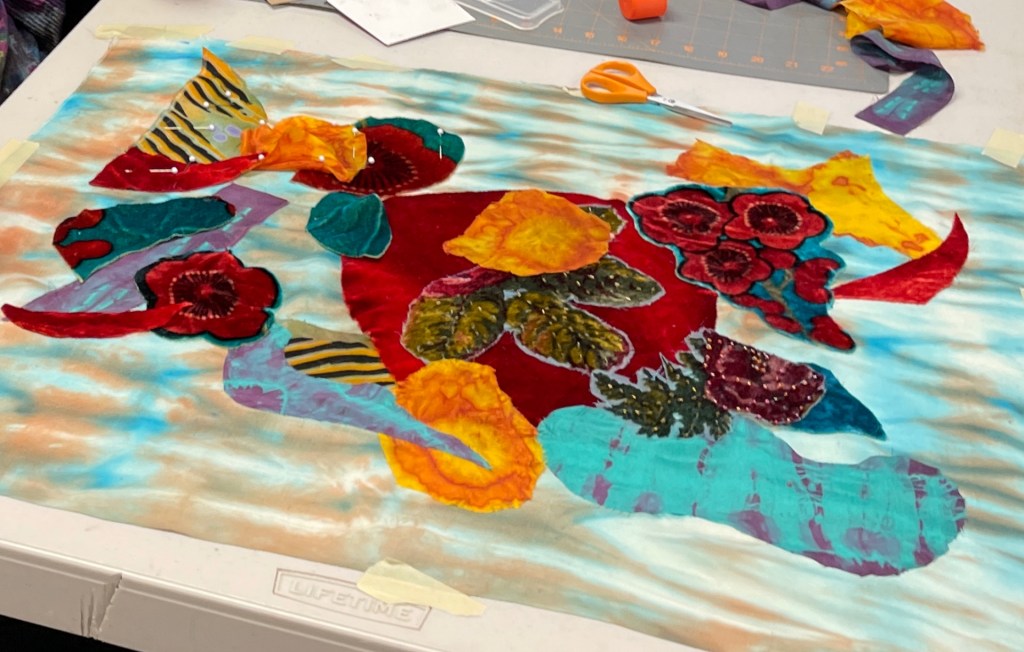
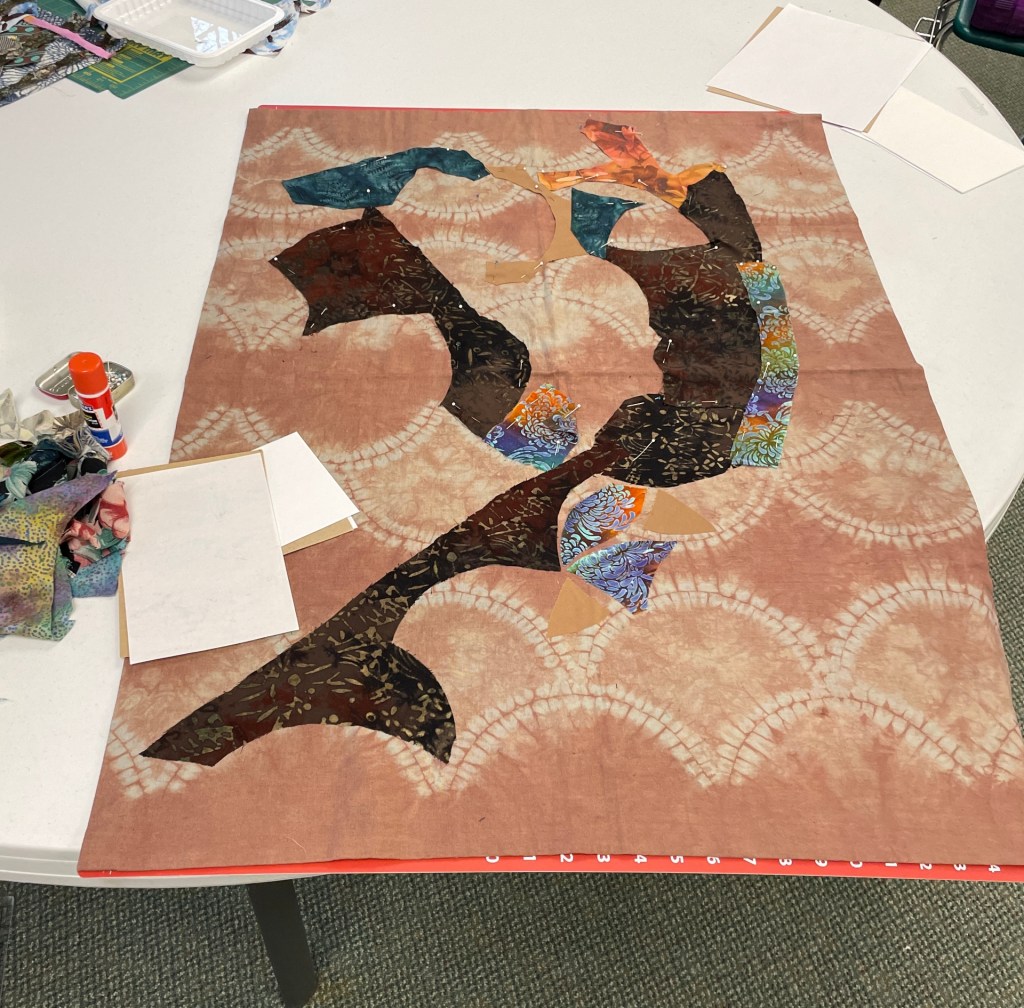
Handwoven fabric is not as easy to save small bits so I don’t have many but I have LOTS of felt scraps! I signed up for the workshop to push the parameters of my creativity and try some new ways to use my scraps. There were 13 in the workshop. Most used commercial sewing/quilting fabric and 3 of us used felt, handwoven fabric, and velvet.
Using glue and pins to hold things in place we laid out our bits and pieces which would eventually be sewn into position.
My scraps ranged from light weight/soft prefelts to pieces that were fully felted to fabric on one side. I used commercial prefelt as base hoping it would be able to grip onto the pieces that were well felted already.
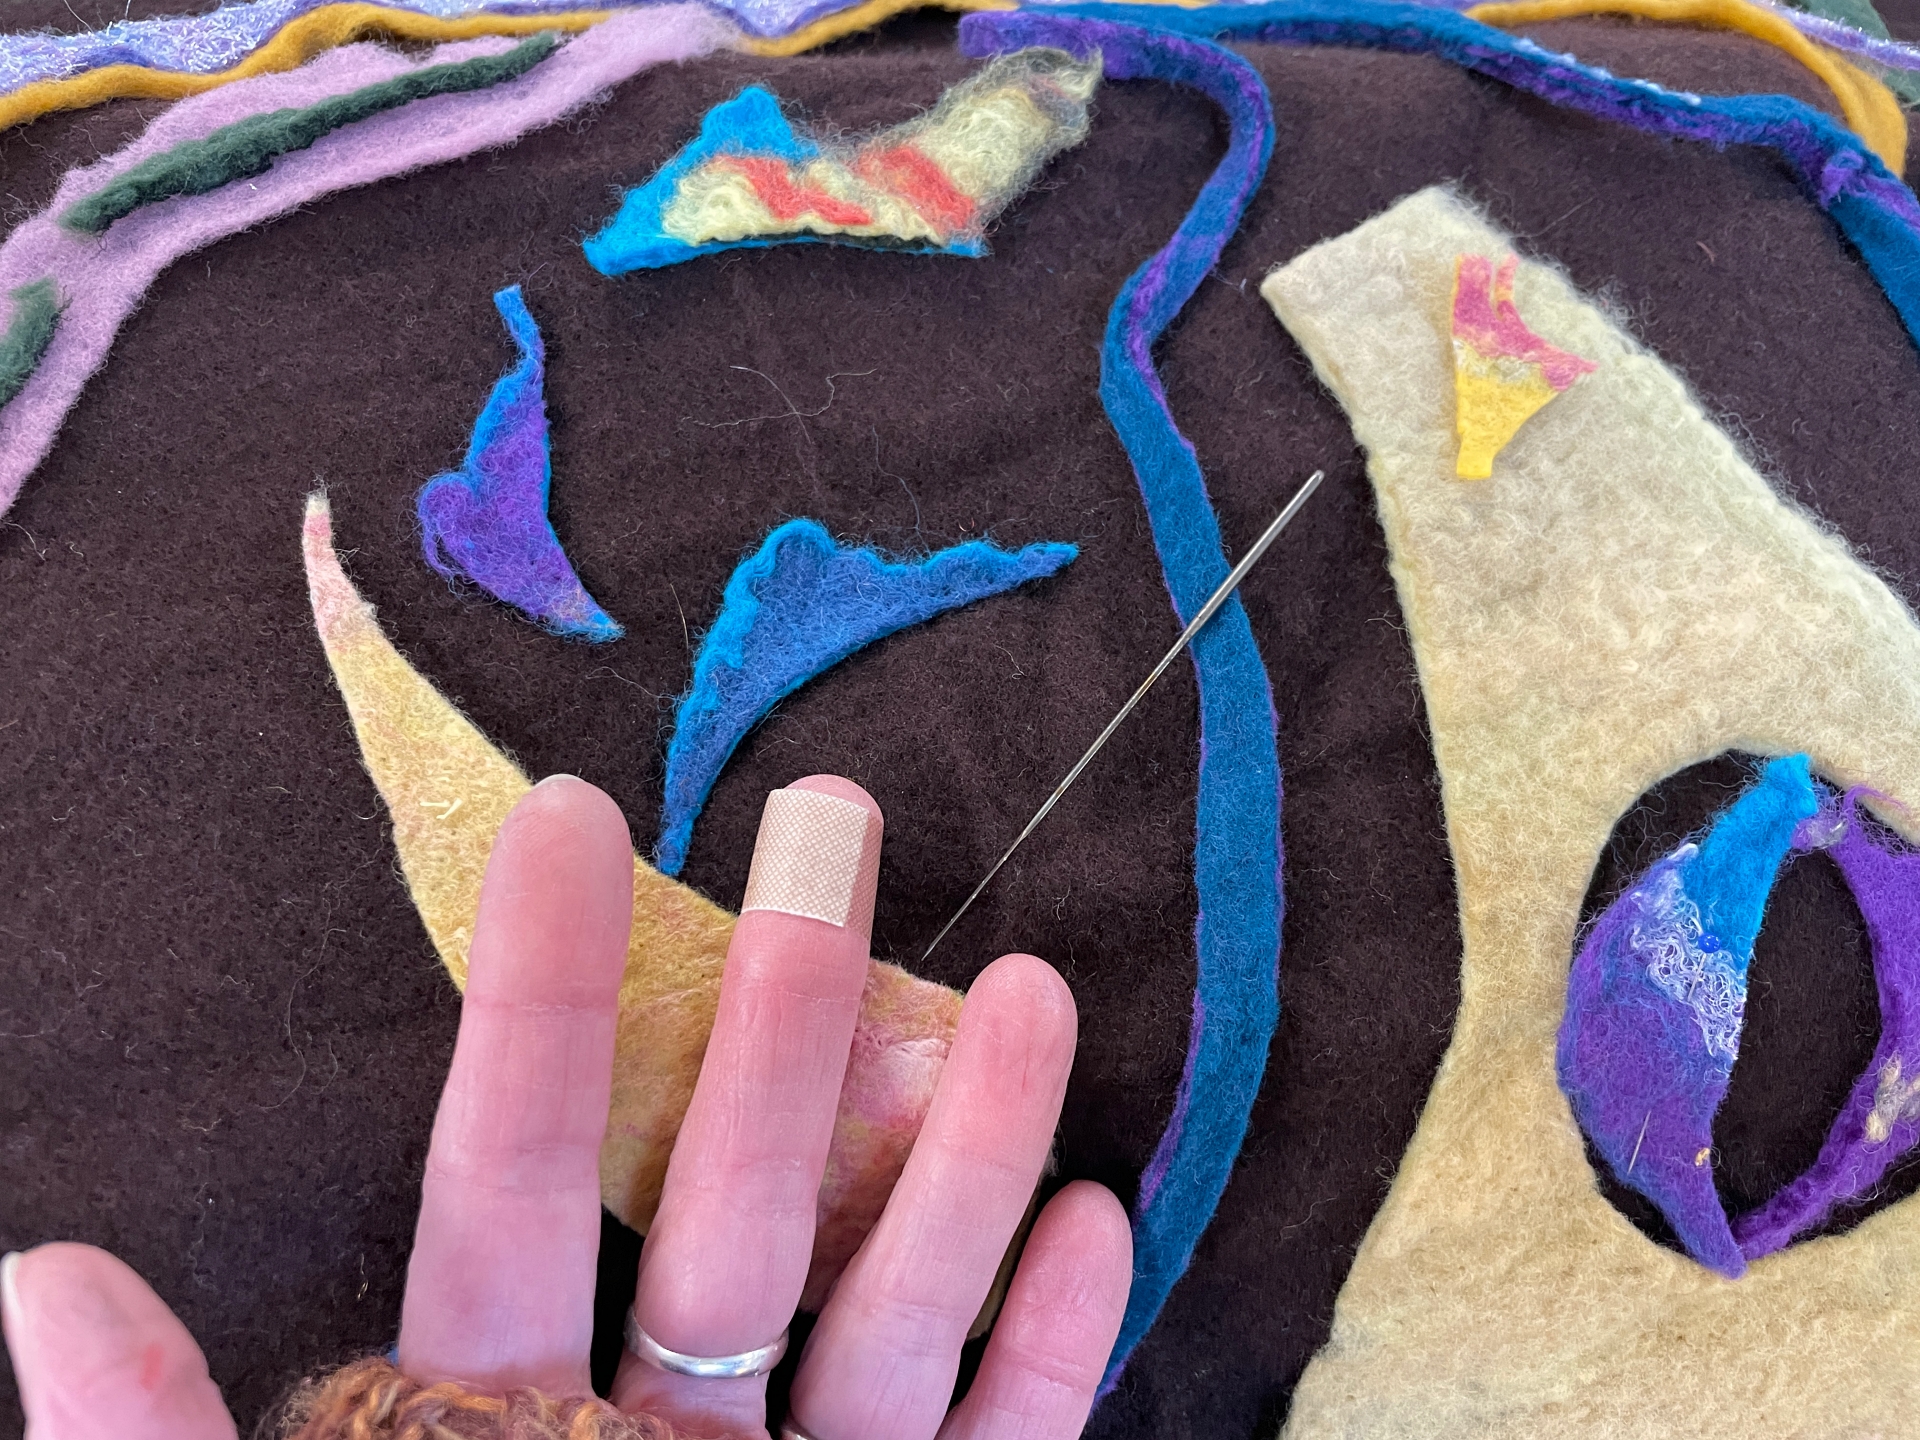
Using glue to tack pieces in place was interesting but did not work that well with felt so I needle felted pieces to hold them in place….stabbing myself in the process. (Yup…me and sharp implements…not a good combination so needless to say I don’t do much needle felting.)
One of the reasons I enjoy workshops is seeing what others are doing. I always come aways with new insights when it comes to design.
Once I had my felt piece holding together enough to take it home I used some scraps Thom brought to practice the glueing technique putting pieces together to make a solid fabric square. I can continue to add pieces to it and then the edges will be stitched down and will then be used as a base fabric for a future project.
Because I wasn’t sure all the pieces would felt together, once I got home I used thread and yarn to tack the heavier felt scraps to the prefelt backing, then wetted it down and began to roll. My ‘Scrappy’ design shrank about 25% and each of the ‘already felted’ scraps were able to lock into the pre-felt backing.
I will definitely continue to play with using scraps. Time to access my inner ‘Picasso’.
2023 has been a year filled with workshops, demonstrations,exhibits, making new & reimagining old creations, sharing textile stories & history, and best of all… camaraderie with fellow fiber fanatics.
May the New Year bring you joy! For me 2024 will bring a new challenge: making a full size, wearable (at least for a runway walk) Paper Dress. Wish me luck!!
I have two great artistic loves – fiber and stories. Each of these areas can be very solitary as I work alone playing with textures and colors creating actual items or storylines and spoken word creating images seen within the depth of imagination. October has been a month of being out and about with others sharing artwork and stories.
~~~~~~~~~~~~~~~~~~~~~~~~~~~~~~~~~~~~~~~
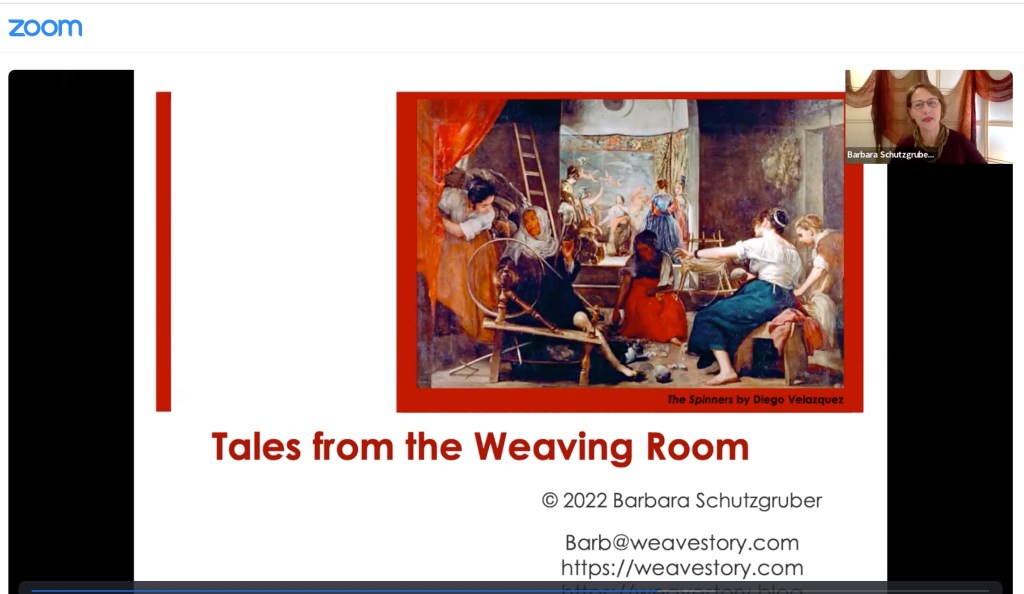
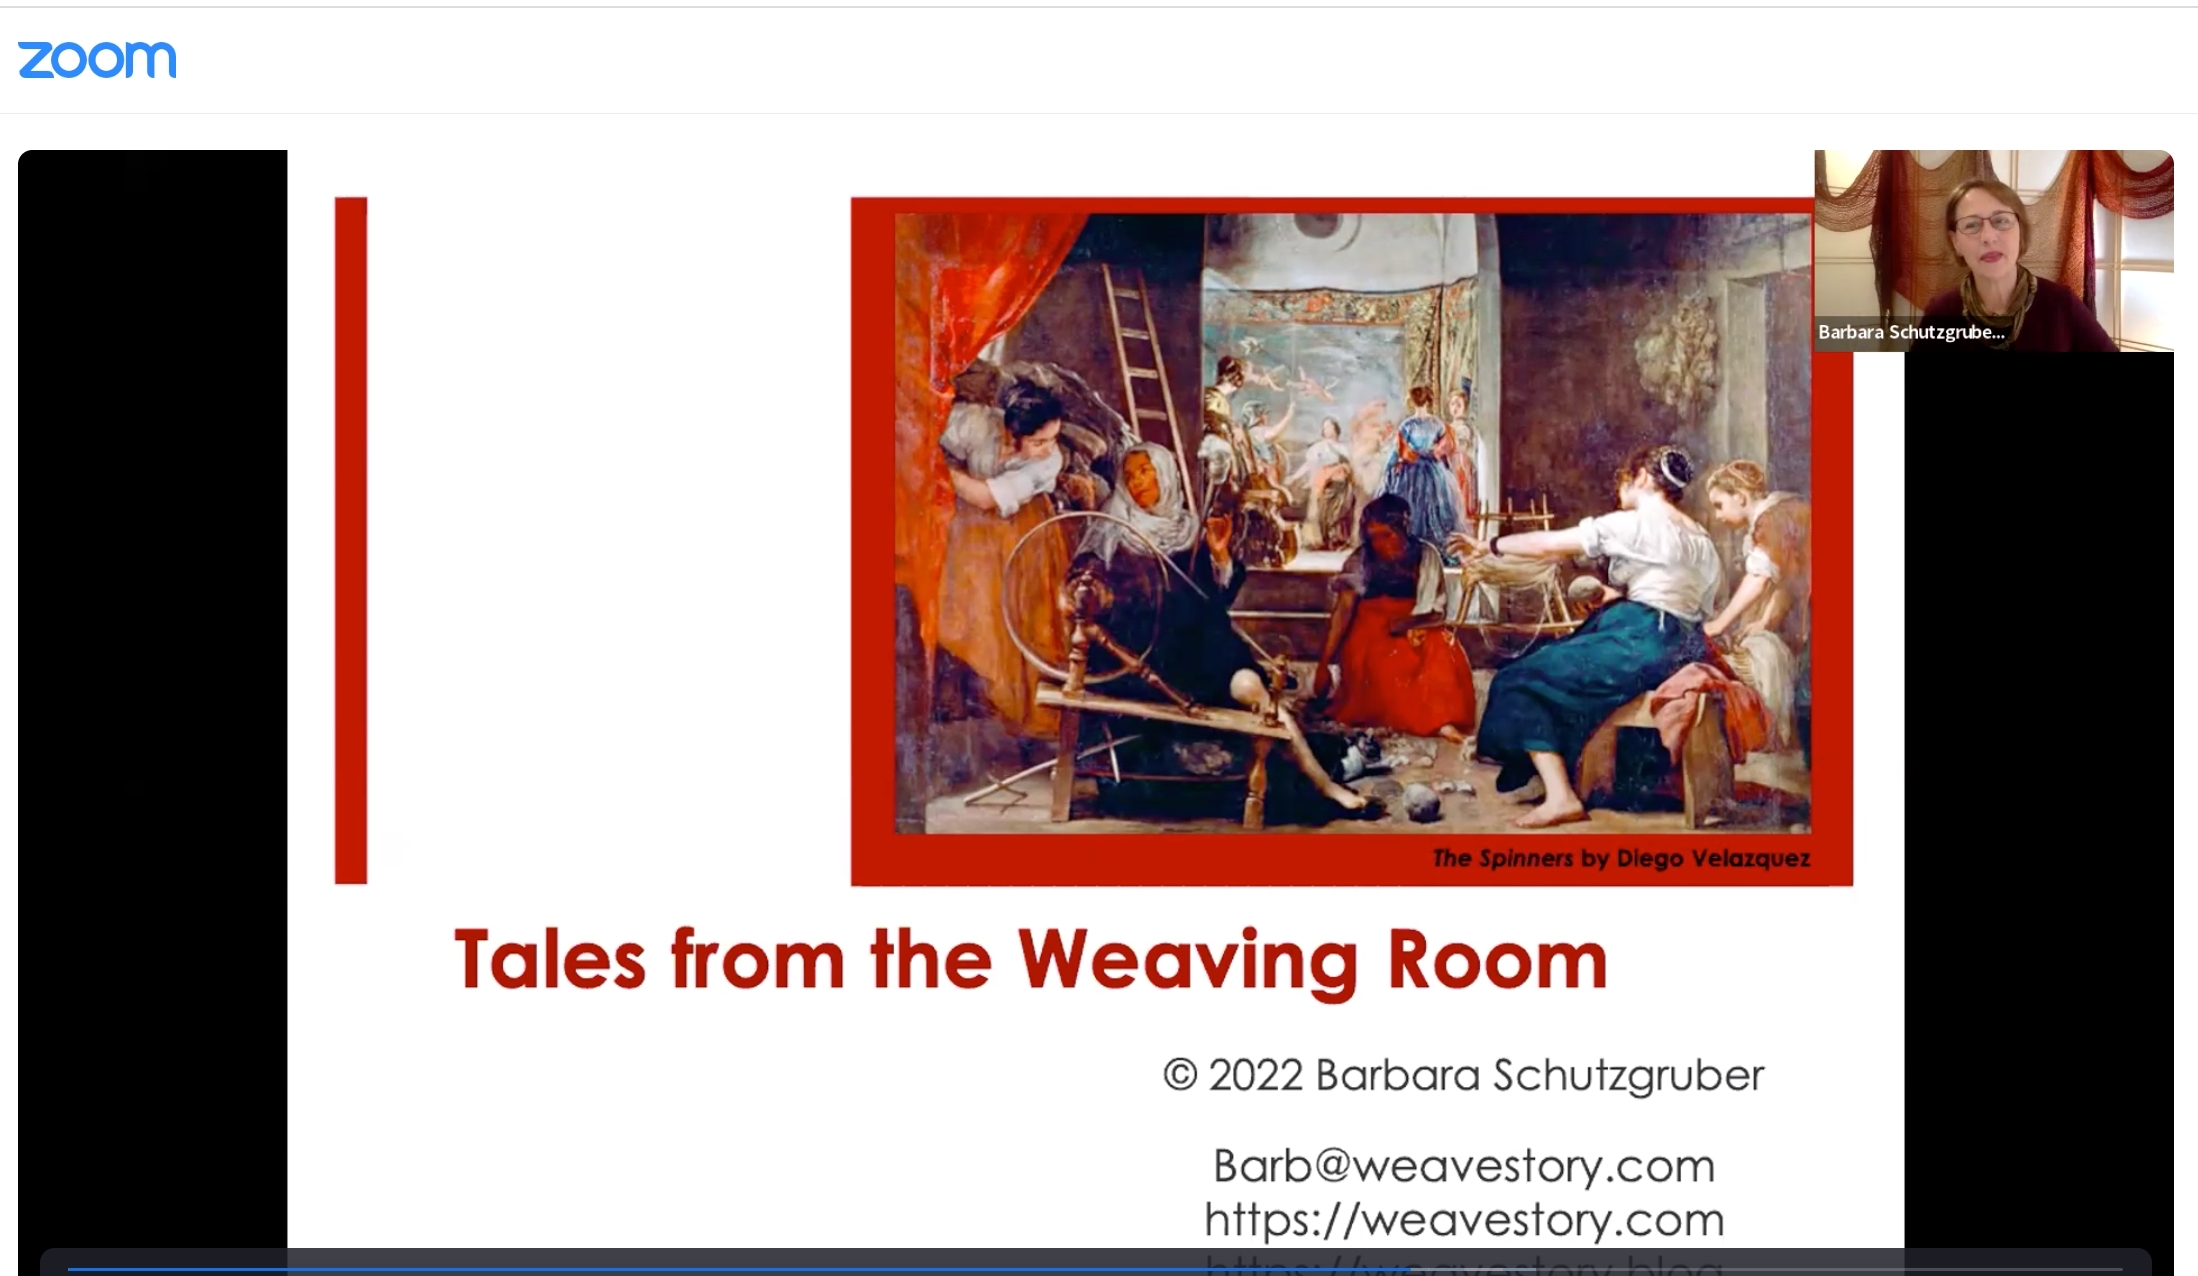
Thanks to Zoom I spent an evening with thePeninsula Weavers & Spinners Guildin Port Townsend, Washington presenting Tales from the Weaving Room which explores the connection between the skill, tools and often magical looking processes developed to make cloth and how they are reflected in the stories women told each other as they worked throughout the year to clothe their families and communities.
~~~~~~~~~~~~~~~~~~~~~~~~~~~~~~~~~~~~~~~
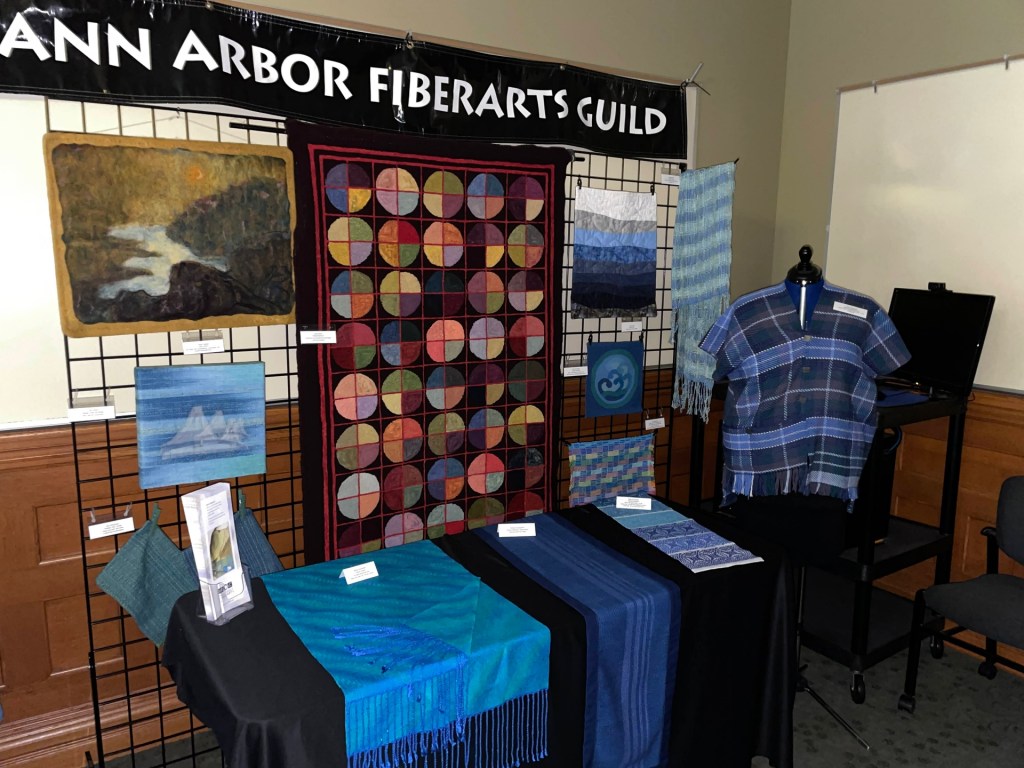
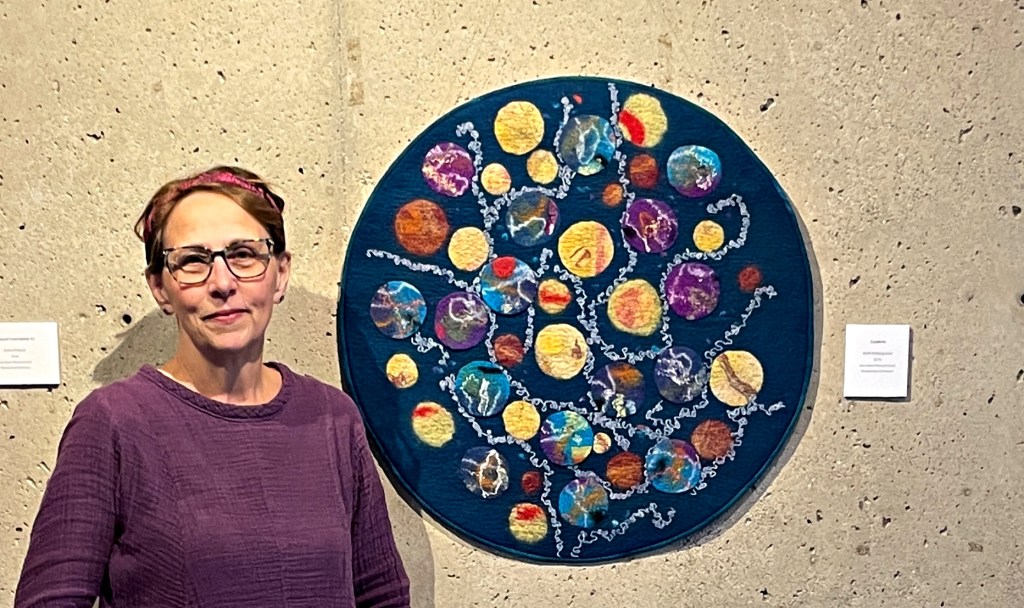
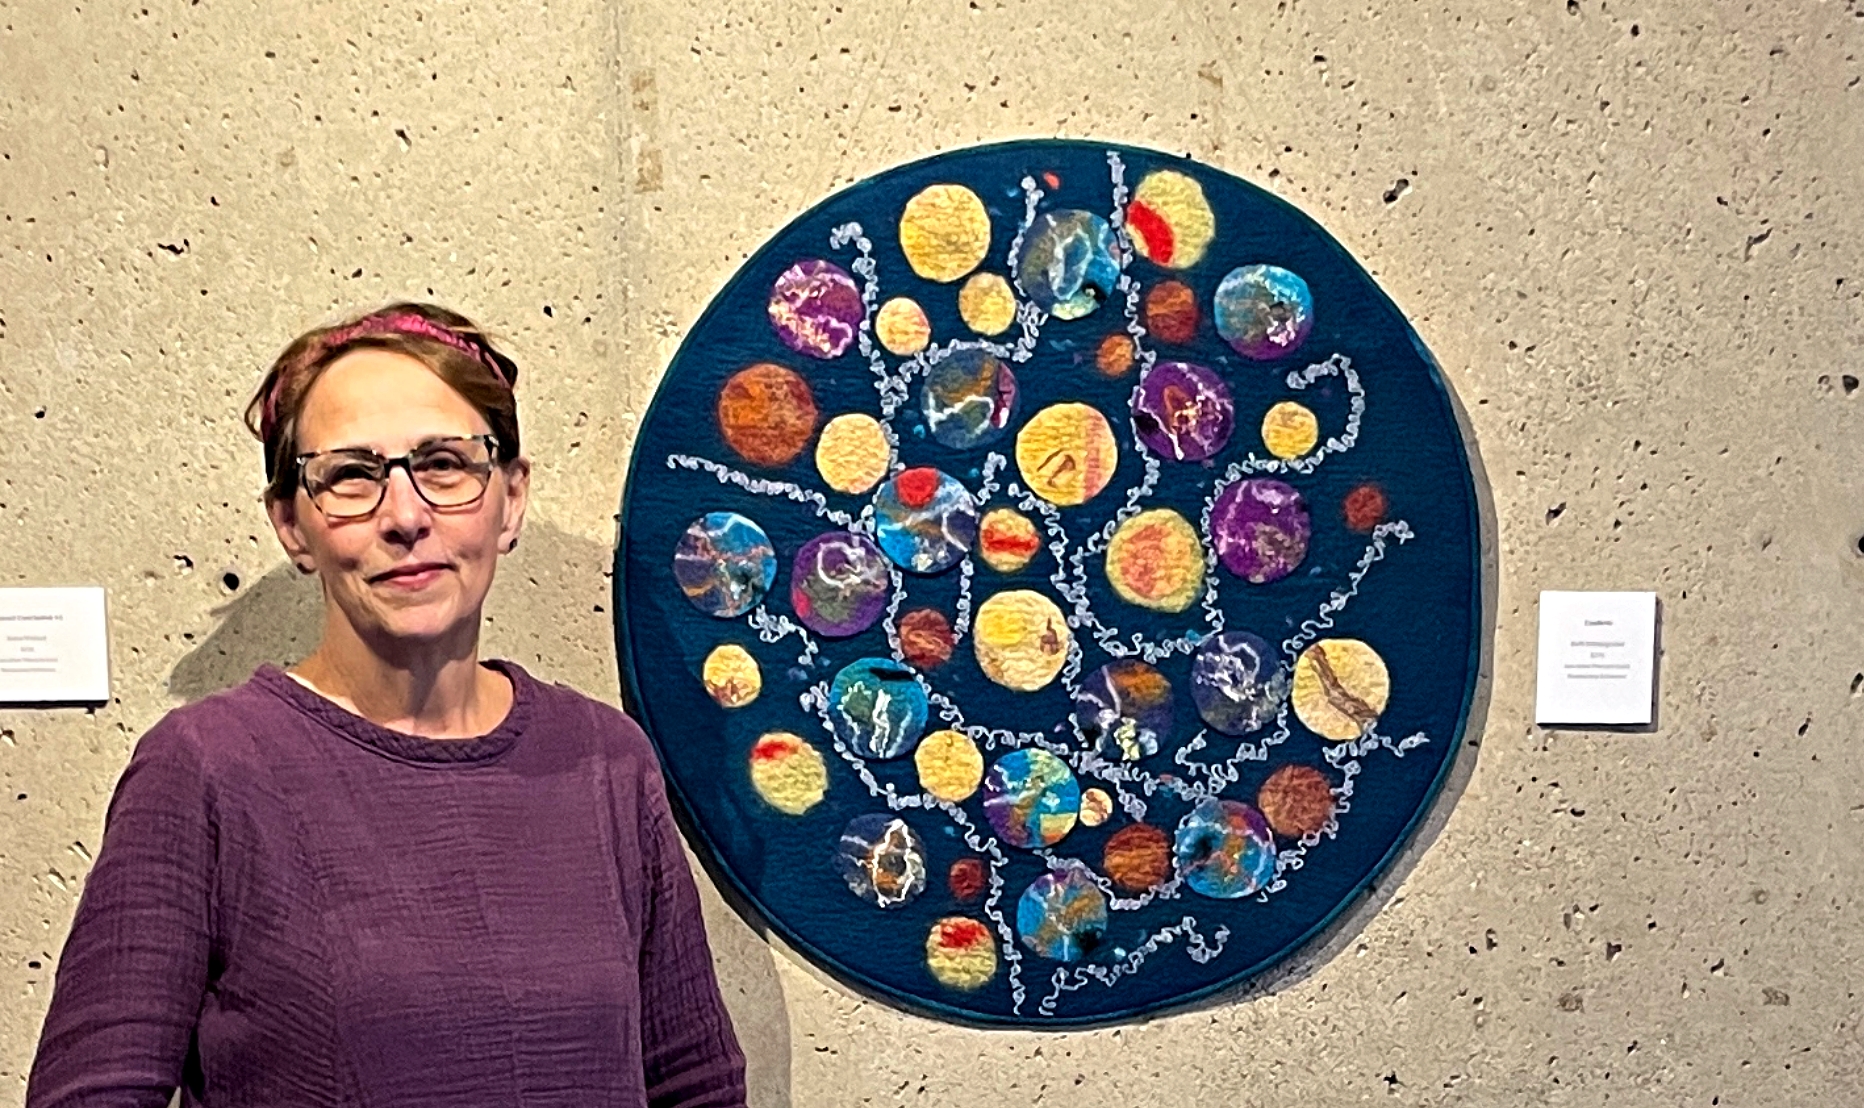
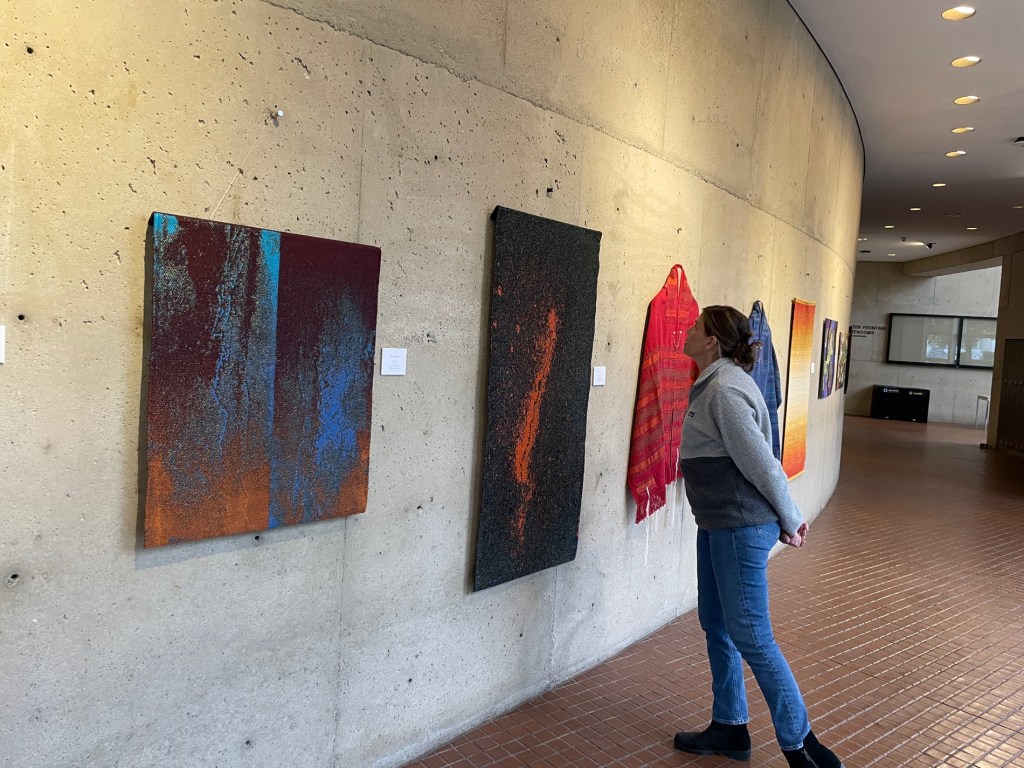
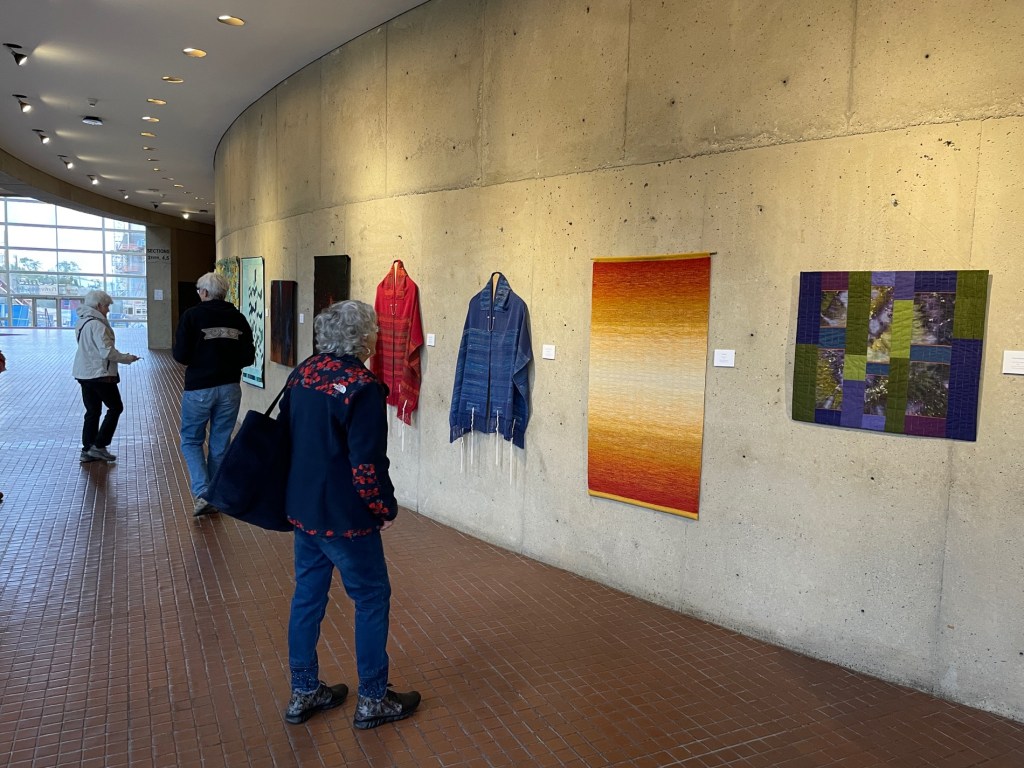
The Ann Arbor Fiberarts Guild is back in the lobby of the Power Center for the Performing Arts from October 13th through December 10th. My felt piece Confetti is part of the exhibit.
Over the years I’ve learned lot working along side fellow guild members as to what all goes into arranging and hanging an exhibit. The Power Center is not an easy venue because of the cement walls and fixed hanging peg locations set every 24″.
~~~~~~~~~~~~~~~~~~~~~~~~~~~~~~~~~~~~~~~
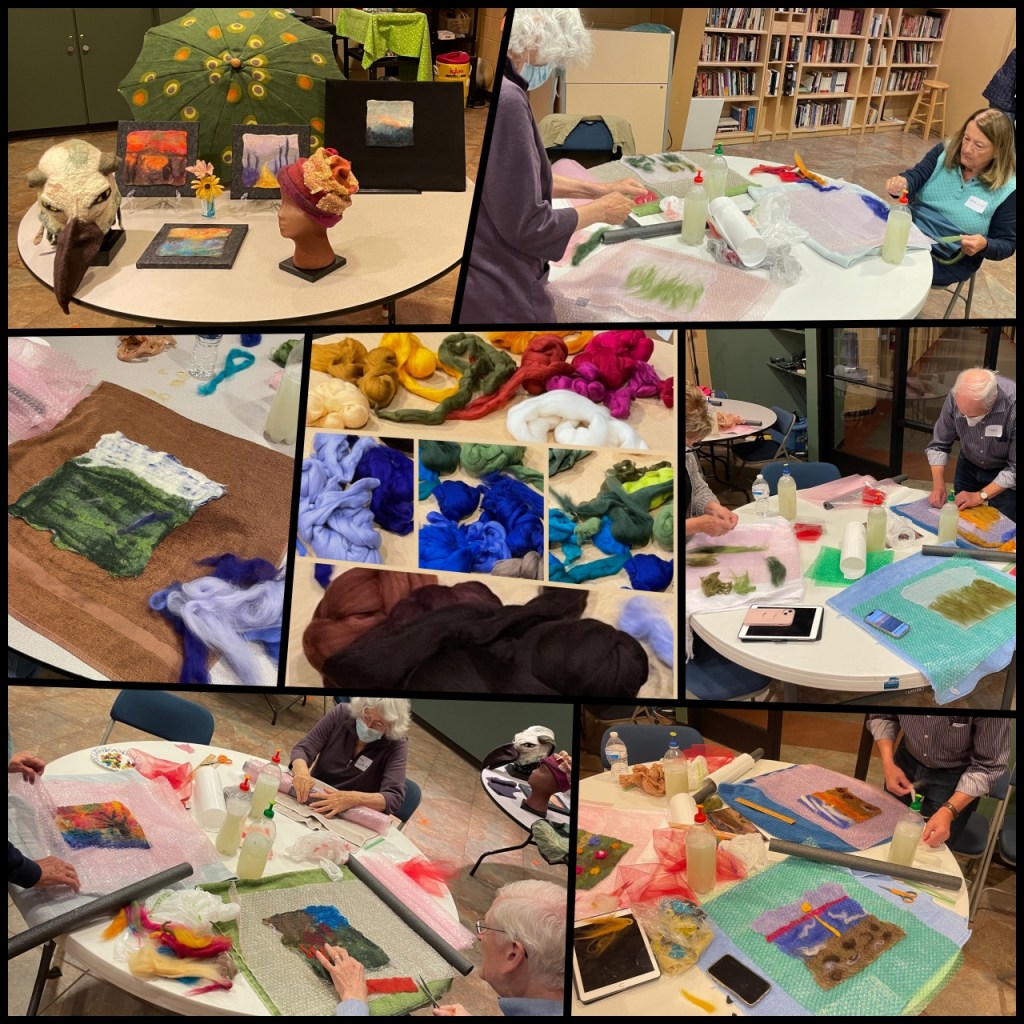
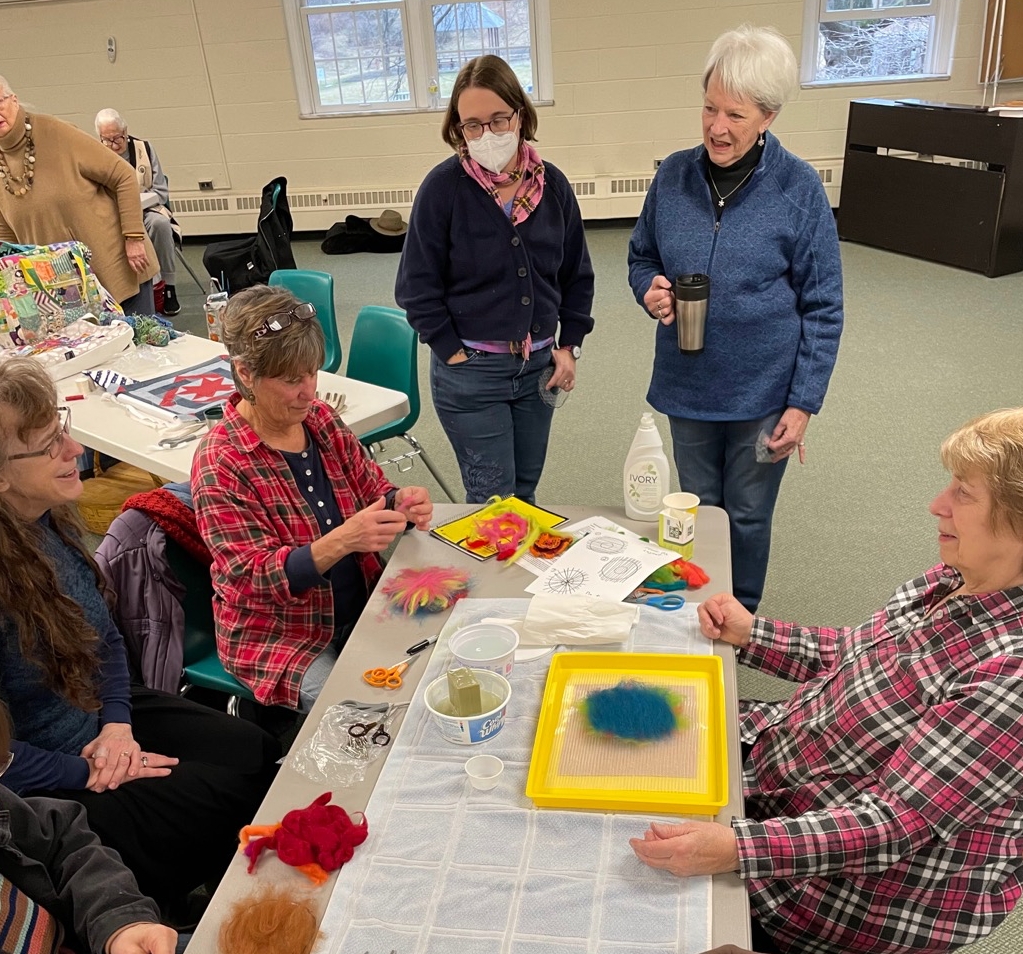
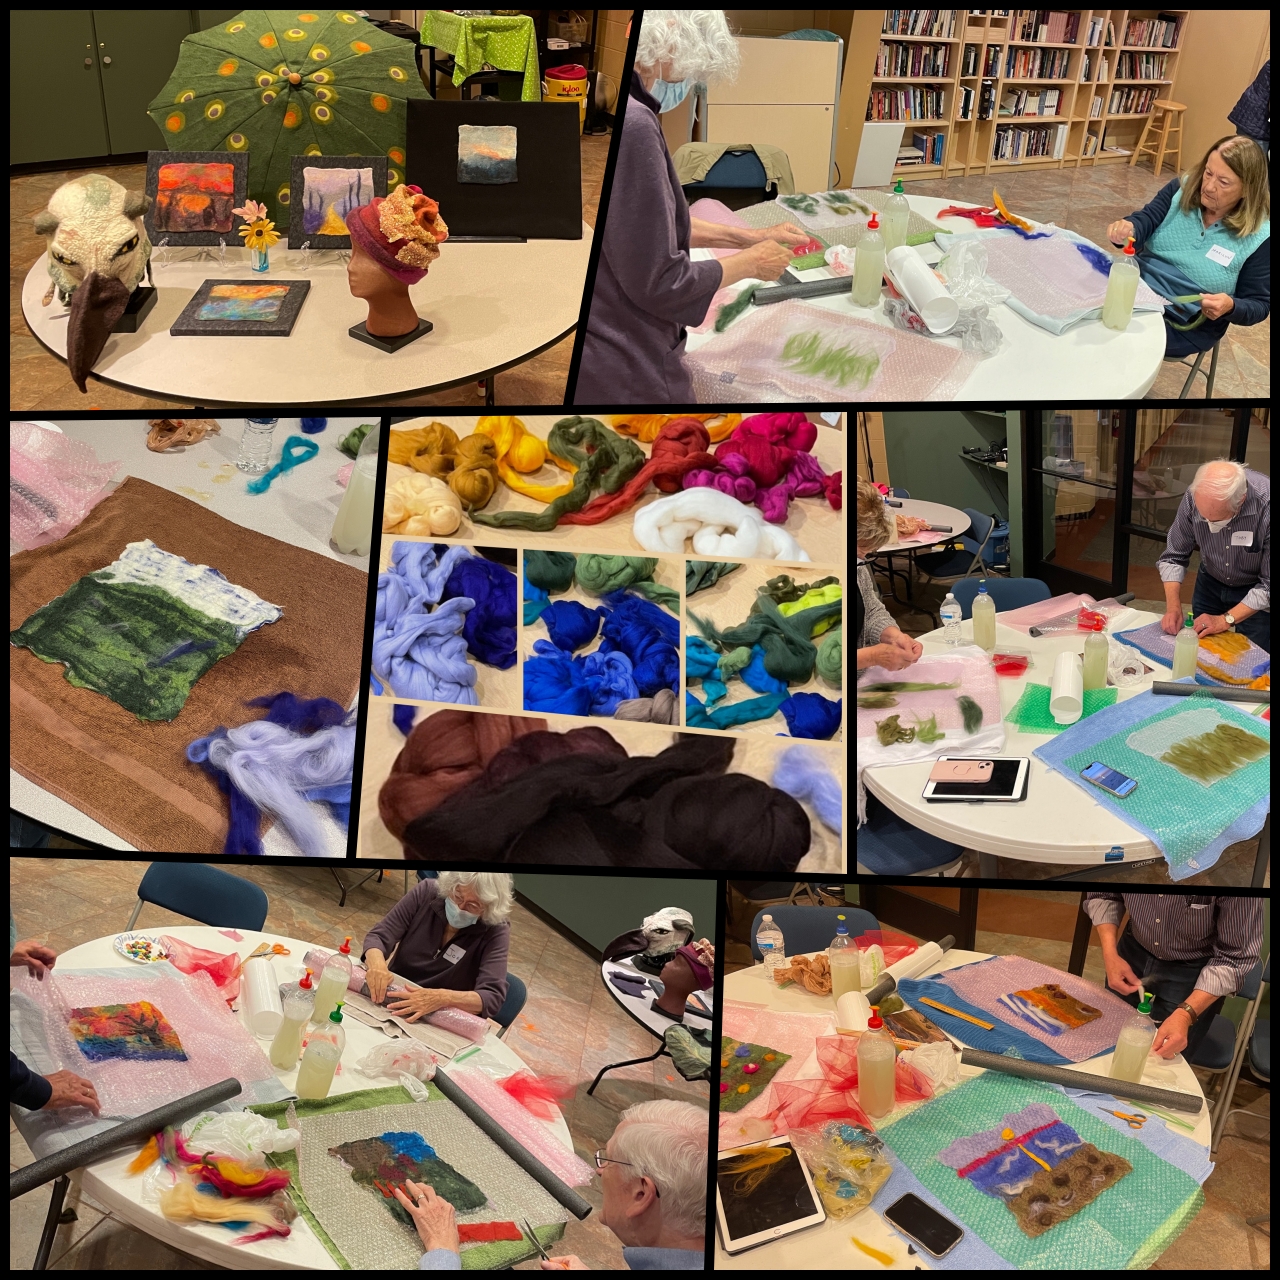
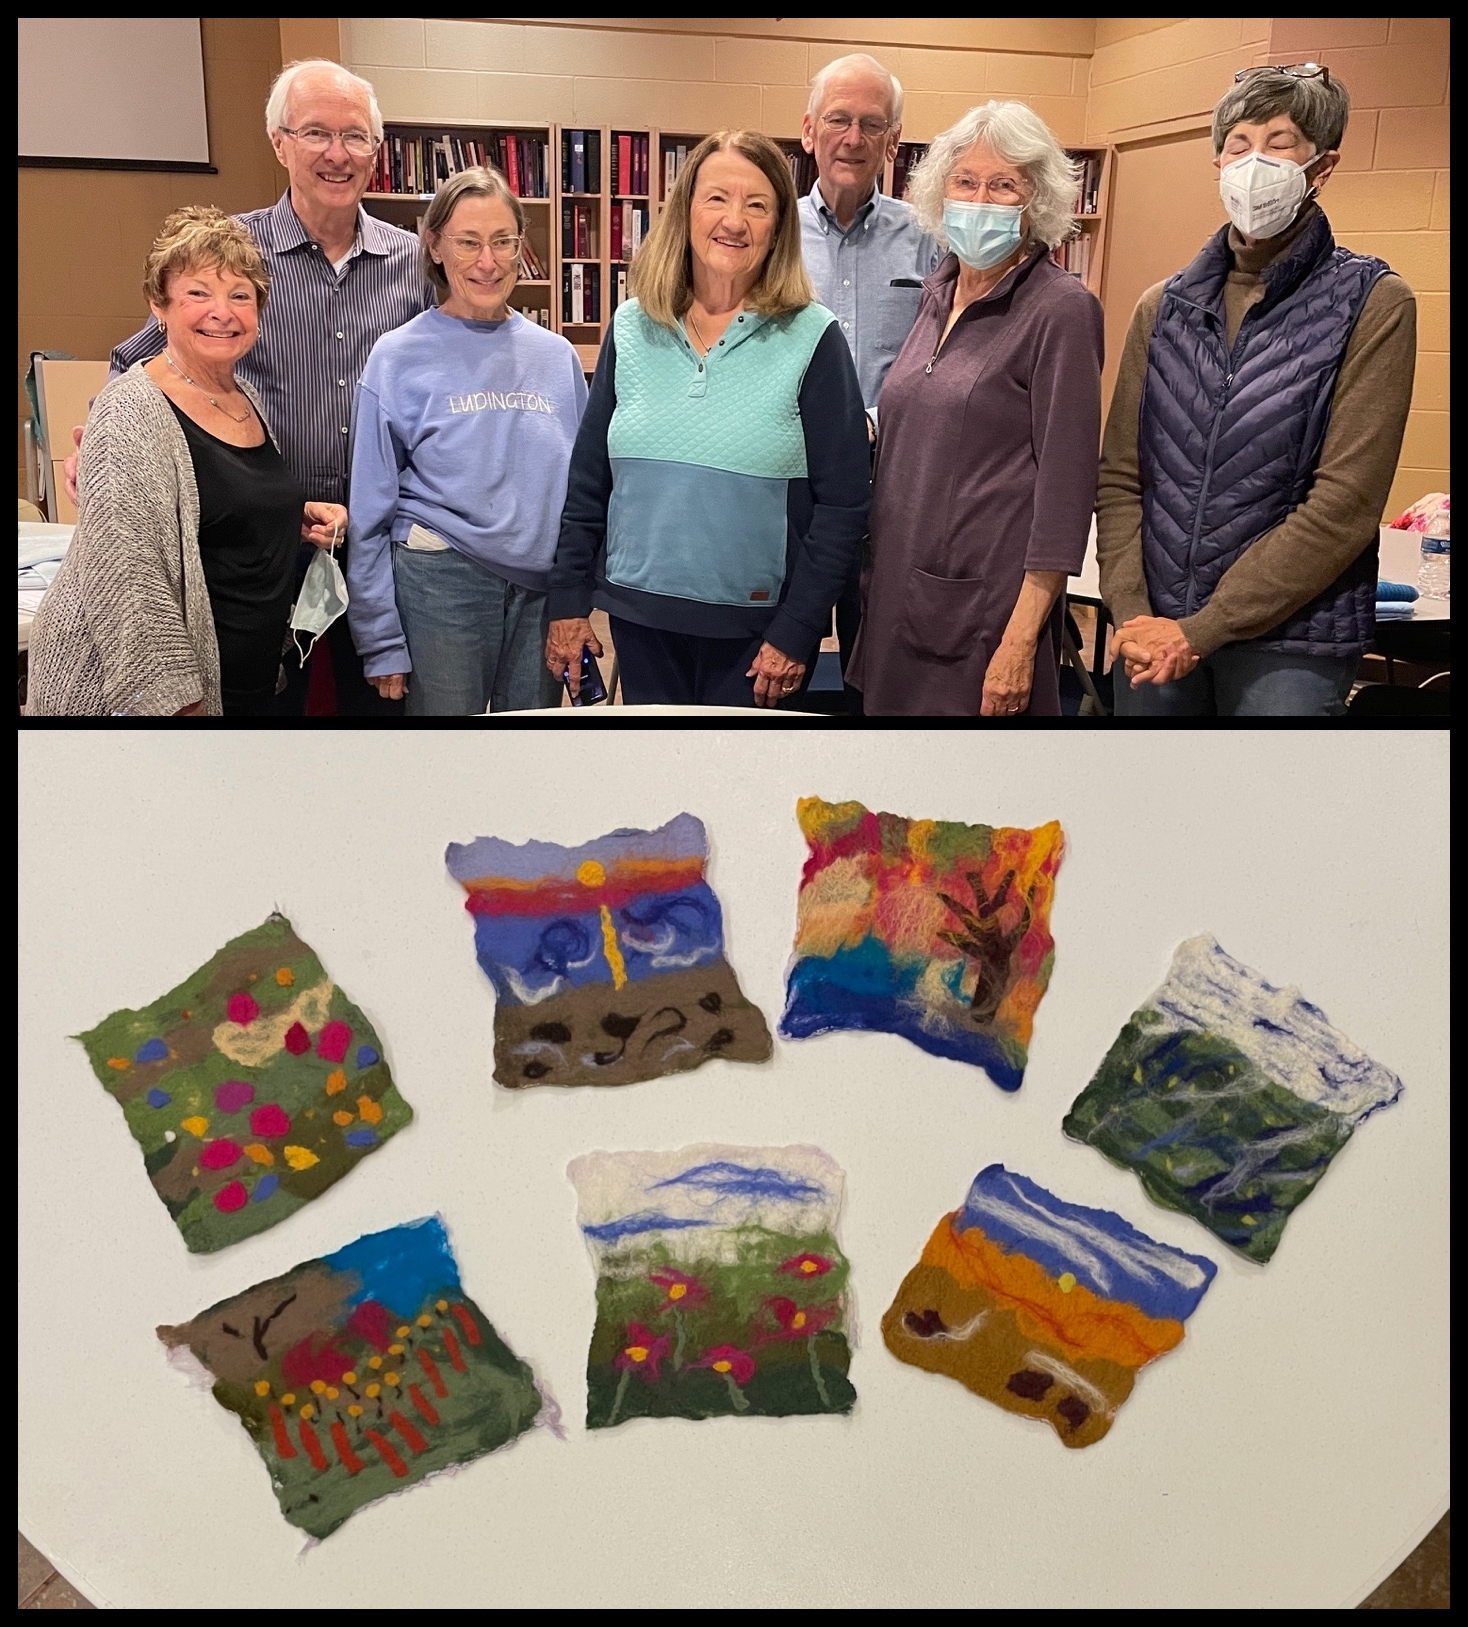
Presenting my workshop Painting with Wool for the fall term ofElderwise Learninggave me the opportunity to spent several hours with a small group of adults teaching the basics of wet felting and helping them create small pieces of artwork.
~~~~~~~~~~~~~~~~~~~~~~~~~~~~~~~~~~~~~~~
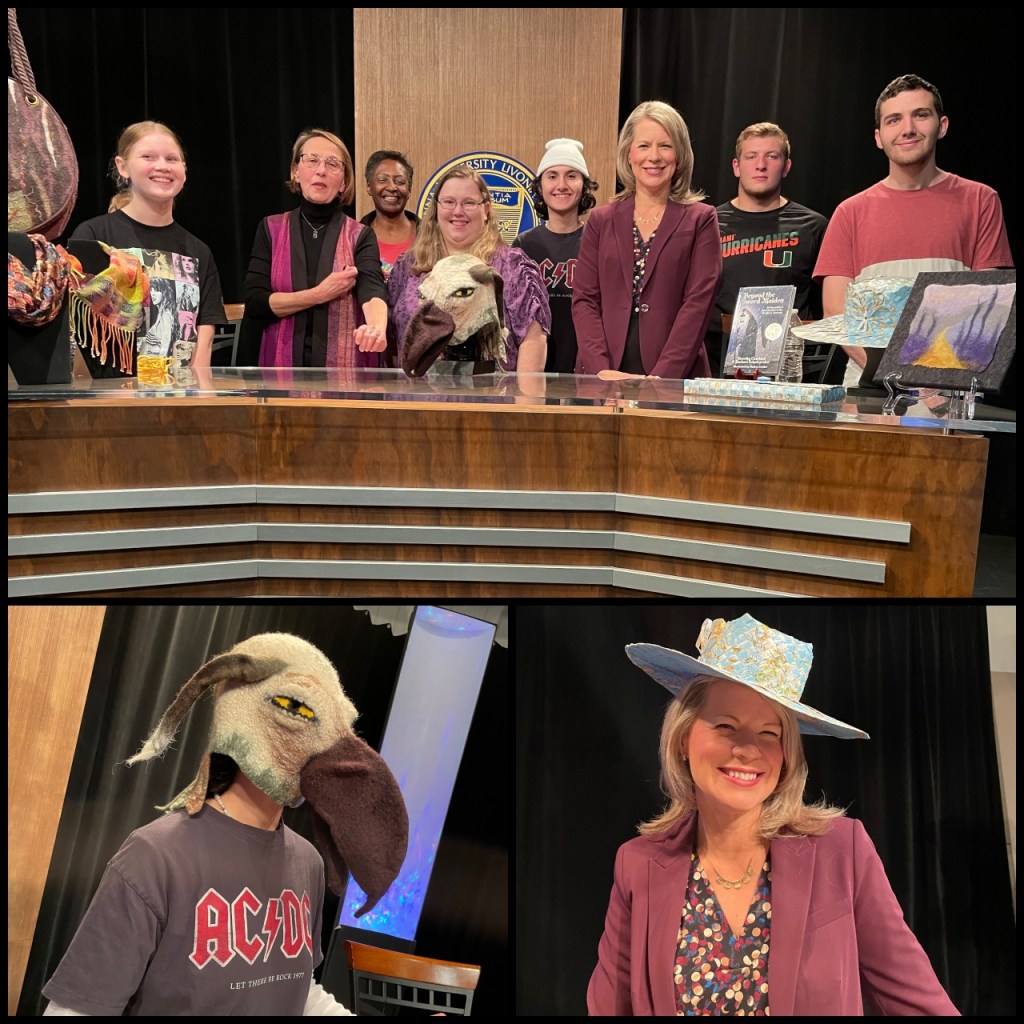
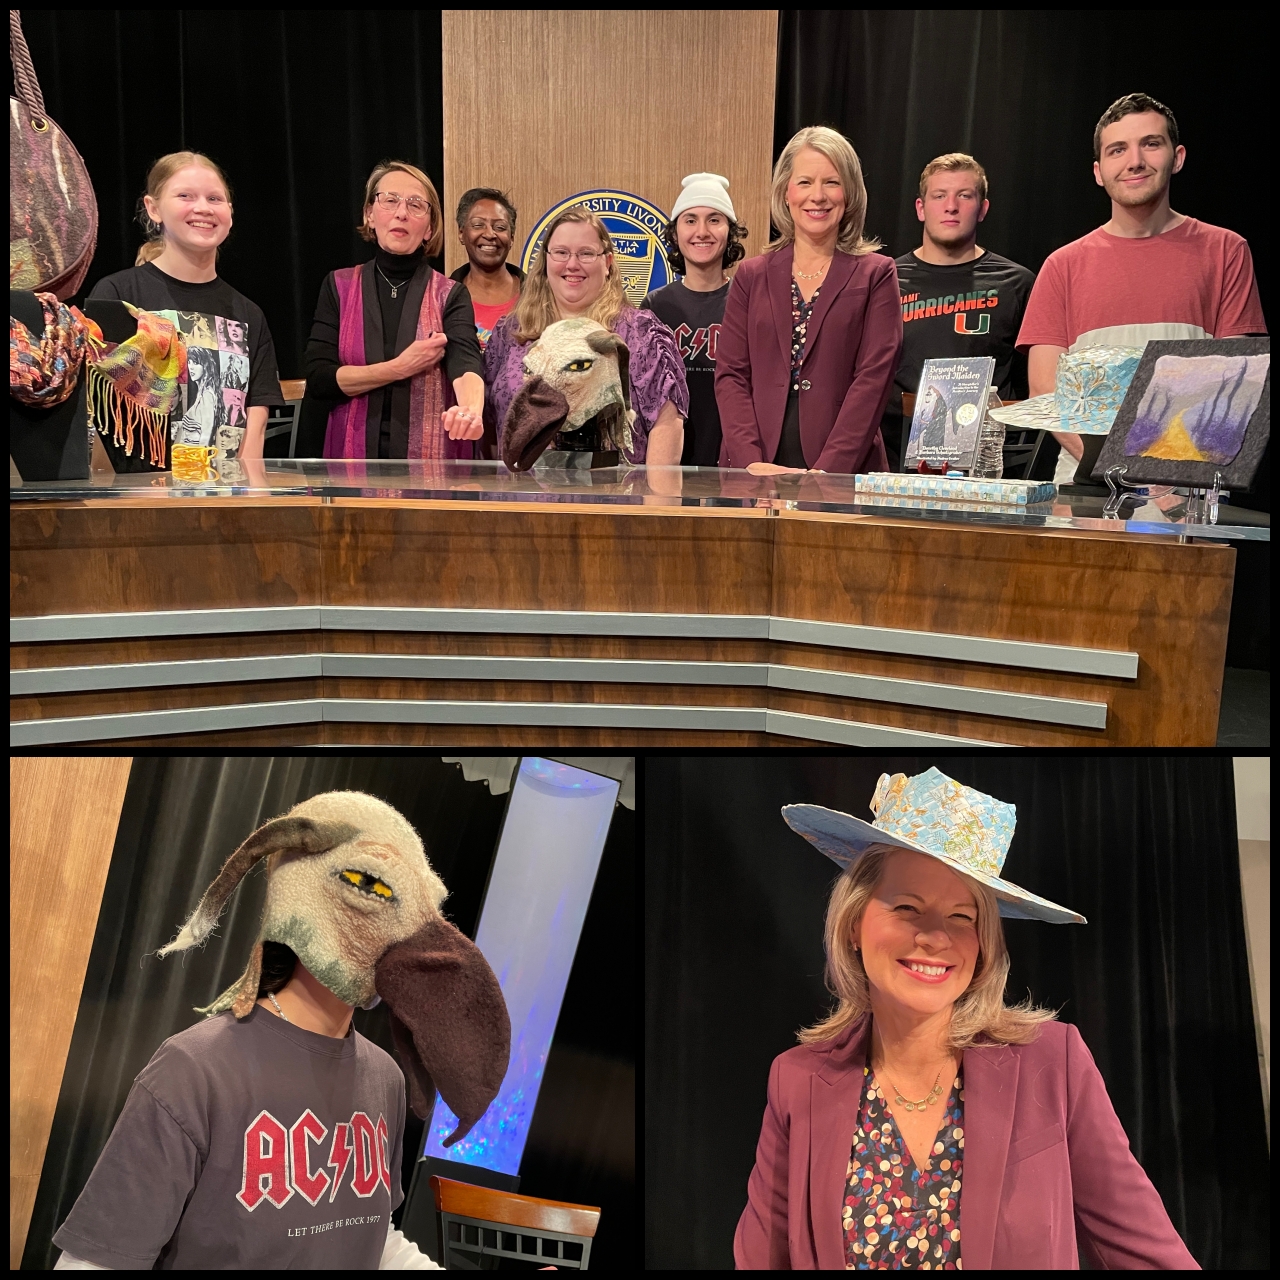
I had a great time being interviewed for a local talk show Celebrate Michigan which highlights the people, resources and activities that make Michigan a great state. The show is part of Madonna University’s Broadcast & Cinema Arts Program and is recorded at the TV studio on campus. It is overseen by industry professionals giving students real world experience as producers, directors, writers, along with lighting, sound and camera work. The student producers, director and crew were great and host Chris Benson made me feel at ease. We talked about storytelling, fiber arts and I told a story. After we finished the taping several tied on the felt mask and the hat woven from National Geographic maps.
~~~~~~~~~~~~~~~~~~~~~~~~~~~~~~~~~~~~~~~
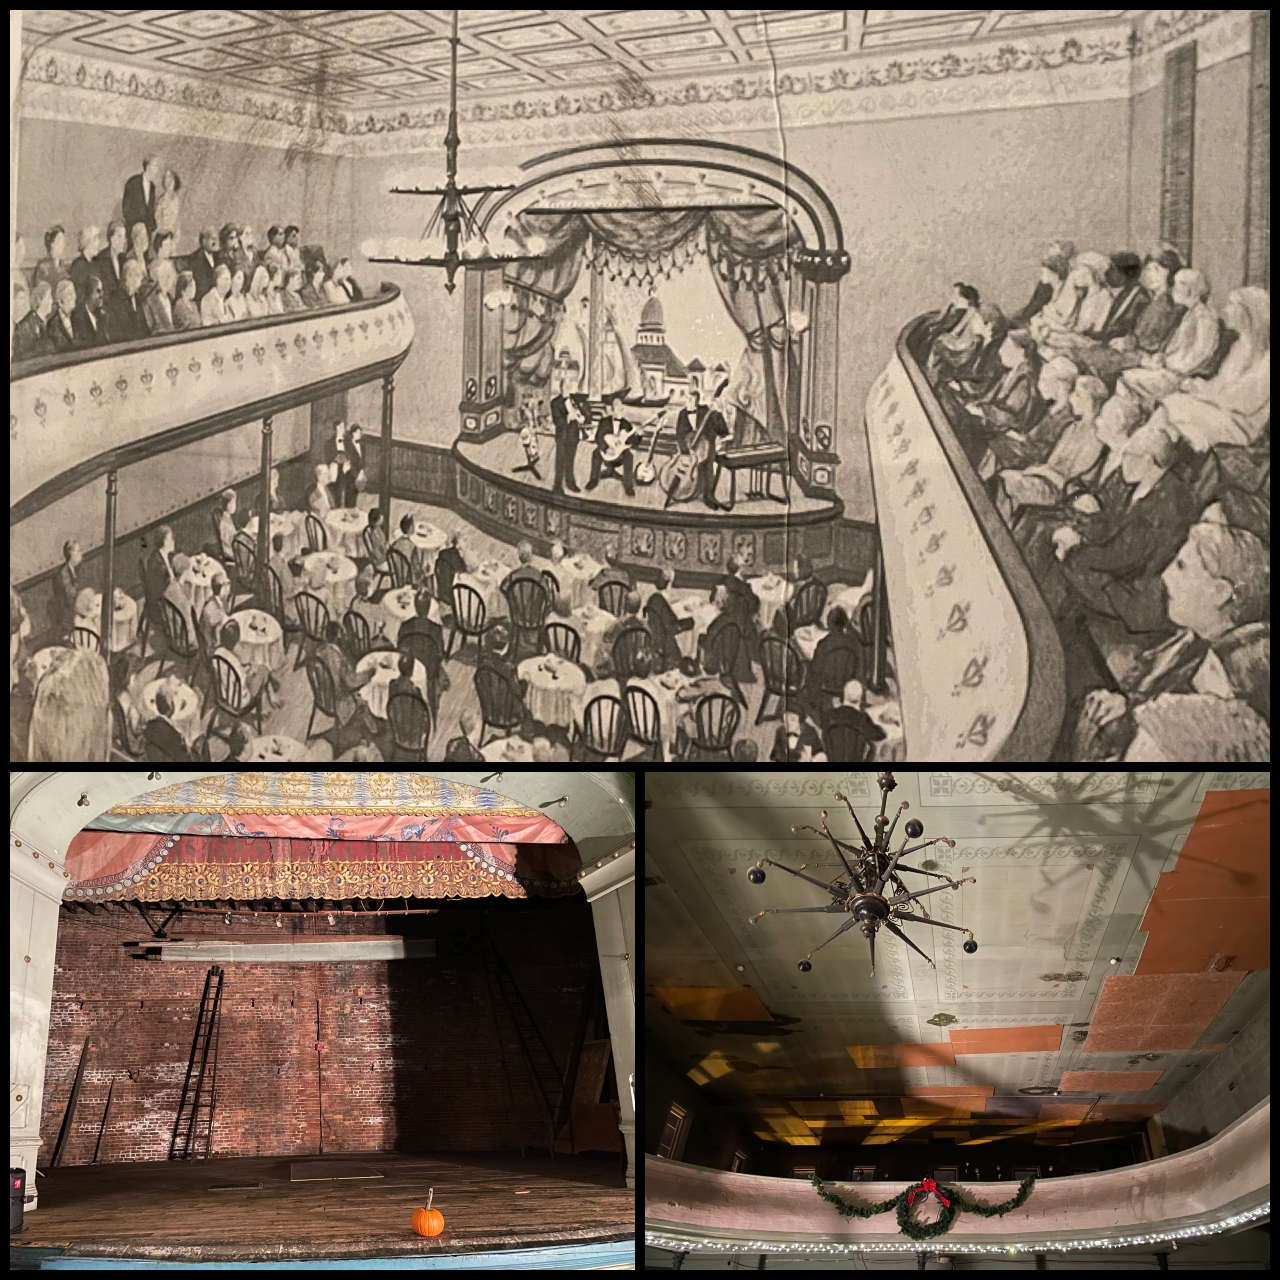
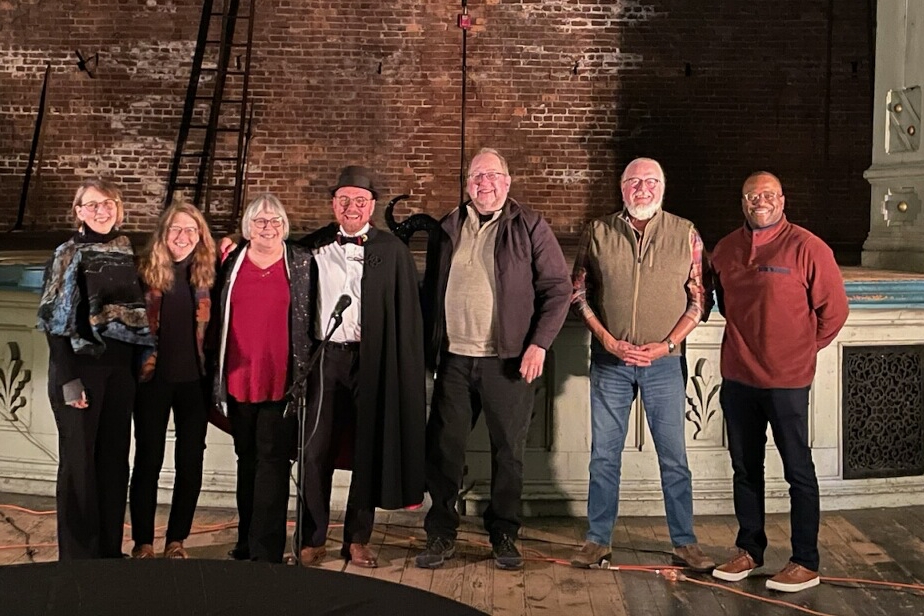
As October comes to a close I shared the stage with fellow storytellers Jean Bolley, Jennifer Pahl Otto, Jeff Doyle, Mike Cox, Robin Nott and Larry Castleberry for the annual Scary Stories Festival at theHowell Opera Houseto raise funds for the eventual restoration. The Opera House built in 1881 and has sat frozen in time since 1925. This is my favorite venue for telling creepy, spine tingling tales.
It’s been a busy month spending time talking shop with fellow artists and introducing people across the country and down the road to the worlds of fiberarts and storytelling.