I had a little jacket, it was old as can be…
Tralala lalalala lalala
What I’d ever do with it, I just couldn’t see
Tralala lalalala lalala
So I thought a little while
And made myself a vest in the very latest style
Tralalala lalala – Tralalala lalala
Made a vest in the very latest style.
–from a Yiddish folk song
What does a fiber artist do when she realizes that she has not worn the hand-woven jacket she spent months weaving and constructing? She turns it into something else. Or even better… ends up with 2 items of clothing!!
In 2012, I created ‘Rapunzel’s Winter Blues’ jacket
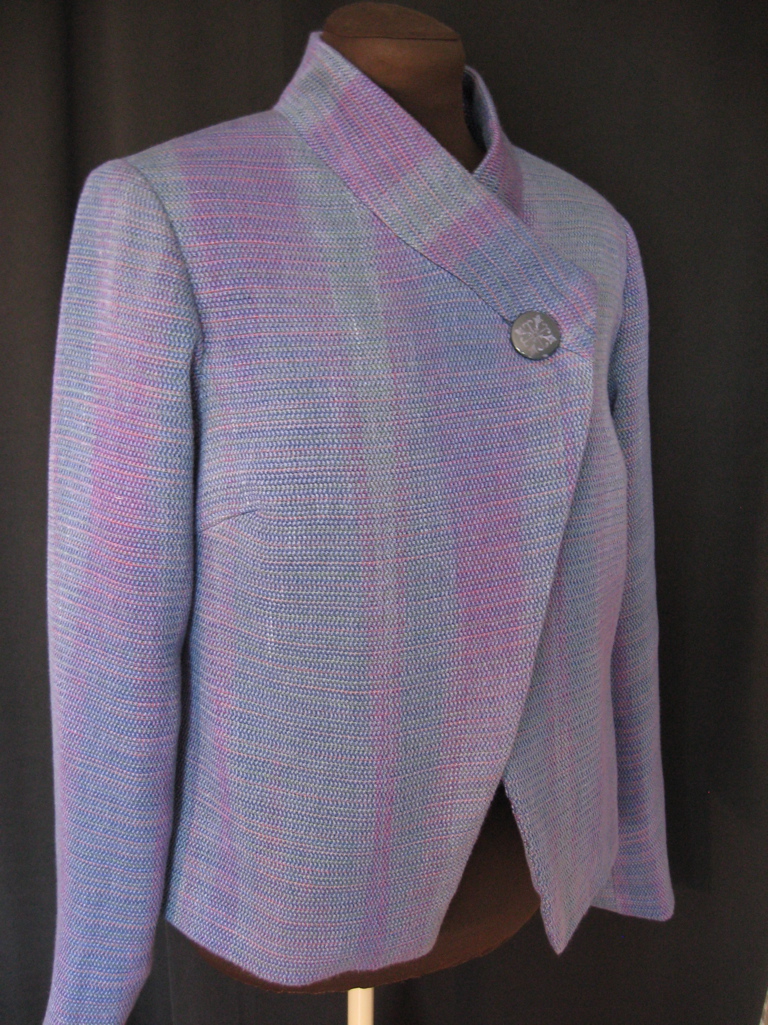
when I took Michelle Moenssen’s workshop “Making a Jacket from Hand-woven Fabric”. This was fabulous learning experience, as I had never sewn a tailored jacket (i.e. suit coat) before… let alone one from hand-woven fabric. [click here for the slide show of the full process]
After 2 years… I realize I had not worn the jacket even once. My life at this point doesn’t need that style of jacket. But as any fiber artist who makes her/his own cloth for garments knows, one does not just toss away that much ‘time, sweat, and tears’; and though I do sell my woven and felted garments, this one has strong emotional ties for me so it would be like selling one of my children! So… I began to think what could the jacket transition into that I would be more likely to wear?
I decided that remove the sleeves – transforming it into a vest – would be the simplest as I had no desire at this point to completely deconstruct the jacket.
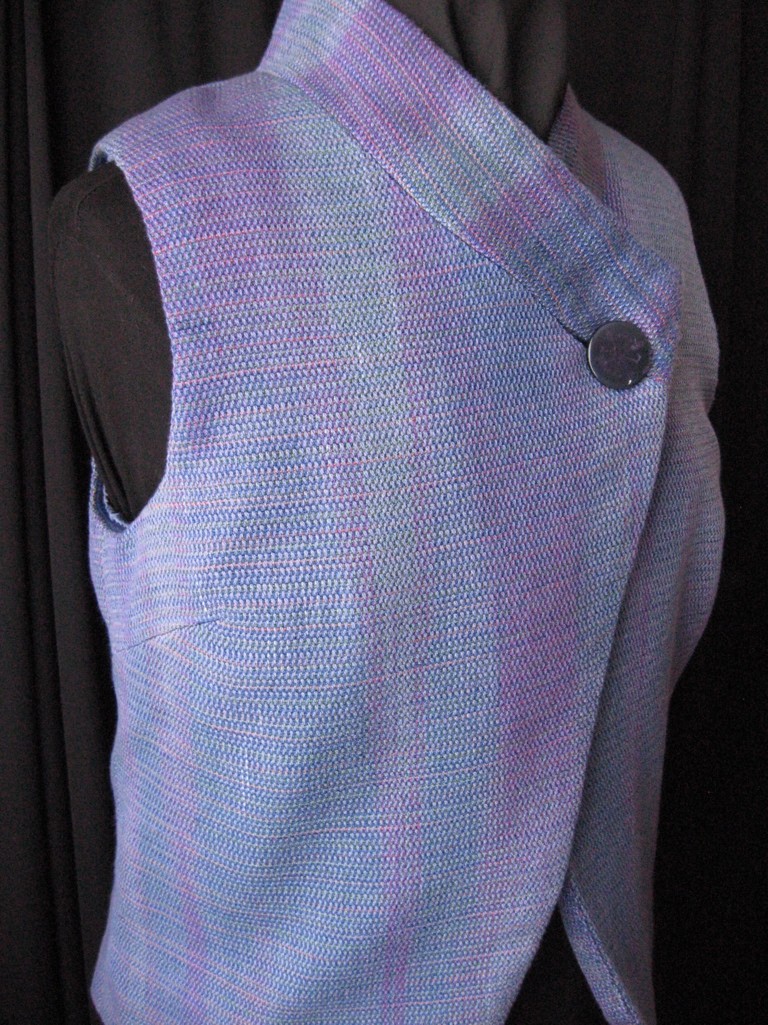
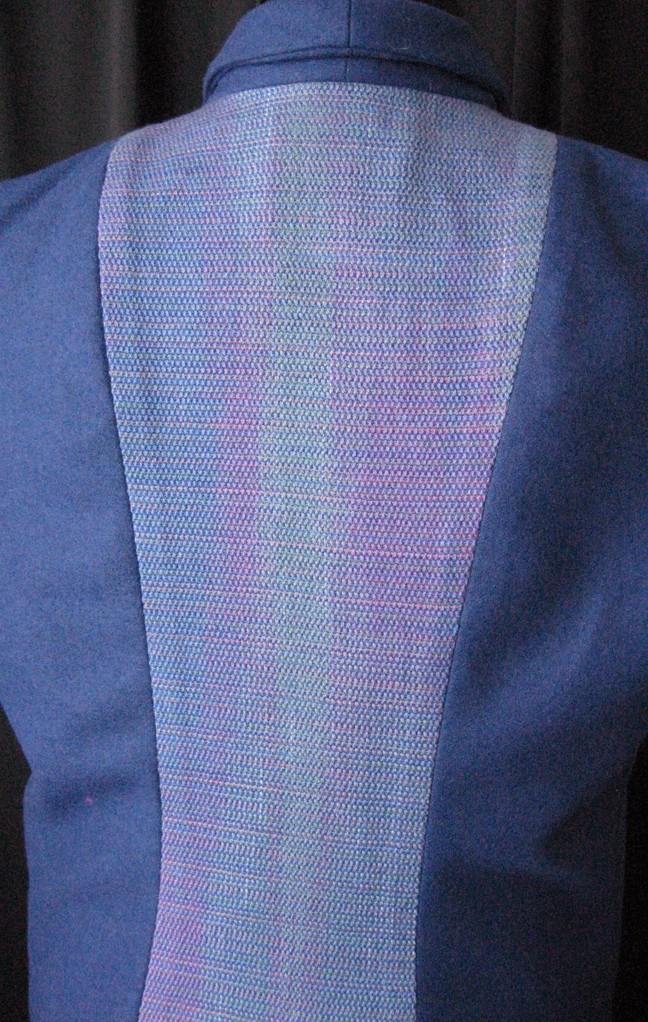
Now… what to do with the hand-woven fabric from the sleeves? Mary Sue Fenner’s ‘One-of-a-Kind Jacket Trunk Show’ at the March 2014 AAFG meeting inspired me to make a second garment using lightweight commercial wool and the hand-woven fabric as accent panels creating this ‘Two for the Price of One’ vest.
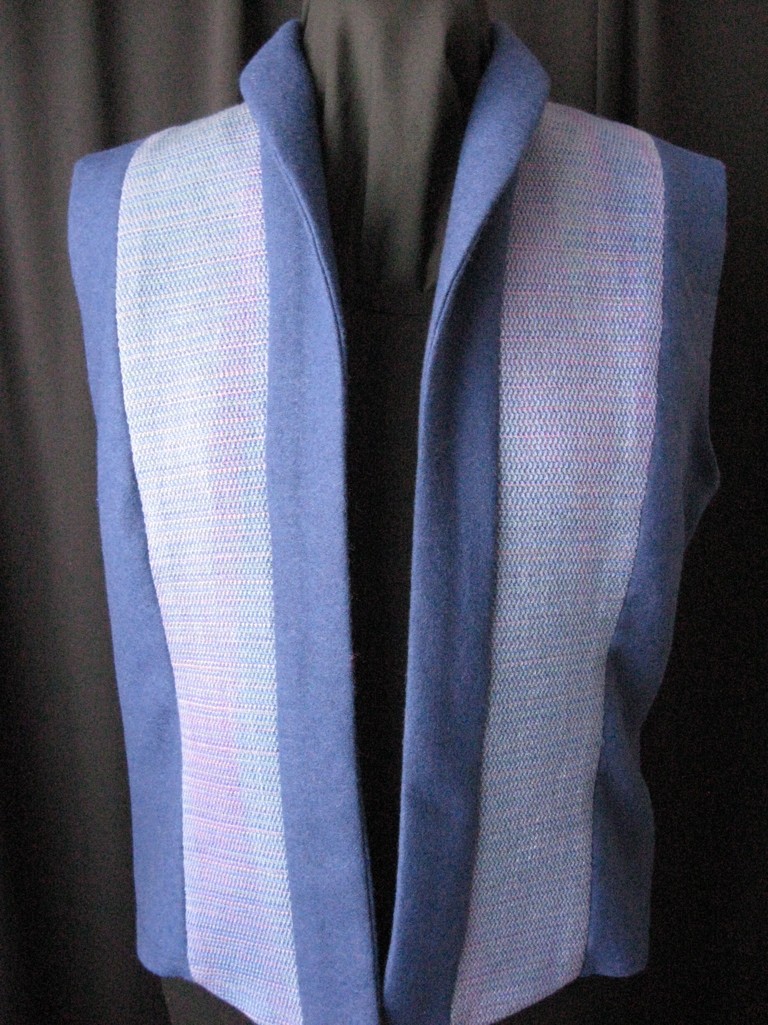
(pattern – Simplicity 2341)
I’m happy to say that both vests will be on the runway at AAFG’s Fiber Feast on April 5, 2014.
The song begins with an overcoat becoming a jacket – jacket to vest – vest to tie – tie to button – button to nothing – nothing to song and Simms Talback’s 1999 picture book Joseph Had a Little Overcoat is a Caldecott Metal winner so who knows… over the years to come this hand-woven fabric may continue to be re-imaged and transformed, giving it renewed life and rebirth. Tralala lalalala lalala…..